Scroll for prep

Please wait…
This video is having trouble loading. You may have lost your Internet connection.
Step 1: Click to Reload this page
Step 2: Click to
Try our other video player
Step 3: Contact your teacher if trouble persists.
Or,
dismiss this message.
DISCUSS (1 of 2):
How can you show the shape of the full moon with your arms?
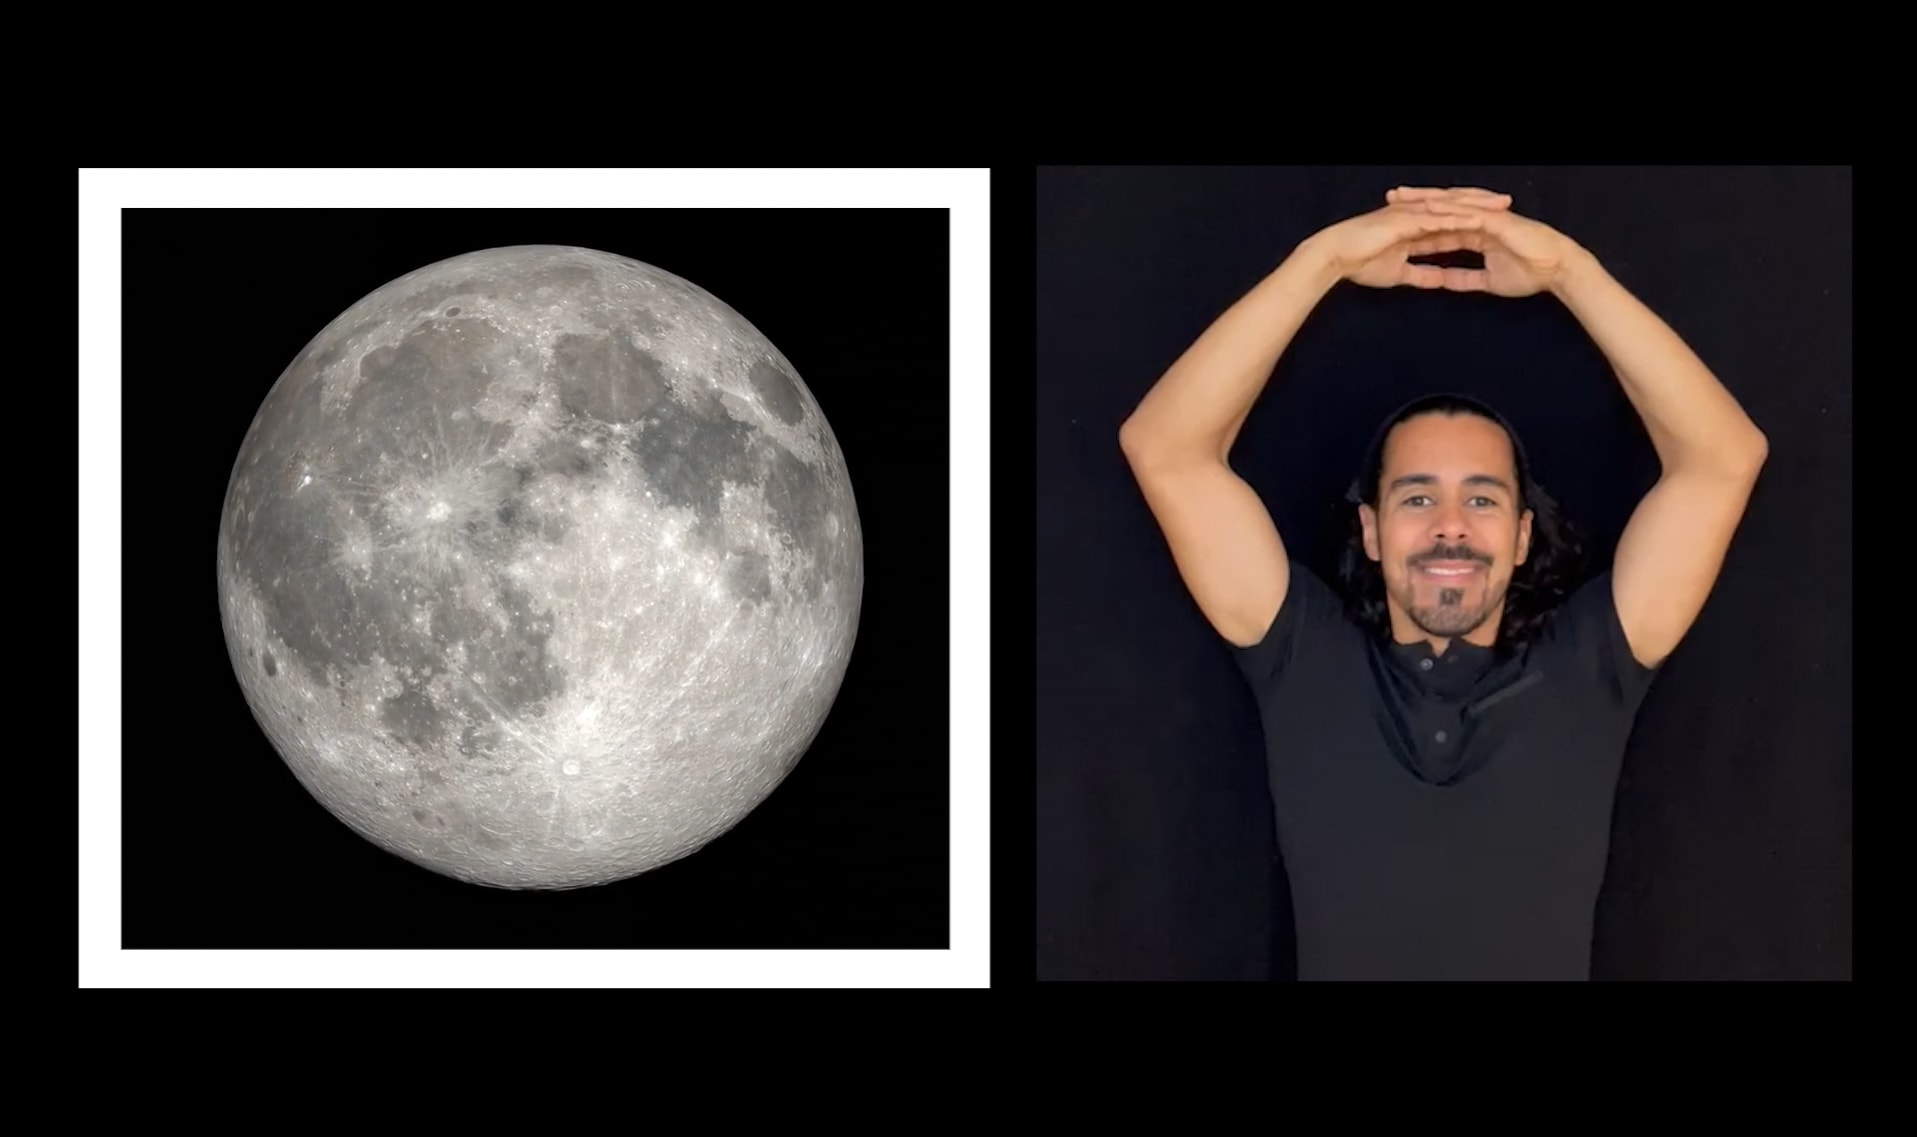
This is what we thought. But the Moon doesn't always look like this.
Sometimes, the Moon DOESN'T look like a circle.
Sometimes, the Moon DOESN'T look like a circle.
DISCUSS (2 of 2):
What OTHER shapes can the Moon look like?
Try making one of those shapes with your arms.

Please wait…
This video is having trouble loading. You may have lost your Internet connection.
Step 1: Click to Reload this page
Step 2: Click to
Try our other video player
Step 3: Contact your teacher if trouble persists.
Or,
dismiss this message.
DISCUSS:
What events happen over and over again on the same schedule?

Please wait…
This video is having trouble loading. You may have lost your Internet connection.
Step 1: Click to Reload this page
Step 2: Click to
Try our other video player
Step 3: Contact your teacher if trouble persists.
Or,
dismiss this message.
DISCUSS:
Suppose we watched the Moon night after night.
Do you think you'd see the Moon's shape change in a cycle?
Why or why not?

Please wait…
This video is having trouble loading. You may have lost your Internet connection.
Step 1: Click to Reload this page
Step 2: Click to
Try our other video player
Step 3: Contact your teacher if trouble persists.
Or,
dismiss this message.

Please wait…
This video is having trouble loading. You may have lost your Internet connection.
Step 1: Click to Reload this page
Step 2: Click to
Try our other video player
Step 3: Contact your teacher if trouble persists.
Or,
dismiss this message.
Step
01/24
01/24
Get your supplies.

Please wait…
This video is having trouble loading. You may have lost your Internet connection.
Step 1: Click to Reload this page
Step 2: Click to
Try our other video player
Step 3: Contact your teacher if trouble persists.
Or,
dismiss this message.
Step
02/24
02/24
Find a partner. You and your partner will help each other make your
Moon Books.
Moon Books.

Please wait…
This video is having trouble loading. You may have lost your Internet connection.
Step 1: Click to Reload this page
Step 2: Click to
Try our other video player
Step 3: Contact your teacher if trouble persists.
Or,
dismiss this message.
Step
03/24
03/24
Cut on the solid black line on your Moon Book sheet.
When you’re done, you’ll have two equal pieces.
When you’re done, you’ll have two equal pieces.

Please wait…
This video is having trouble loading. You may have lost your Internet connection.
Step 1: Click to Reload this page
Step 2: Click to
Try our other video player
Step 3: Contact your teacher if trouble persists.
Or,
dismiss this message.
Step
04/24
04/24
Flip both pieces of your Moon Book over. Fold each piece in half, like
this, so that the words are on the outside. Make sure to line up the
corners and edges before you fold.
this, so that the words are on the outside. Make sure to line up the
corners and edges before you fold.

Please wait…
This video is having trouble loading. You may have lost your Internet connection.
Step 1: Click to Reload this page
Step 2: Click to
Try our other video player
Step 3: Contact your teacher if trouble persists.
Or,
dismiss this message.
Step
05/24
05/24
One folded paper has a TRIANGLE on it. The other one has a STAR.
Turn the papers so you can see the triangle and and the star. Set the
papers on your table, like this.
Turn the papers so you can see the triangle and and the star. Set the
papers on your table, like this.

Please wait…
This video is having trouble loading. You may have lost your Internet connection.
Step 1: Click to Reload this page
Step 2: Click to
Try our other video player
Step 3: Contact your teacher if trouble persists.
Or,
dismiss this message.
Step
06/24
06/24
Fold each paper in half like a book. Be sure to match up the corners
and run your finger over the fold. After you have folded them, unfold
them both, like this.
and run your finger over the fold. After you have folded them, unfold
them both, like this.

Please wait…
This video is having trouble loading. You may have lost your Internet connection.
Step 1: Click to Reload this page
Step 2: Click to
Try our other video player
Step 3: Contact your teacher if trouble persists.
Or,
dismiss this message.
Step
07/24
07/24
Find the paper that has a STAR on it.
Set it on top of the paper that has a TRIANGLE on it.
Set it on top of the paper that has a TRIANGLE on it.

Please wait…
This video is having trouble loading. You may have lost your Internet connection.
Step 1: Click to Reload this page
Step 2: Click to
Try our other video player
Step 3: Contact your teacher if trouble persists.
Or,
dismiss this message.
Step
08/24
08/24
Bring the ends of your pipe cleaner together to make a loop.
Then squeeze the sides of the loop together, like this.
You’ve folded your pipe cleaner in half.
Then squeeze the sides of the loop together, like this.
You’ve folded your pipe cleaner in half.

Please wait…
This video is having trouble loading. You may have lost your Internet connection.
Step 1: Click to Reload this page
Step 2: Click to
Try our other video player
Step 3: Contact your teacher if trouble persists.
Or,
dismiss this message.
Step
09/24
09/24
Have your partner hold your book open. Slide one half of the pipe
cleaner into the middle of the book. The other half is on the outside.
Twist the ends of the pipe cleaner together.
cleaner into the middle of the book. The other half is on the outside.
Twist the ends of the pipe cleaner together.

Please wait…
This video is having trouble loading. You may have lost your Internet connection.
Step 1: Click to Reload this page
Step 2: Click to
Try our other video player
Step 3: Contact your teacher if trouble persists.
Or,
dismiss this message.
Step
10/24
10/24
Write your name on the front of your book. Now you can watch the
Moon and draw pictures of its shape in your book. Those pictures will
help you remember all the moon shapes and when they appear!
Moon and draw pictures of its shape in your book. Those pictures will
help you remember all the moon shapes and when they appear!
If you need a natural stopping point!
Teachers: If you are short on time, this is a good stopping point.
You can come back and finish your Moon Book later.
If you’re continuing right now, advance to the next slide.

Please wait…
This video is having trouble loading. You may have lost your Internet connection.
Step 1: Click to Reload this page
Step 2: Click to
Try our other video player
Step 3: Contact your teacher if trouble persists.
Or,
dismiss this message.
Step
11/24
11/24
The full moon is round and bright. Look at the white circle on page 1
of your Moon Book. Let’s outline the shape of the full moon. With
your pencil, draw a line on the edge of the circle.
of your Moon Book. Let’s outline the shape of the full moon. With
your pencil, draw a line on the edge of the circle.

Please wait…
This video is having trouble loading. You may have lost your Internet connection.
Step 1: Click to Reload this page
Step 2: Click to
Try our other video player
Step 3: Contact your teacher if trouble persists.
Or,
dismiss this message.
Step
12/24
12/24
Turn to page 2. Use your pencil to outline where you see the bright
part of the Moon, like this. Then shade in the part of the Moon that’s
dark.
part of the Moon, like this. Then shade in the part of the Moon that’s
dark.

Please wait…
This video is having trouble loading. You may have lost your Internet connection.
Step 1: Click to Reload this page
Step 2: Click to
Try our other video player
Step 3: Contact your teacher if trouble persists.
Or,
dismiss this message.
Step
13/24
13/24
On page 3, use your pencil to outline where you see the bright part
of the Moon, like this. Then shade in the part of the Moon that’s dark.
When you’re done, make sure it looks like the Moon in our photo.
of the Moon, like this. Then shade in the part of the Moon that’s dark.
When you’re done, make sure it looks like the Moon in our photo.

Please wait…
This video is having trouble loading. You may have lost your Internet connection.
Step 1: Click to Reload this page
Step 2: Click to
Try our other video player
Step 3: Contact your teacher if trouble persists.
Or,
dismiss this message.
Step
14/24
14/24
On page 4, use your pencil to outline where you see the bright part
of the Moon, like this. Then shade in the part of the Moon that’s dark.
Make sure the Moon in your book matches the Moon in our photo.
of the Moon, like this. Then shade in the part of the Moon that’s dark.
Make sure the Moon in your book matches the Moon in our photo.

Please wait…
This video is having trouble loading. You may have lost your Internet connection.
Step 1: Click to Reload this page
Step 2: Click to
Try our other video player
Step 3: Contact your teacher if trouble persists.
Or,
dismiss this message.
Step
15/24
15/24
A few days later, the Moon is dark. The Moon is still there, but it looks
like it’s gone! On page 5, use your pencil to shade in the whole Moon
so it looks like our photo.
like it’s gone! On page 5, use your pencil to shade in the whole Moon
so it looks like our photo.

Please wait…
This video is having trouble loading. You may have lost your Internet connection.
Step 1: Click to Reload this page
Step 2: Click to
Try our other video player
Step 3: Contact your teacher if trouble persists.
Or,
dismiss this message.
Step
16/24
16/24
Use your Moon Book to see what’s happened with the Moon so far.
Start on page 1 where you drew the full Moon. Then look at the
Moon’s shape on page 2, page 3, page 4, and page 5. Discuss:
Start on page 1 where you drew the full Moon. Then look at the
Moon’s shape on page 2, page 3, page 4, and page 5. Discuss:

Please wait…
This video is having trouble loading. You may have lost your Internet connection.
Step 1: Click to Reload this page
Step 2: Click to
Try our other video player
Step 3: Contact your teacher if trouble persists.
Or,
dismiss this message.
Step
17/24
17/24
Here’s what we noticed. The bright part of the Moon got smaller and
smaller as the days went by. The Moon went from a bright circle, to
a half moon, to a crescent, and now it’s completely dark! Discuss:
smaller as the days went by. The Moon went from a bright circle, to
a half moon, to a crescent, and now it’s completely dark! Discuss:

Please wait…
This video is having trouble loading. You may have lost your Internet connection.
Step 1: Click to Reload this page
Step 2: Click to
Try our other video player
Step 3: Contact your teacher if trouble persists.
Or,
dismiss this message.
Step
18/24
18/24
Here’s what happened next. It’s a crescent moon again! But wait a
minute — compare this moon shape to the one on page 4. Discuss:
minute — compare this moon shape to the one on page 4. Discuss:

Please wait…
This video is having trouble loading. You may have lost your Internet connection.
Step 1: Click to Reload this page
Step 2: Click to
Try our other video player
Step 3: Contact your teacher if trouble persists.
Or,
dismiss this message.
Step
19/24
19/24
On page 6, use your pencil to outline where you see the bright part
of the Moon, like this. Then shade in the part of the Moon that’s dark.
of the Moon, like this. Then shade in the part of the Moon that’s dark.

Please wait…
This video is having trouble loading. You may have lost your Internet connection.
Step 1: Click to Reload this page
Step 2: Click to
Try our other video player
Step 3: Contact your teacher if trouble persists.
Or,
dismiss this message.
Step
20/24
20/24
On page 7, use your pencil to outline where you see the bright part of
the Moon, like this. Then shade in the part of the Moon that’s dark.
the Moon, like this. Then shade in the part of the Moon that’s dark.

Please wait…
This video is having trouble loading. You may have lost your Internet connection.
Step 1: Click to Reload this page
Step 2: Click to
Try our other video player
Step 3: Contact your teacher if trouble persists.
Or,
dismiss this message.
Step
21/24
21/24
Turn to page 8. Use your pencil to outline where you see the bright
part of the Moon, like this. Then shade in the part of the Moon that’s
dark.
part of the Moon, like this. Then shade in the part of the Moon that’s
dark.

Please wait…
This video is having trouble loading. You may have lost your Internet connection.
Step 1: Click to Reload this page
Step 2: Click to
Try our other video player
Step 3: Contact your teacher if trouble persists.
Or,
dismiss this message.
Step
22/24
22/24
We took our last photo a few days later. That’s FOUR weeks after we
started taking pictures. Here’s what the Moon looked like. Discuss:
started taking pictures. Here’s what the Moon looked like. Discuss:

Please wait…
This video is having trouble loading. You may have lost your Internet connection.
Step 1: Click to Reload this page
Step 2: Click to
Try our other video player
Step 3: Contact your teacher if trouble persists.
Or,
dismiss this message.
Step
23/24
23/24
Now let’s look at what happened after the Moon was completely
dark. Start with page 5. Look at the Moon’s shape on page 6, page 7,
page 8, and page 1. Discuss:
dark. Start with page 5. Look at the Moon’s shape on page 6, page 7,
page 8, and page 1. Discuss:

Please wait…
This video is having trouble loading. You may have lost your Internet connection.
Step 1: Click to Reload this page
Step 2: Click to
Try our other video player
Step 3: Contact your teacher if trouble persists.
Or,
dismiss this message.
Step
24/24
24/24
Here’s what we noticed. The bright part of the Moon got bigger and
bigger as the days went by. The Moon went from completely dark, to
a crescent, to a half moon, and now it’s full again. Discuss:
bigger as the days went by. The Moon went from completely dark, to
a crescent, to a half moon, and now it’s full again. Discuss:

Please wait…
This video is having trouble loading. You may have lost your Internet connection.
Step 1: Click to Reload this page
Step 2: Click to
Try our other video player
Step 3: Contact your teacher if trouble persists.
Or,
dismiss this message.
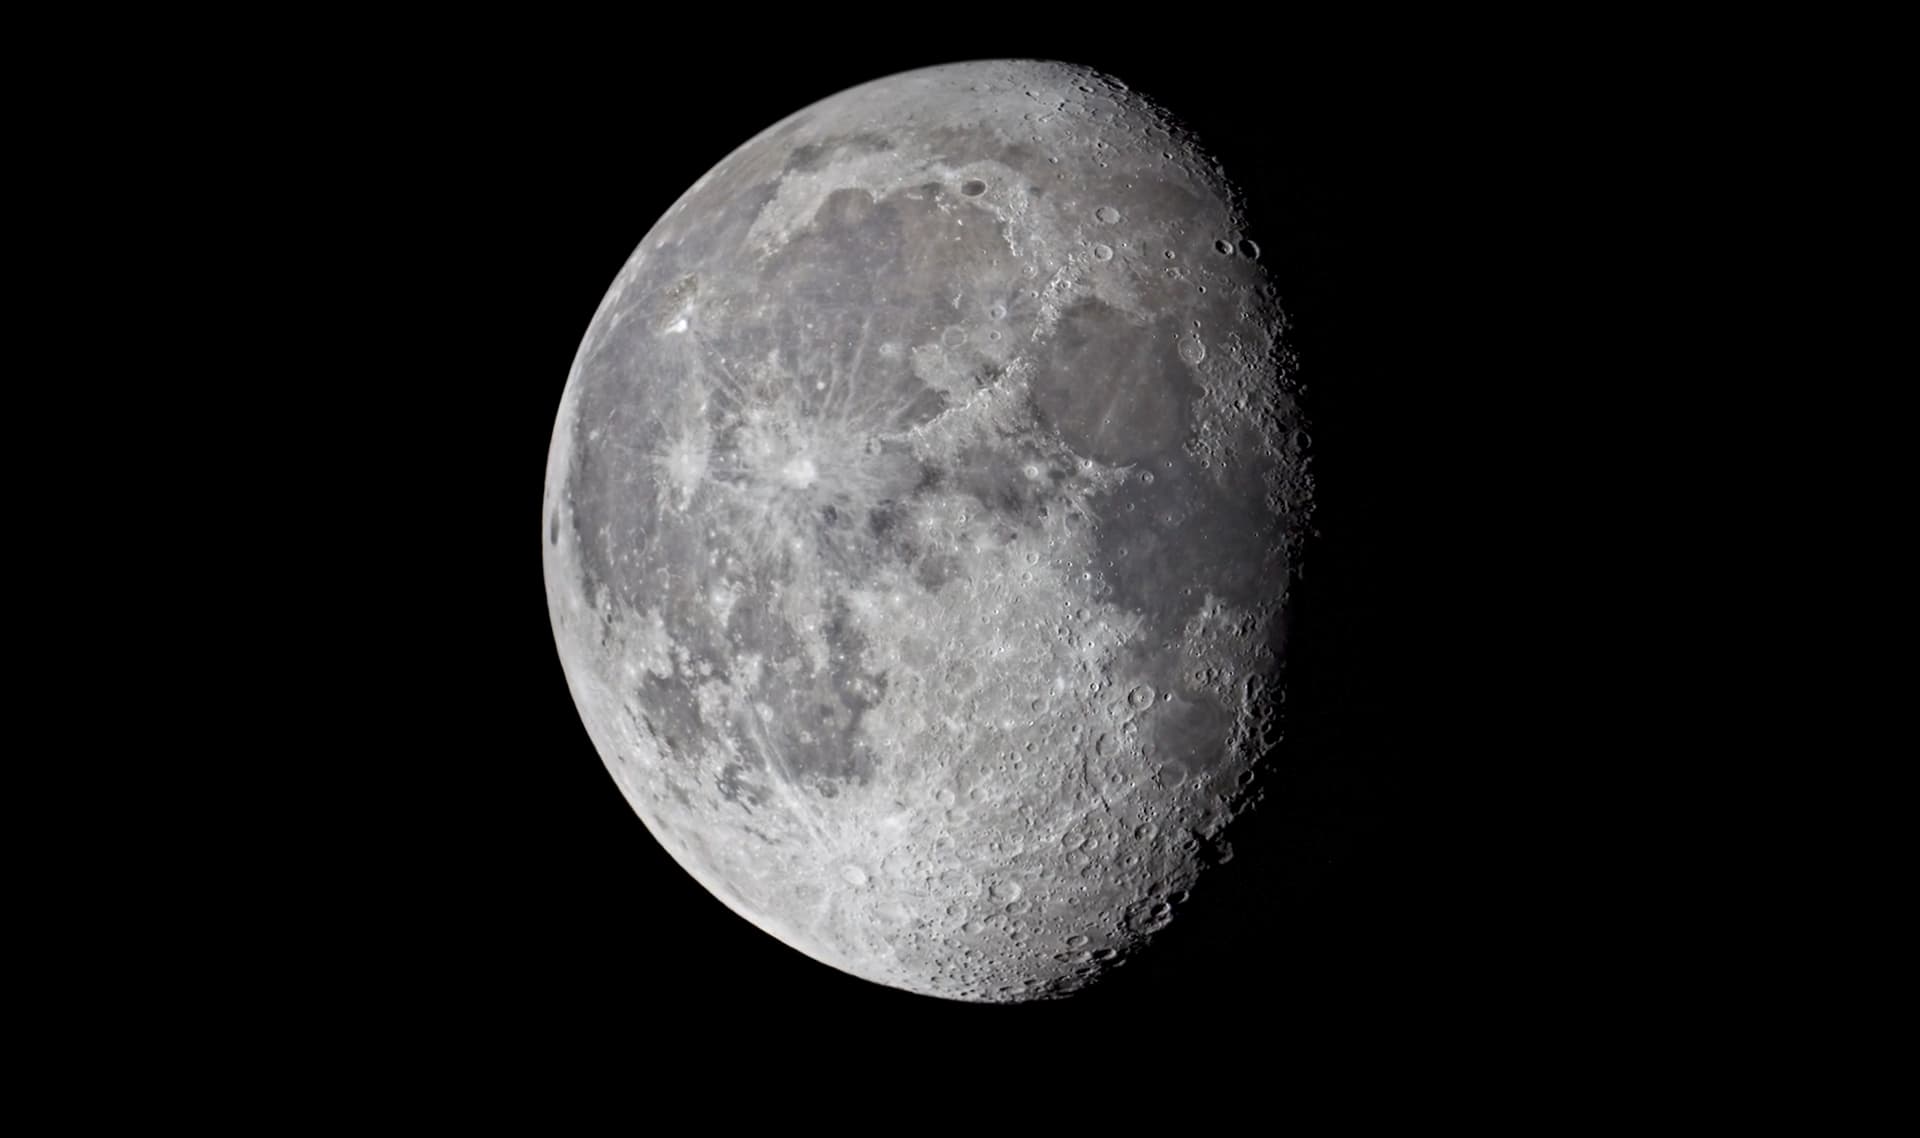
Moon
1 of 8
a large round object that you can usually see in the night sky
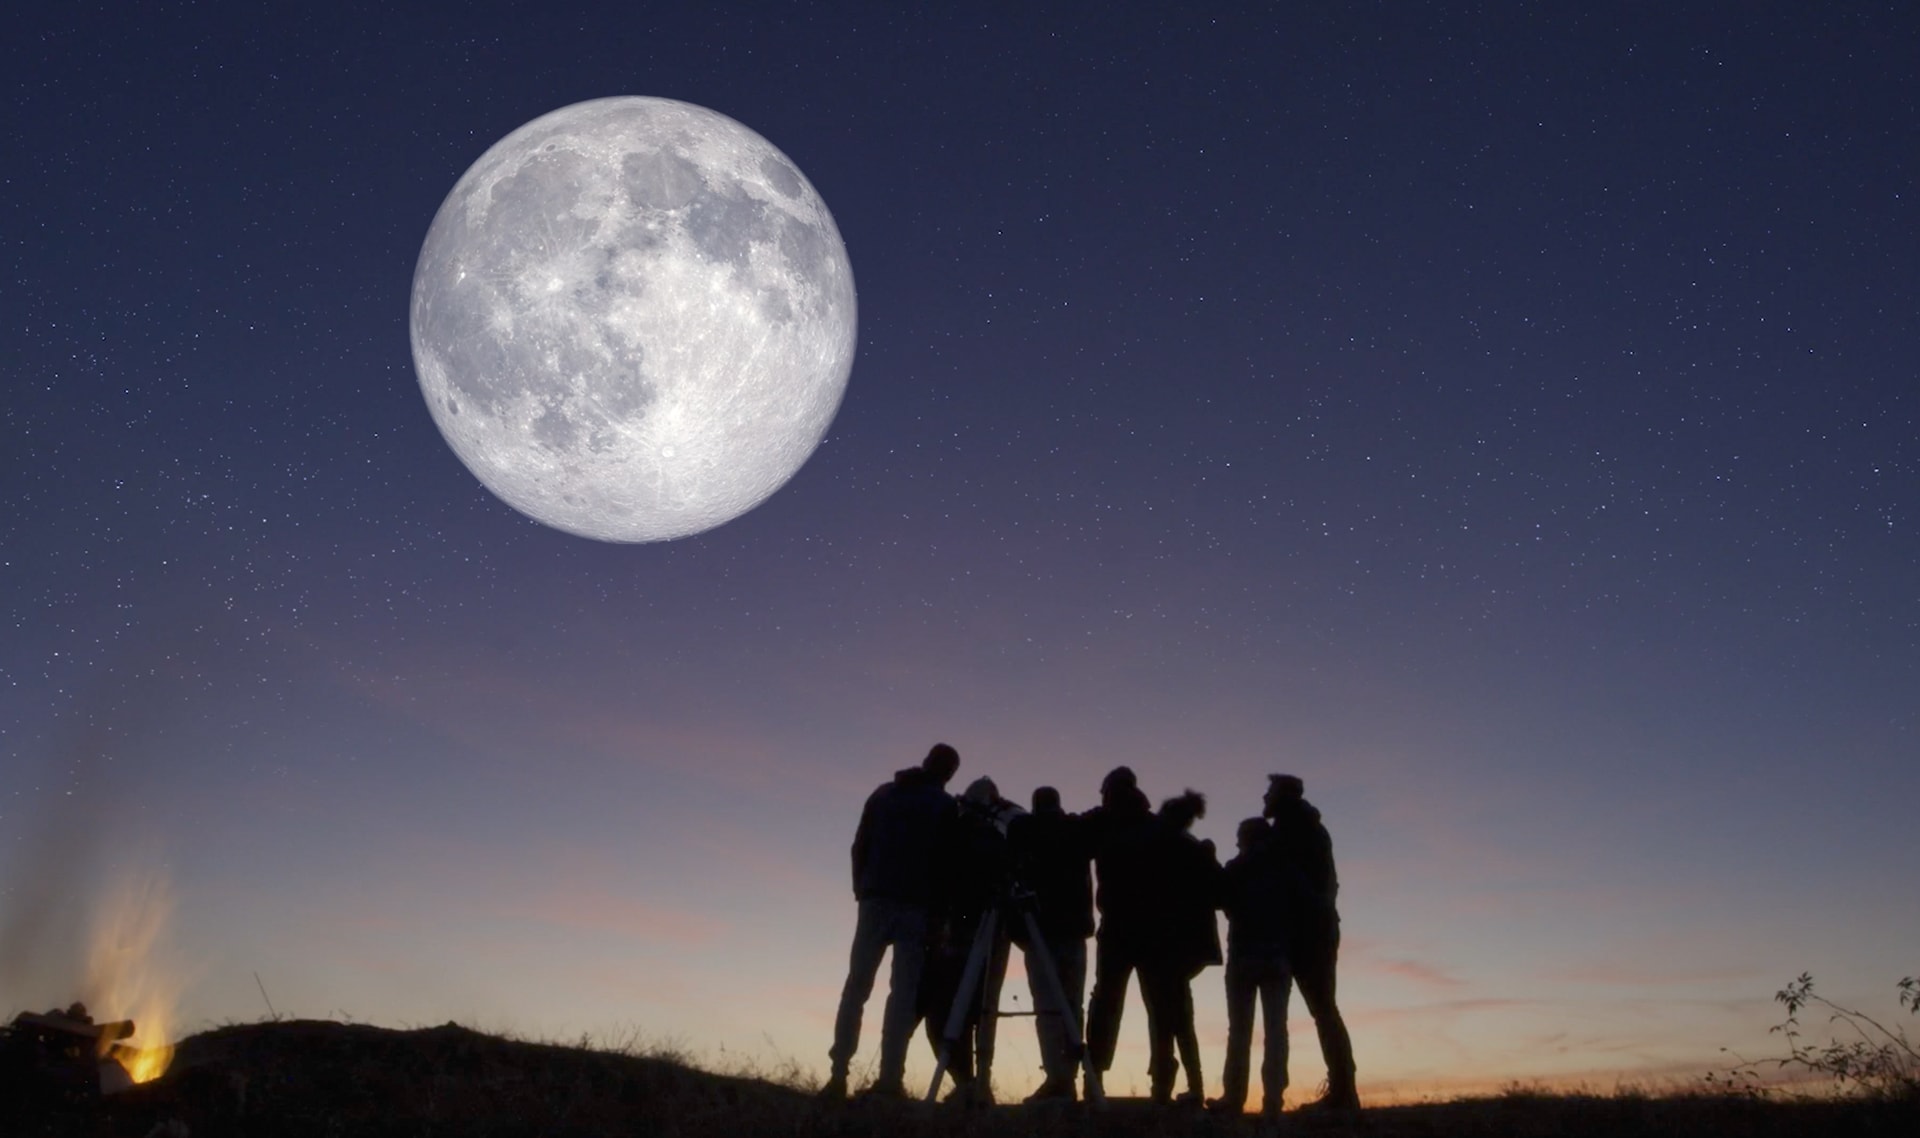
full moon
2 of 8
when the Moon looks like a big, round circle
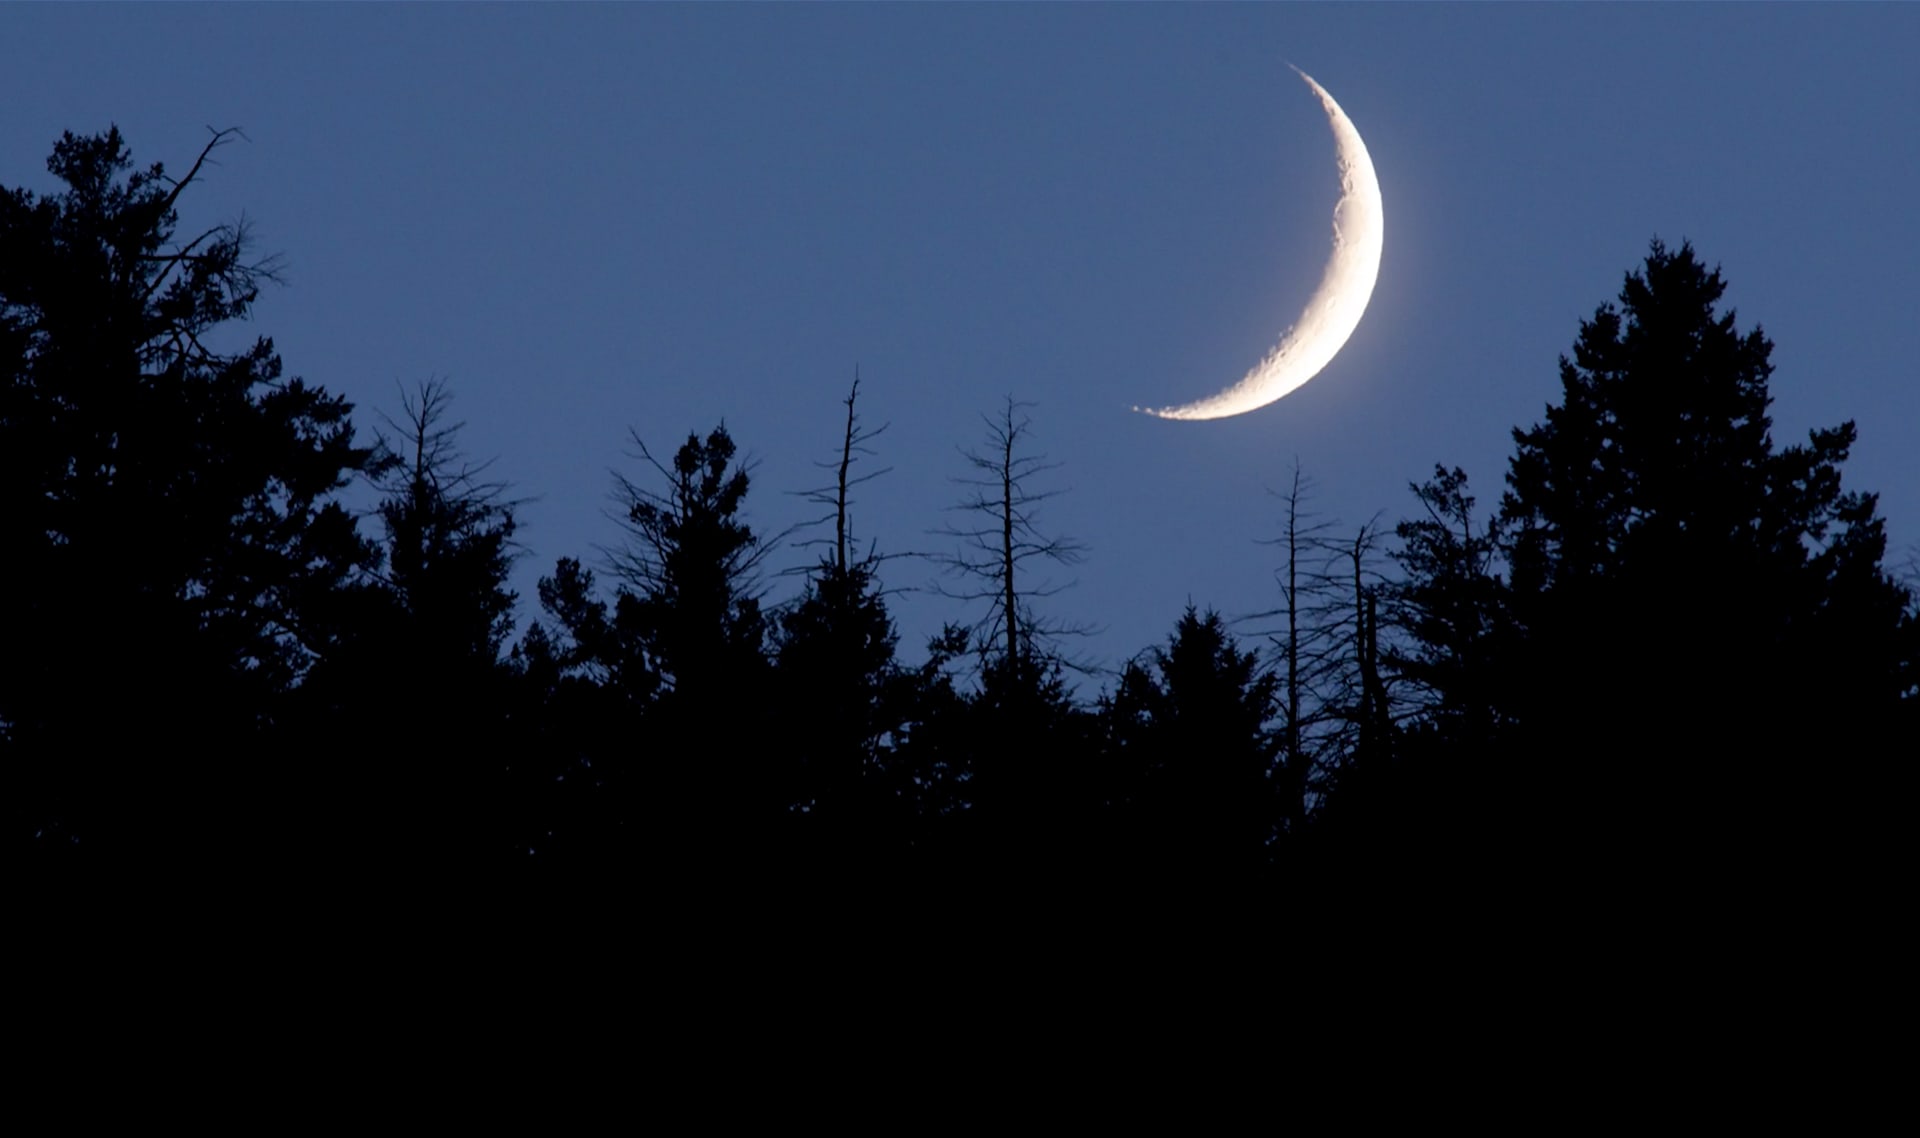
crescent moon
3 of 8
when the Moon looks like a tiny sliver
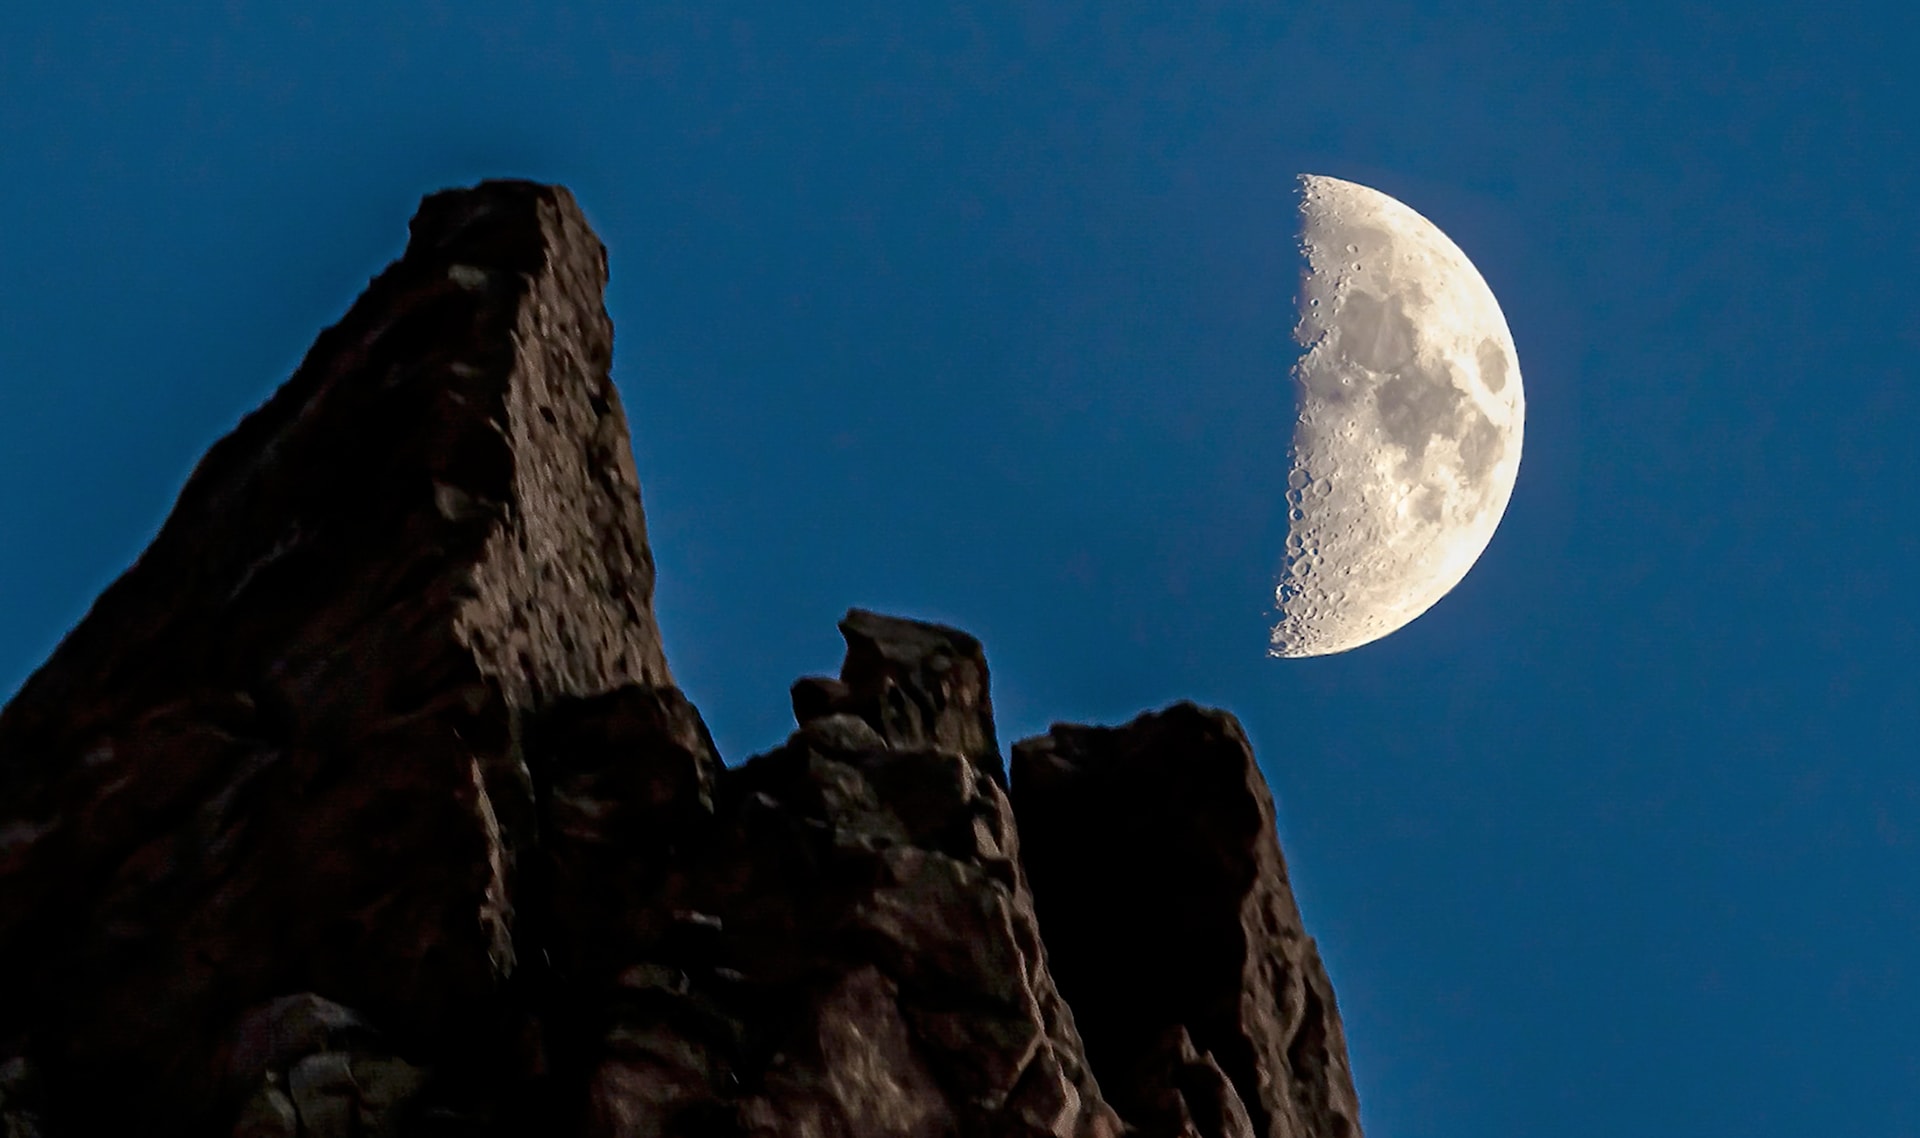
half moon
4 of 8
when the Moon looks like half of a circle
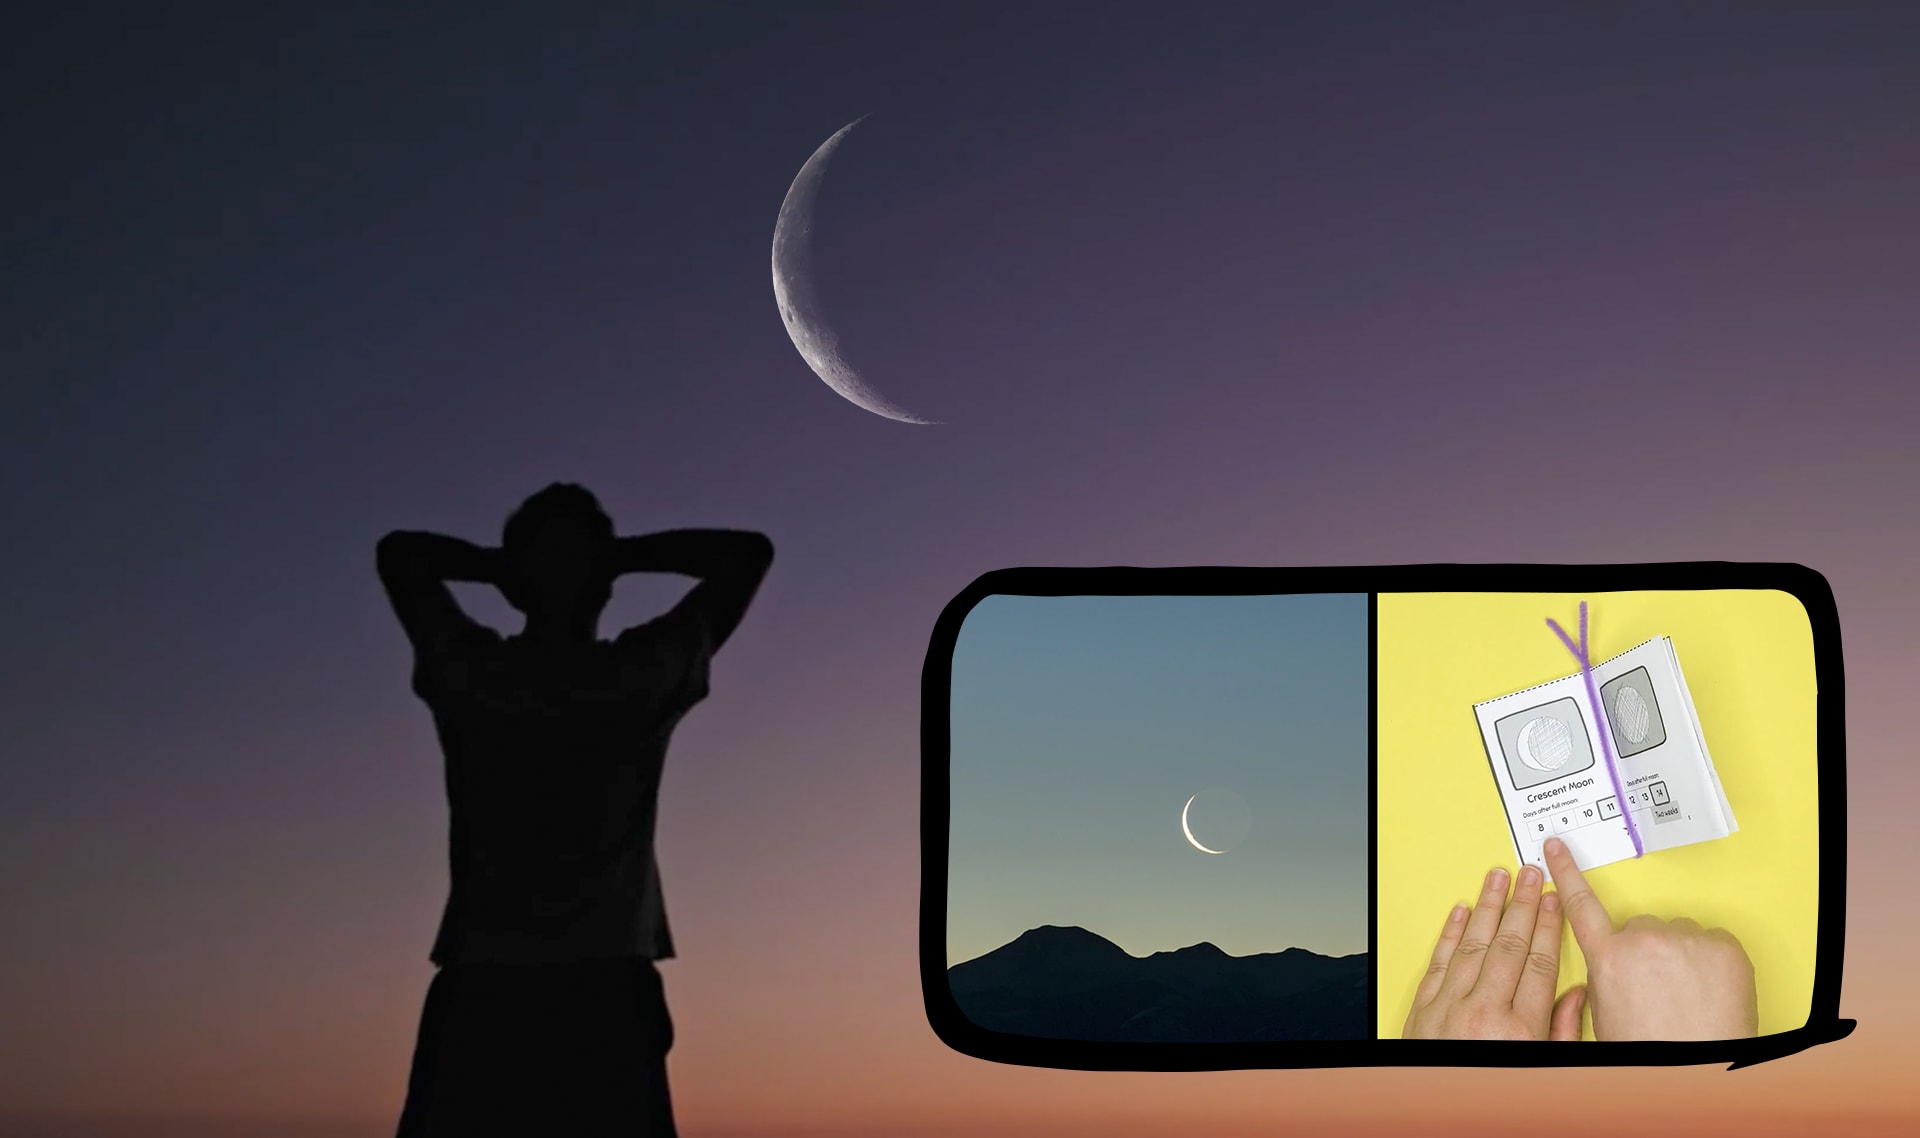
observe
5 of 8
to pay close attention to something
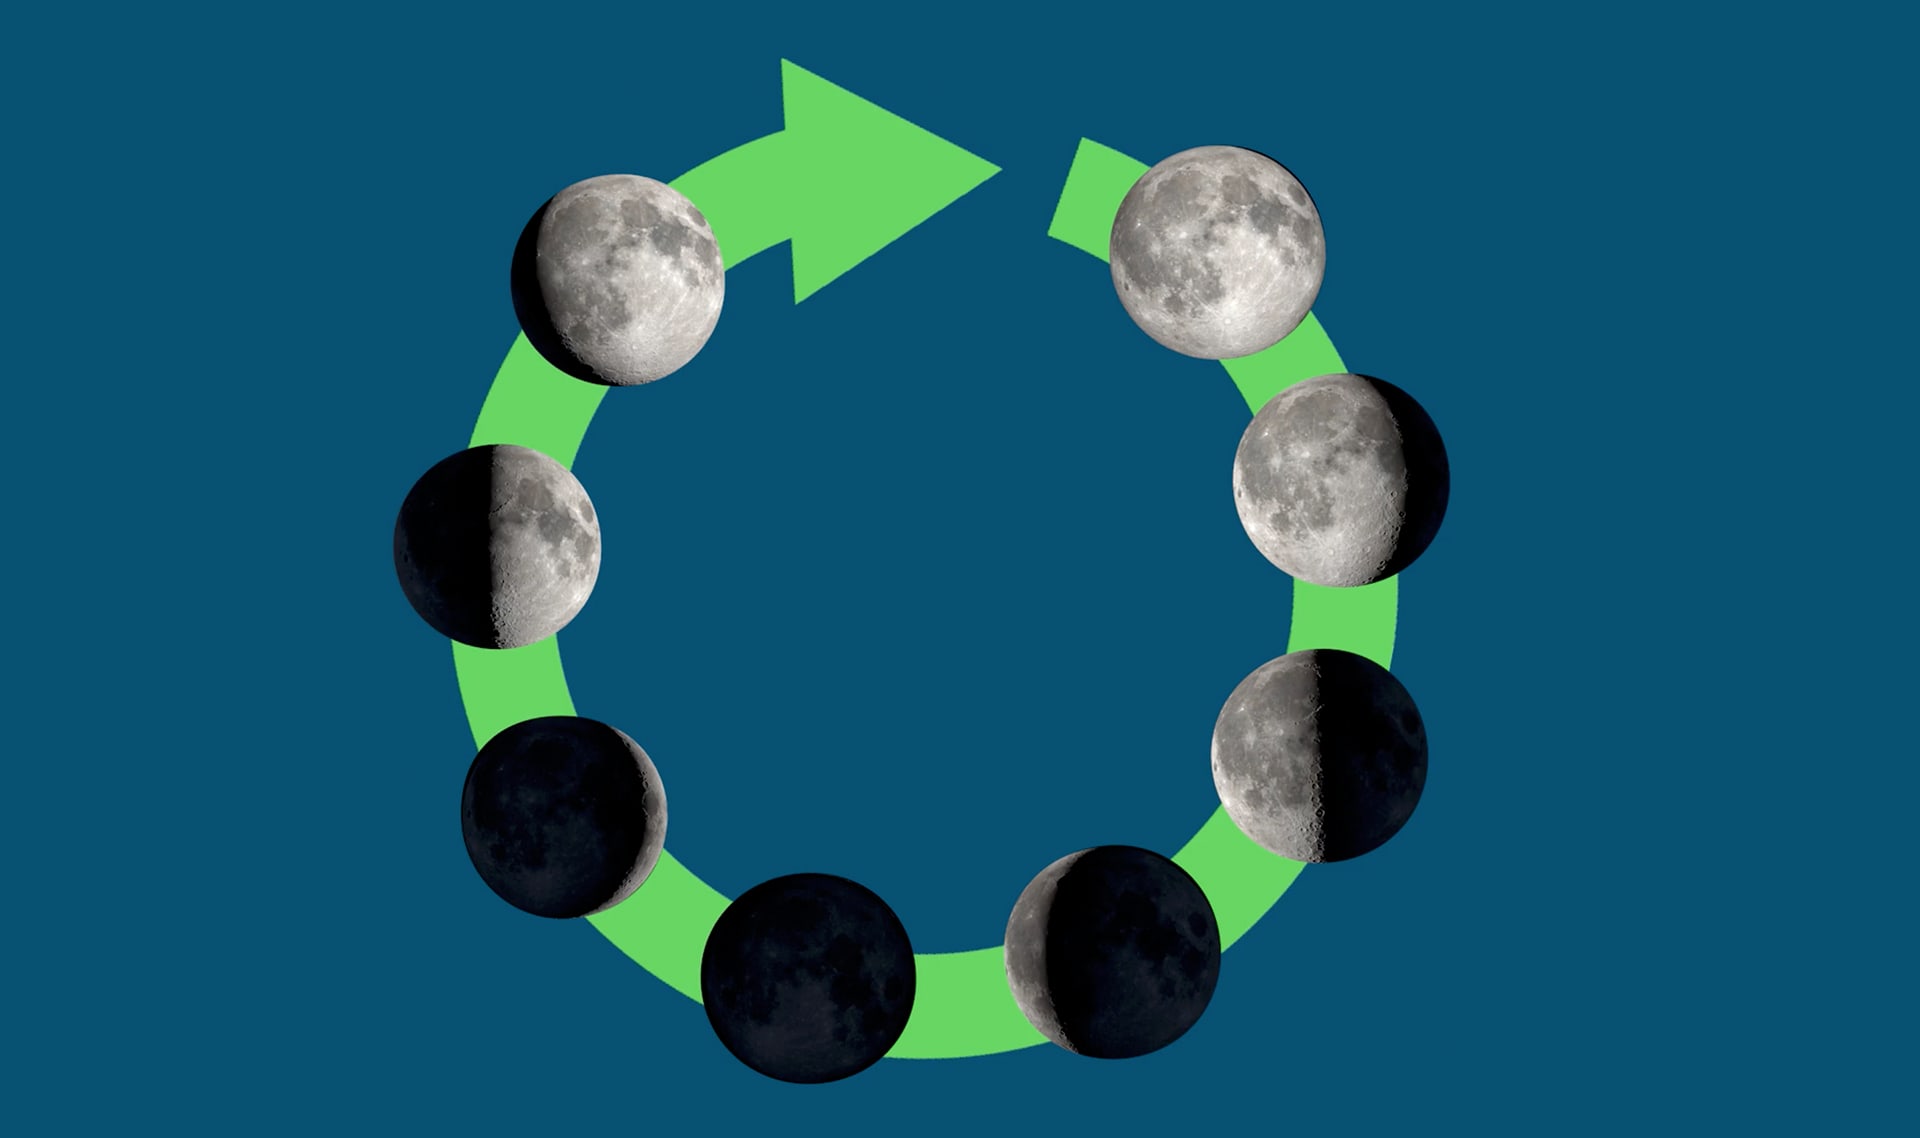
cycle
6 of 8
a set of events that repeats in the same order over and over
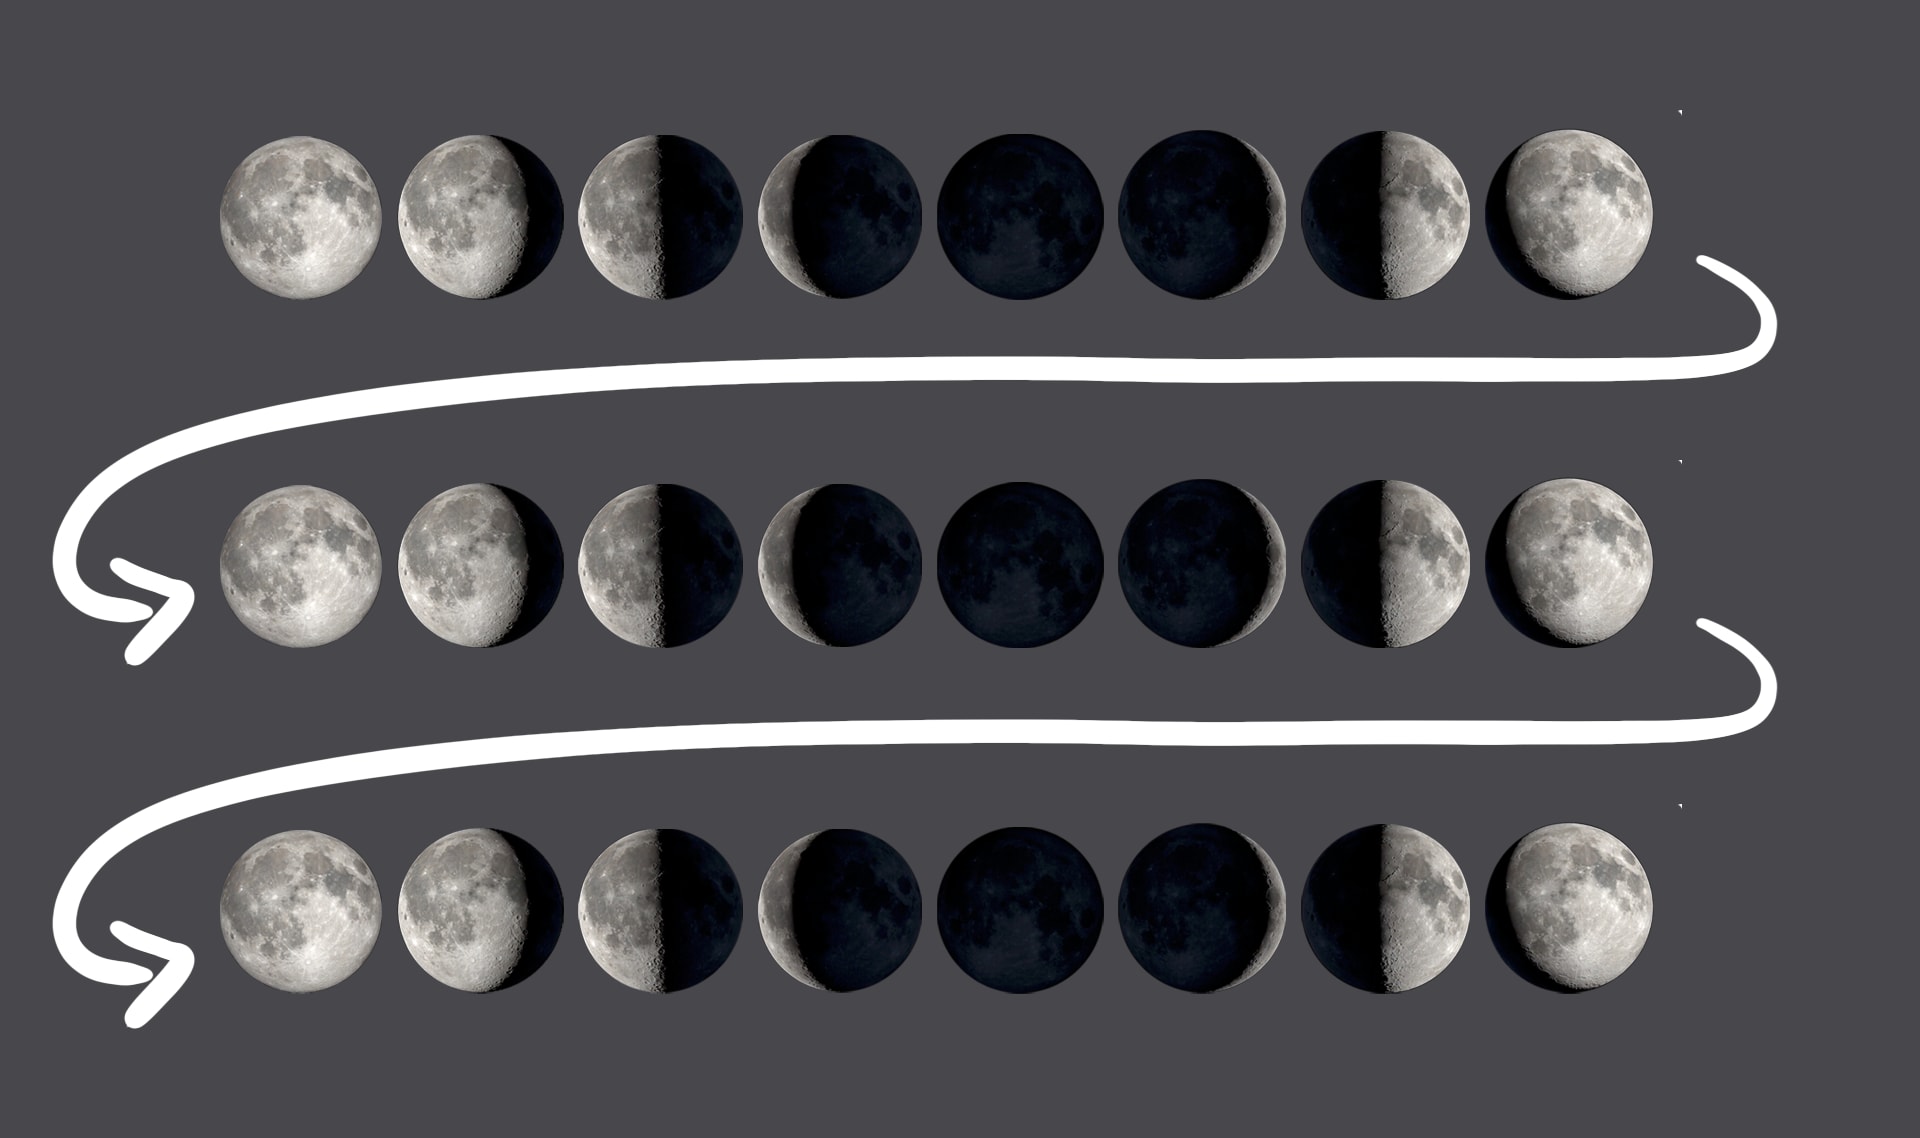
pattern
7 of 8
something that can be observed again and again and again in a way that can be predicted
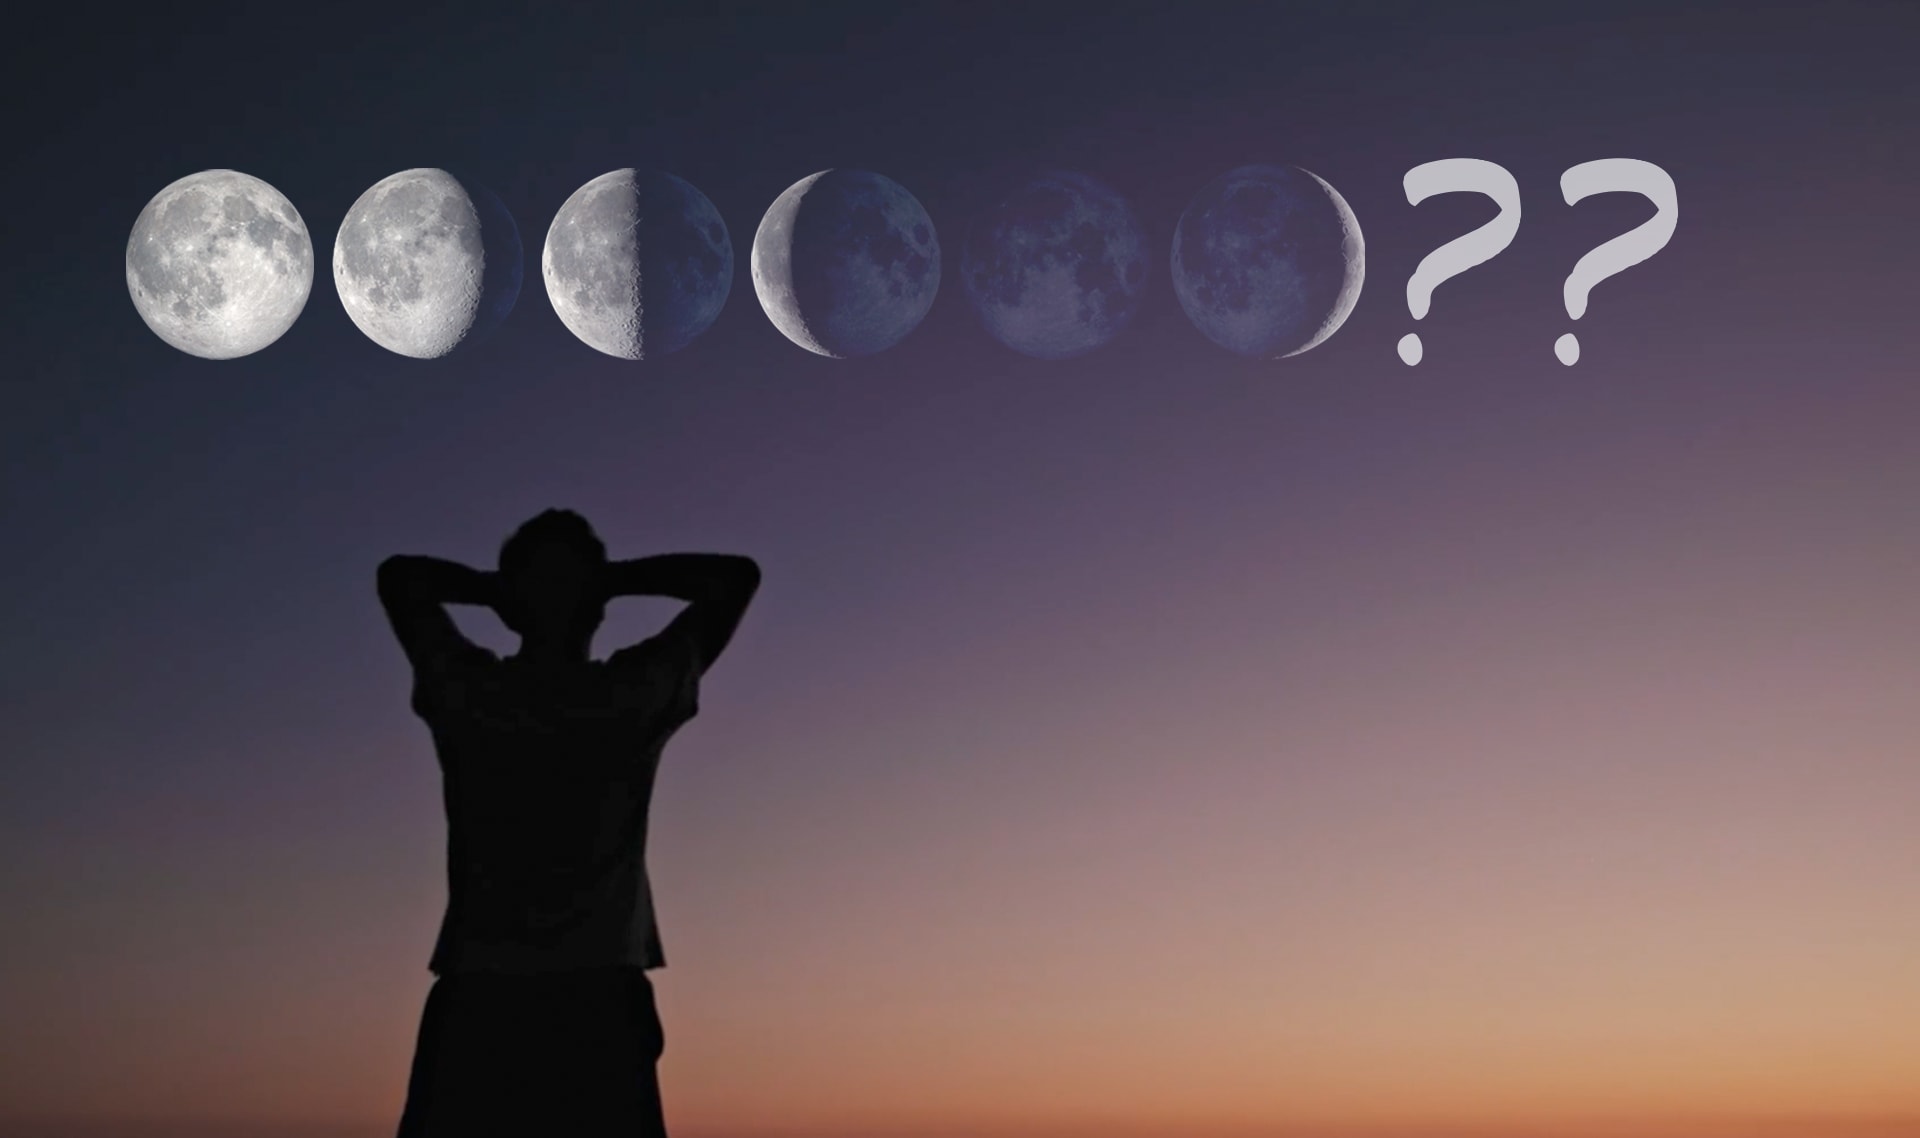
predict
8 of 8
to guess what will happen based on things you know
