¿Por qué cambian las estrellas con cada estación del año?

Spanish narration on!

Click play to start.

¿Por qué cambian las estrellas con cada estación del año?

Lesson narration:
Scroll for prep
Full Screen
Controls Icon Exit Full Screen

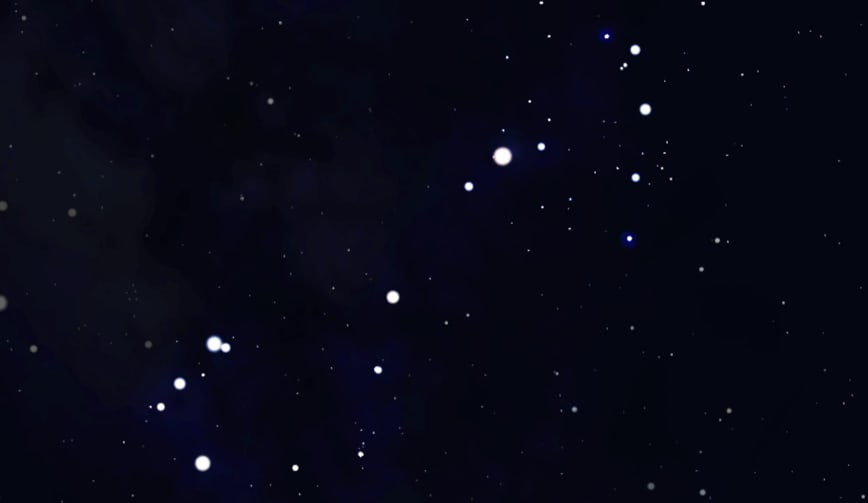
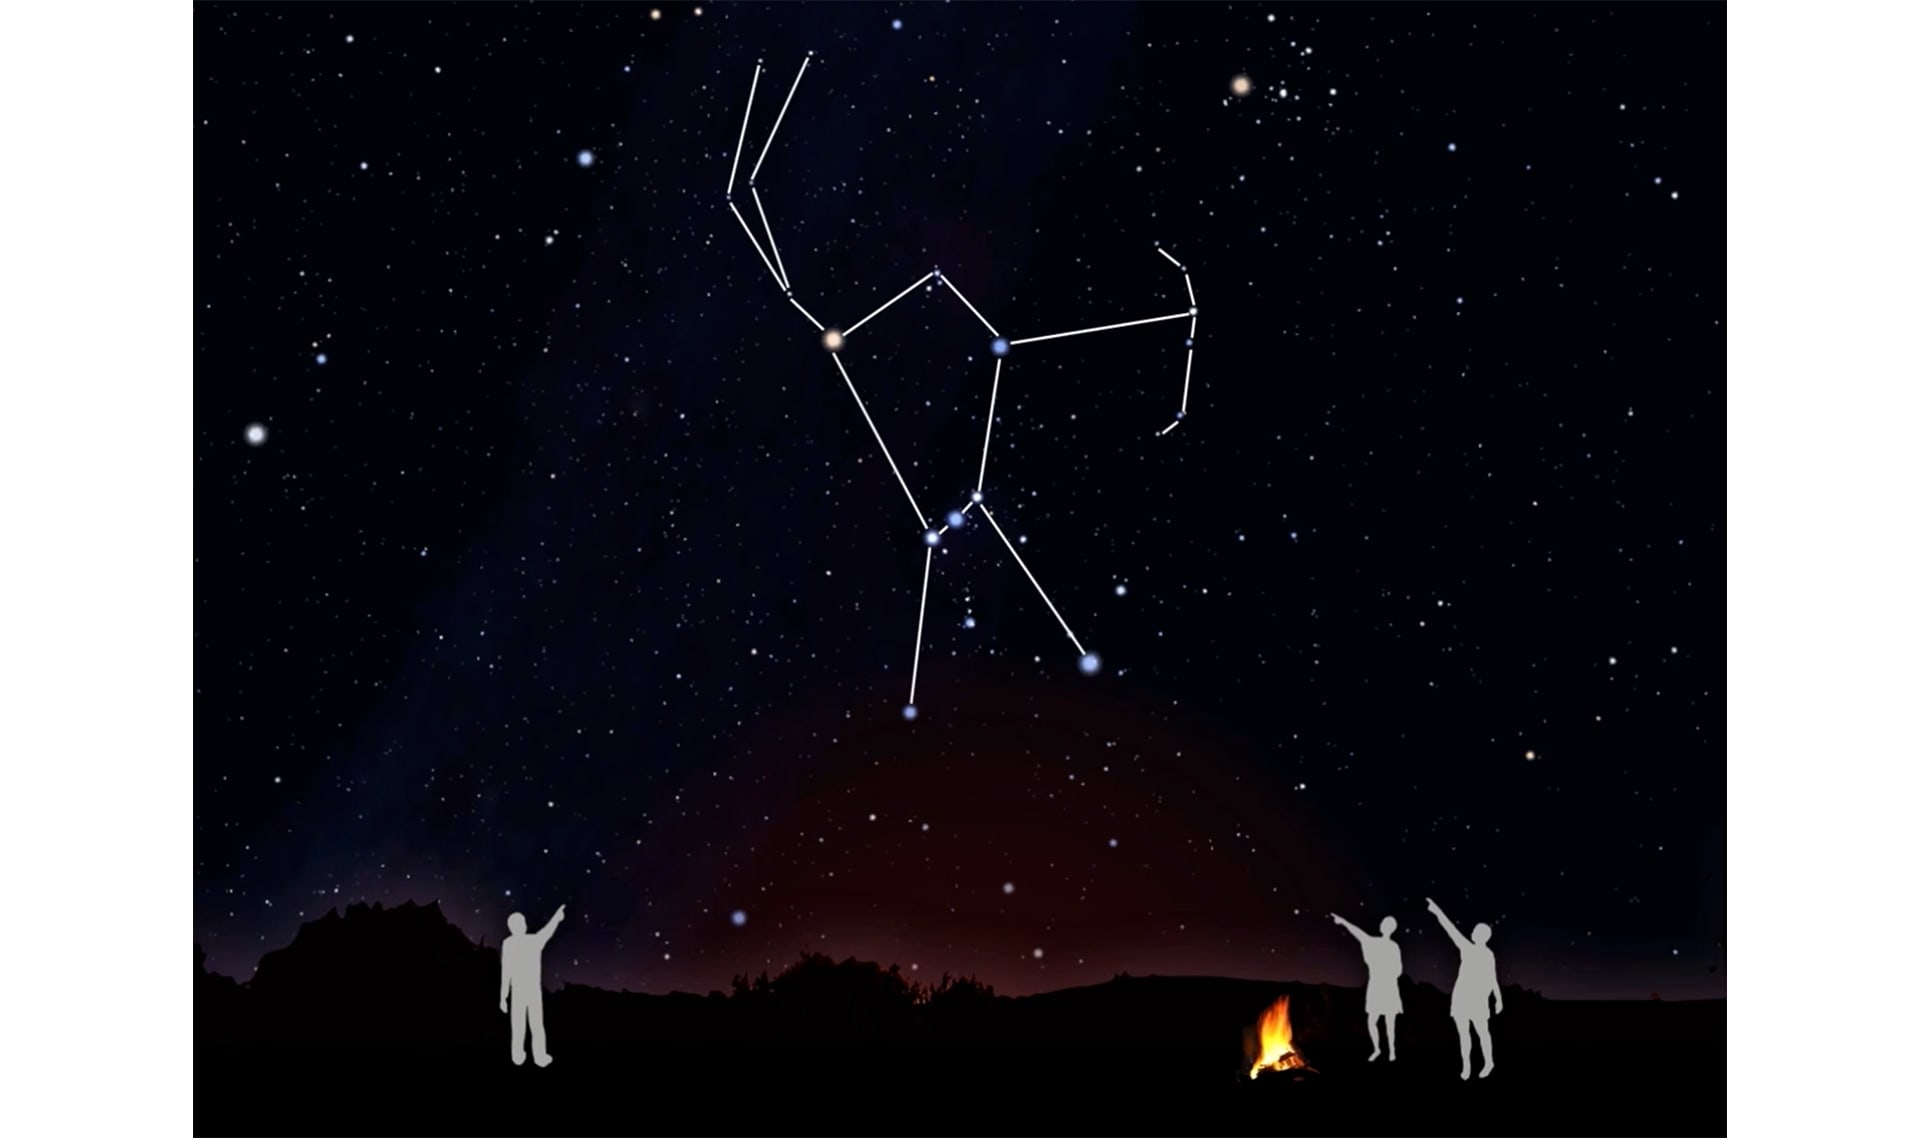
CONVERSEMOS: Tómate 30 segundos para encontrar la constelación en este cielo lleno de estrellas. Después conversemos: ¿En qué estación tomaron esta foto?

Full Screen
Controls Icon Exit Full Screen

Y LA RESPUESTA ES...

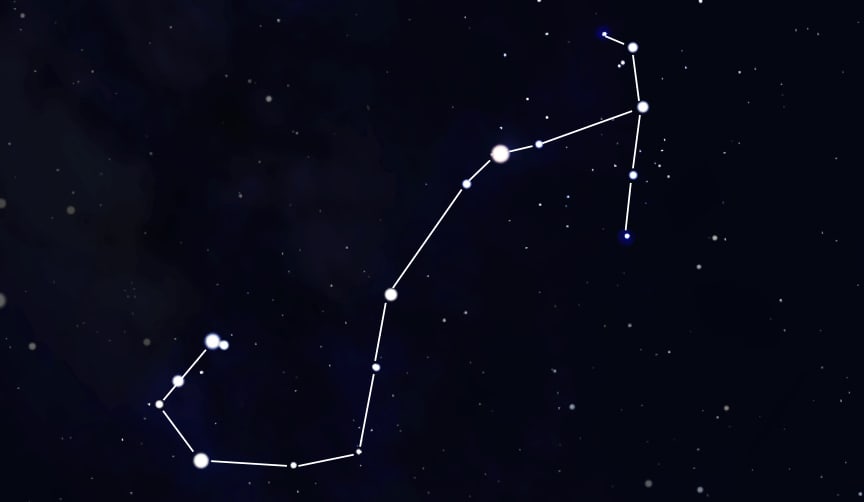
...Es Escorpio, el Escorpión. Es VERANO.

Full Screen
Controls Icon Exit Full Screen

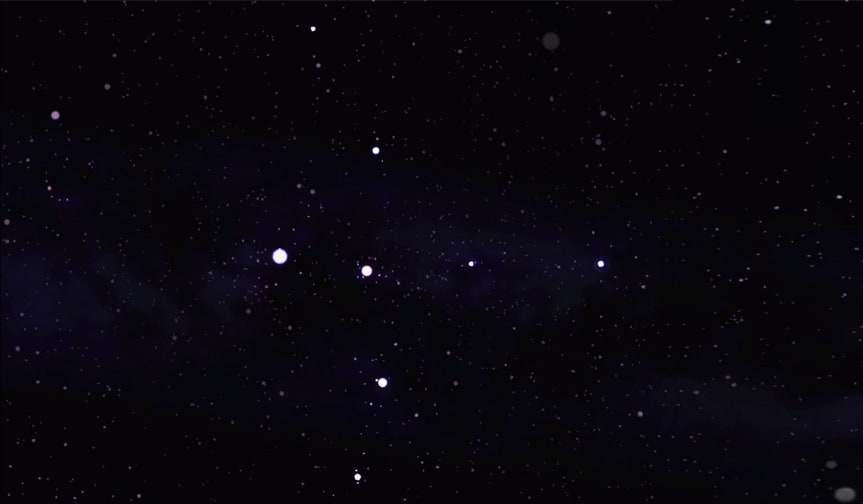
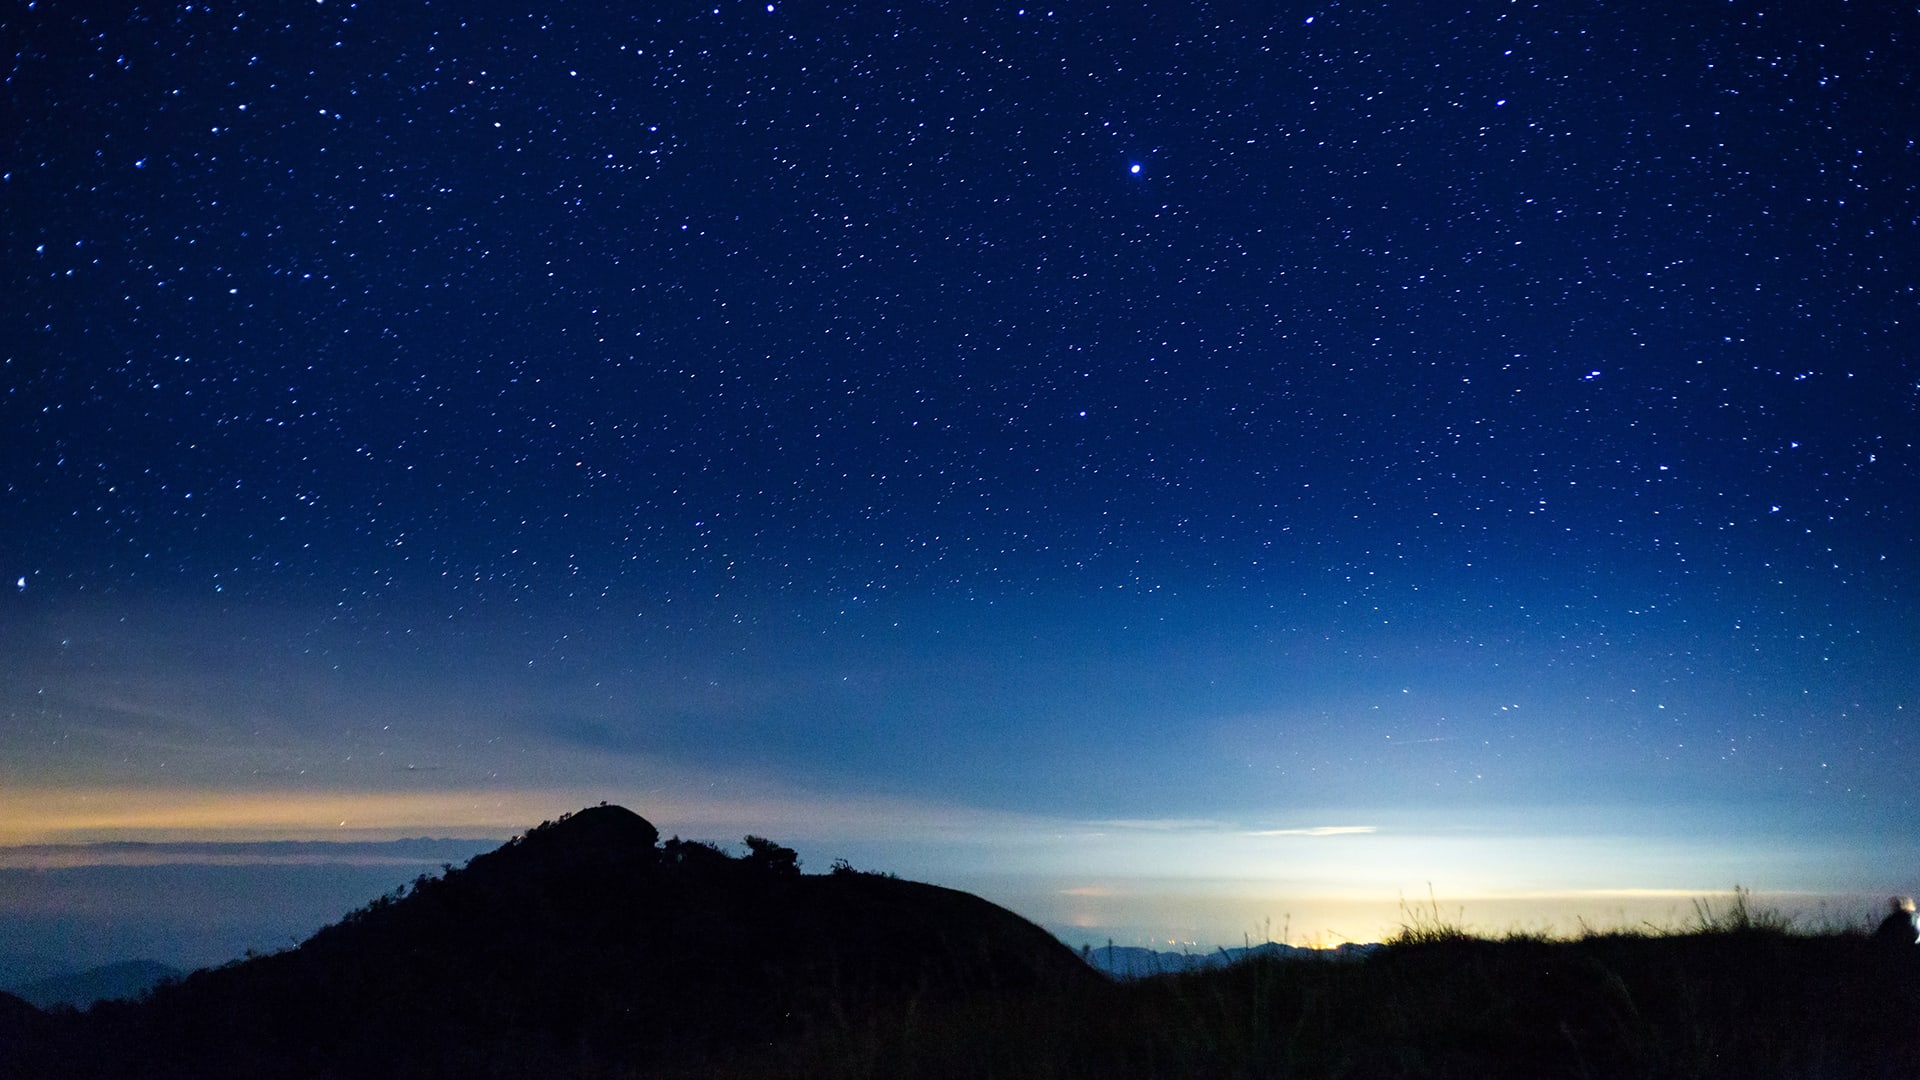
CONVERSEMOS: Tómate 30 segundos para encontrar la constelación en este cielo lleno de estrellas. Después conversemos: ¿En qué estación tomaron esta foto?

Full Screen
Controls Icon Exit Full Screen

Y LA RESPUESTA ES...

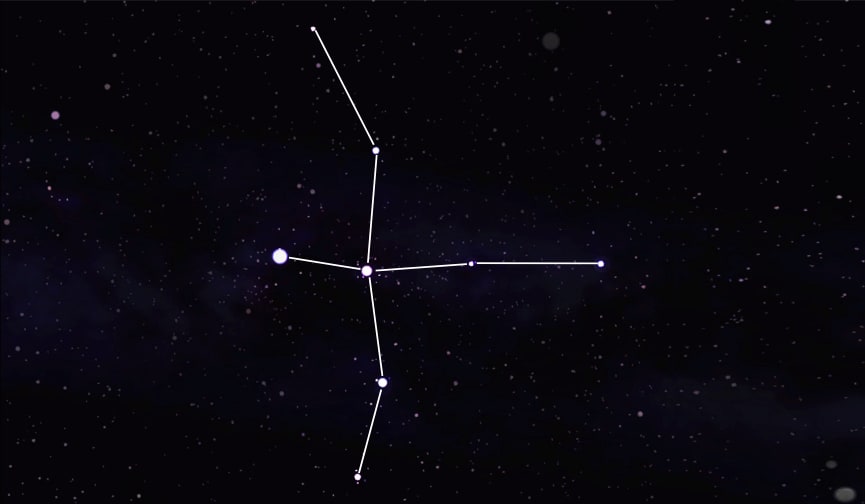
...Es Cygnus, el cisne. Es OTOÑO.

Full Screen
Controls Icon Exit Full Screen

CONVERSEMOS:

¿Por qué vemos diferentes constelaciones en cada estación del año? ¿Tienes alguna idea de cómo explicarlo?

Mi amigo Anthony cree que esto sucede porque la Tierra gira. ¿Estás de acuerdo con esta idea? ¿Por qué sí o por qué no?

Full Screen
Controls Icon Exit Full Screen
Full Screen
Controls Icon Exit Full Screen

CONVERSEMOS:

¿Ahora tienes una mejor idea de por qué vemos diferentes constelaciones en cada estación del año?

Full Screen
Controls Icon Exit Full Screen
Full Screen
Controls Icon Exit Full Screen
Full Screen
Controls Icon Exit Full Screen
Paso
01/12
Obtén estos materiales.
Full Screen
Controls Icon Exit Full Screen
Paso
02/12
Toma la hoja donde escribiste los meses y recorta el rectángulo
siguiendo las líneas gruesas.
Full Screen
Controls Icon Exit Full Screen
Paso
03/12
Corta a lo largo de las cuatro líneas punteadas. Asegúrate de
dejar de cortar cuando llegues a las señales de “alto”.
Full Screen
Controls Icon Exit Full Screen
Paso
04/12
Usa tu regla para doblar el papel a lo largo de cada línea sólida.
Remarca el doblez.
Full Screen
Controls Icon Exit Full Screen
Paso
05/12
Recorta el círculo. Puedes girar el papel al cortarlo para que sea
más fácil. Luego, con cuidado, recorta la muesca, de esta manera.
Full Screen
Controls Icon Exit Full Screen
Paso
09/12
Agarra la plantilla y encaja la tachuela en el Sol. Luego, gírala para
crear un agujero más grande.
Full Screen
Controls Icon Exit Full Screen
Paso
07/12
Encaja la tachuela en medio del círculo. Métela en el agujero de la
otra hoja. Voltéala, y abre las patitas de la tachuela.
Full Screen
Controls Icon Exit Full Screen
Paso
08/12
¡Hagamos la caja! Levanta el panel que dice “Universo en una caja,”
dobla hacia adentro las dos solapas A. Luego dobla el panel del
universo sobre ellas para detenerlas.
Full Screen
Controls Icon Exit Full Screen
Paso
09/12
Práctica como usar tu Universo en una caja. Gira la tachuela
desde abajo para cambiar de mes a mes.
Full Screen
Controls Icon Exit Full Screen
Paso
10/12
Usa tu Universo en una caja para platicar sobre tus respuestas
a las siguientes preguntas. Primero, platica con un grupos
pequeño y luego con toda tu clase.
Full Screen
Controls Icon Exit Full Screen
Paso
11/12
Tómate un minuto para pensar sobre la pregunta en esta página
y luego platica sobre ella con toda tu clase.
Full Screen
Controls Icon Exit Full Screen
Paso
12/12
Ahora que tienes un Universo en una caja, puedes mostrárselo a
otras personas y explicarles cómo funciona.
Full Screen
Controls Icon Exit Full Screen
Slide Image
Full Screen
Controls Icon Exit Full Screen
Slide Image

constelación


1 de 4

grupo de estrellas que forman un patrón
Full Screen
Controls Icon Exit Full Screen

rotar


2 de 4

dar vueltas alrededor de un punto central, como lo hace la Tierra entorno a su propio eje
Full Screen
Controls Icon Exit Full Screen

orbitar


3 de 4

moverse en forma circular alrededor de un objeto, como lo hace la Tierra alrededor del Sol
Full Screen
Controls Icon Exit Full Screen

modelo


4 de 4

una versión de mentiras de algo que los científicos usan cuando la cosa de verdad es algo demasiado grande, pequeño, o complicado para poder usarlo en sus estudios
Full Screen
Controls Icon Exit Full Screen

Image & Video Credits

Mystery Science respects the intellectual property rights of the owners of visual assets. We make every effort to use images and videos under appropriate licenses from the owner or by reaching out to the owner to get explicit permission. If you are the owner of a visual and believe we are using it without permission, please contact us—we will reply promptly and make things right.

Exploration
astronaut by NASA / Moved elements
kid looking out window by Unsplash / Heavily modified
foreground by Gino , used under CC BY / Heavily modified
fire by suman76 / merged with other imagery
stars by Stellarium / Some used with overlays, some heavily modified
winter ground by Denali National Park and Preserve , used under CC BY / Heavily modified
Orion Nebula by Rawastrodata , used under CC BY-SA / cropped, adjusted color, merged with other images
Pleiades star cluster by The United States Naval Observatory / cropped
spring ground by Carole a , used under CC BY-SA / Heavily modified
lion part 1 by 123 Free Vectors / Heavily modified
lion part 2 by Kaz / Heavily modified
Copernicus by Marcello Bacciarelli / significant modifications
Galileo by Félix Parra / cropped, adjusted contrast
star timelapse by John Fowler , used under CC BY / changed speed and color
sun by cheifyc / Heavily modified
pencil by JohannPoufPouf / Heavily modified
man by ClkerFreeVectorImages / Heavily modified
looking through binoculars by Halfblue , used under CC BY-SA / Heavily modified
Lesson narration:

Activity Prep

Print Prep

In this lesson, students will be introduced to the Earth’s orbital movement around the Sun, as a means of seeing why the constellations change. In the activity, Universe-in-a-Box, students make a paper model that helps them visualize the Earth’s yearly orbit around the Sun. They use this model to understand why some constellations are only visible during part of the year.

Preview activity

Exploration

20 mins

Extend this lesson

Download this Lesson to your device so you can play it offline: