
Scroll for prep

Please wait…
This video is having trouble loading. You may have lost your Internet connection.
Step 1: Click to Reload this page
Step 2: Click to
Try our other video player
Step 3: Contact your teacher if trouble persists.
Or,
dismiss this message.
Please wait…
This video is having trouble loading. You may have lost your Internet connection.
Step 1: Click to Reload this page
Step 2: Click to
Try our other video player
Step 3: Contact your teacher if trouble persists.
Or,
dismiss this message.
Please wait…
This video is having trouble loading. You may have lost your Internet connection.
Step 1: Click to Reload this page
Step 2: Click to
Try our other video player
Step 3: Contact your teacher if trouble persists.
Or,
dismiss this message.
Please wait…
This video is having trouble loading. You may have lost your Internet connection.
Step 1: Click to Reload this page
Step 2: Click to
Try our other video player
Step 3: Contact your teacher if trouble persists.
Or,
dismiss this message.
Please wait…
This video is having trouble loading. You may have lost your Internet connection.
Step 1: Click to Reload this page
Step 2: Click to
Try our other video player
Step 3: Contact your teacher if trouble persists.
Or,
dismiss this message.
Please wait…
This video is having trouble loading. You may have lost your Internet connection.
Step 1: Click to Reload this page
Step 2: Click to
Try our other video player
Step 3: Contact your teacher if trouble persists.
Or,
dismiss this message.
Please wait…
This video is having trouble loading. You may have lost your Internet connection.
Step 1: Click to Reload this page
Step 2: Click to
Try our other video player
Step 3: Contact your teacher if trouble persists.
Or,
dismiss this message.
Please wait…
This video is having trouble loading. You may have lost your Internet connection.
Step 1: Click to Reload this page
Step 2: Click to
Try our other video player
Step 3: Contact your teacher if trouble persists.
Or,
dismiss this message.
Please wait…
This video is having trouble loading. You may have lost your Internet connection.
Step 1: Click to Reload this page
Step 2: Click to
Try our other video player
Step 3: Contact your teacher if trouble persists.
Or,
dismiss this message.
Please wait…
This video is having trouble loading. You may have lost your Internet connection.
Step 1: Click to Reload this page
Step 2: Click to
Try our other video player
Step 3: Contact your teacher if trouble persists.
Or,
dismiss this message.
Please wait…
This video is having trouble loading. You may have lost your Internet connection.
Step 1: Click to Reload this page
Step 2: Click to
Try our other video player
Step 3: Contact your teacher if trouble persists.
Or,
dismiss this message.
Please wait…
This video is having trouble loading. You may have lost your Internet connection.
Step 1: Click to Reload this page
Step 2: Click to
Try our other video player
Step 3: Contact your teacher if trouble persists.
Or,
dismiss this message.
Please wait…
This video is having trouble loading. You may have lost your Internet connection.
Step 1: Click to Reload this page
Step 2: Click to
Try our other video player
Step 3: Contact your teacher if trouble persists.
Or,
dismiss this message.
Please wait…
This video is having trouble loading. You may have lost your Internet connection.
Step 1: Click to Reload this page
Step 2: Click to
Try our other video player
Step 3: Contact your teacher if trouble persists.
Or,
dismiss this message.
Please wait…
This video is having trouble loading. You may have lost your Internet connection.
Step 1: Click to Reload this page
Step 2: Click to
Try our other video player
Step 3: Contact your teacher if trouble persists.
Or,
dismiss this message.
Please wait…
This video is having trouble loading. You may have lost your Internet connection.
Step 1: Click to Reload this page
Step 2: Click to
Try our other video player
Step 3: Contact your teacher if trouble persists.
Or,
dismiss this message.
Please wait…
This video is having trouble loading. You may have lost your Internet connection.
Step 1: Click to Reload this page
Step 2: Click to
Try our other video player
Step 3: Contact your teacher if trouble persists.
Or,
dismiss this message.
Please wait…
This video is having trouble loading. You may have lost your Internet connection.
Step 1: Click to Reload this page
Step 2: Click to
Try our other video player
Step 3: Contact your teacher if trouble persists.
Or,
dismiss this message.
Please wait…
This video is having trouble loading. You may have lost your Internet connection.
Step 1: Click to Reload this page
Step 2: Click to
Try our other video player
Step 3: Contact your teacher if trouble persists.
Or,
dismiss this message.
Please wait…
This video is having trouble loading. You may have lost your Internet connection.
Step 1: Click to Reload this page
Step 2: Click to
Try our other video player
Step 3: Contact your teacher if trouble persists.
Or,
dismiss this message.
Please wait…
This video is having trouble loading. You may have lost your Internet connection.
Step 1: Click to Reload this page
Step 2: Click to
Try our other video player
Step 3: Contact your teacher if trouble persists.
Or,
dismiss this message.
Please wait…
This video is having trouble loading. You may have lost your Internet connection.
Step 1: Click to Reload this page
Step 2: Click to
Try our other video player
Step 3: Contact your teacher if trouble persists.
Or,
dismiss this message.
Please wait…
This video is having trouble loading. You may have lost your Internet connection.
Step 1: Click to Reload this page
Step 2: Click to
Try our other video player
Step 3: Contact your teacher if trouble persists.
Or,
dismiss this message.
Please wait…
This video is having trouble loading. You may have lost your Internet connection.
Step 1: Click to Reload this page
Step 2: Click to
Try our other video player
Step 3: Contact your teacher if trouble persists.
Or,
dismiss this message.
Please wait…
This video is having trouble loading. You may have lost your Internet connection.
Step 1: Click to Reload this page
Step 2: Click to
Try our other video player
Step 3: Contact your teacher if trouble persists.
Or,
dismiss this message.
Please wait…
This video is having trouble loading. You may have lost your Internet connection.
Step 1: Click to Reload this page
Step 2: Click to
Try our other video player
Step 3: Contact your teacher if trouble persists.
Or,
dismiss this message.
Please wait…
This video is having trouble loading. You may have lost your Internet connection.
Step 1: Click to Reload this page
Step 2: Click to
Try our other video player
Step 3: Contact your teacher if trouble persists.
Or,
dismiss this message.
Please wait…
This video is having trouble loading. You may have lost your Internet connection.
Step 1: Click to Reload this page
Step 2: Click to
Try our other video player
Step 3: Contact your teacher if trouble persists.
Or,
dismiss this message.
Please wait…
This video is having trouble loading. You may have lost your Internet connection.
Step 1: Click to Reload this page
Step 2: Click to
Try our other video player
Step 3: Contact your teacher if trouble persists.
Or,
dismiss this message.
Please wait…
This video is having trouble loading. You may have lost your Internet connection.
Step 1: Click to Reload this page
Step 2: Click to
Try our other video player
Step 3: Contact your teacher if trouble persists.
Or,
dismiss this message.
Please wait…
This video is having trouble loading. You may have lost your Internet connection.
Step 1: Click to Reload this page
Step 2: Click to
Try our other video player
Step 3: Contact your teacher if trouble persists.
Or,
dismiss this message.
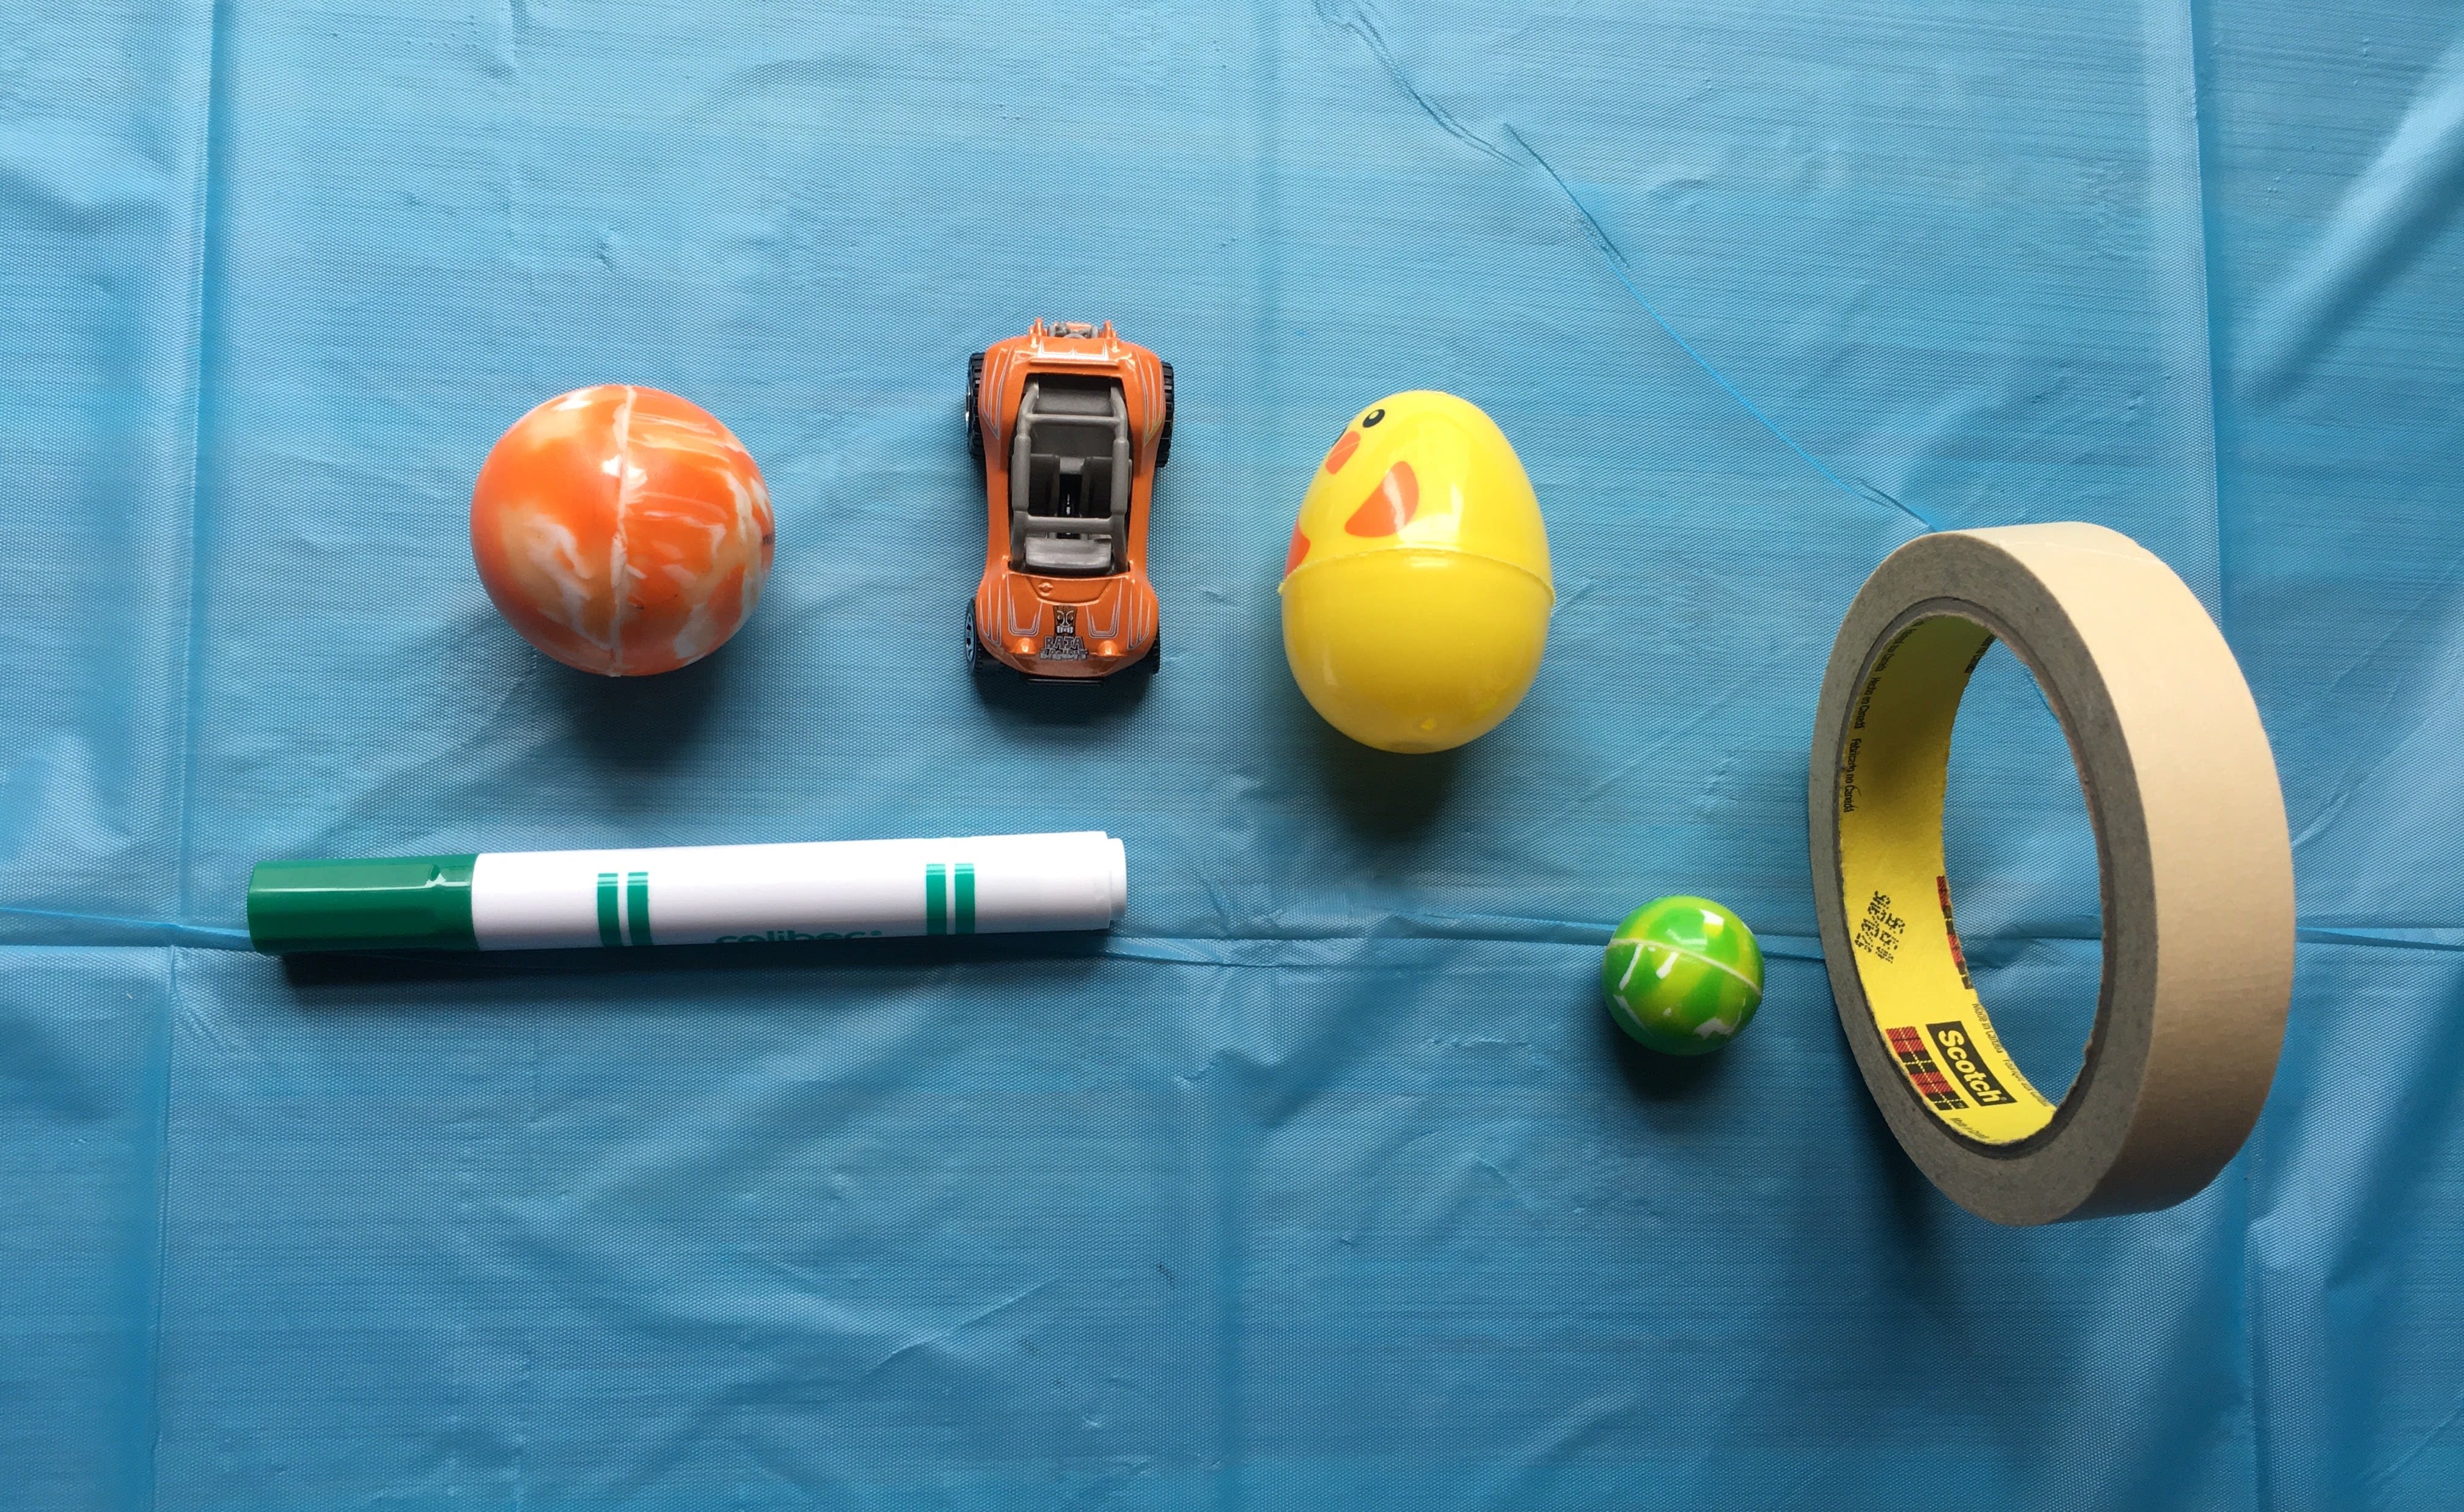
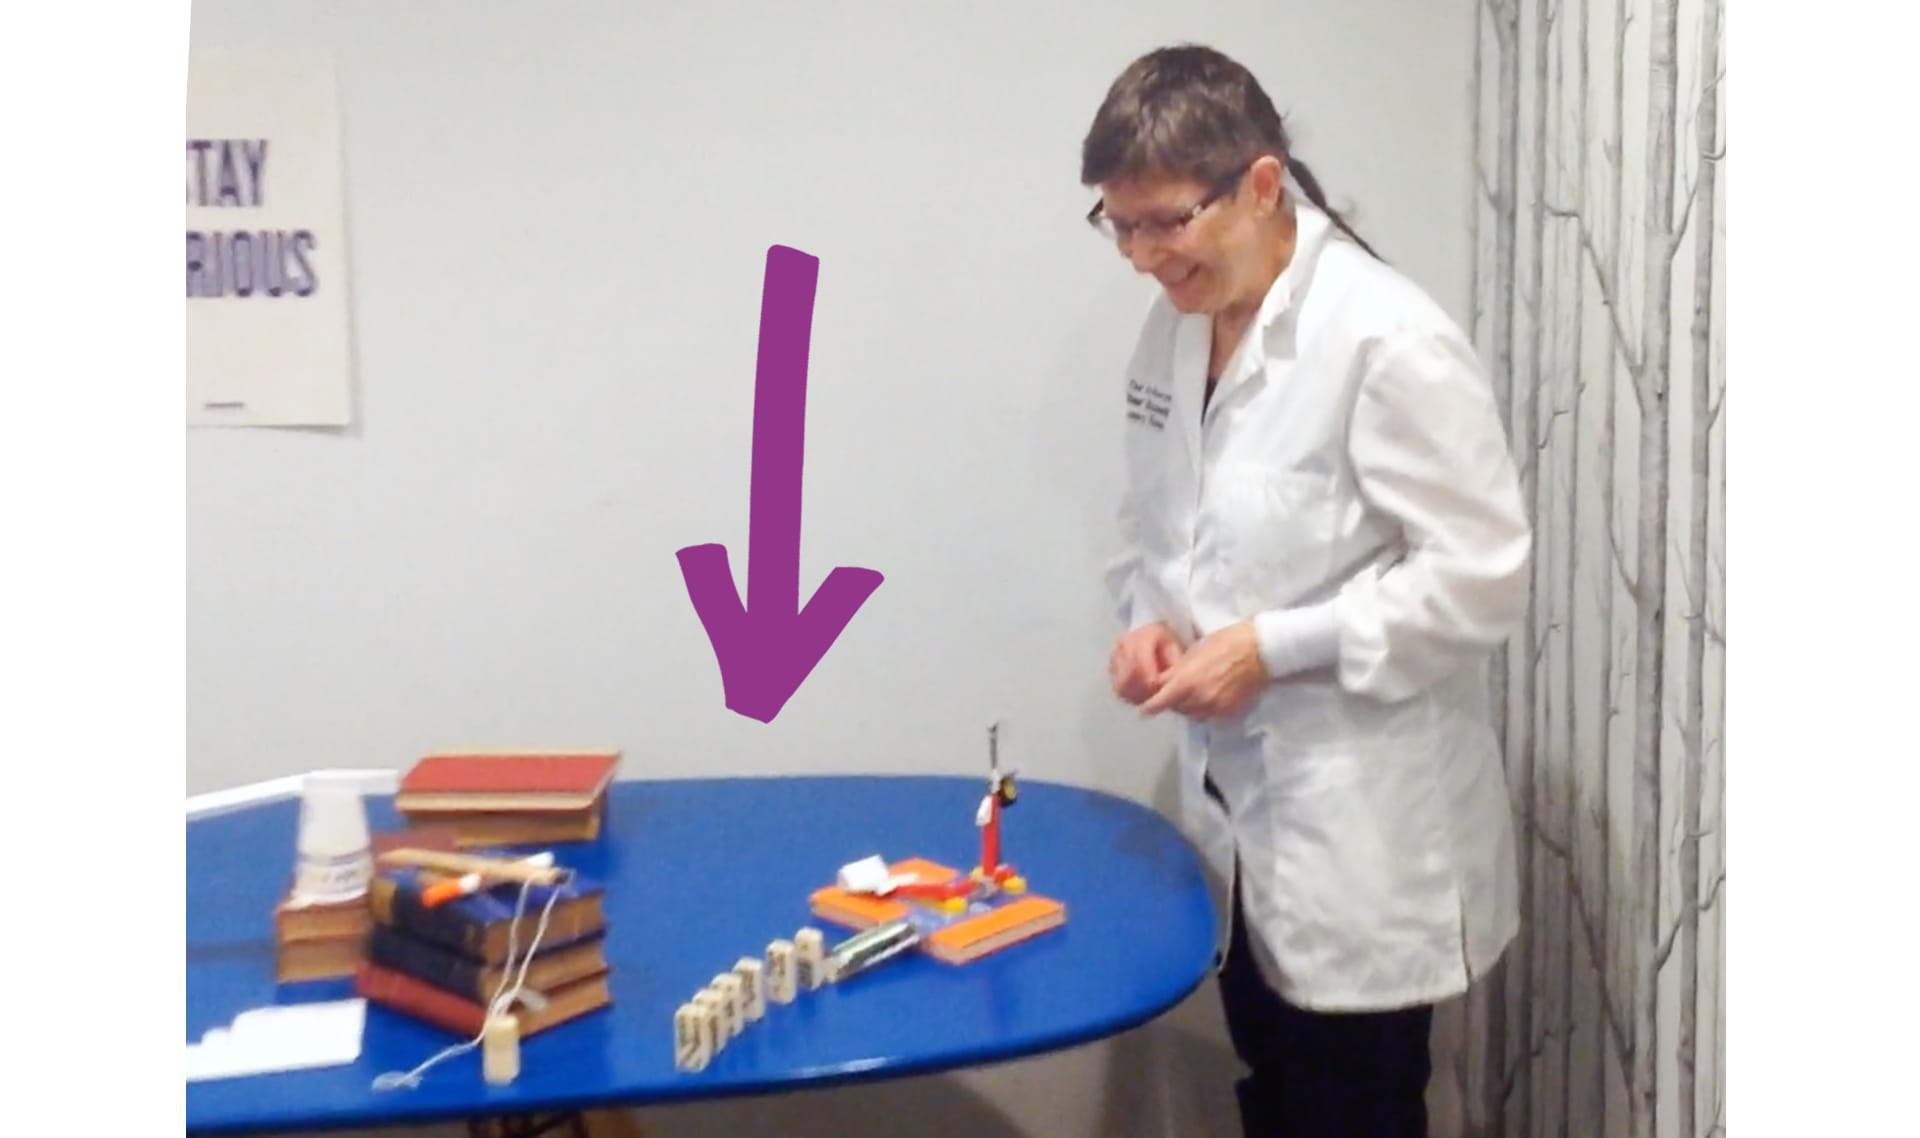
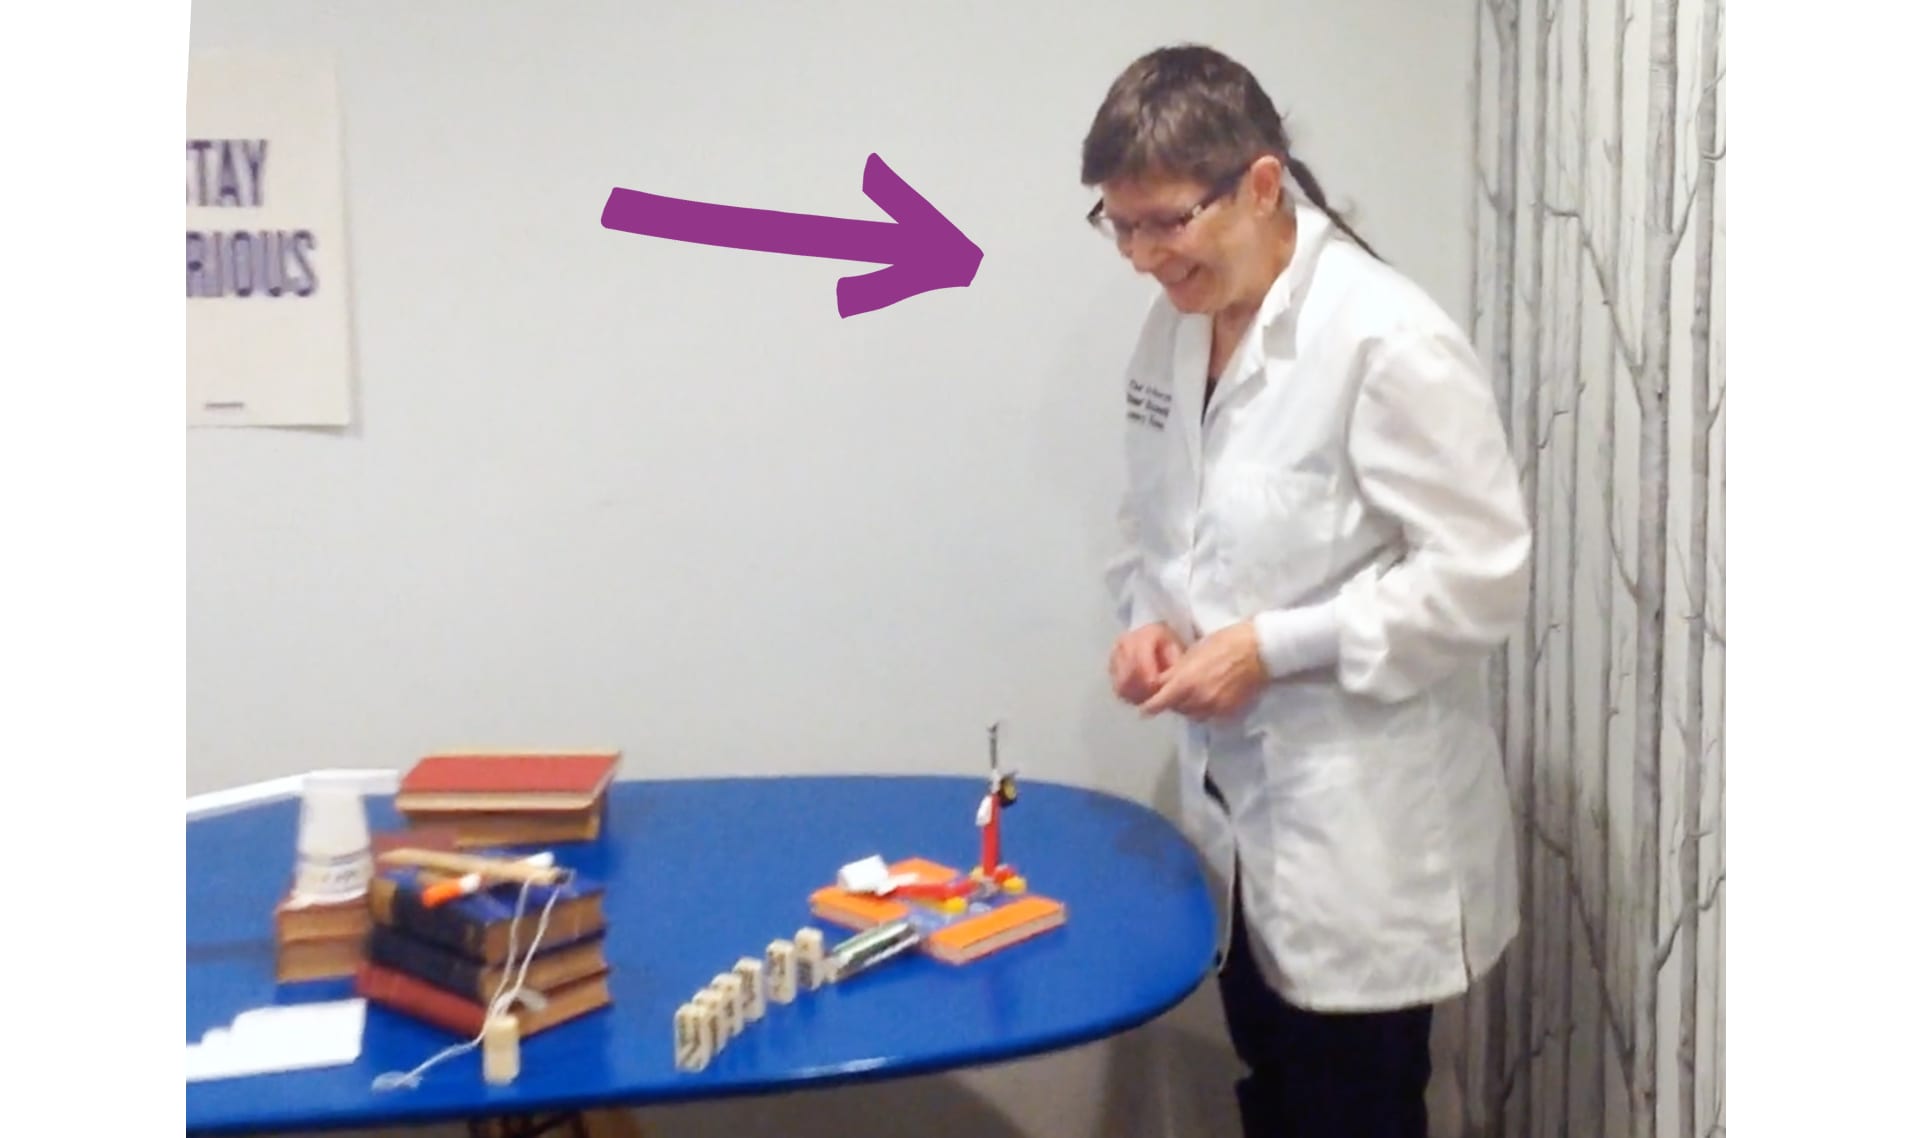
Use a plastic egg, a roll of tape, a toy car, a rubber ball, or even a marker.
A binder becomes a ramp when a falling domino yanks out the support that keeps it level.
Please wait…
This video is having trouble loading. You may have lost your Internet connection.
Step 1: Click to Reload this page
Step 2: Click to
Try our other video player
Step 3: Contact your teacher if trouble persists.
Or,
dismiss this message.

Please wait…
This video is having trouble loading. You may have lost your Internet connection.
Step 1: Click to Reload this page
Step 2: Click to
Try our other video player
Step 3: Contact your teacher if trouble persists.
Or,
dismiss this message.
energy
1 of 6
the ability to do an action
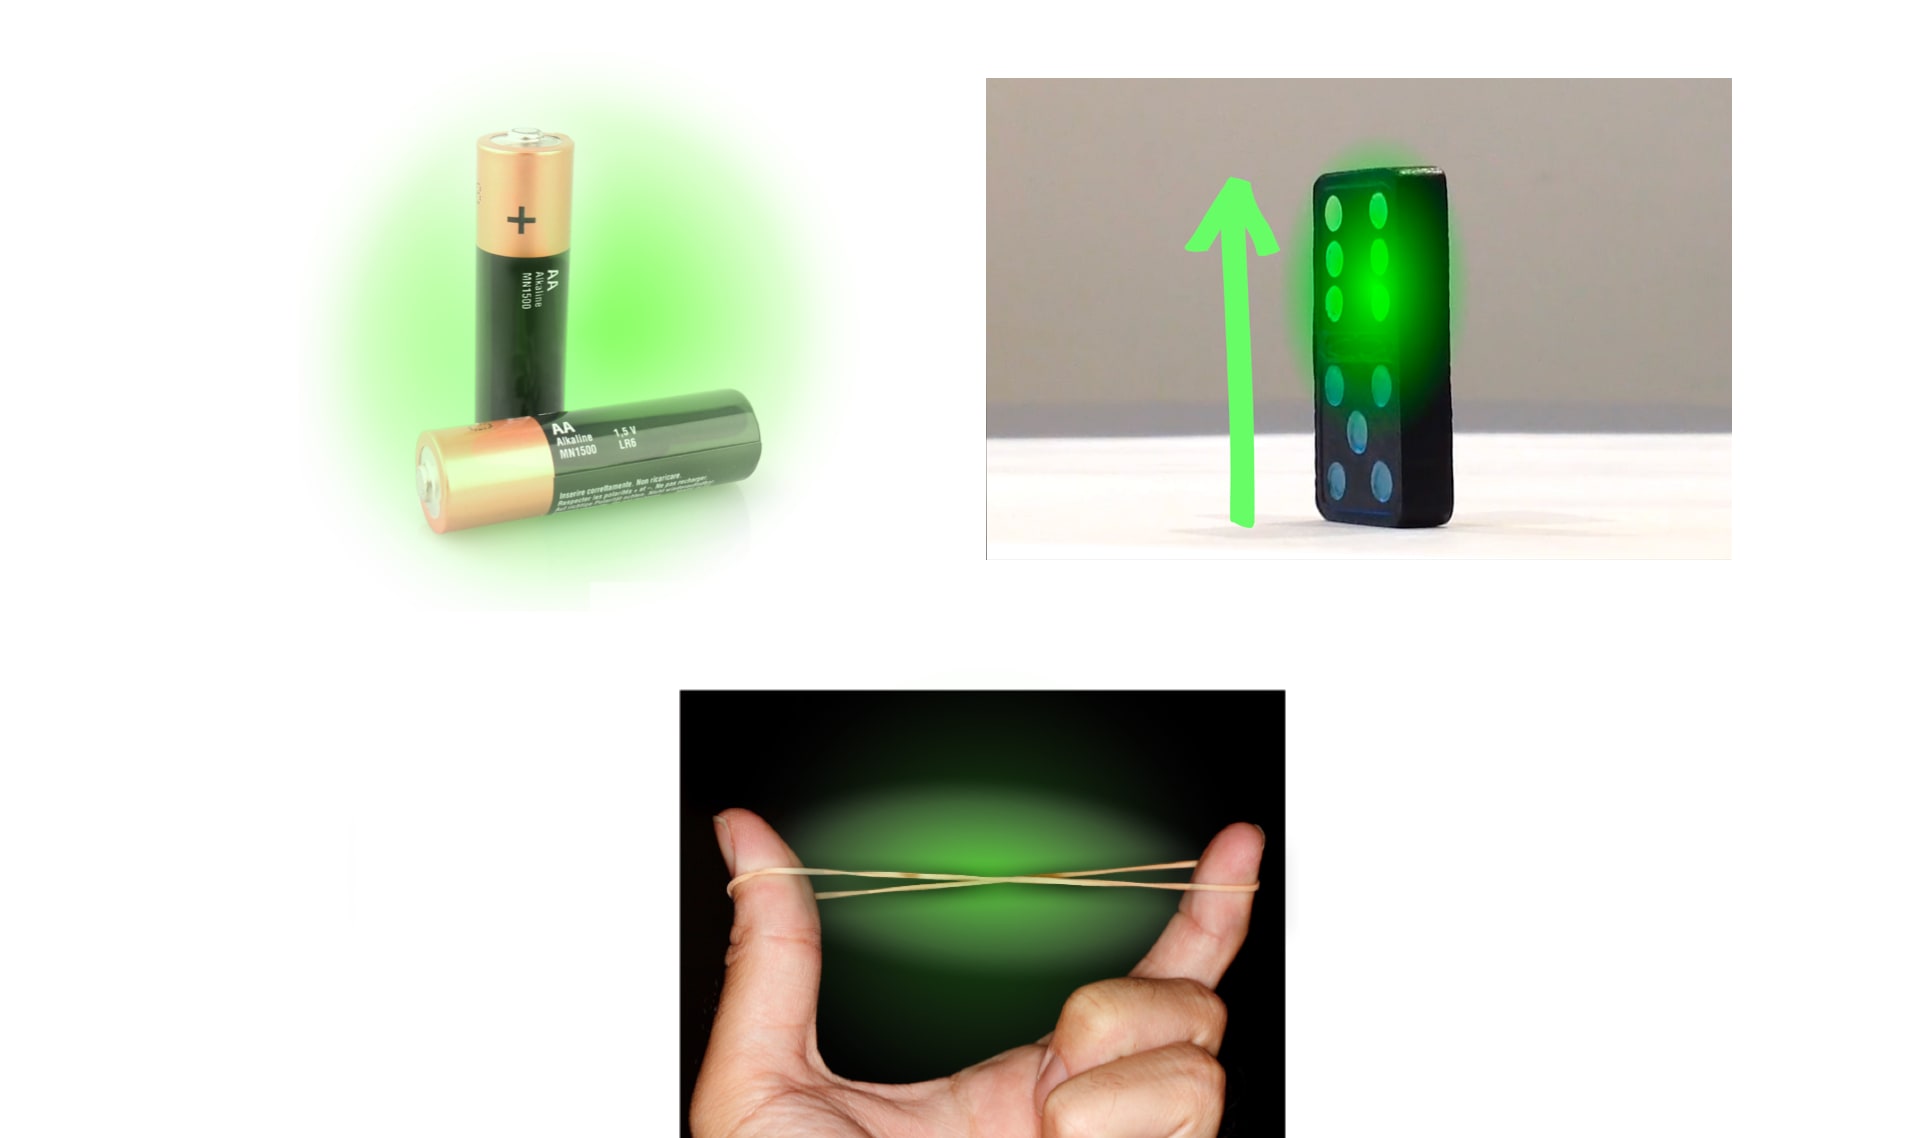
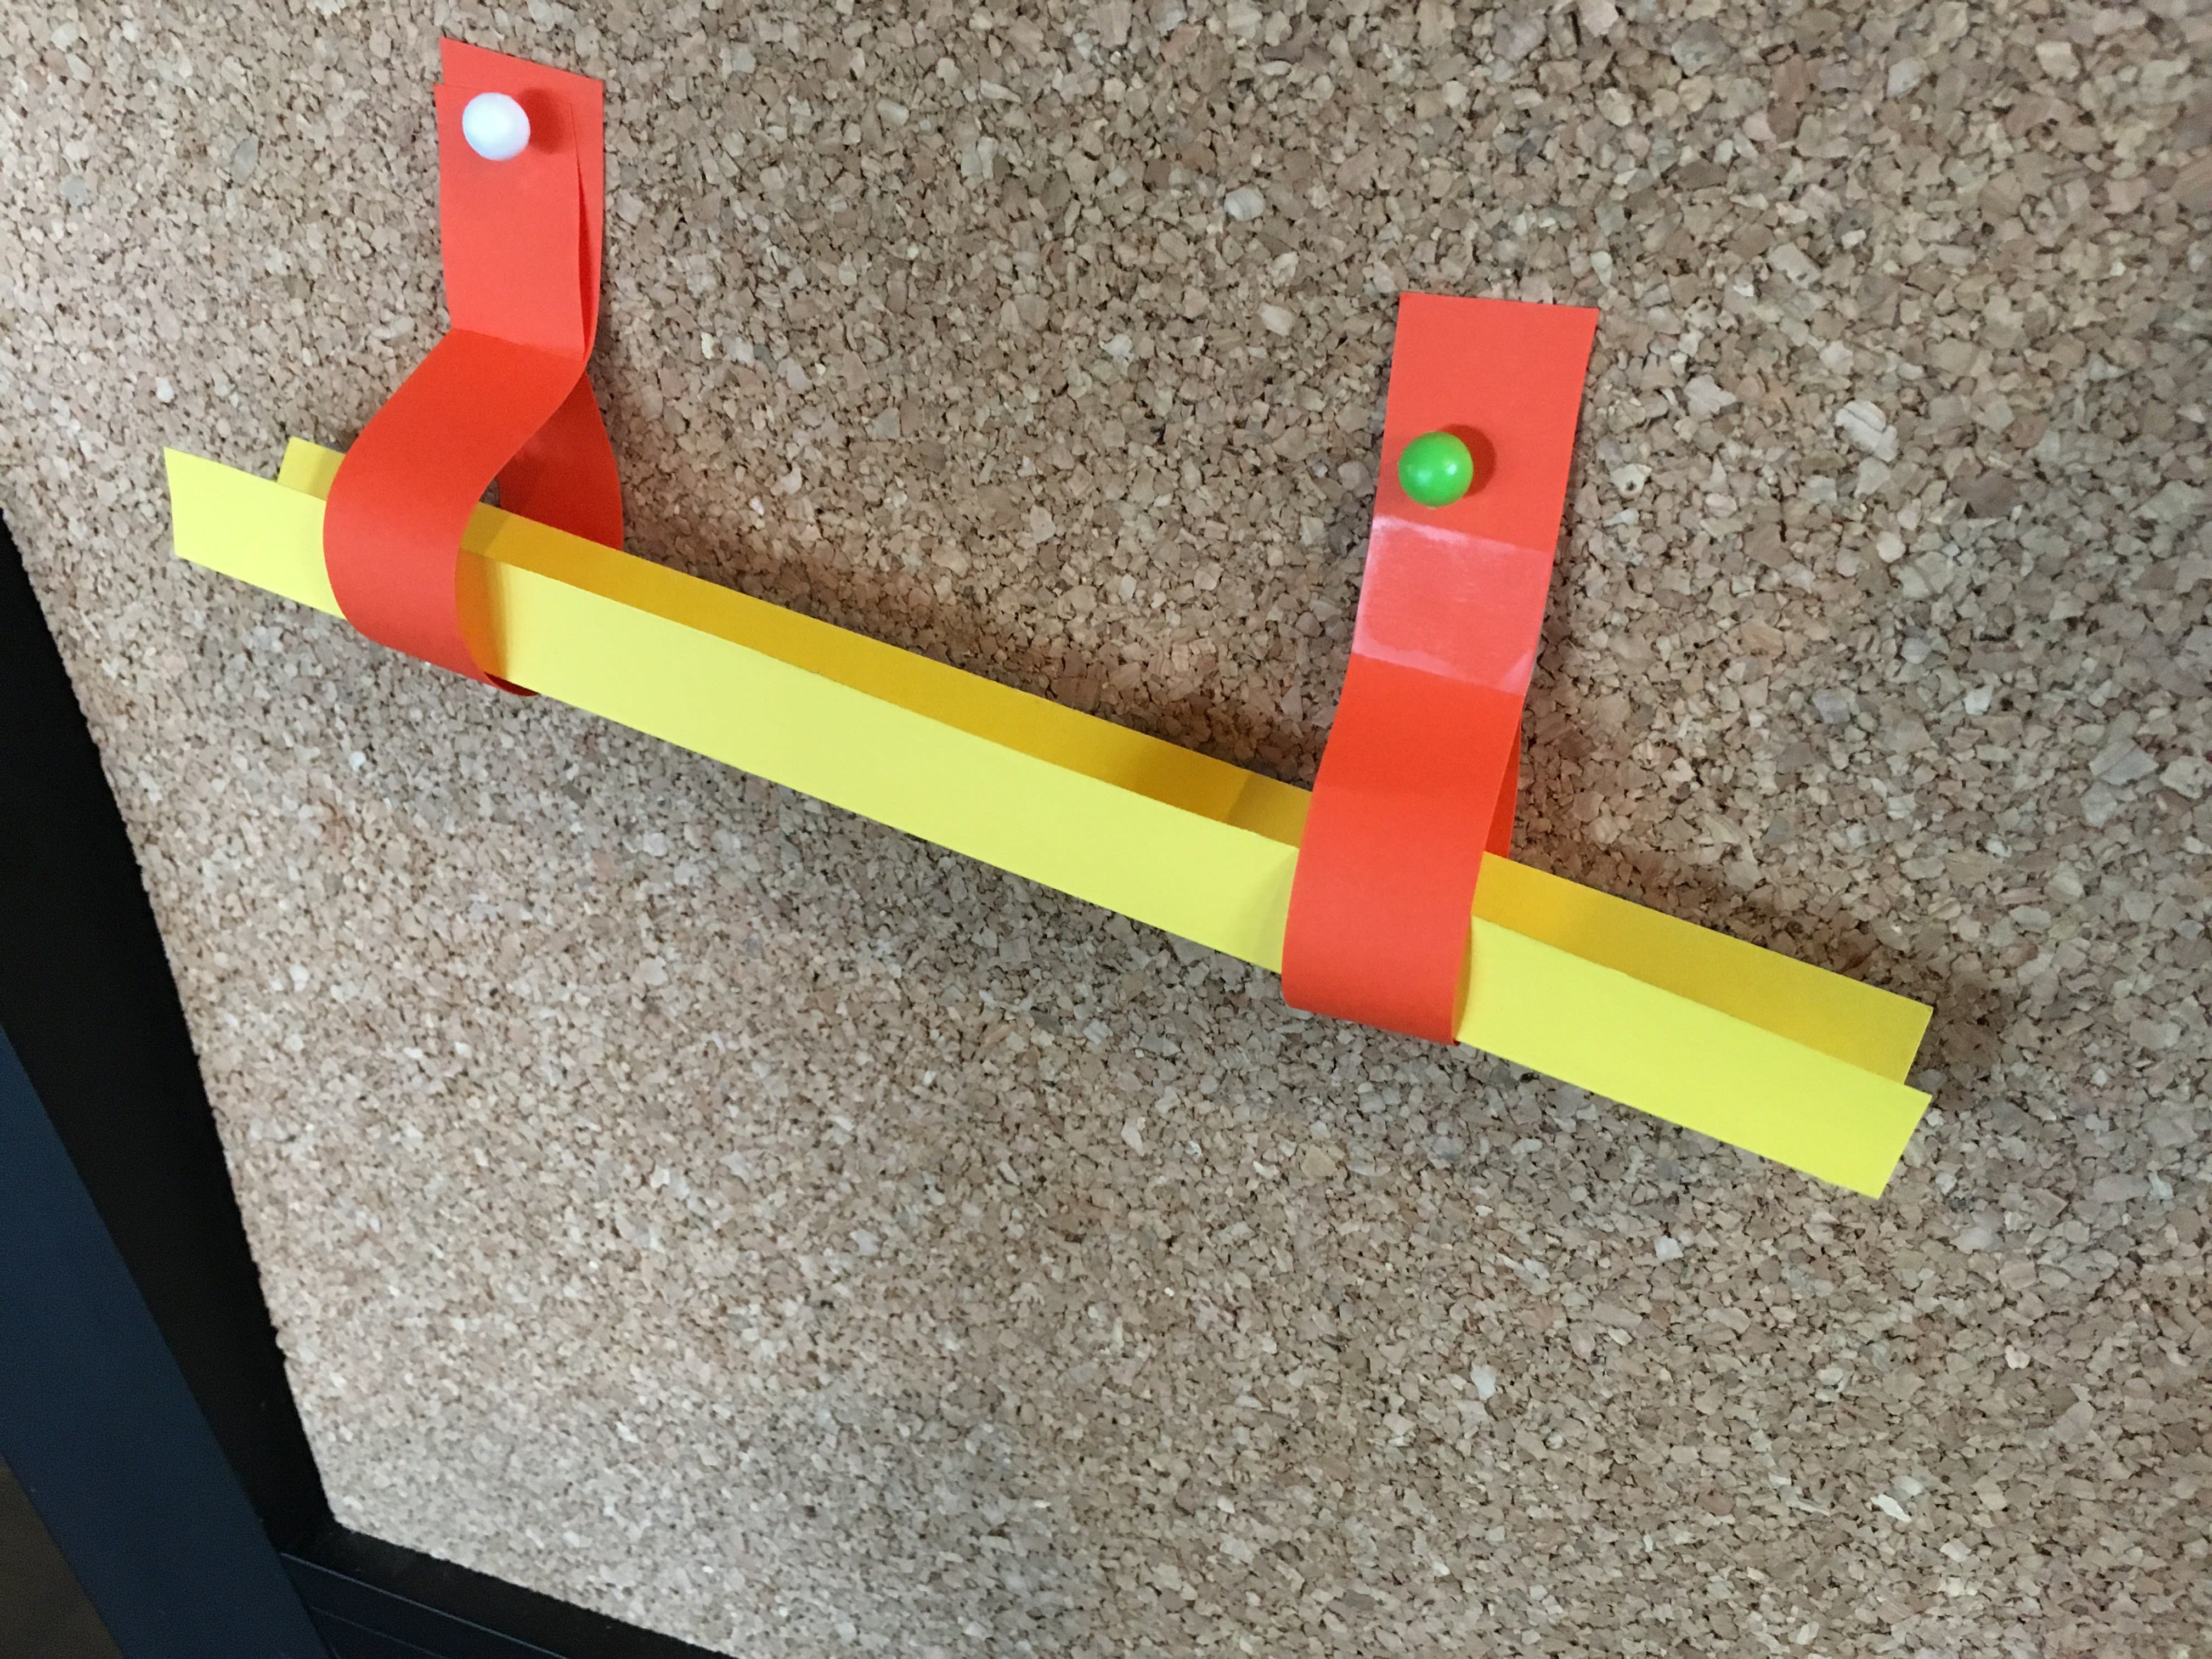
stored energy
2 of 6
energy that is not in use, but is saved inside something, such as batteries or rubber bands
Please wait…
This video is having trouble loading. You may have lost your Internet connection.
Step 1: Click to Reload this page
Step 2: Click to
Try our other video player
Step 3: Contact your teacher if trouble persists.
Or,
dismiss this message.
chain reaction machine
3 of 6
a machine that uses a series of energy transfers, such as one domino knocking over a line of dominoes
Please wait…
This video is having trouble loading. You may have lost your Internet connection.
Step 1: Click to Reload this page
Step 2: Click to
Try our other video player
Step 3: Contact your teacher if trouble persists.
Or,
dismiss this message.
energy transfer
4 of 6
when energy travels from one place to another
experiment
5 of 6
a test used to discover new information about a question
engineer
6 of 6
a person who uses science to come up with solutions to problems