How can you tell time at night? - Previous Version
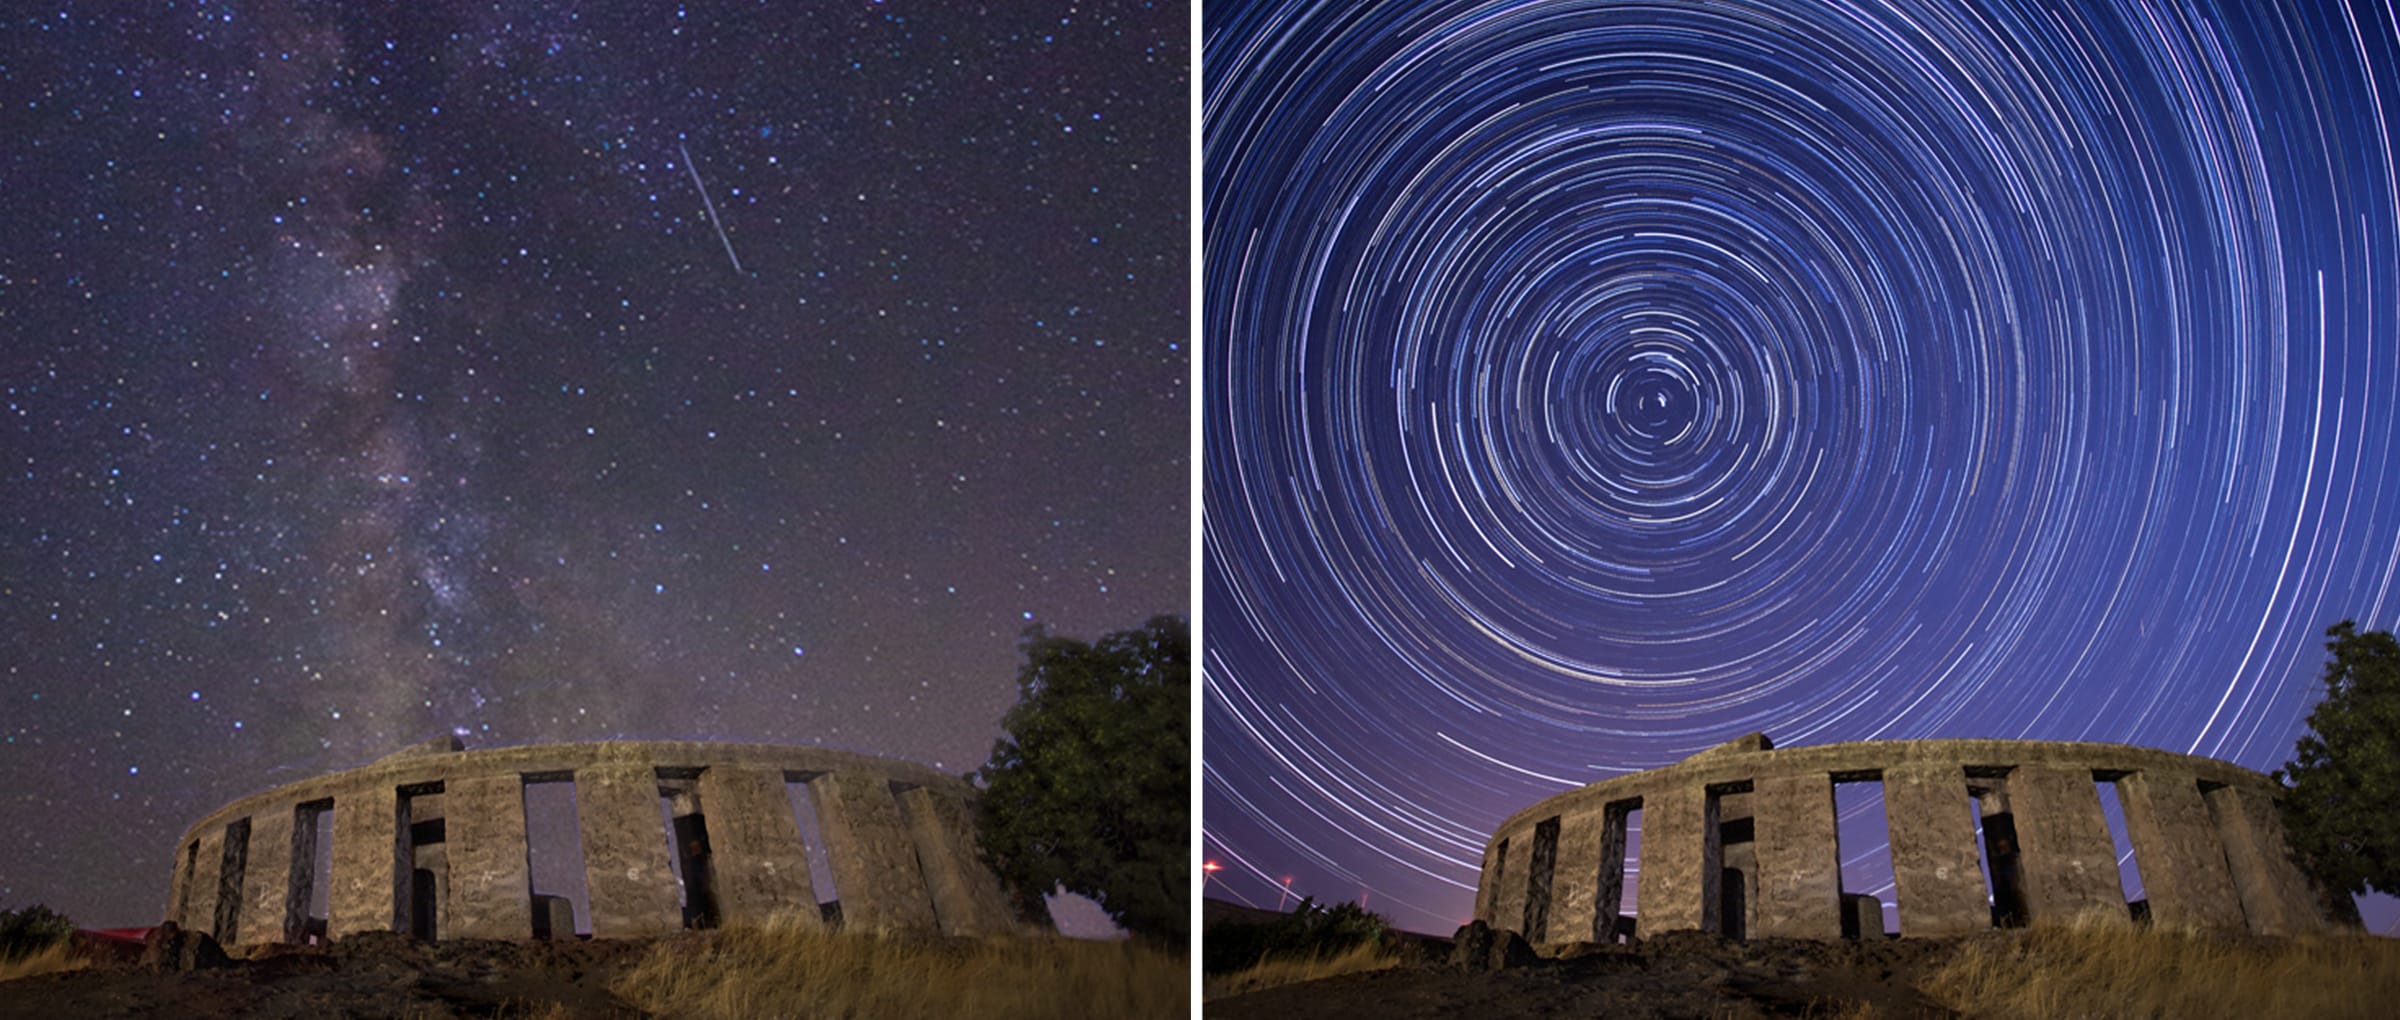
- What causes the patterns made by star trails?
- The Sun seems to move across the sky because the Earth is spinning.
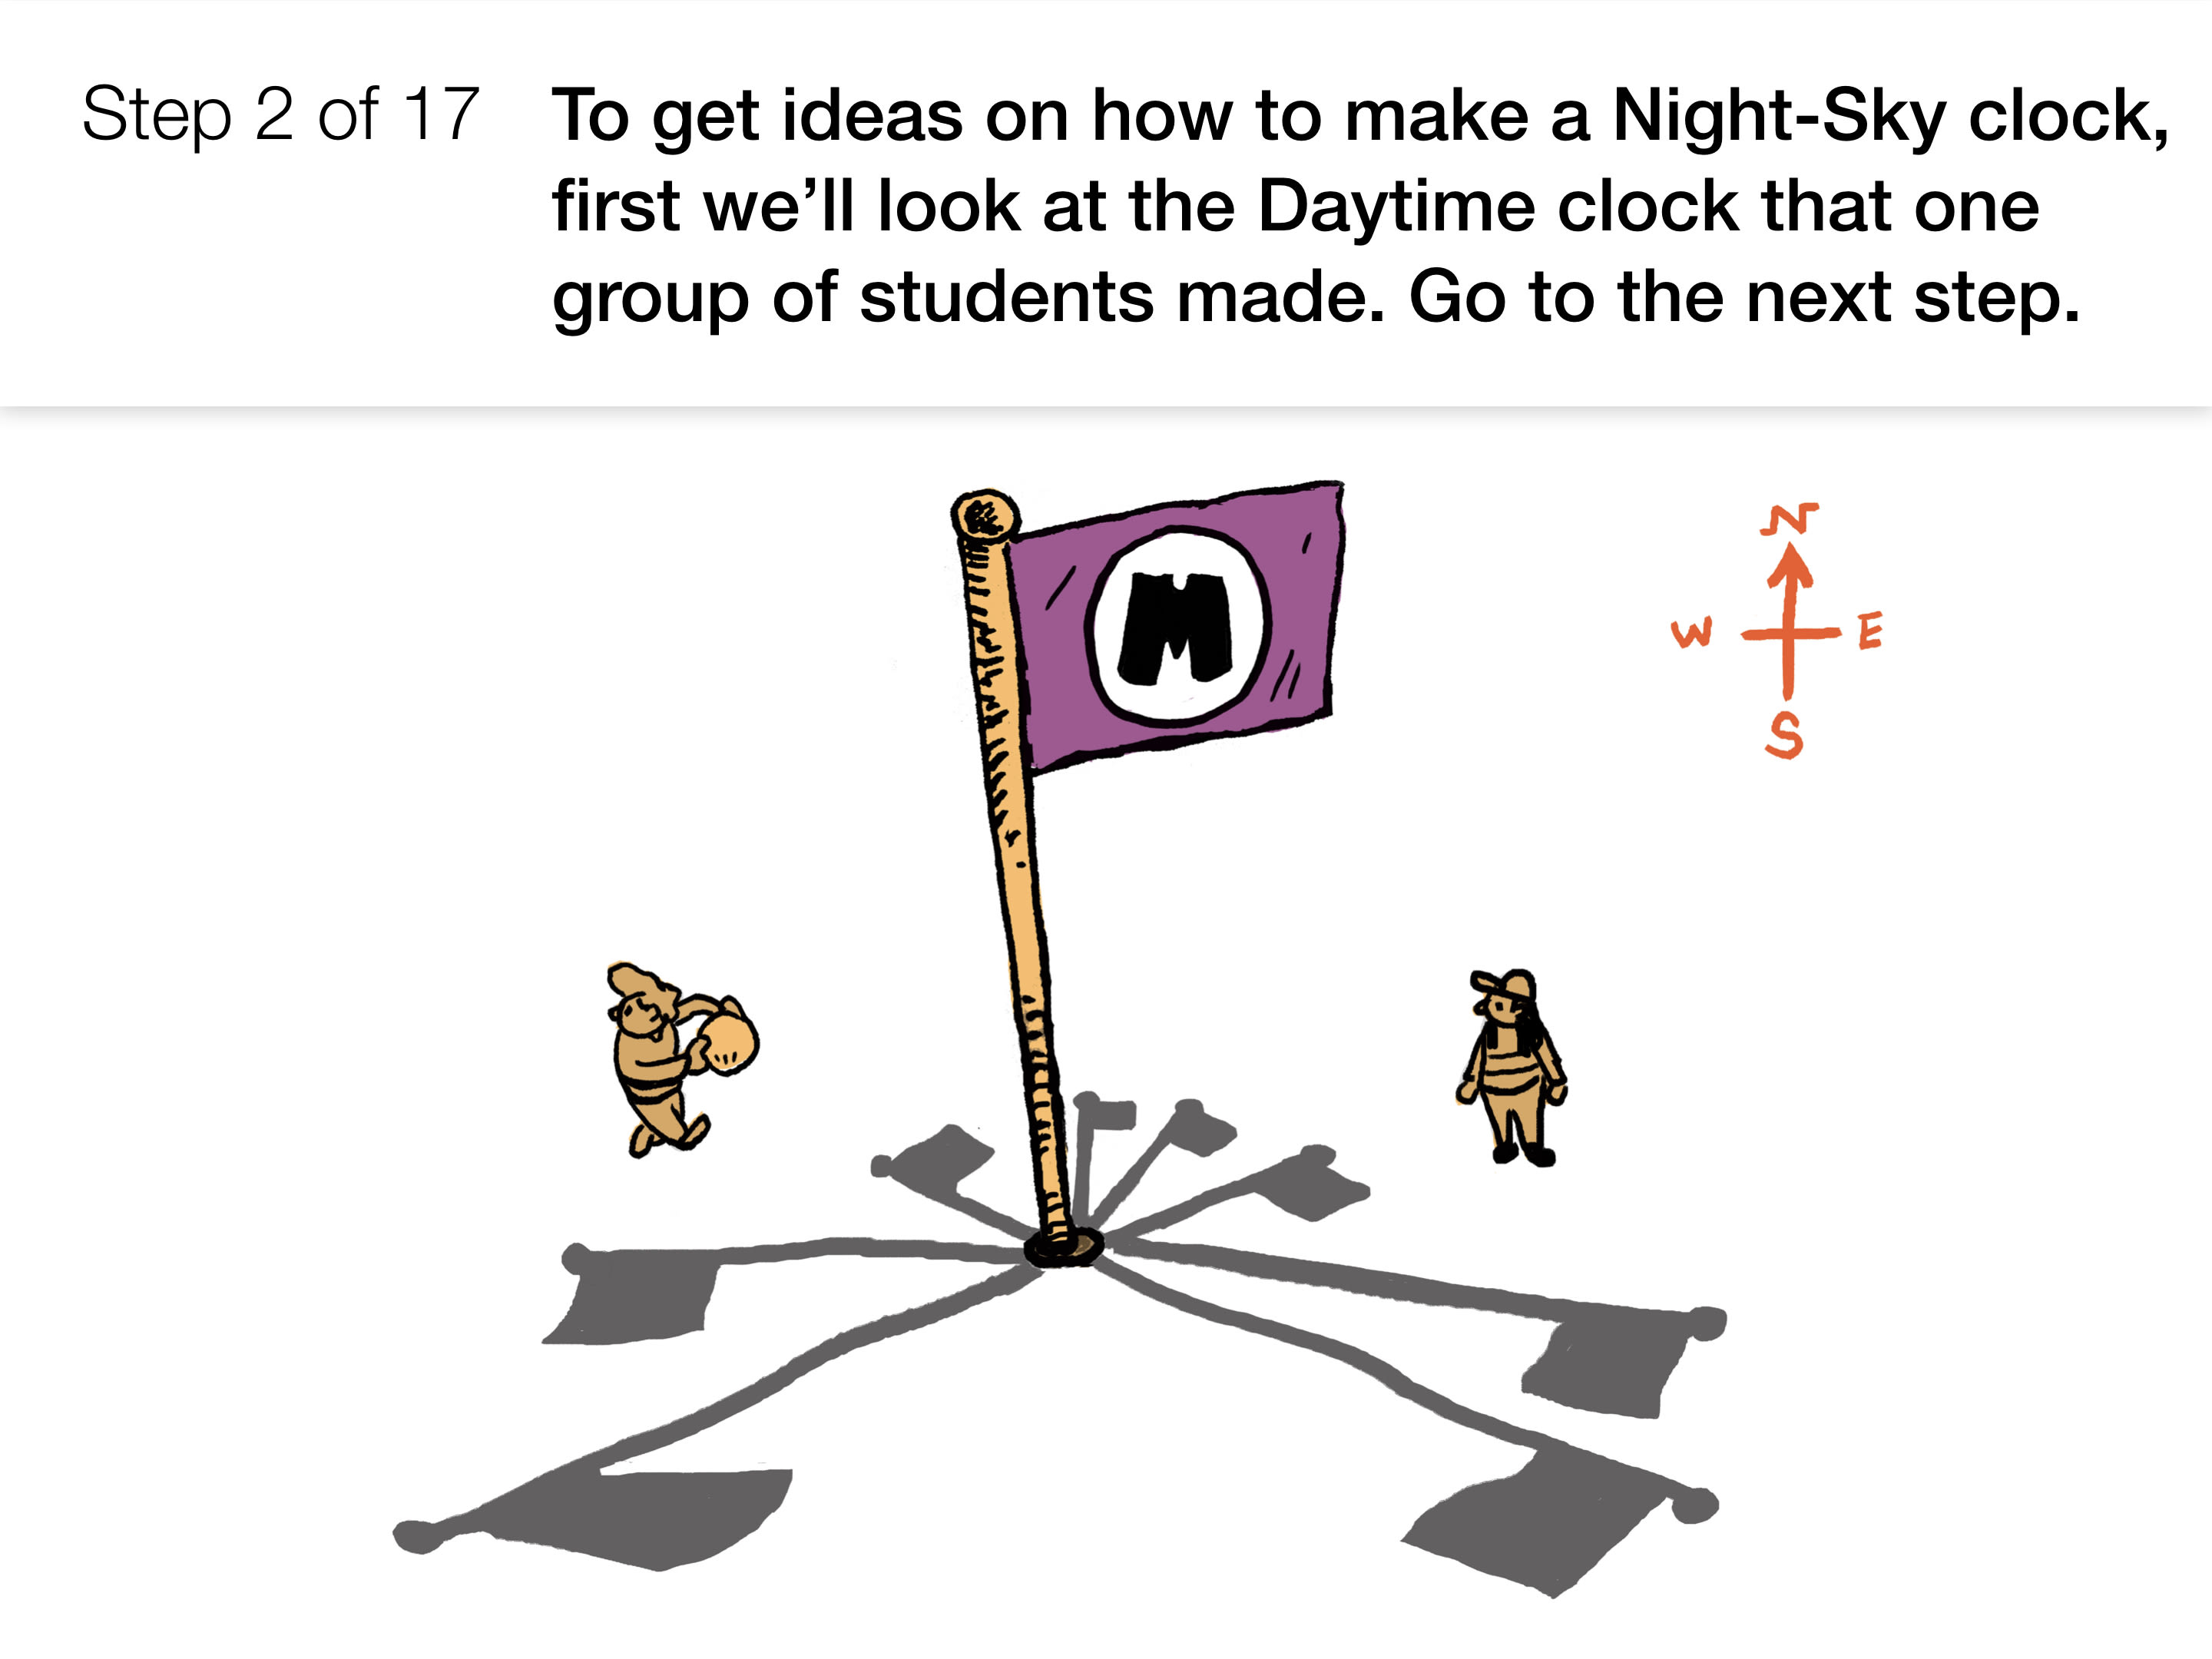
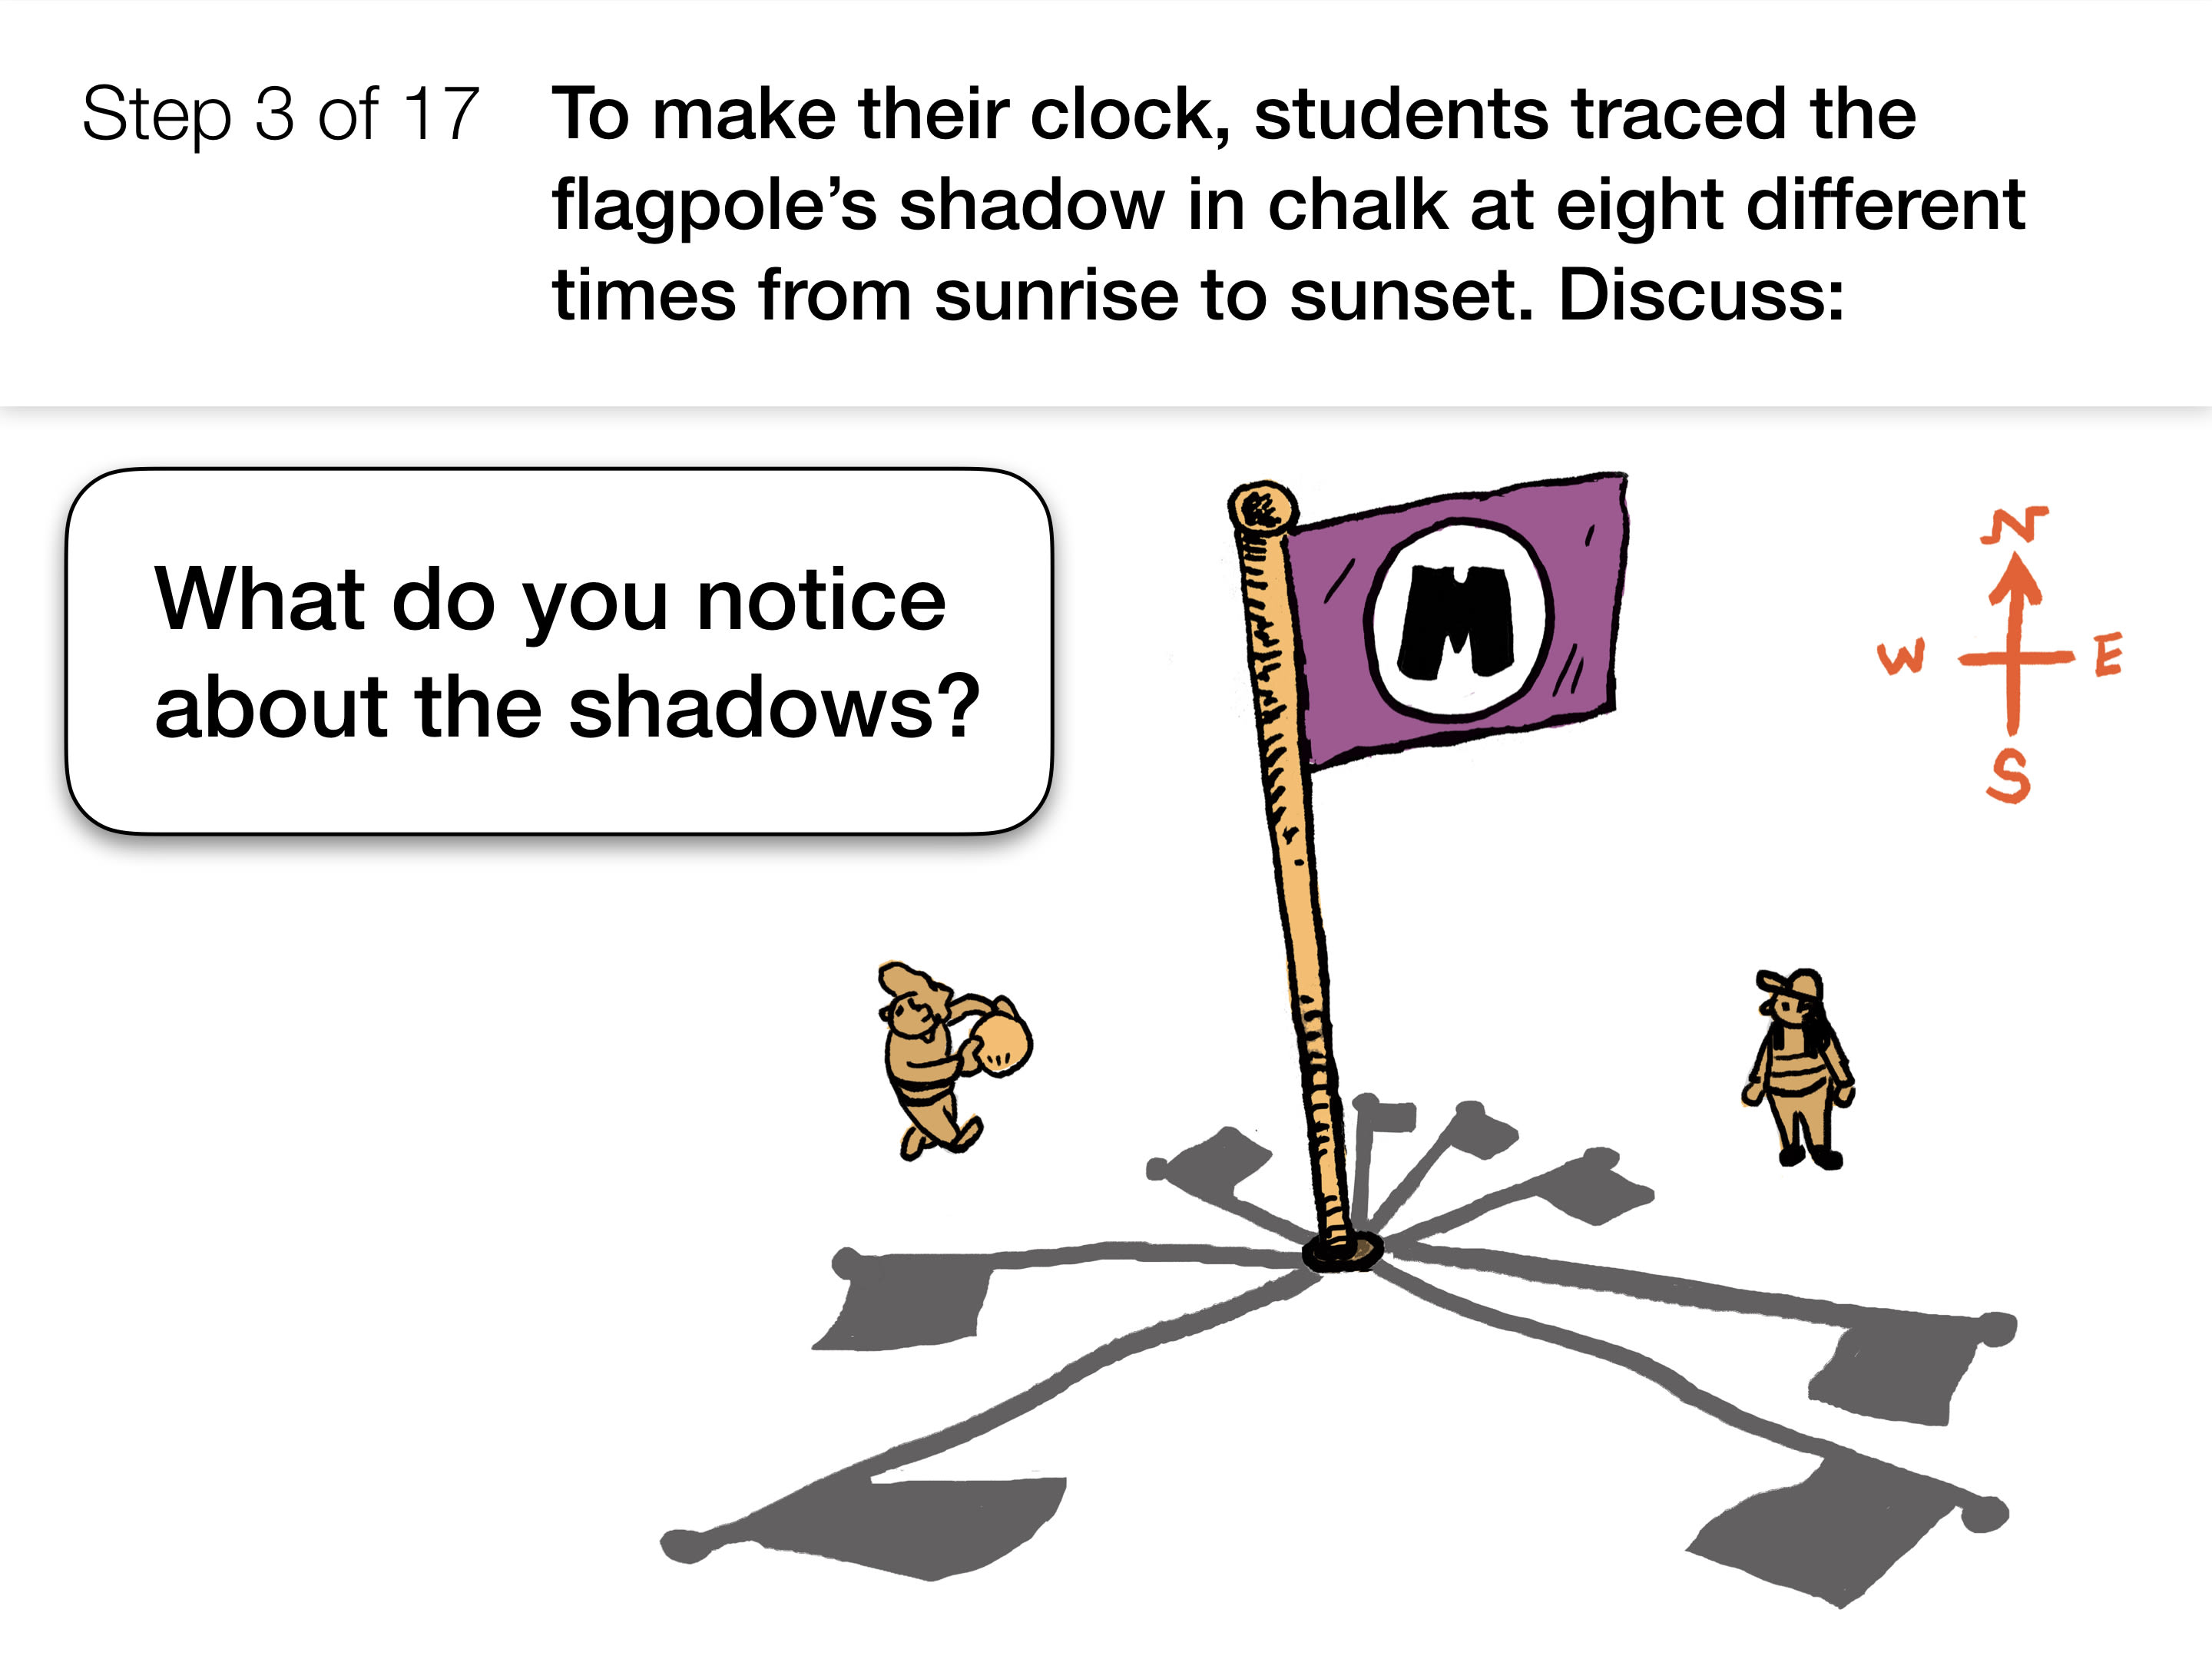
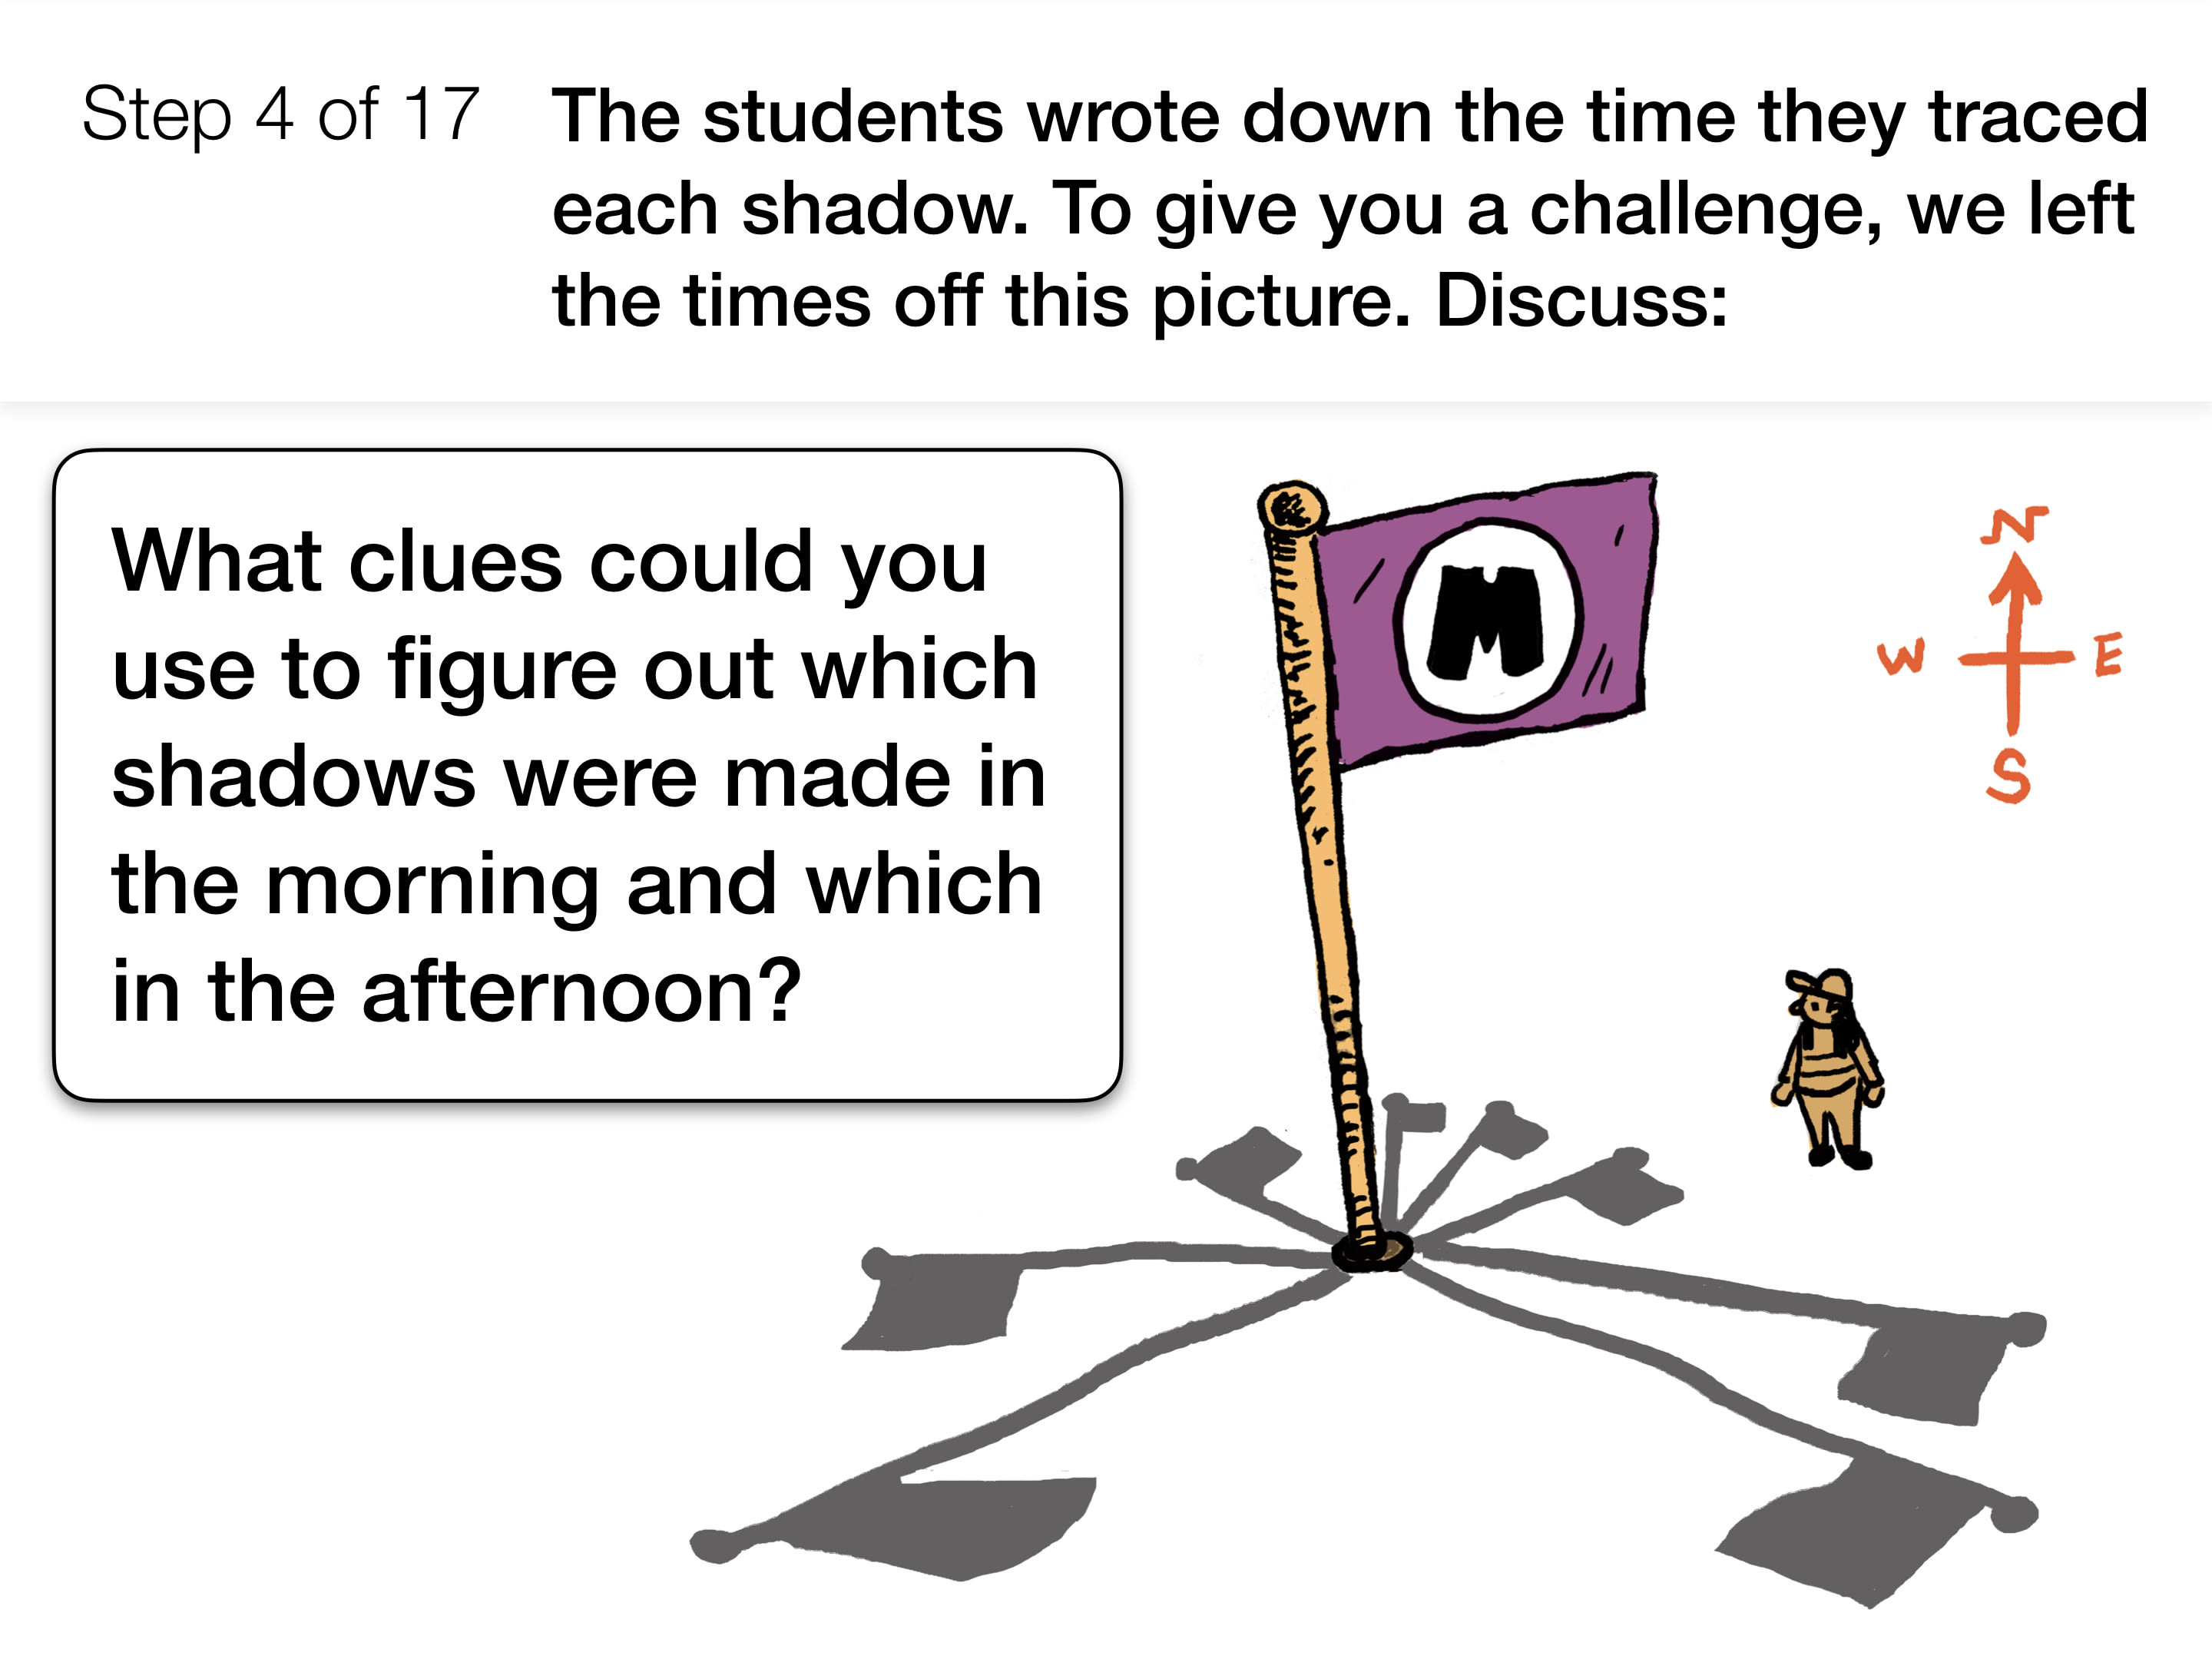
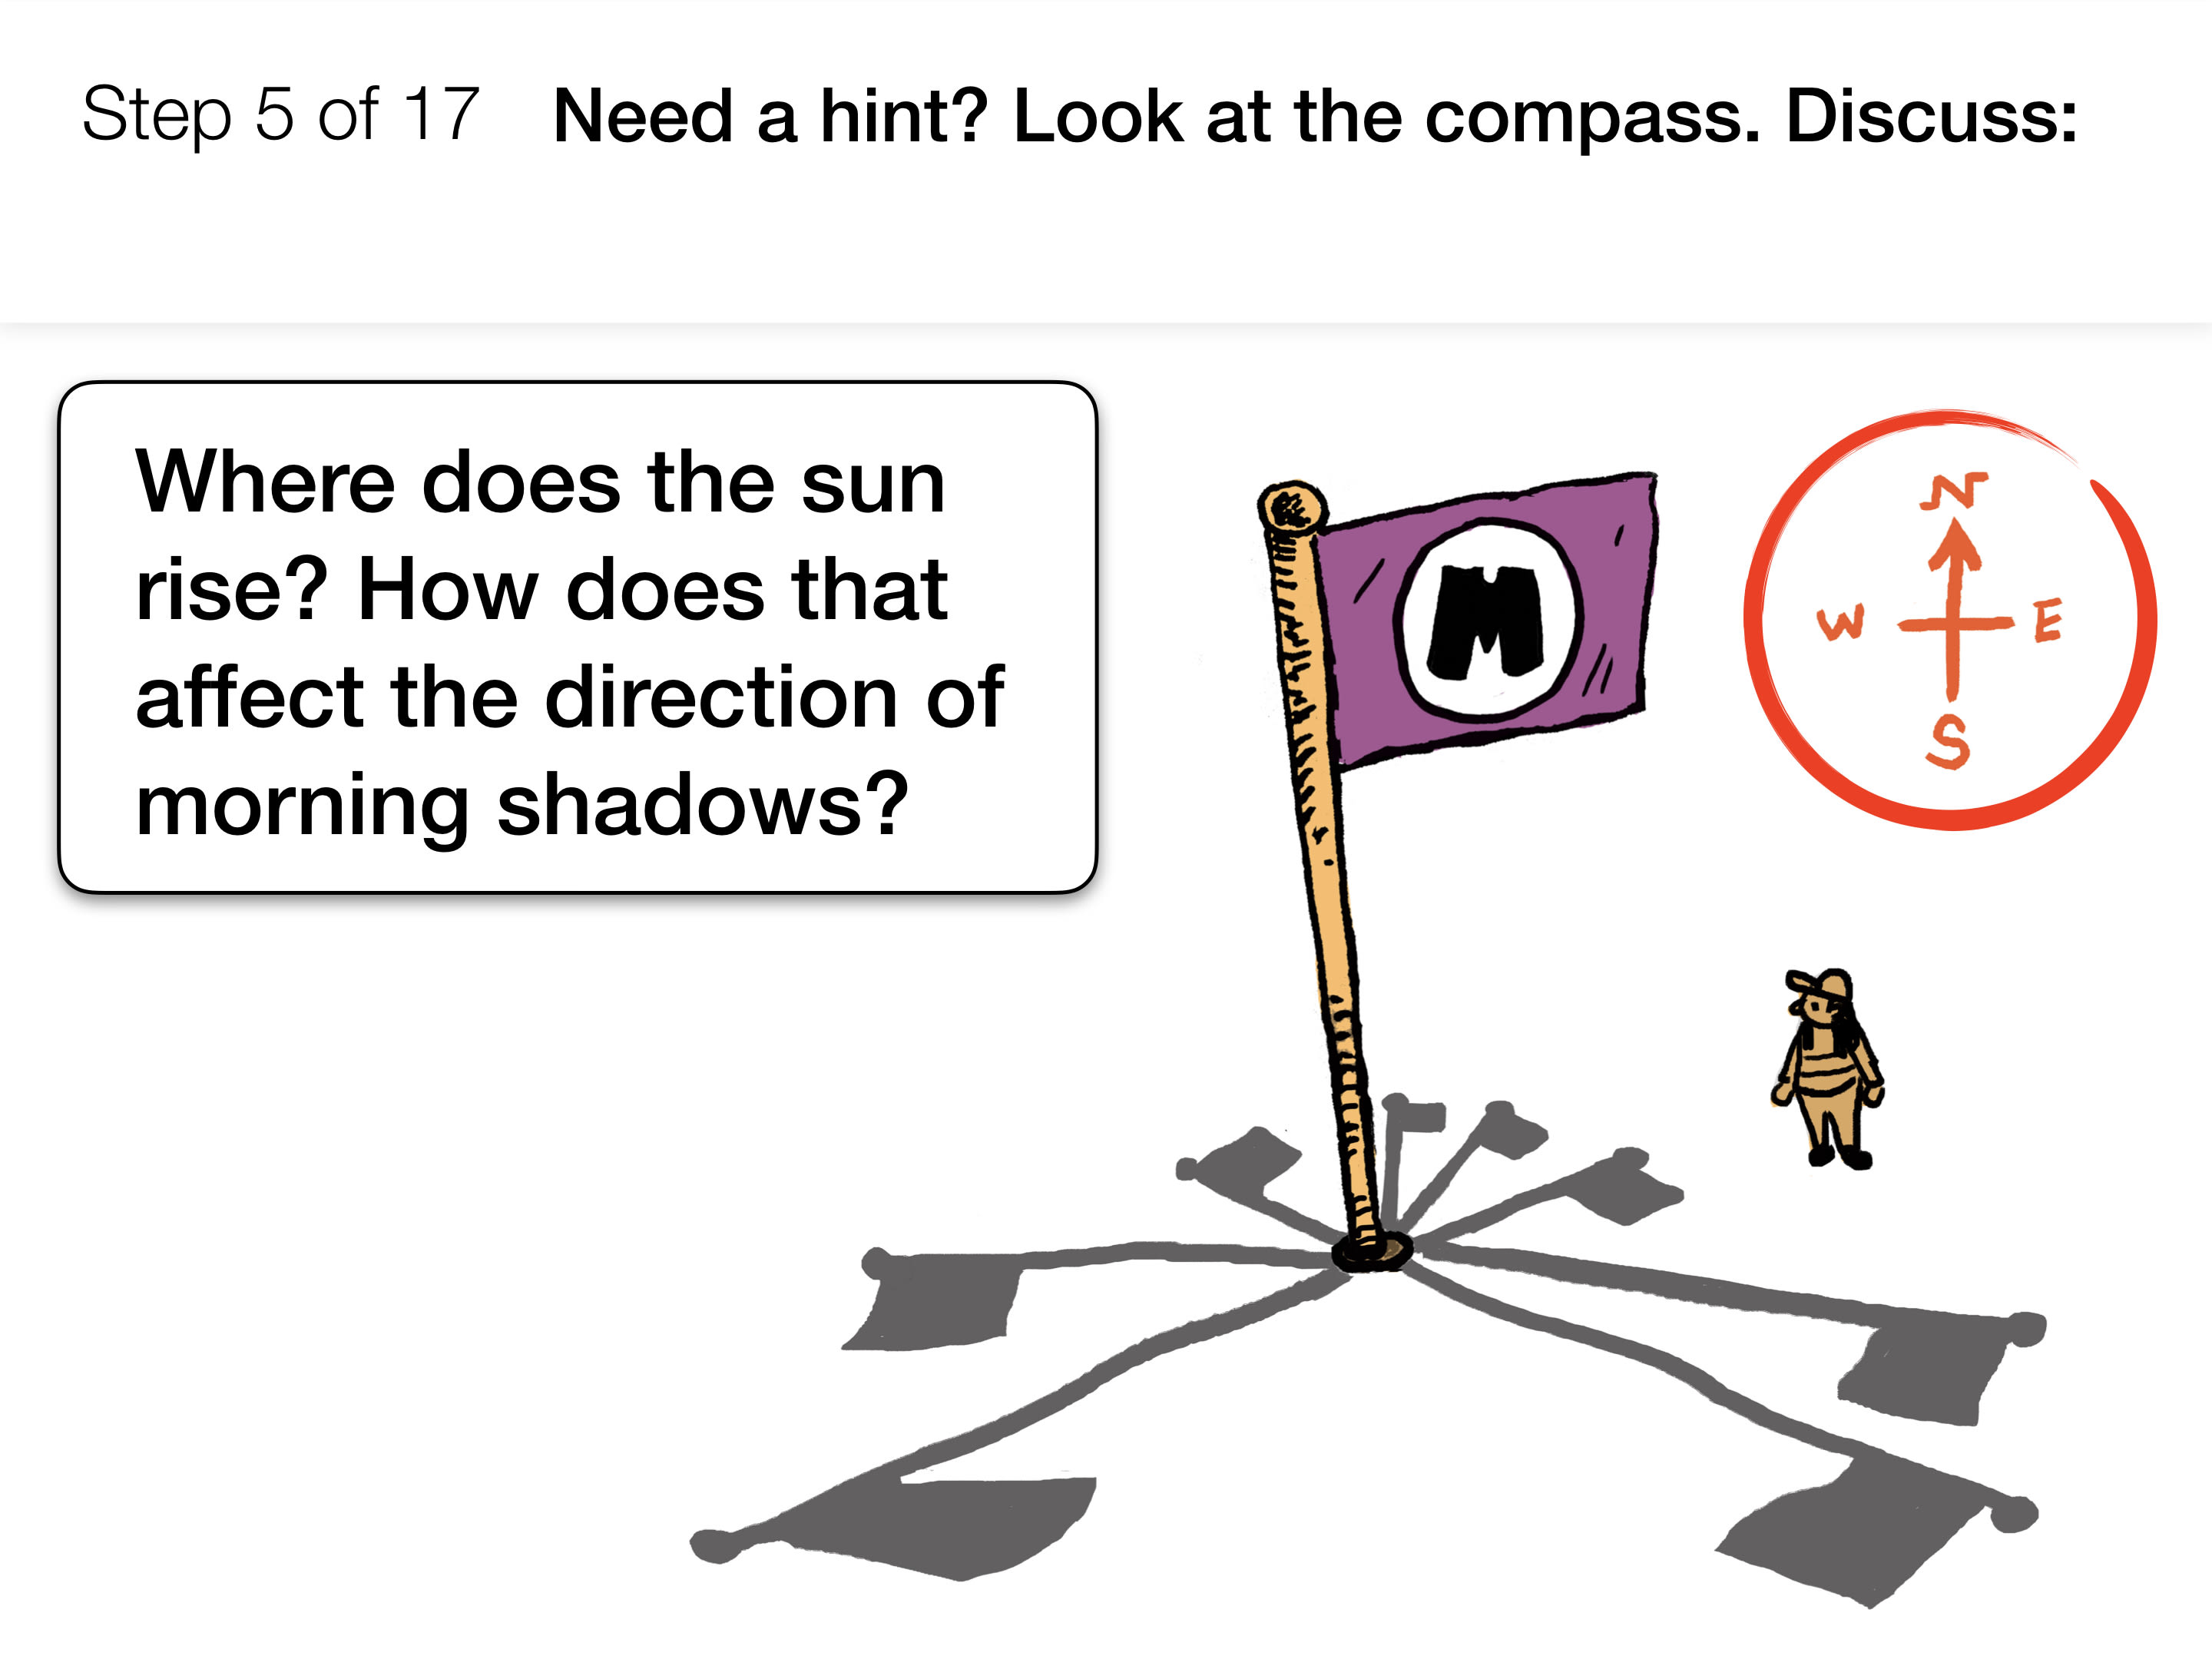
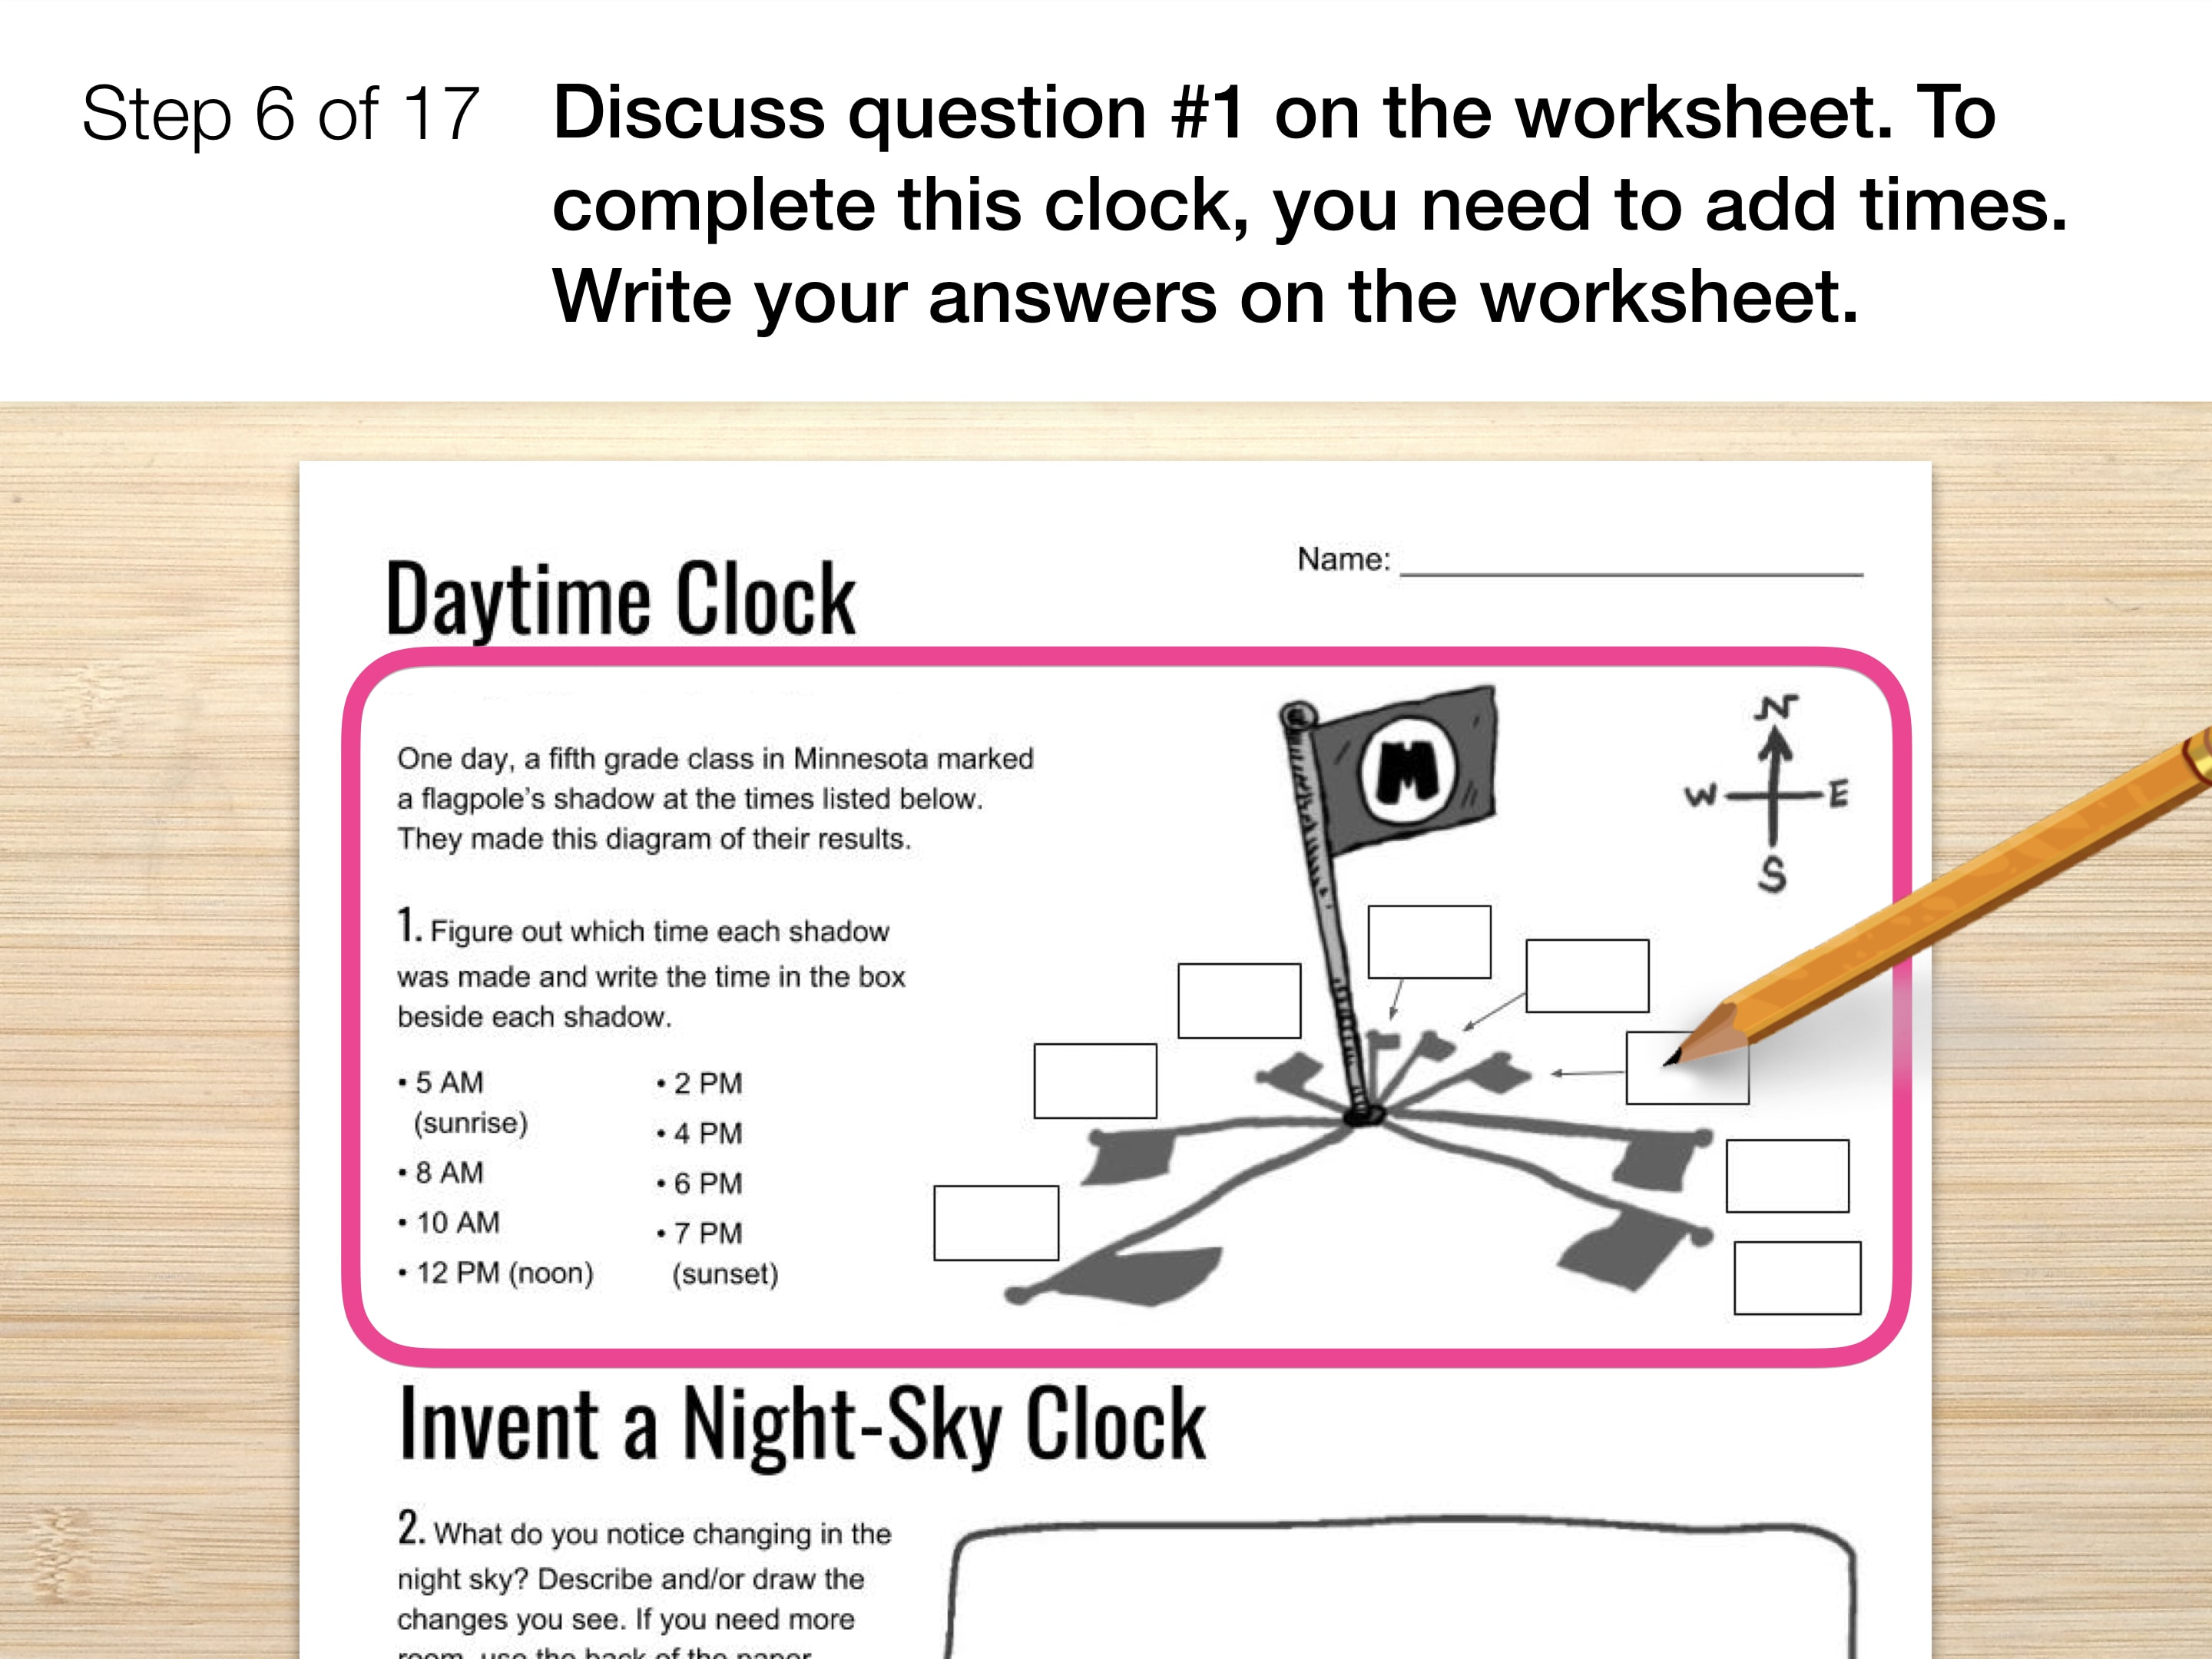
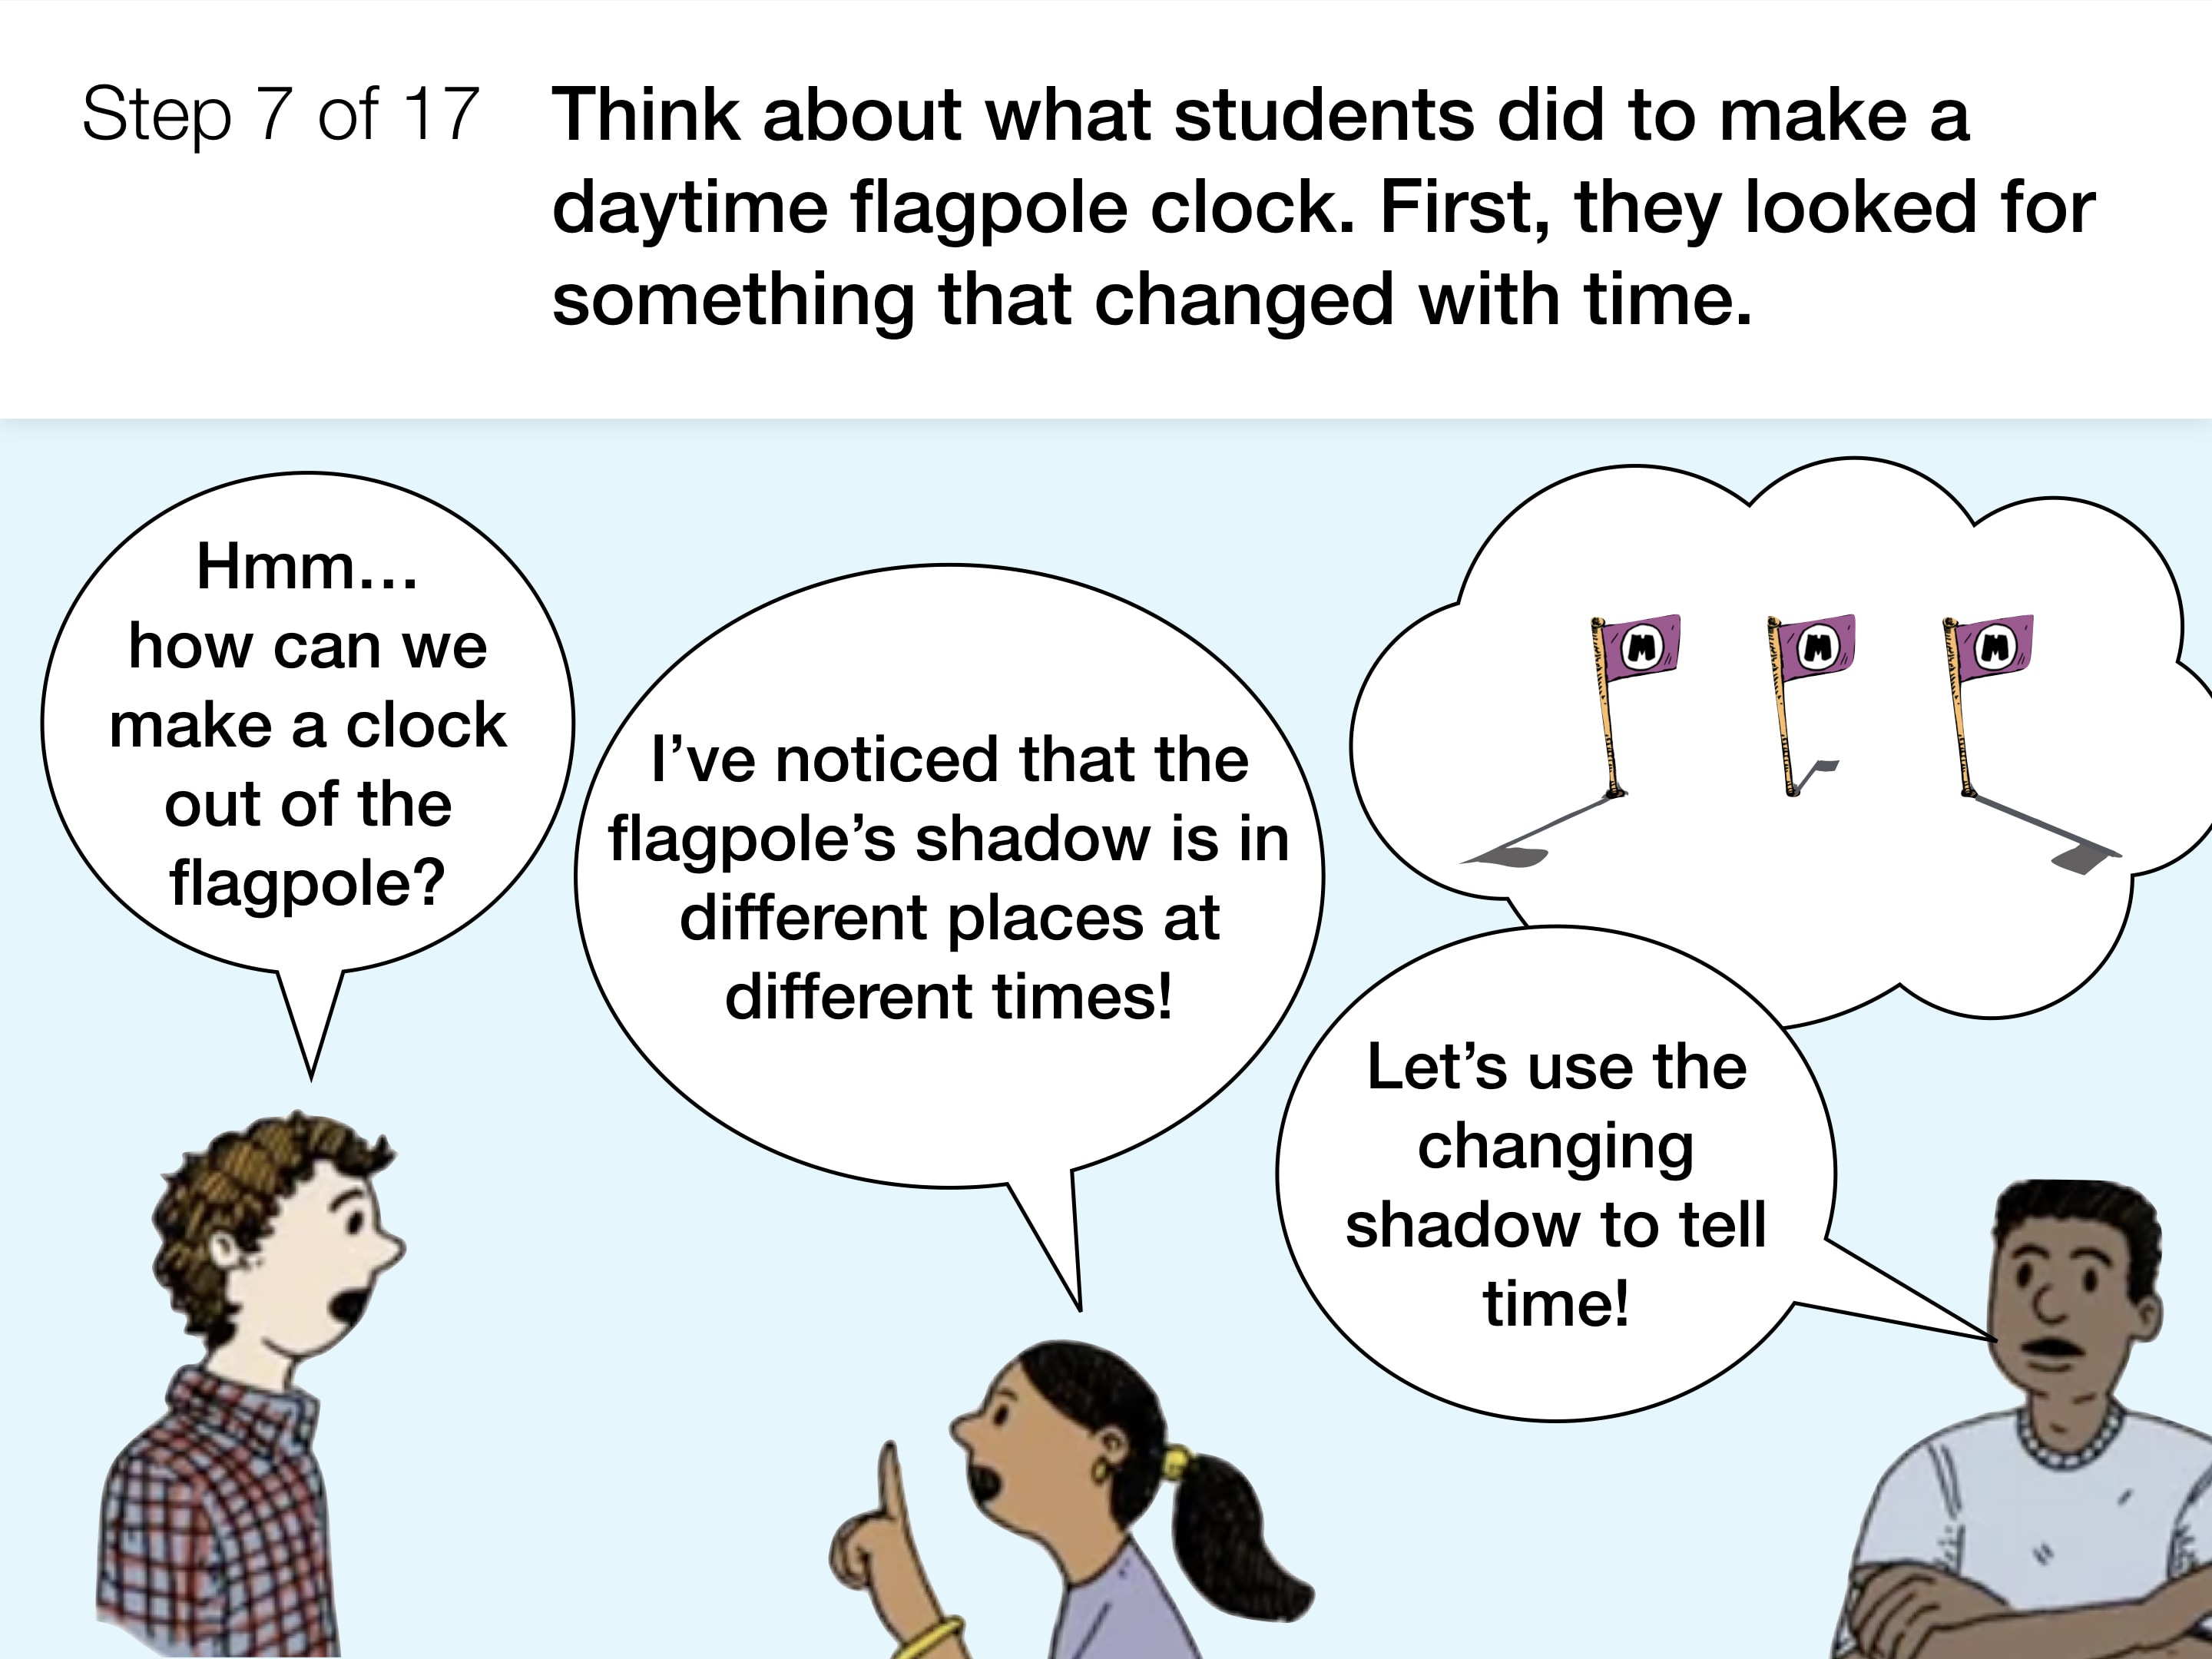
- The Sun’s apparent movement across the sky makes shadows move. You can use a shadow’s movement to tell what time of day it is.
- The Sun’s path across the sky changes with the seasons of the year. It climbs higher in the sky in summer than in winter.
- The Earth orbits the Sun each year. Because of this, you see different parts of the night sky and different constellations each season.
- The Moon goes through phases over the course of a month.
- Planets are other worlds that orbit the Sun.
- Gravity pulls you toward the center of the Earth. All planets have gravity, but its pull is different on different planets.
- The Sun is a star. If you were far away from the Sun, it would look like any other star.
If you haven't completed your final Star Trails Model, now is the time to do so. We'll review what causes the star trails in the next few slides.
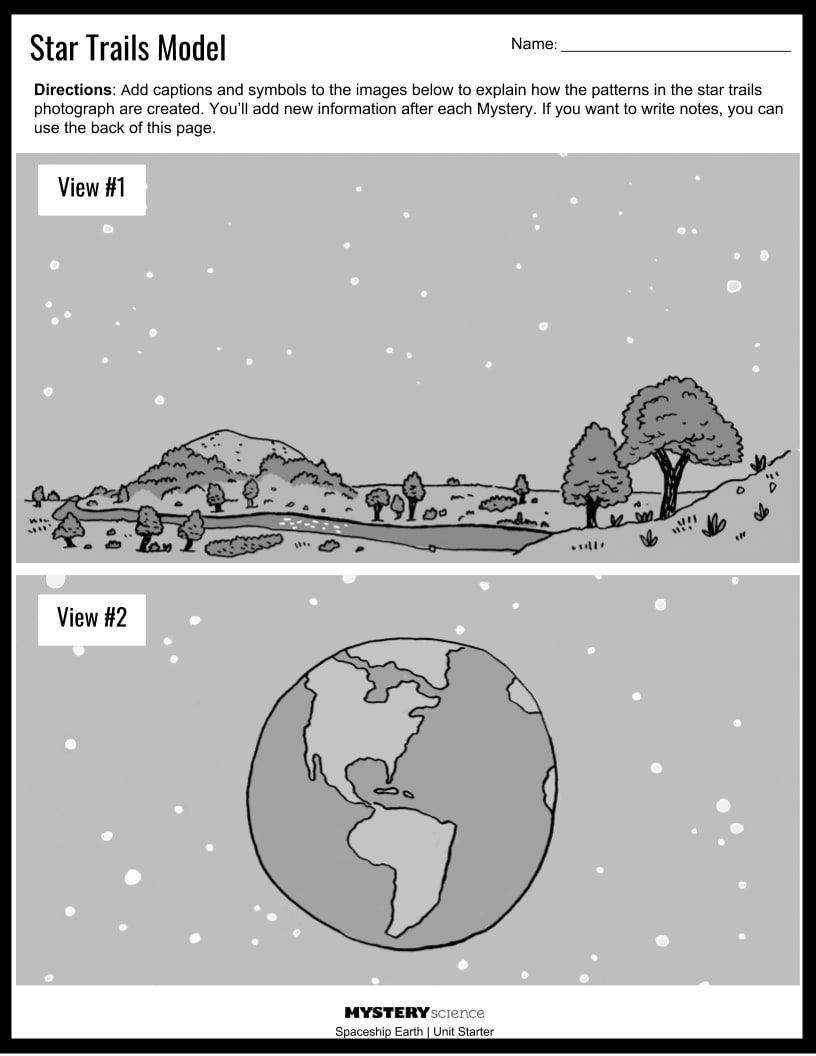
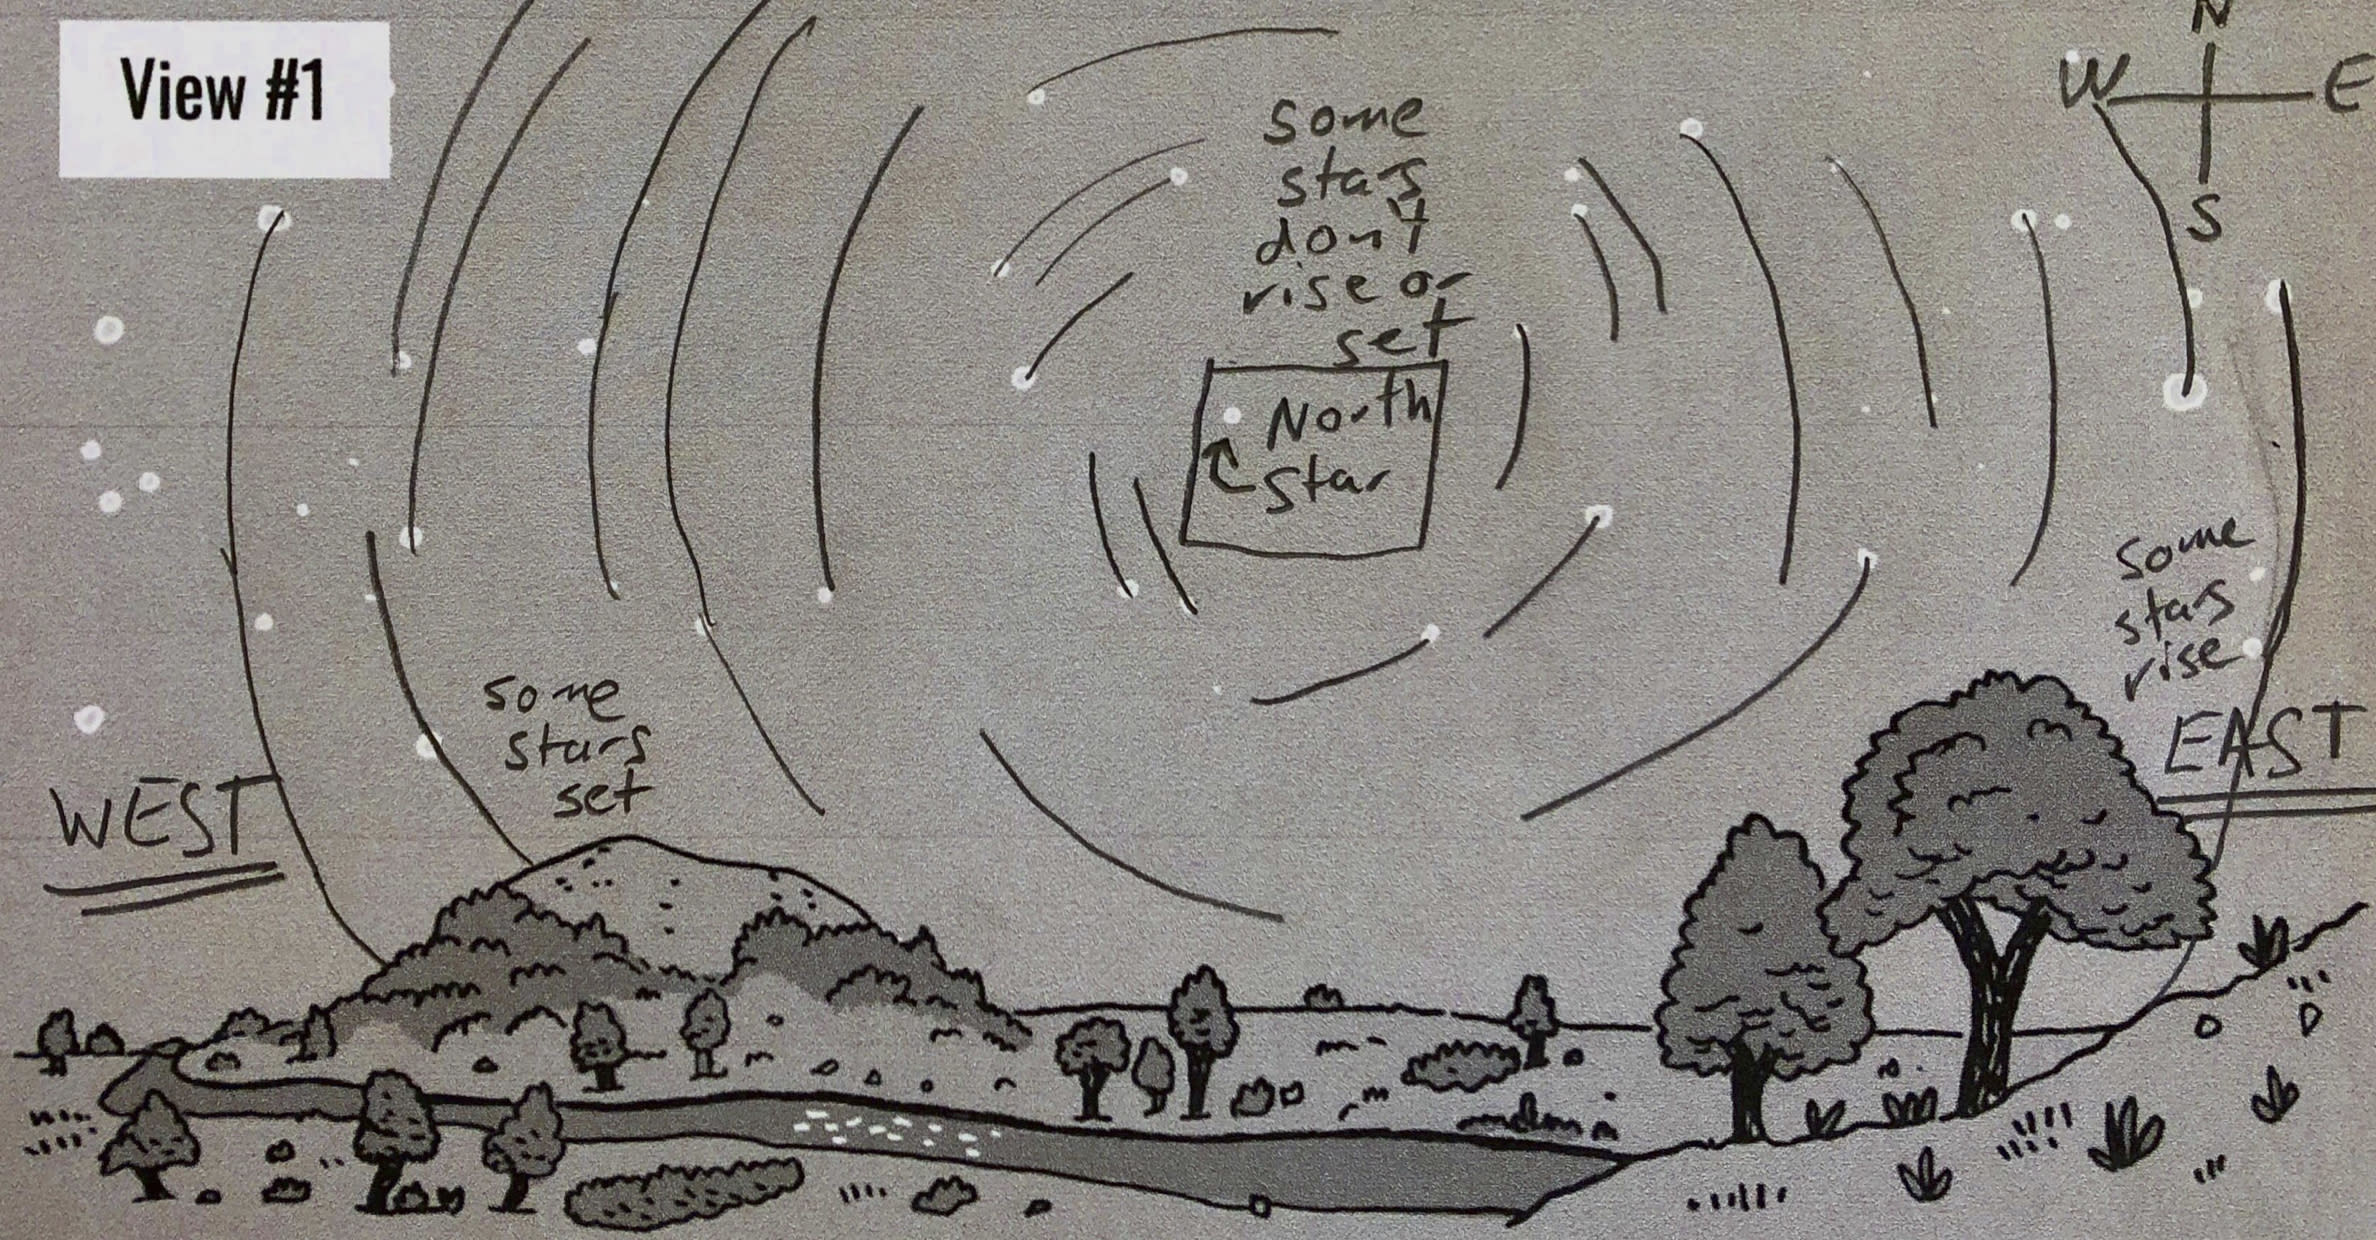
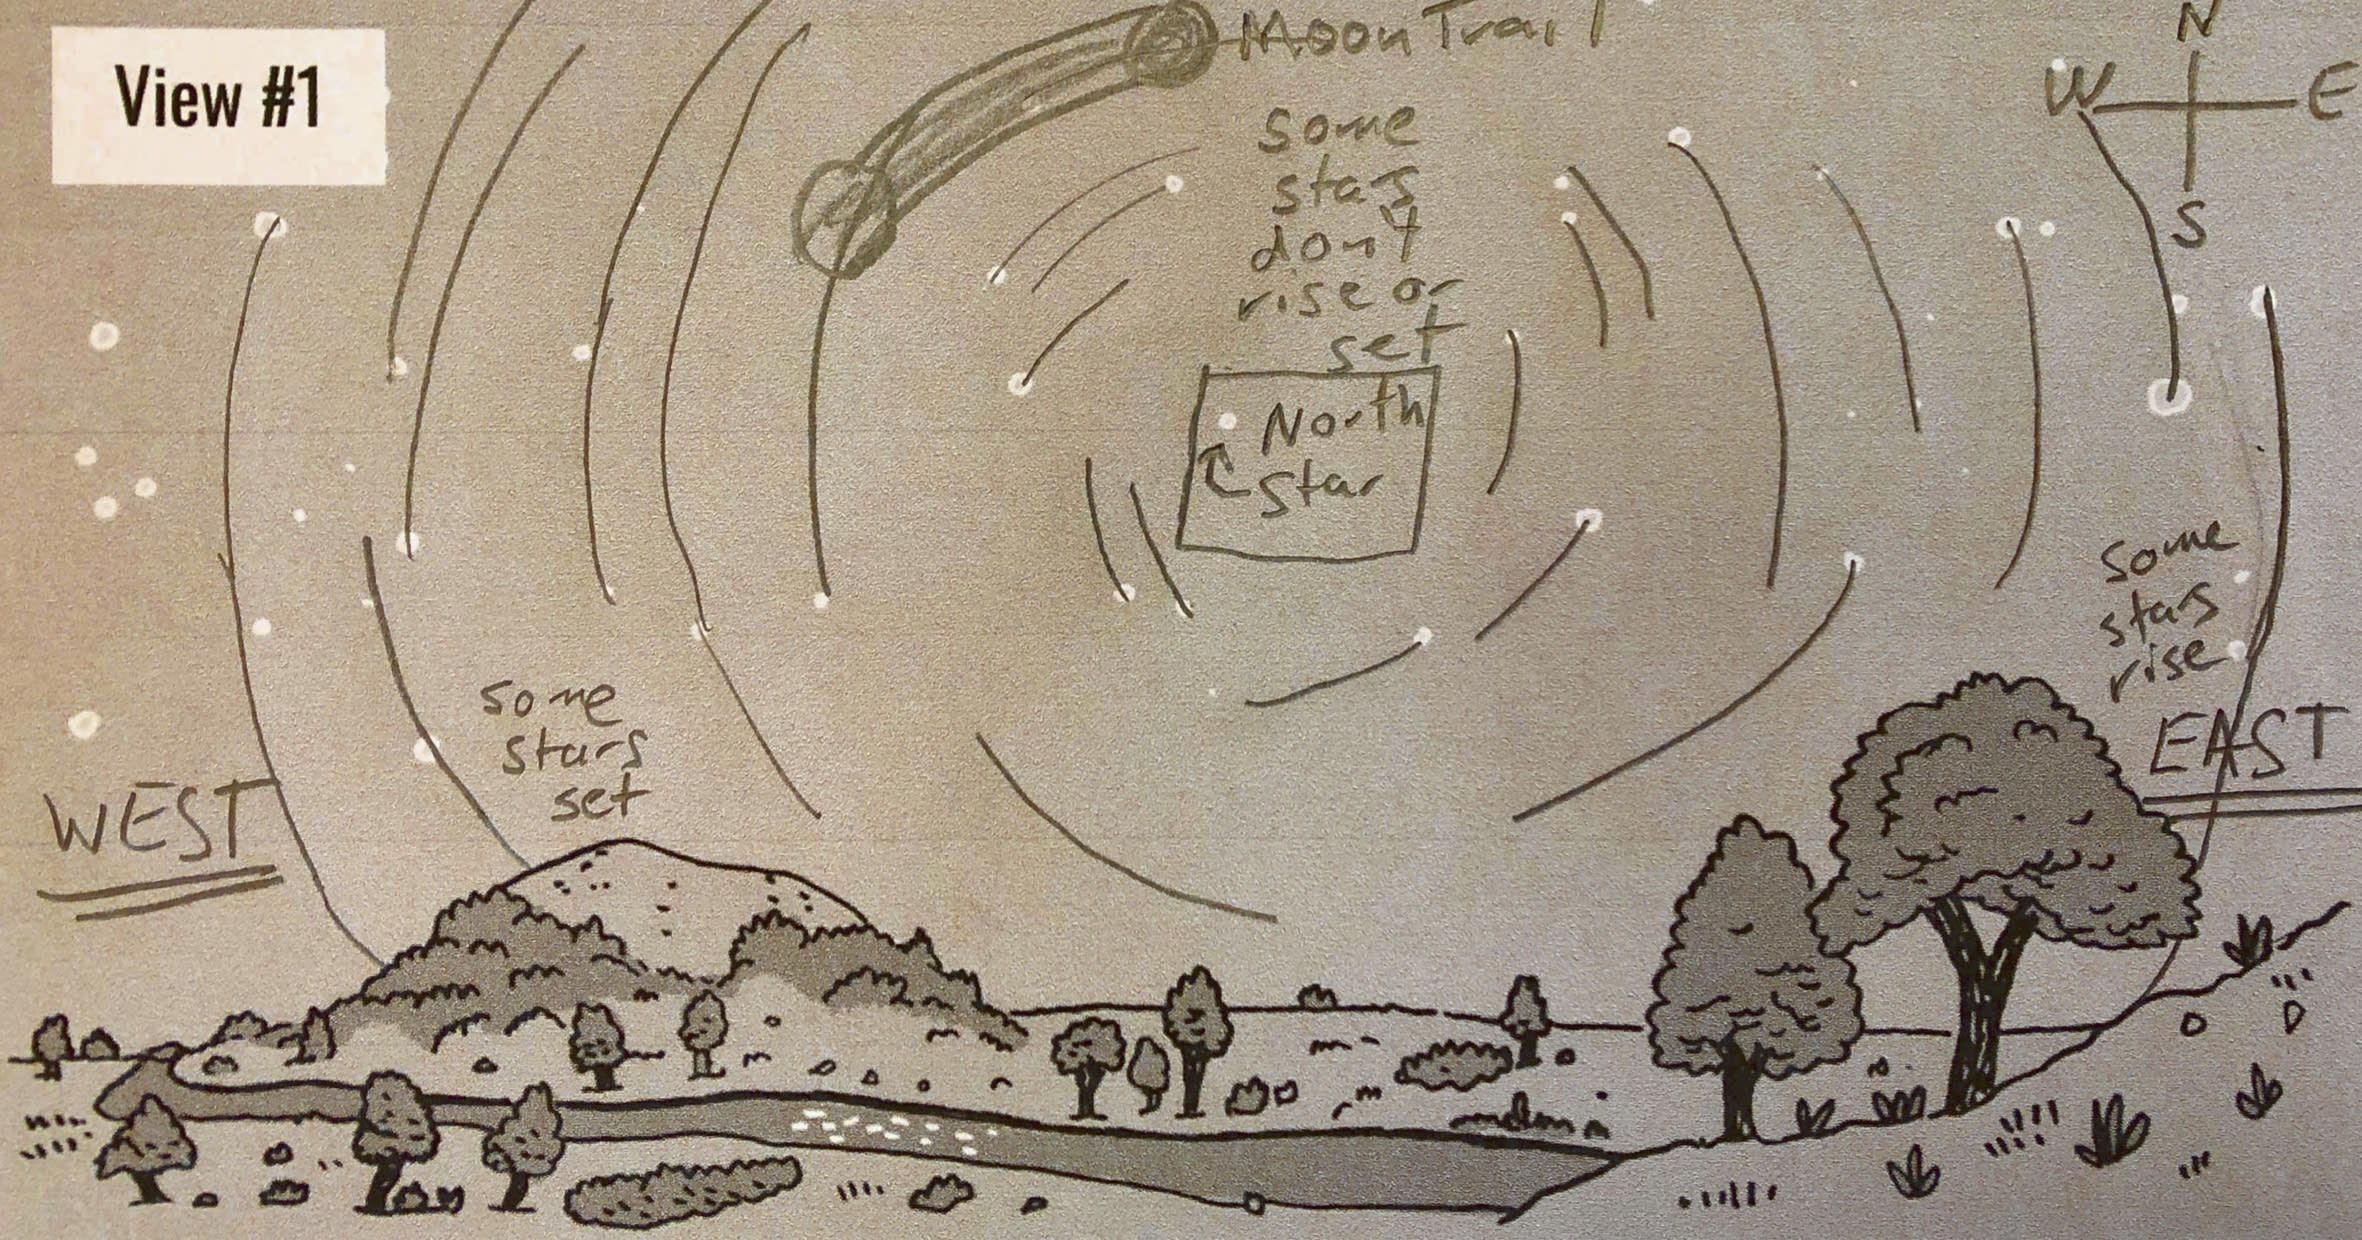
When we started drawing, we thought the star trails looked like circles inside of circles. When we looked more closely, we saw that they weren’t full circles. Each one was an arc, a section of a circle.
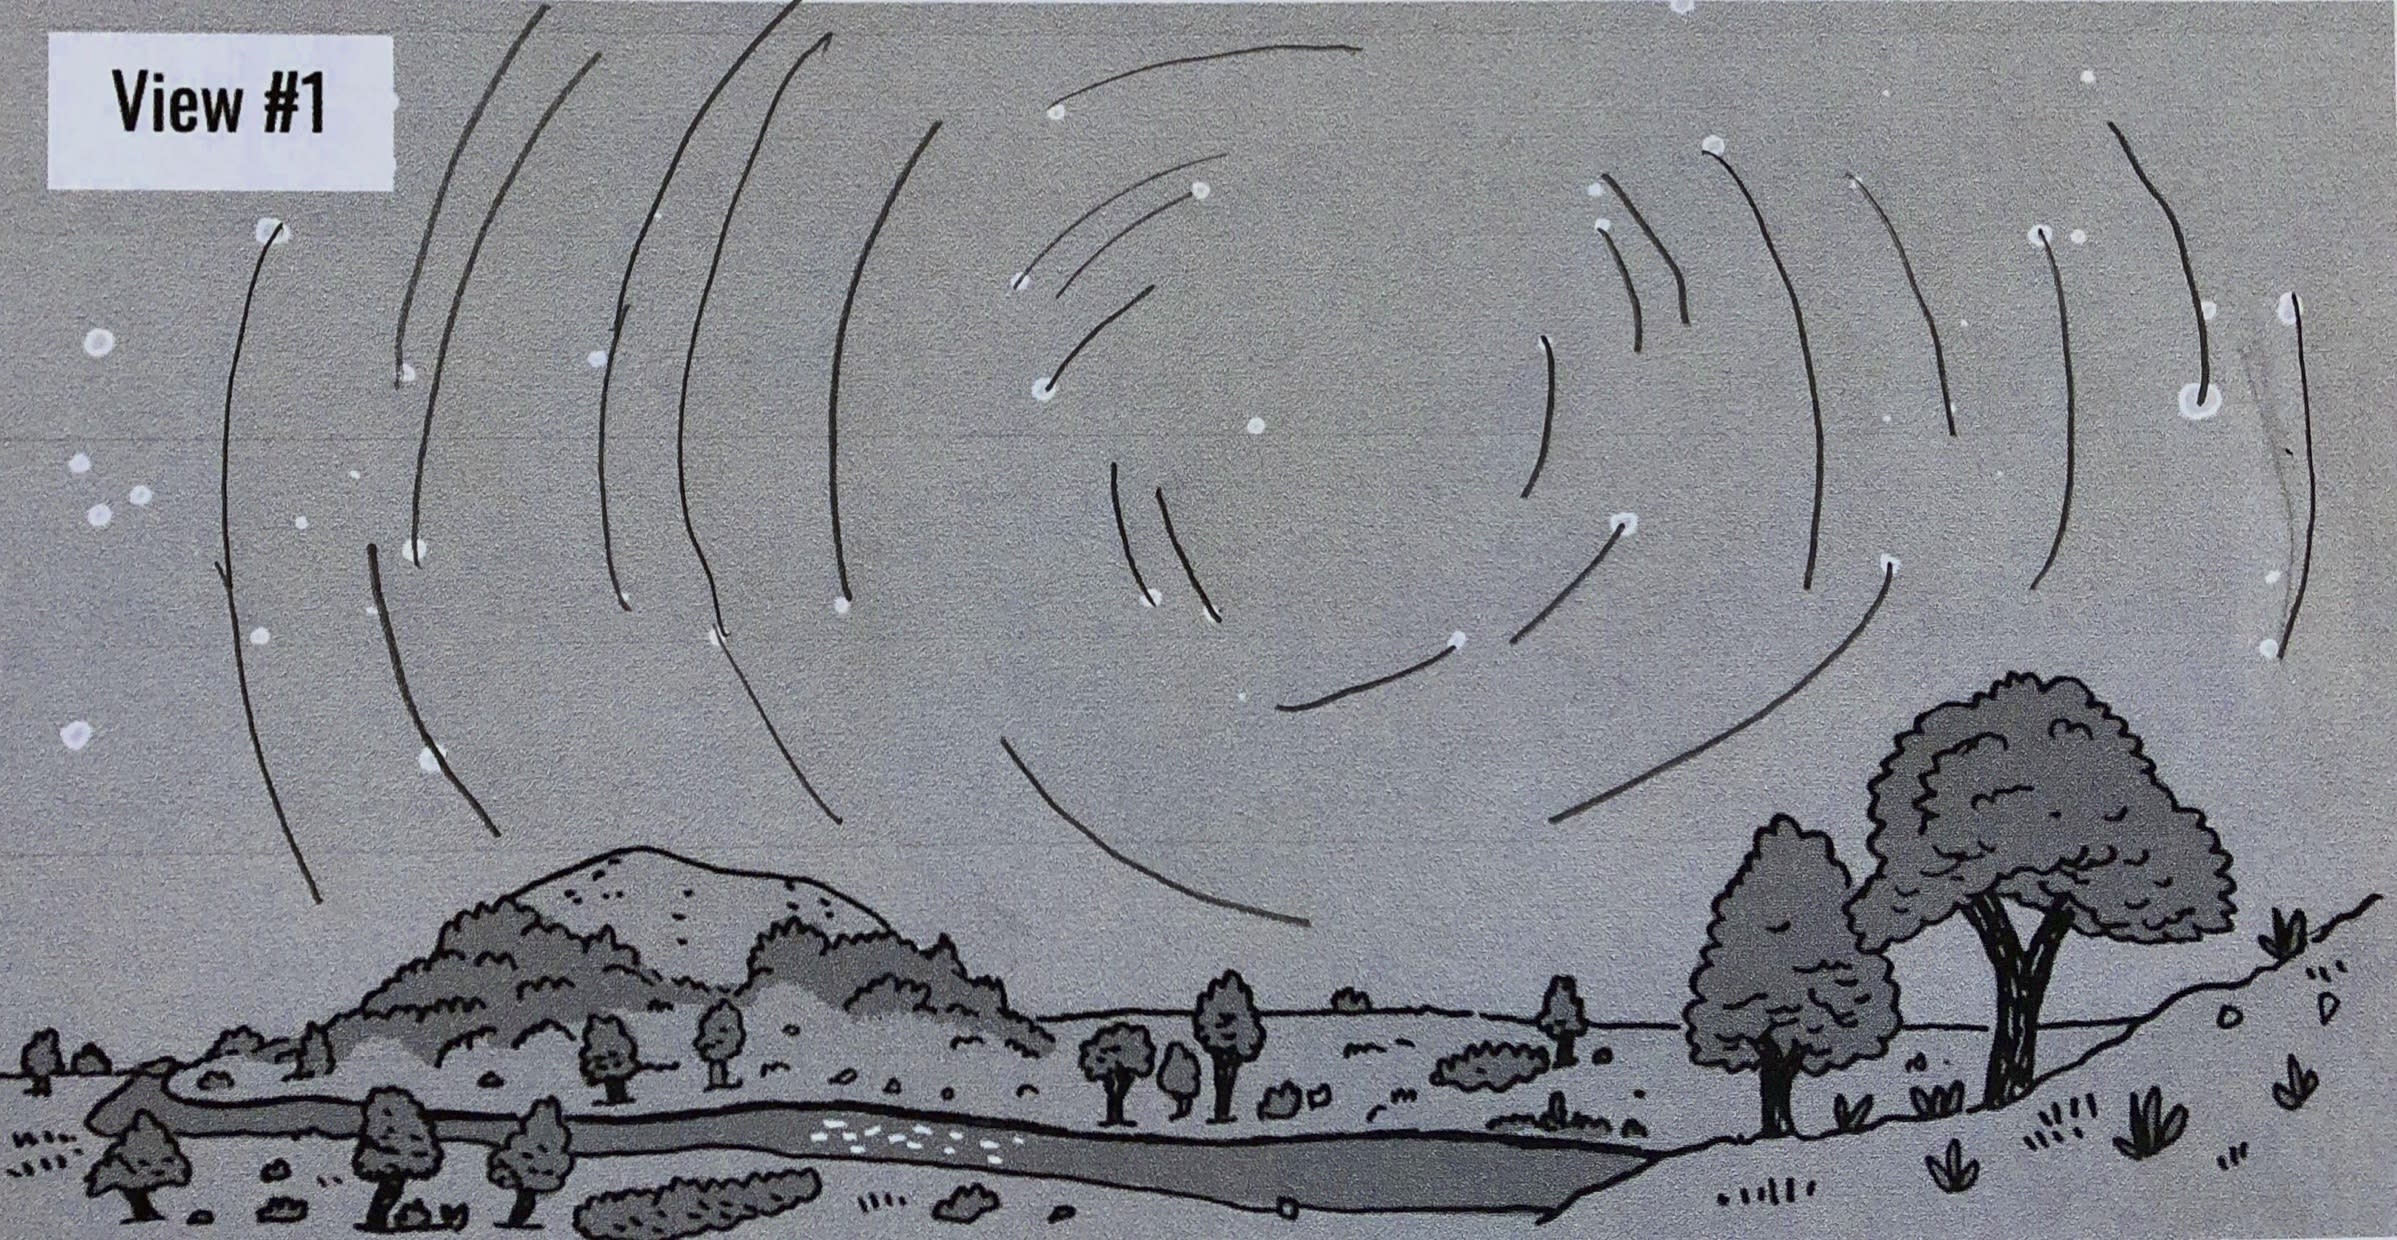
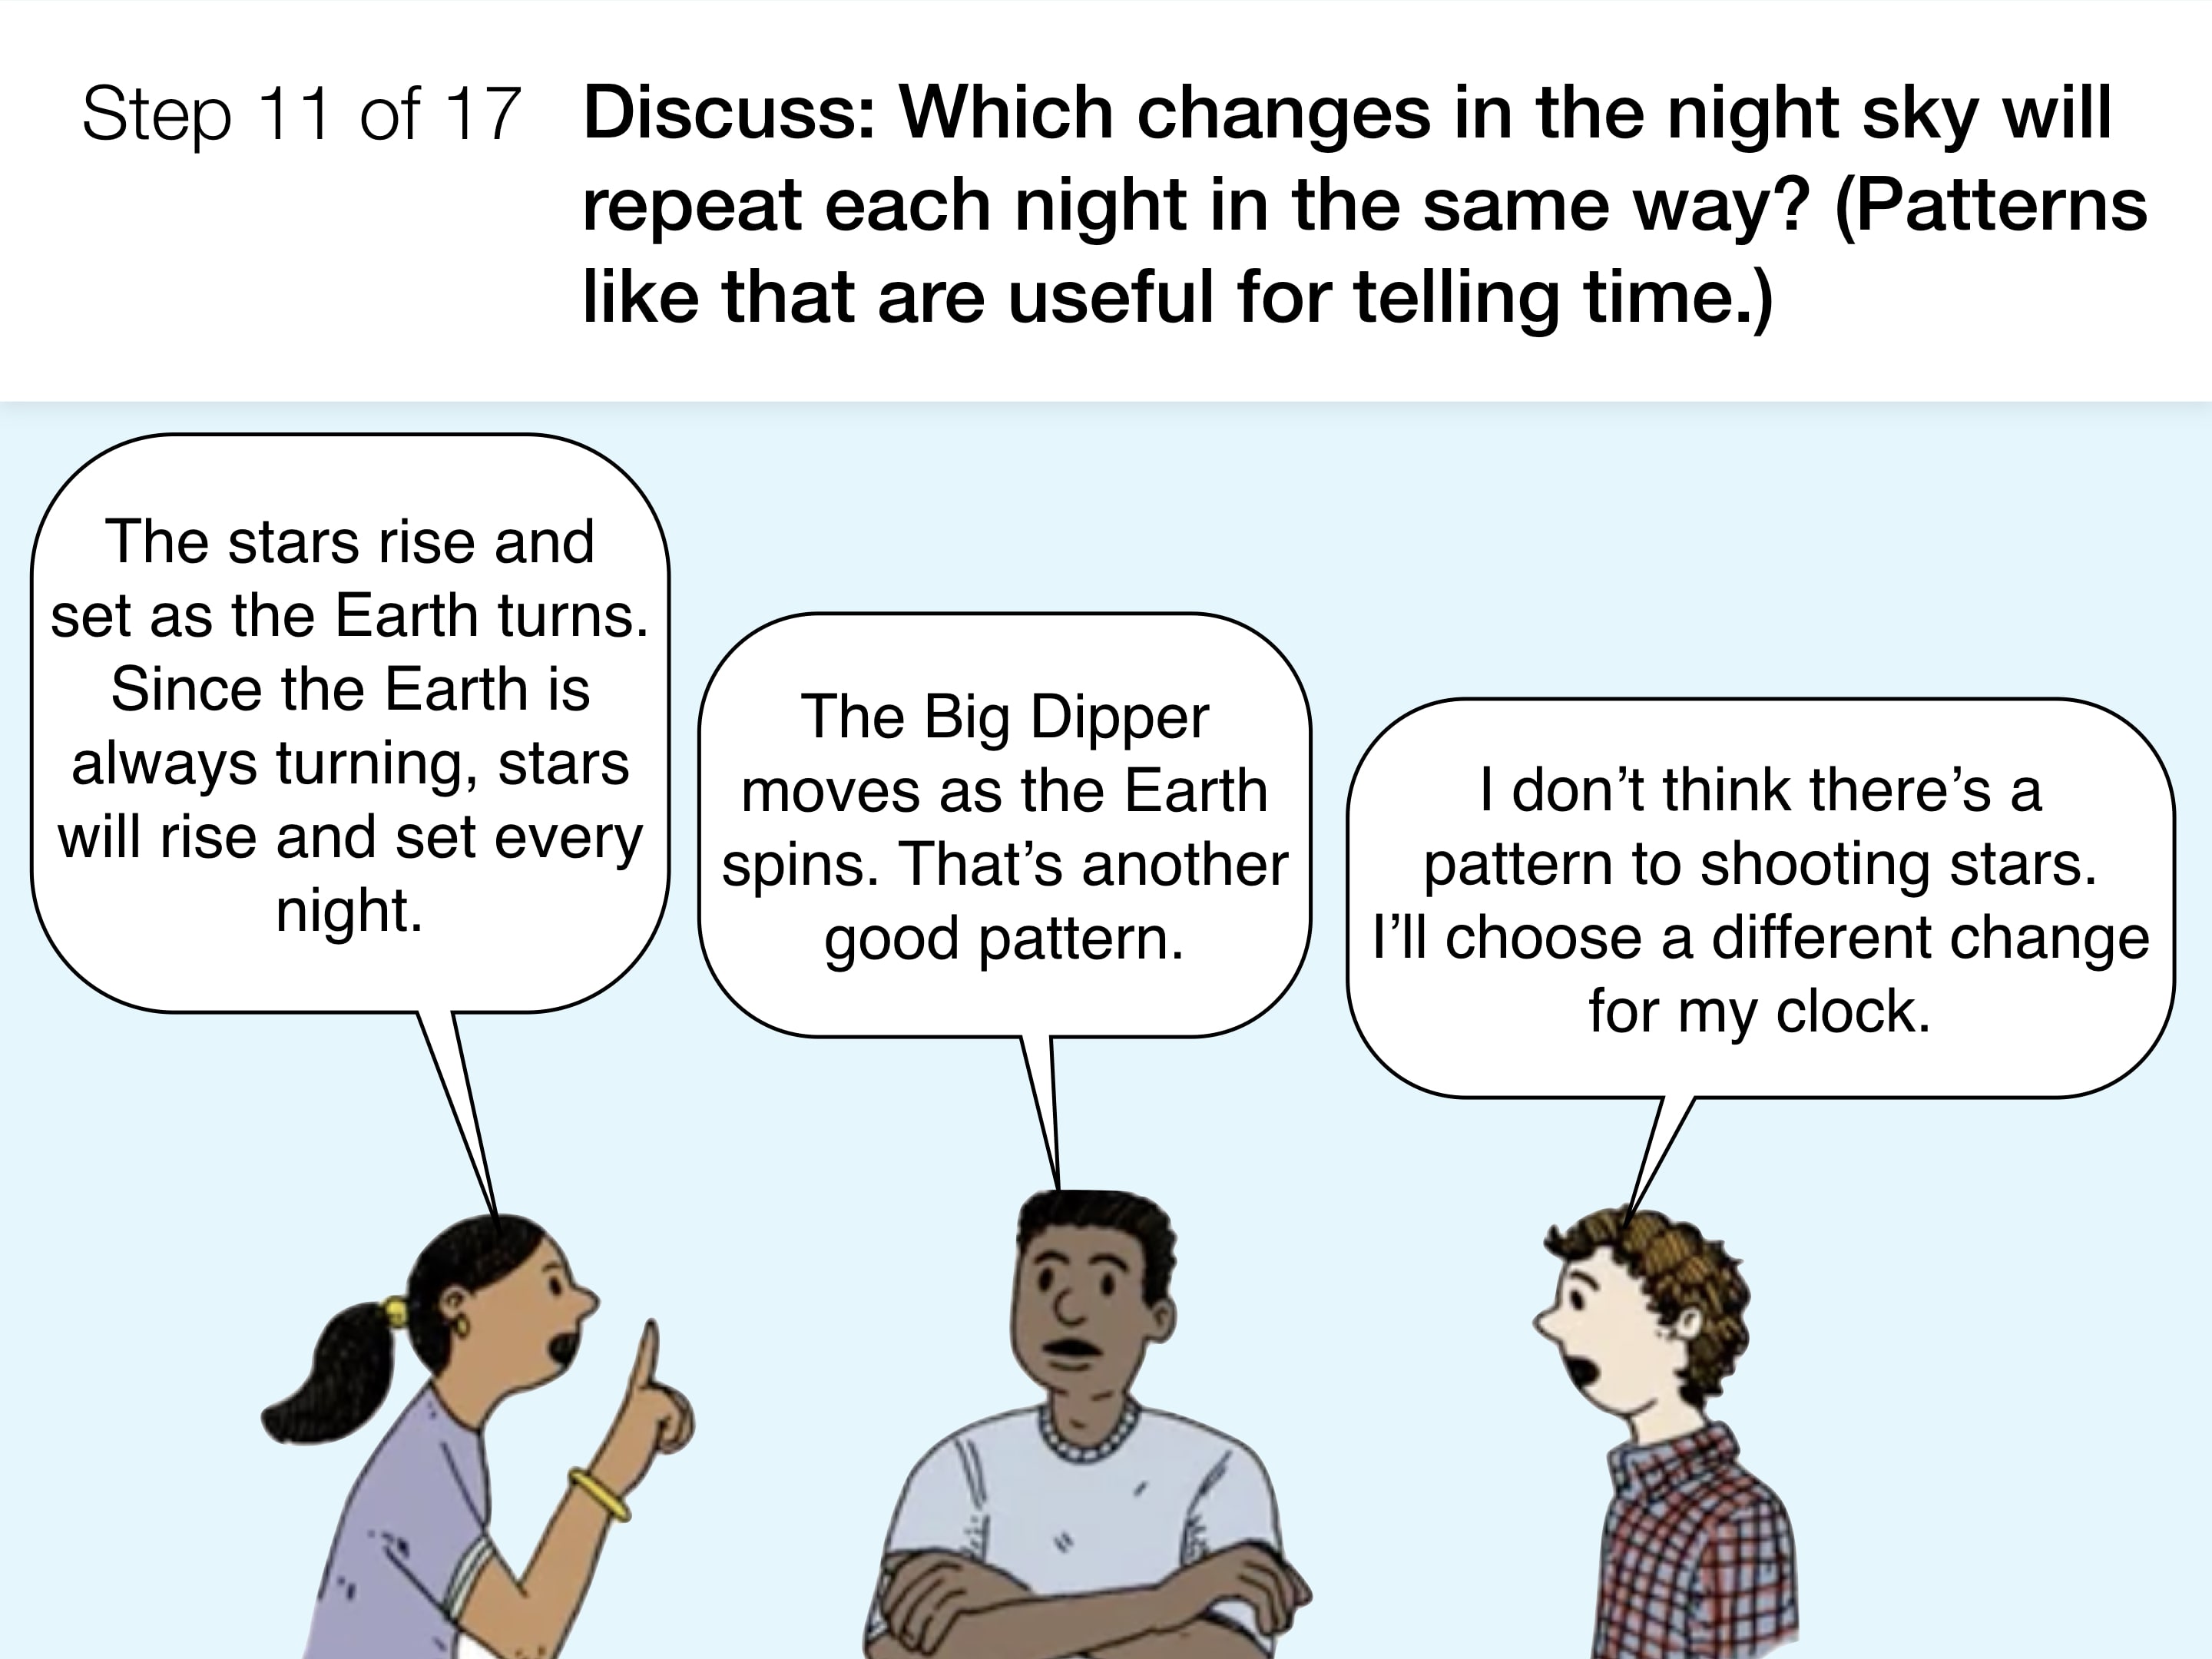
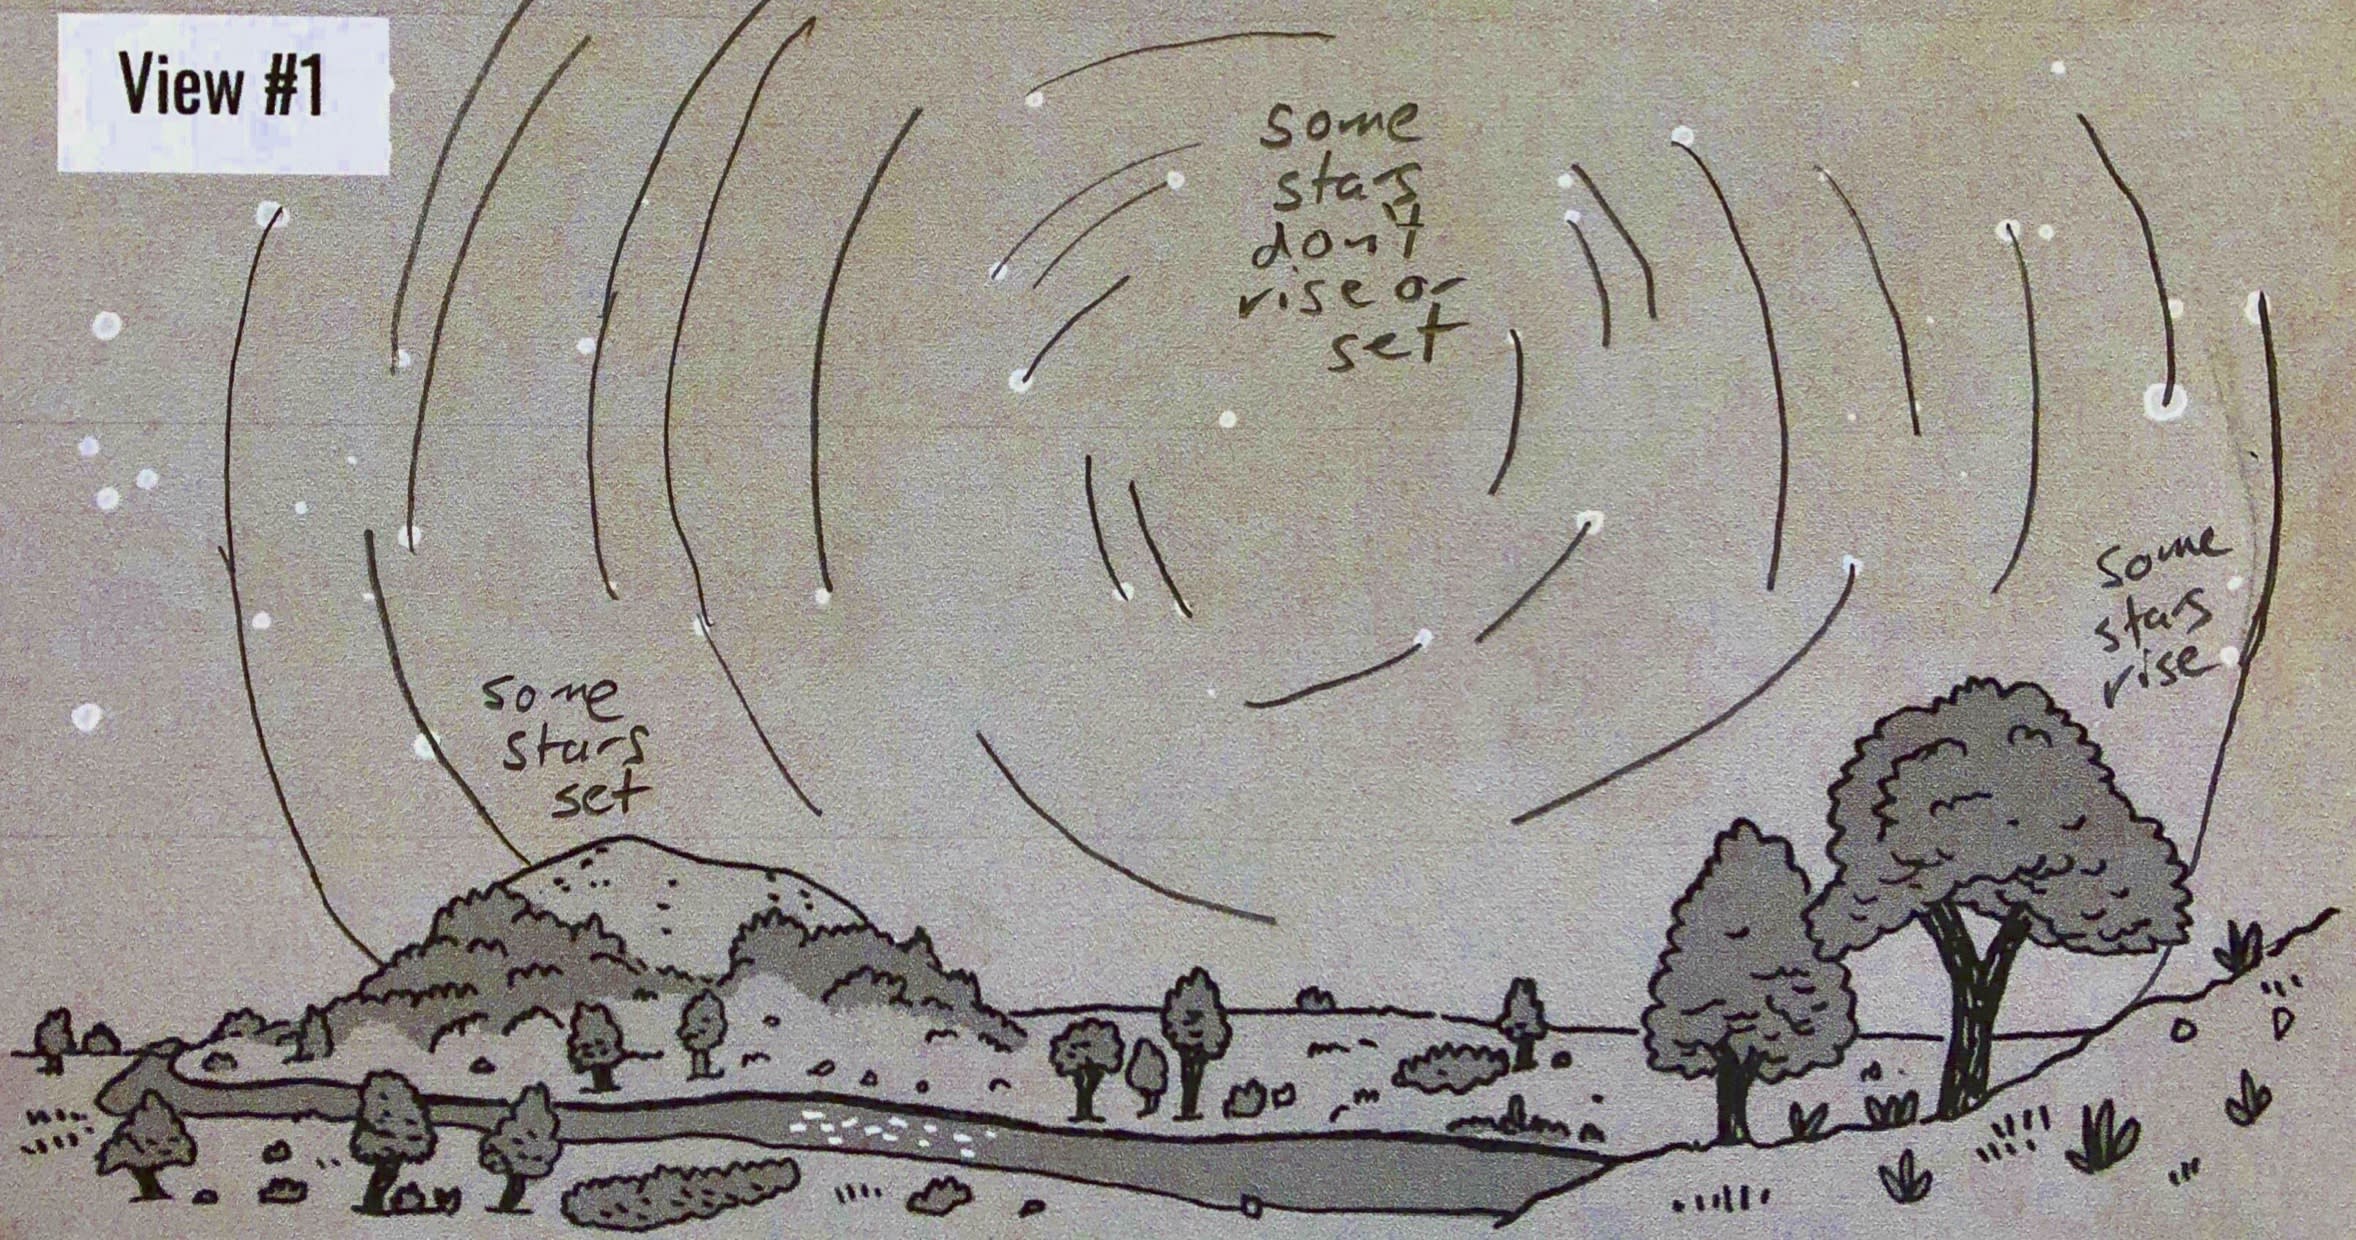
After learning that the Earth’s rotation makes the Sun rise and set, we noticed that some stars in the Star Trails photo were rising or setting.
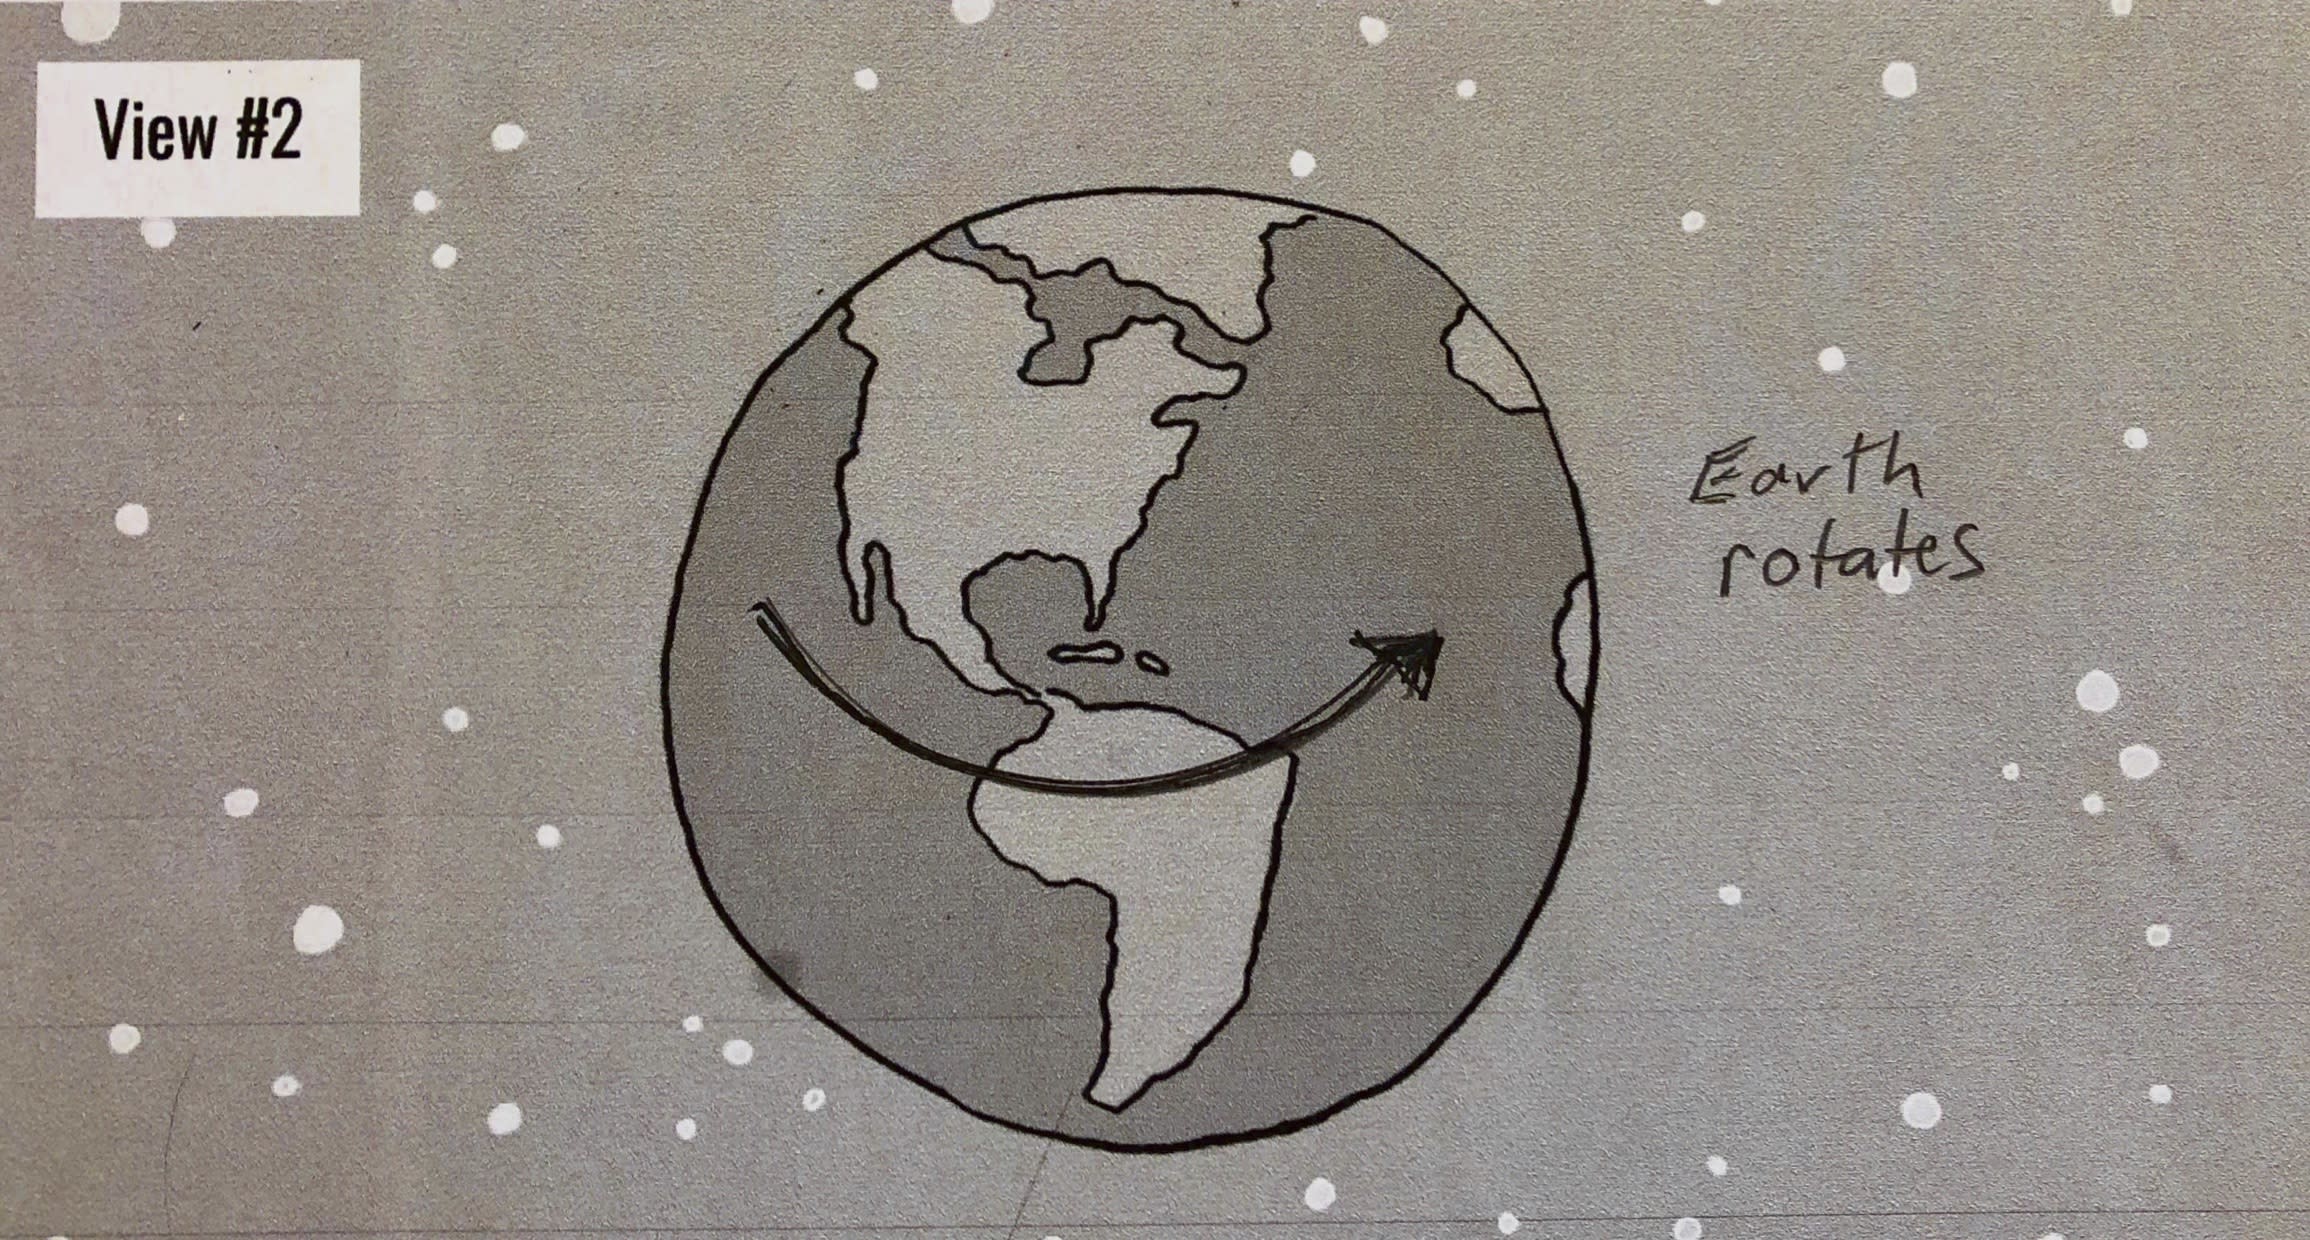
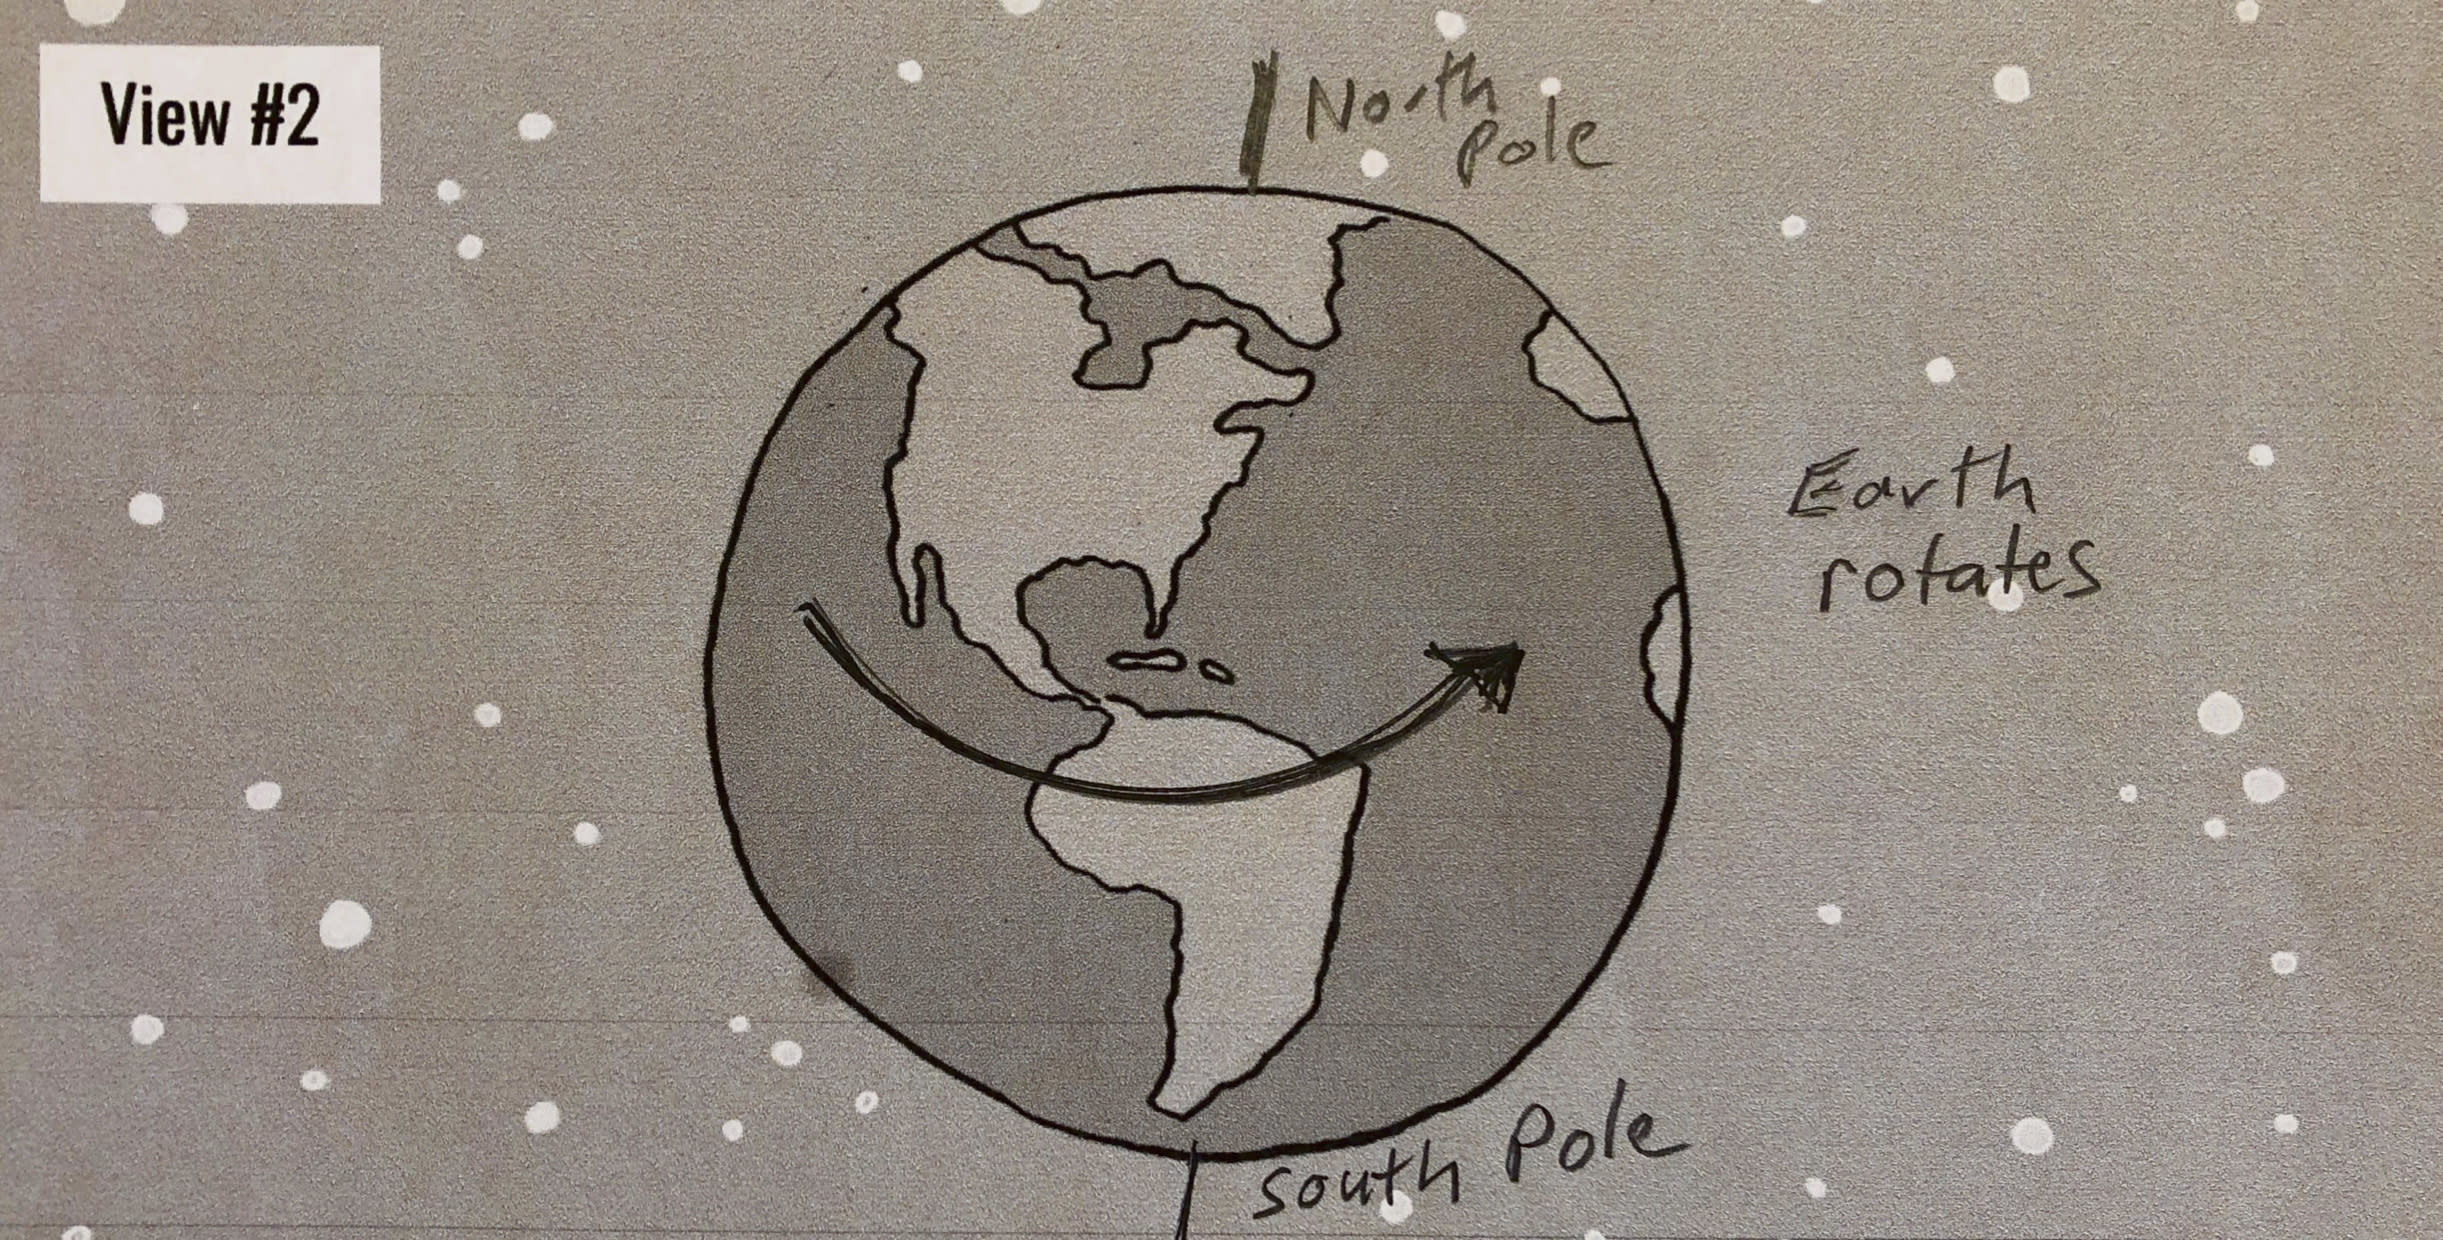
After learning that the Earth’s rotation made the Sun rise and set, we figured out that the Earth’s rotation could make the stars rise and set too. So we added the Earth’s rotation to View #2.
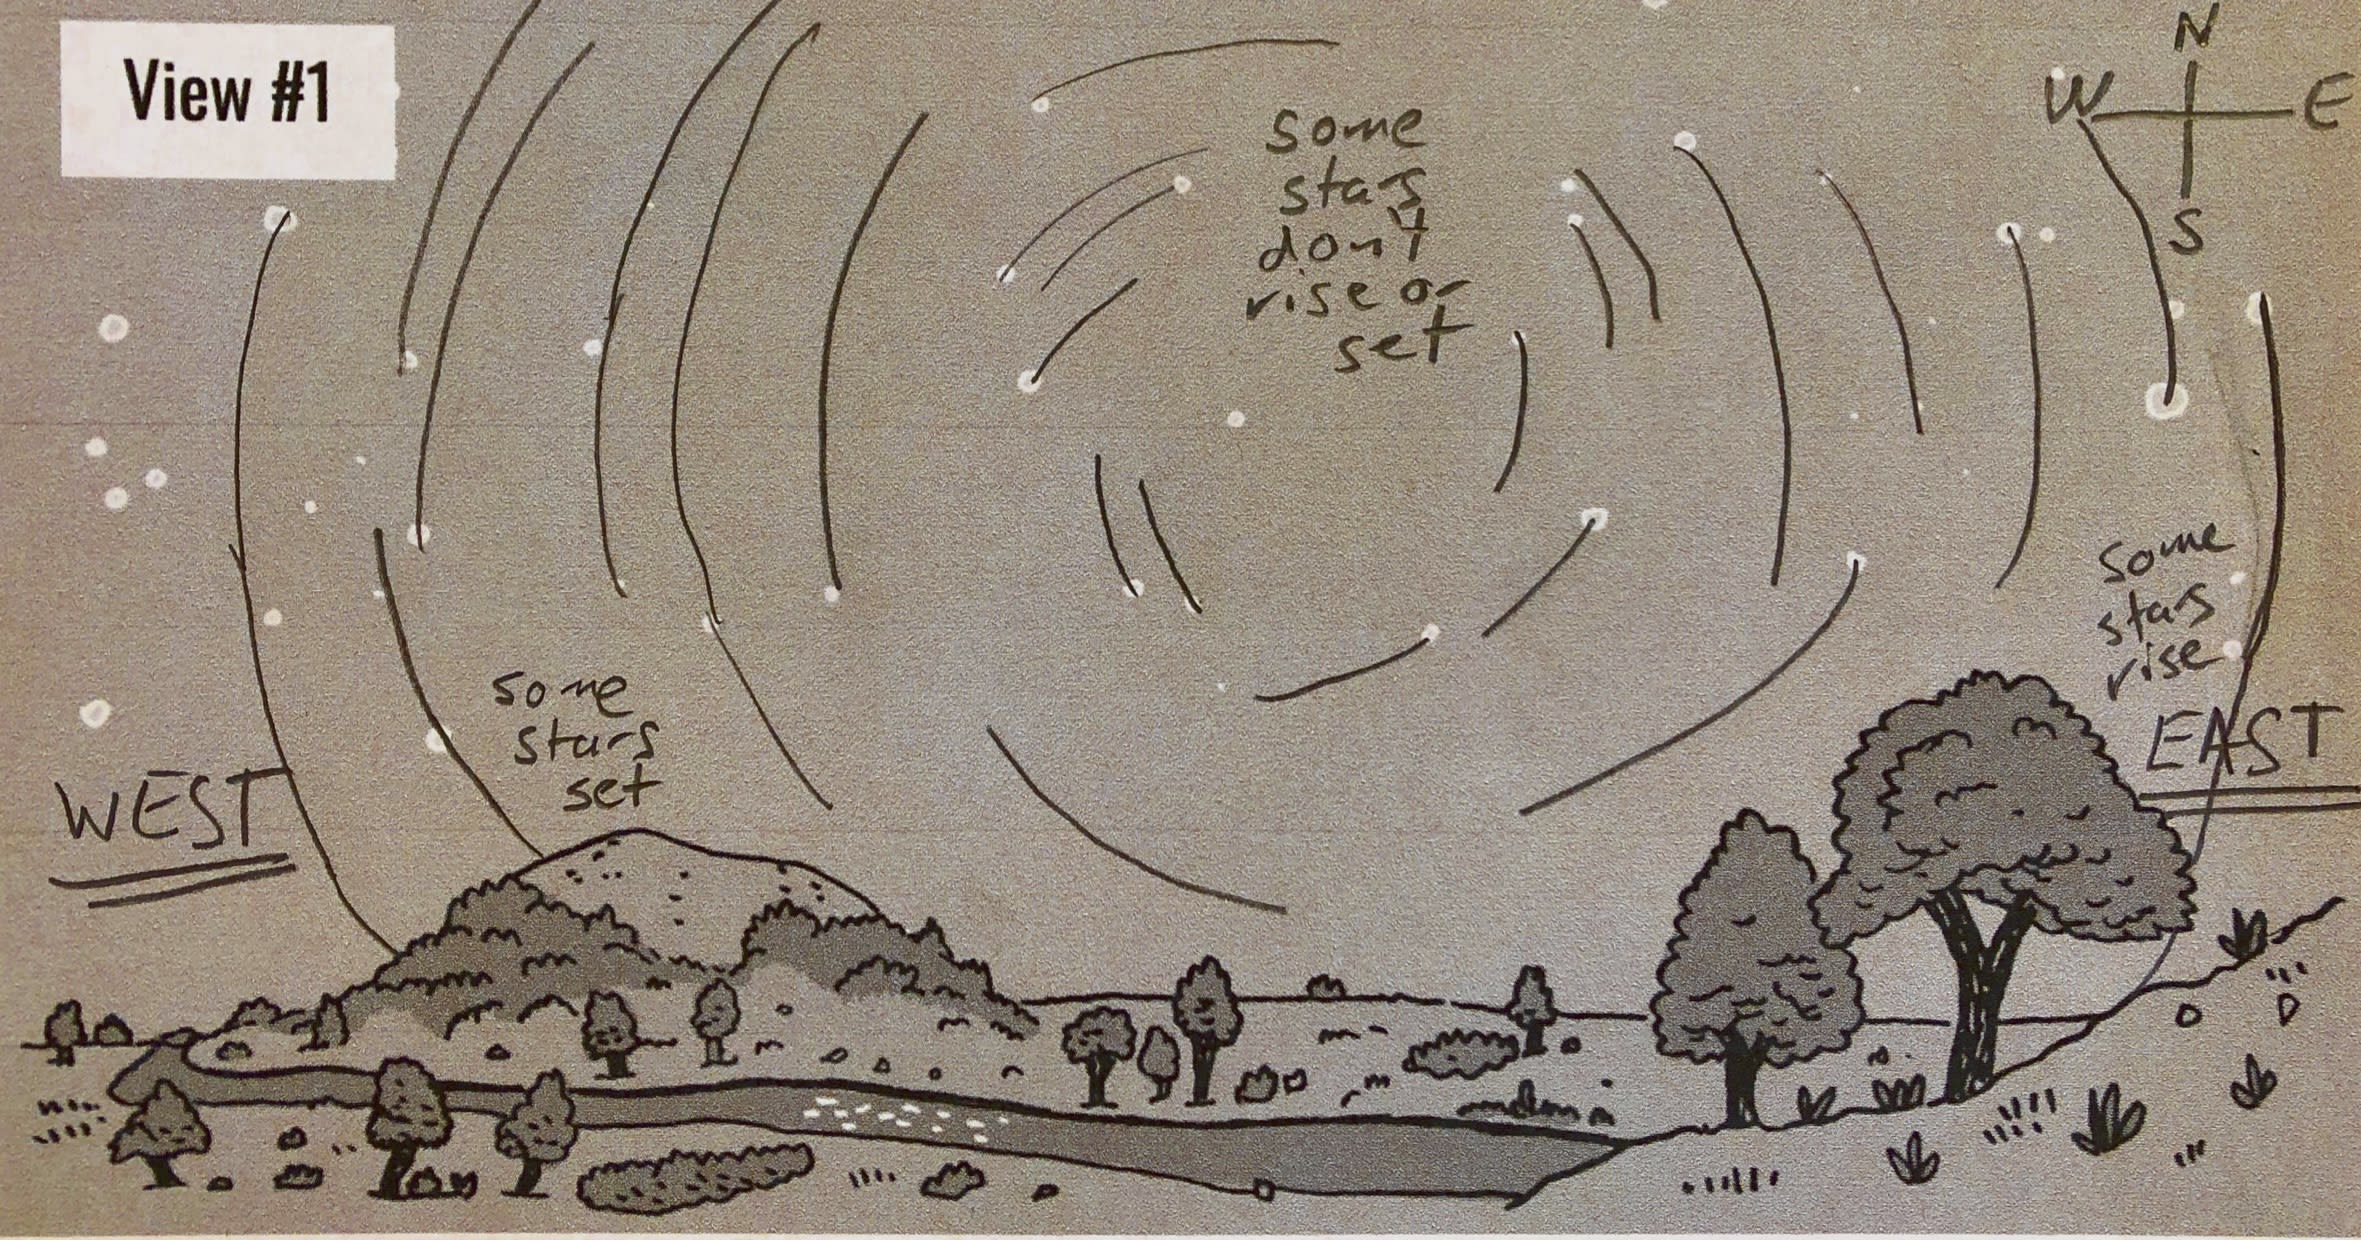
After experimenting with the shadow clock (sundial), we knew the Sun rises in the East and sets in the West. So did the stars. We labeled East and West in our model. We also added a compass rose.
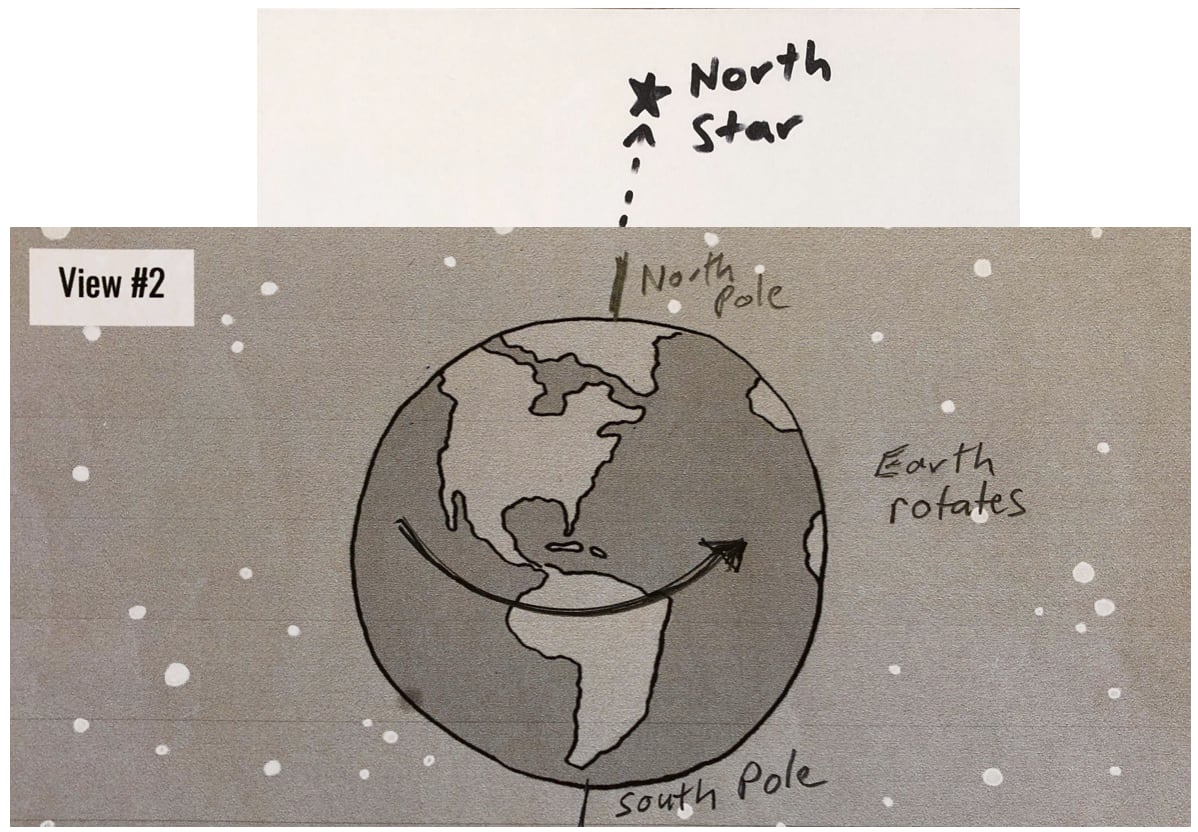
When we were thinking about North, South, East, and West, we decided to add the North Pole and South Pole to our spinning Earth. These poles mark the line that the Earth spins around.
After learning about how the Sun’s path changed with the seasons, we wondered about whether the stars changed with the seasons too, but we didn’t think of anything to add to our model.
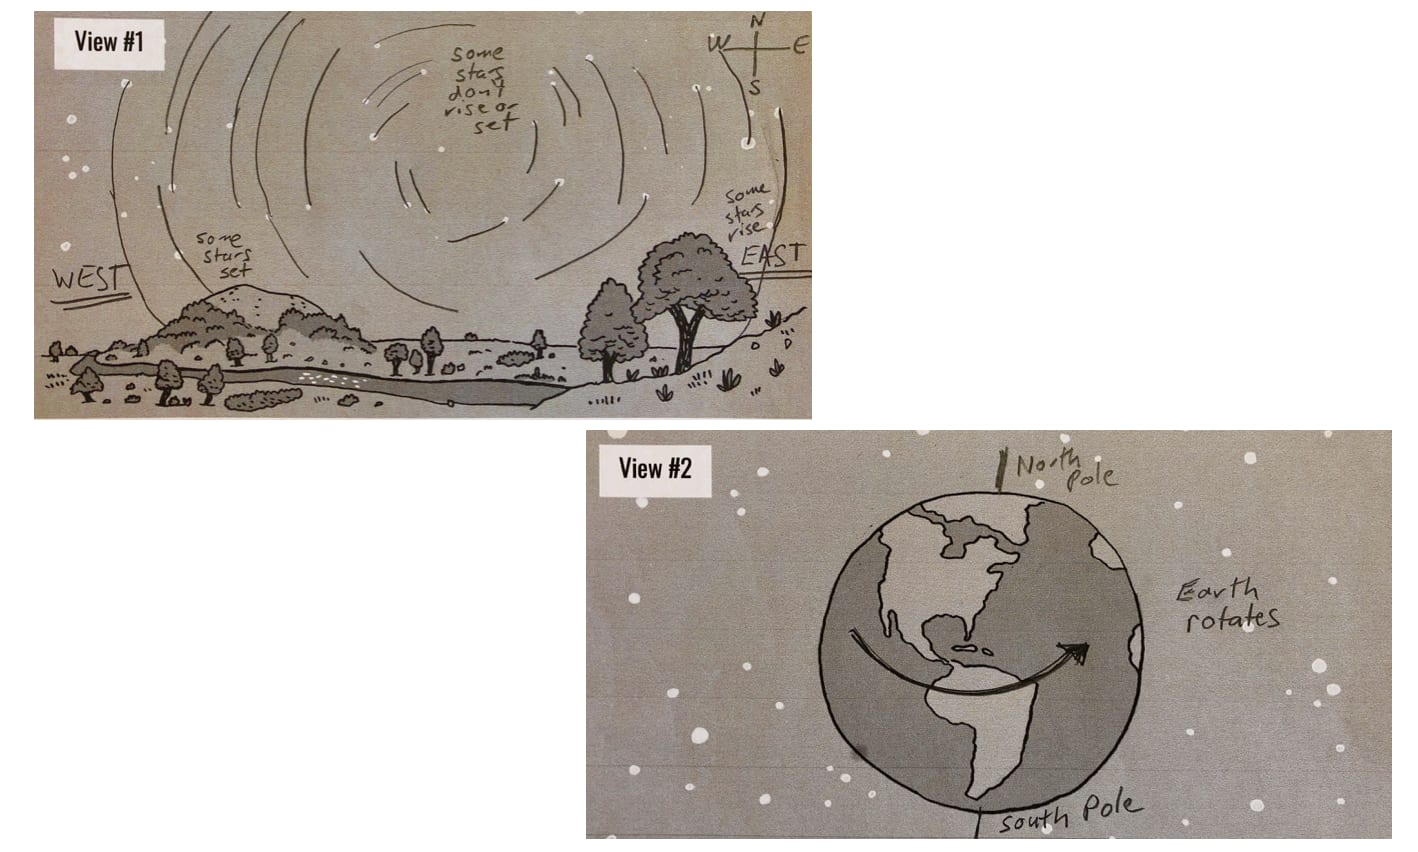
After learning that some constellations changed with the seasons, we thought about constellations that did NOT change. The constellations that didn’t change are all near the North Star. The North Star was at the center of all the circles.
We realized that the North Pole points to the North Star. Could that explain why the stars look like they are moving in circles around the North Star?
We decided to add a full Moon and its trail to our picture. At midnight, the full Moon is high in the sky, just like the Sun at mid-day.
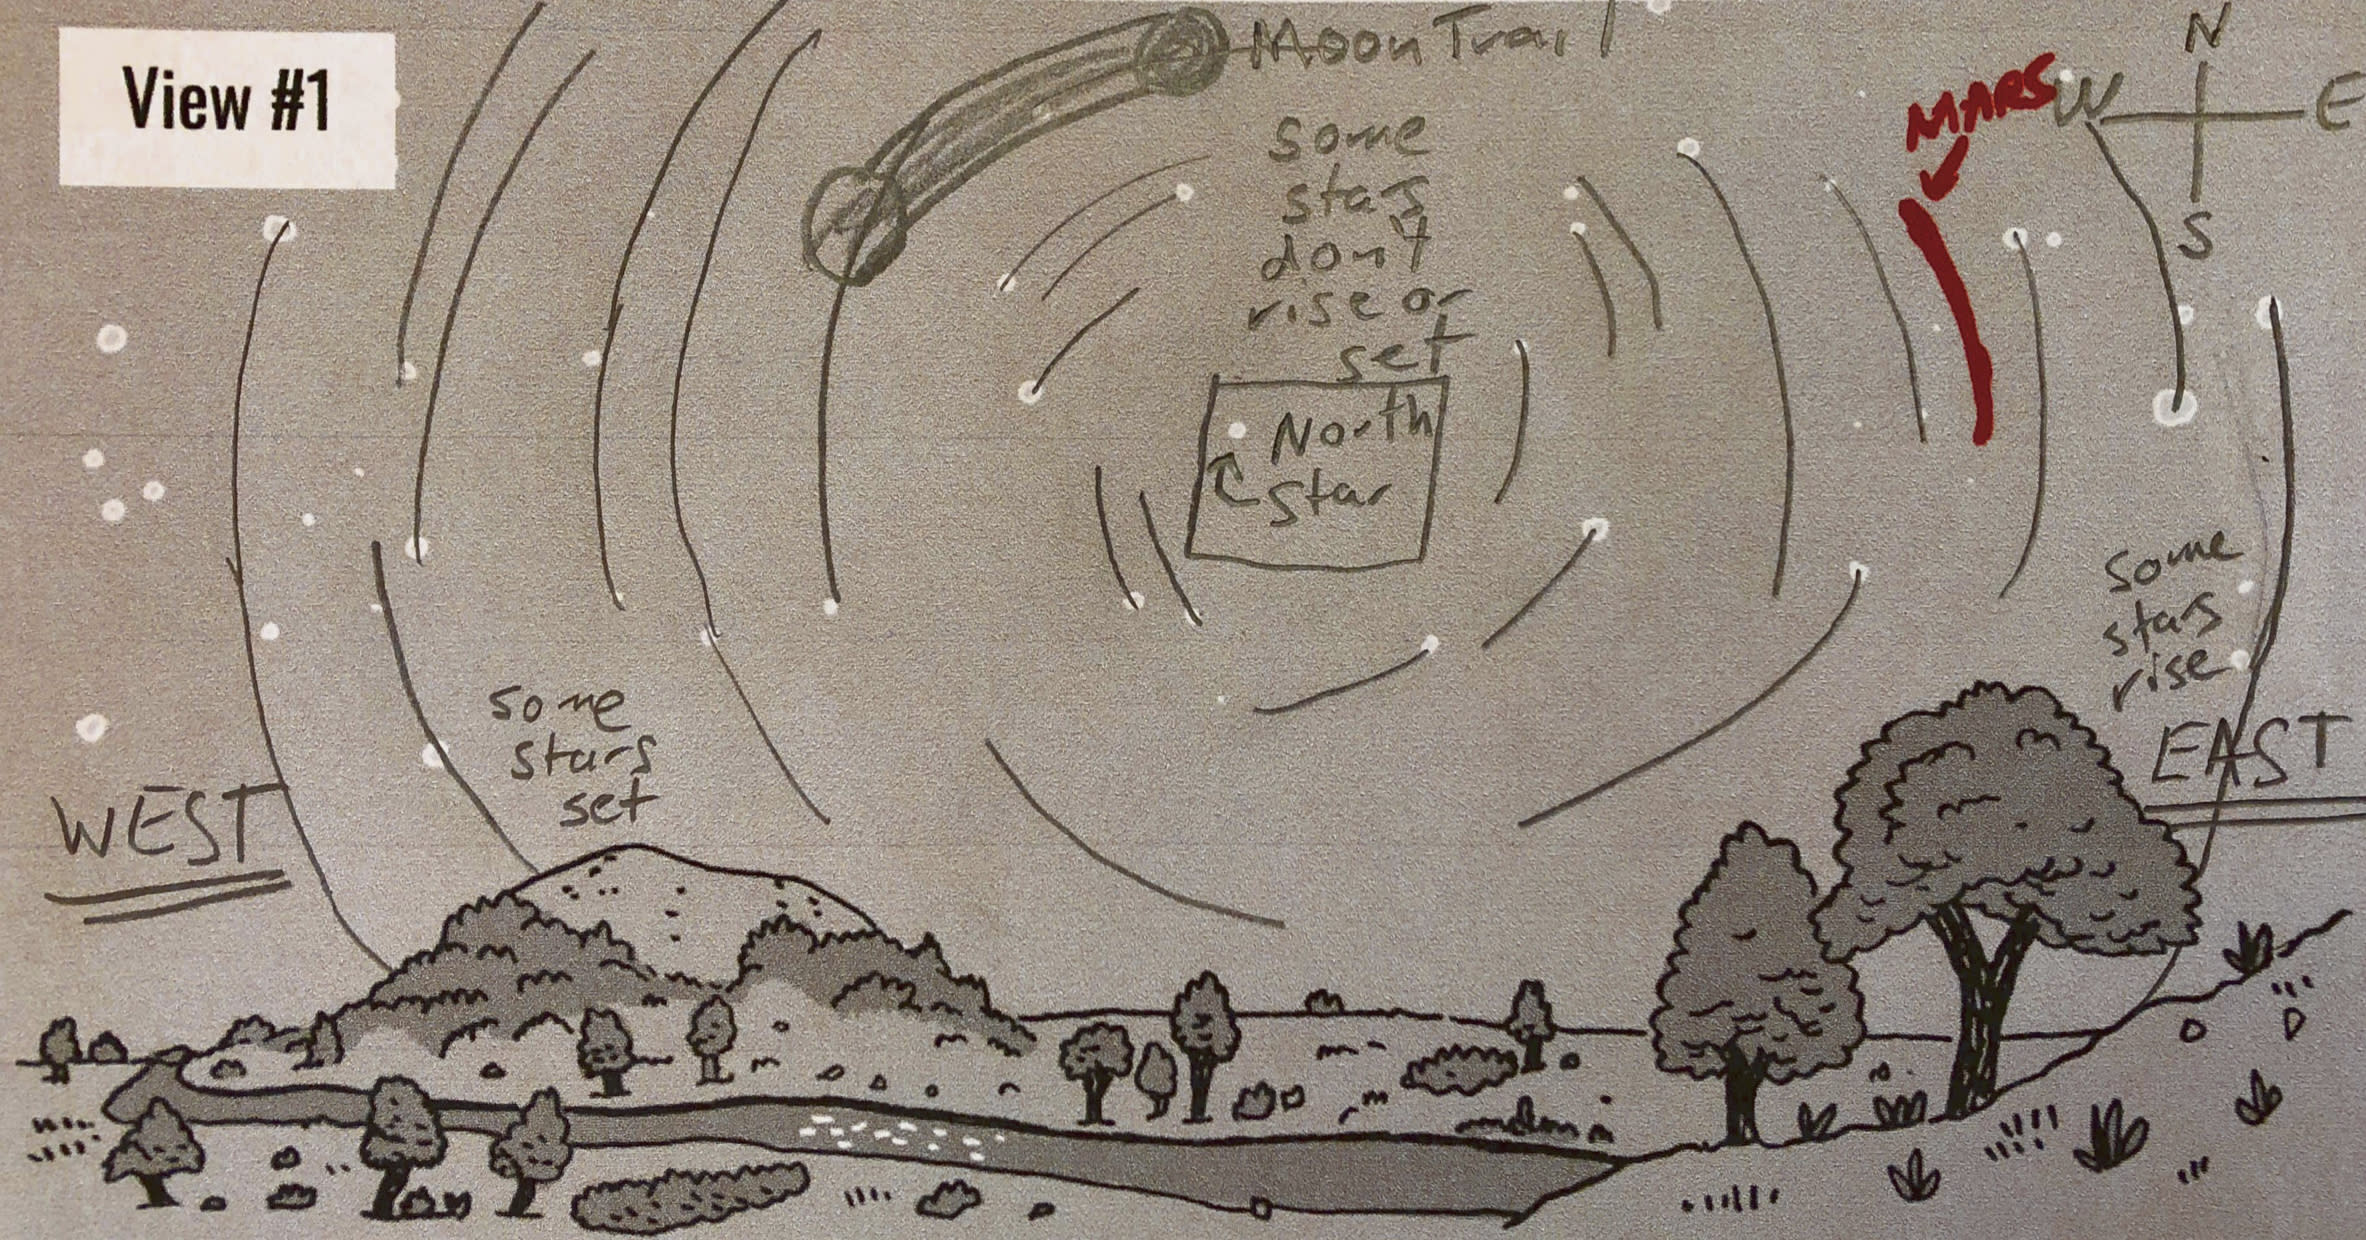
We decided to add one planet trail to our model — the planet Mars. Mars looks like a reddish star when viewed from Earth. Our picture is getting crowded, but that’s OK. There's a lot to see in the night sky!
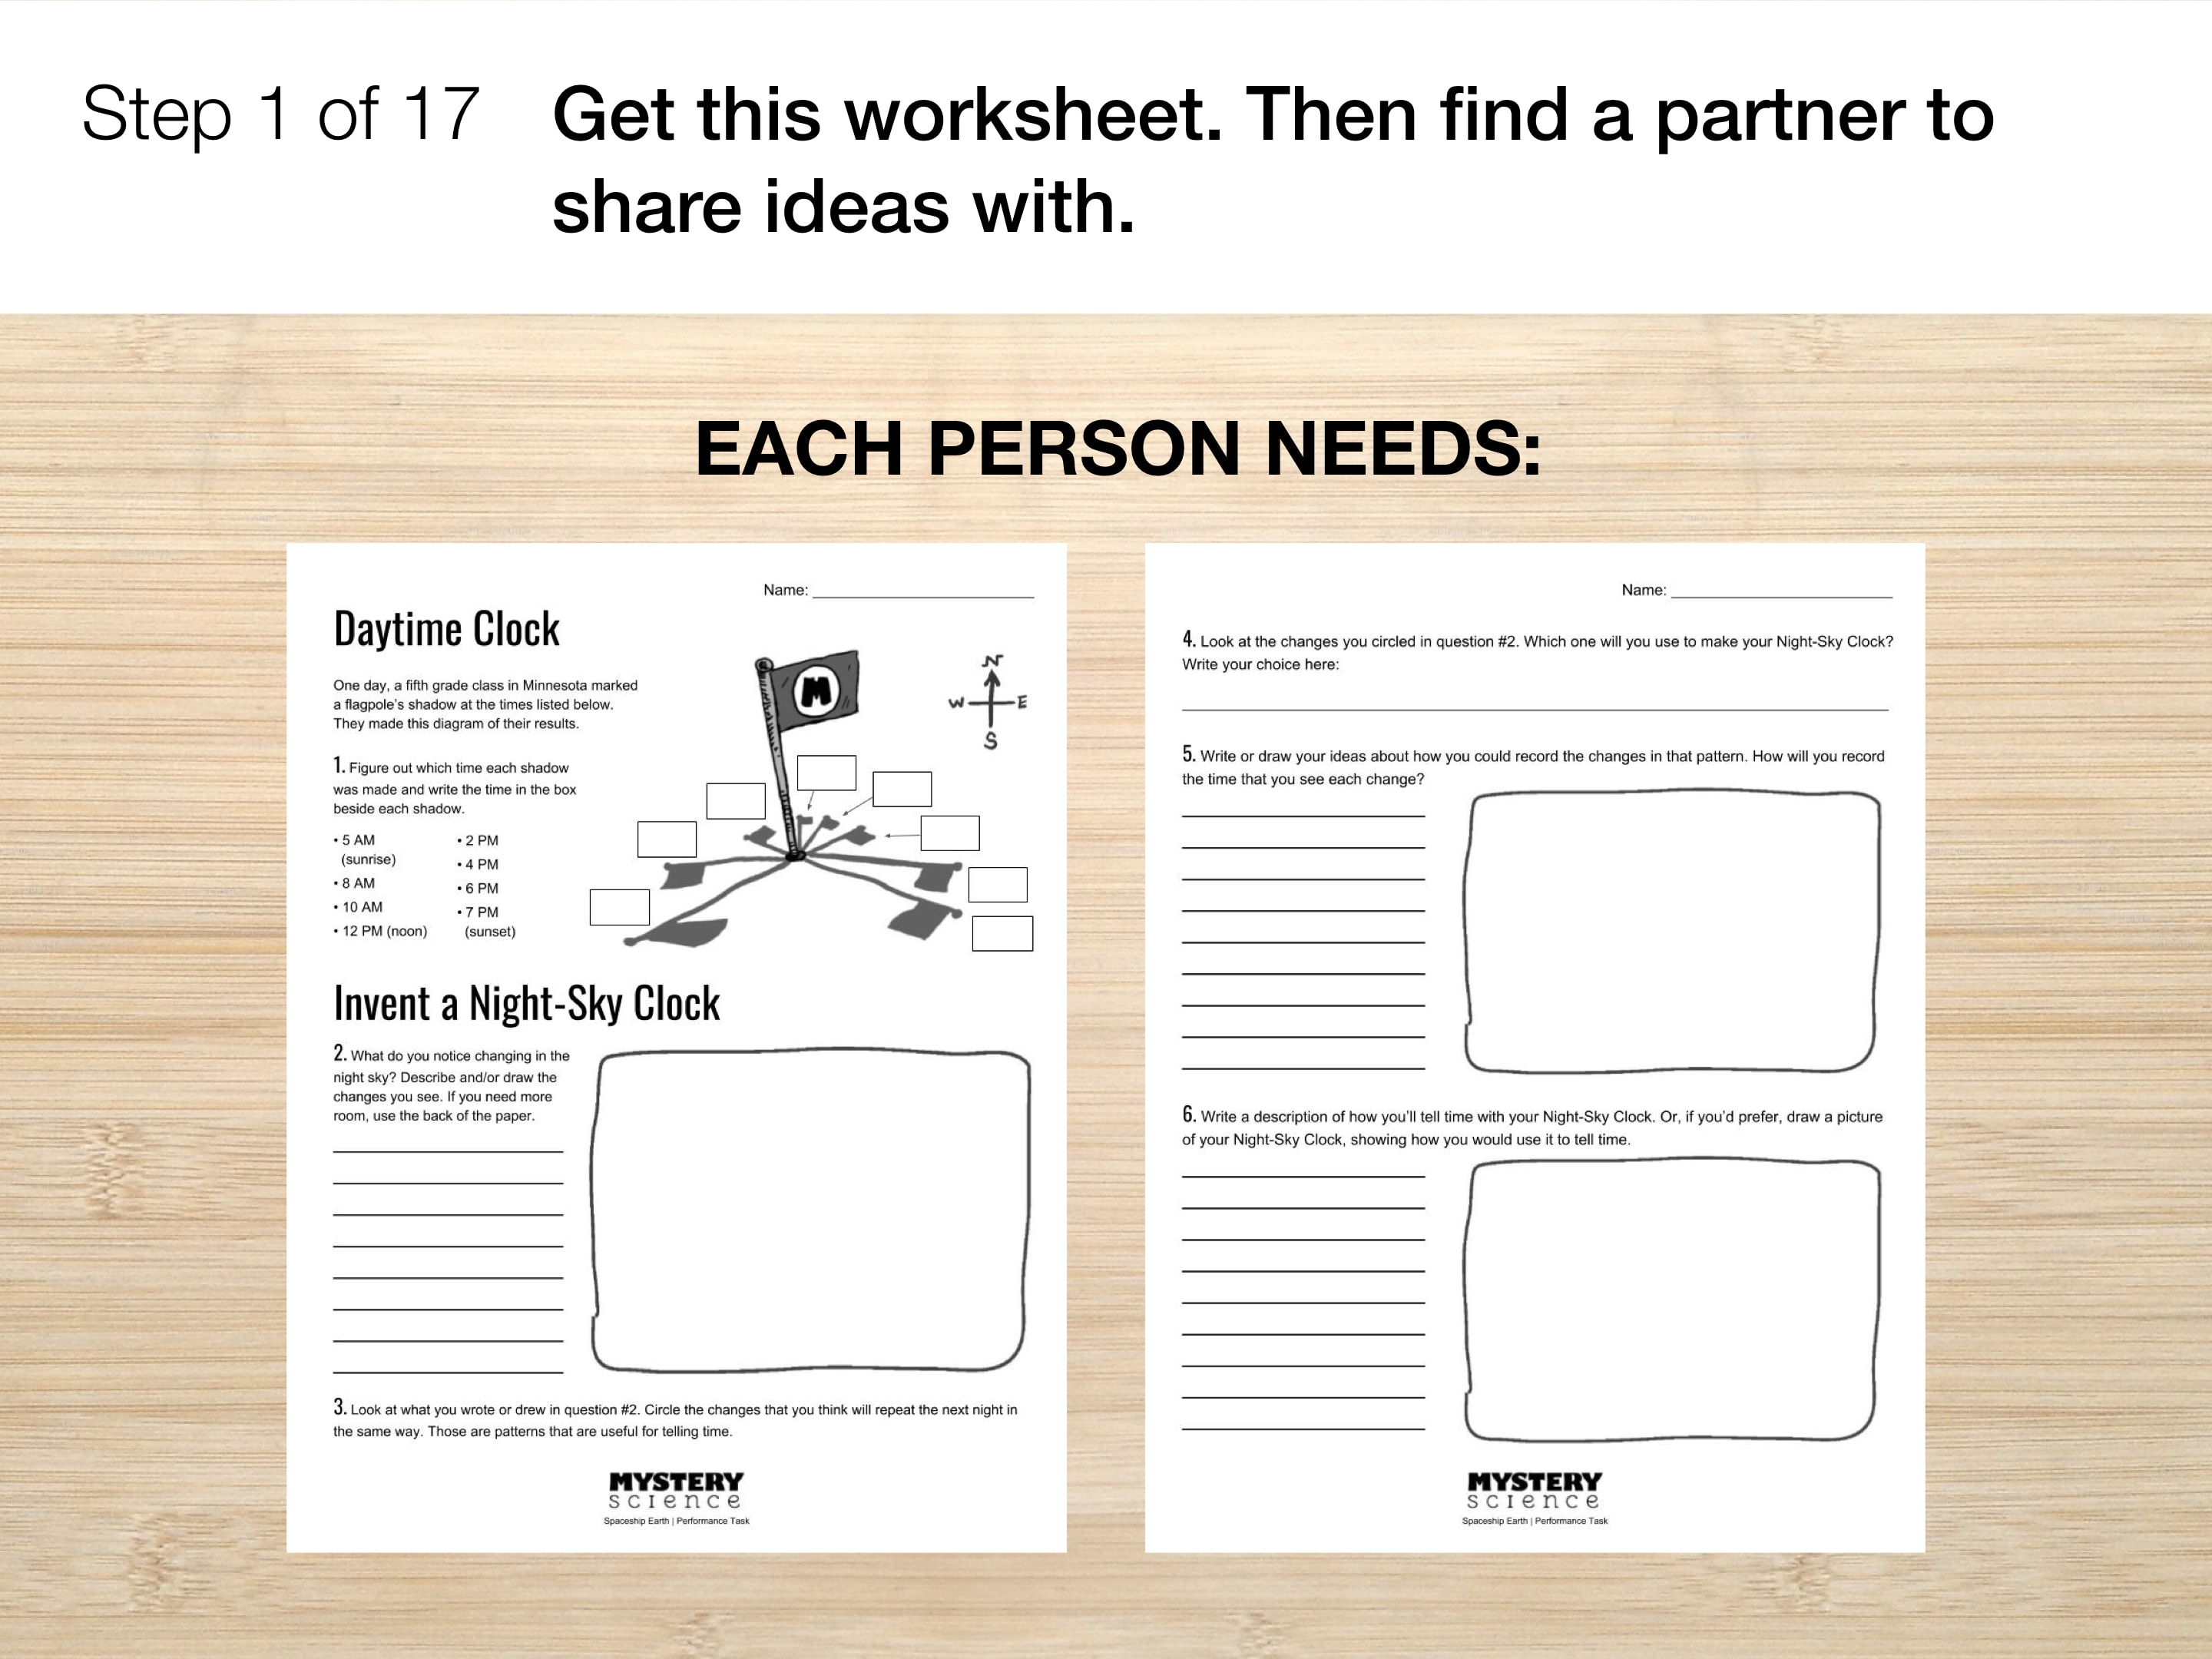
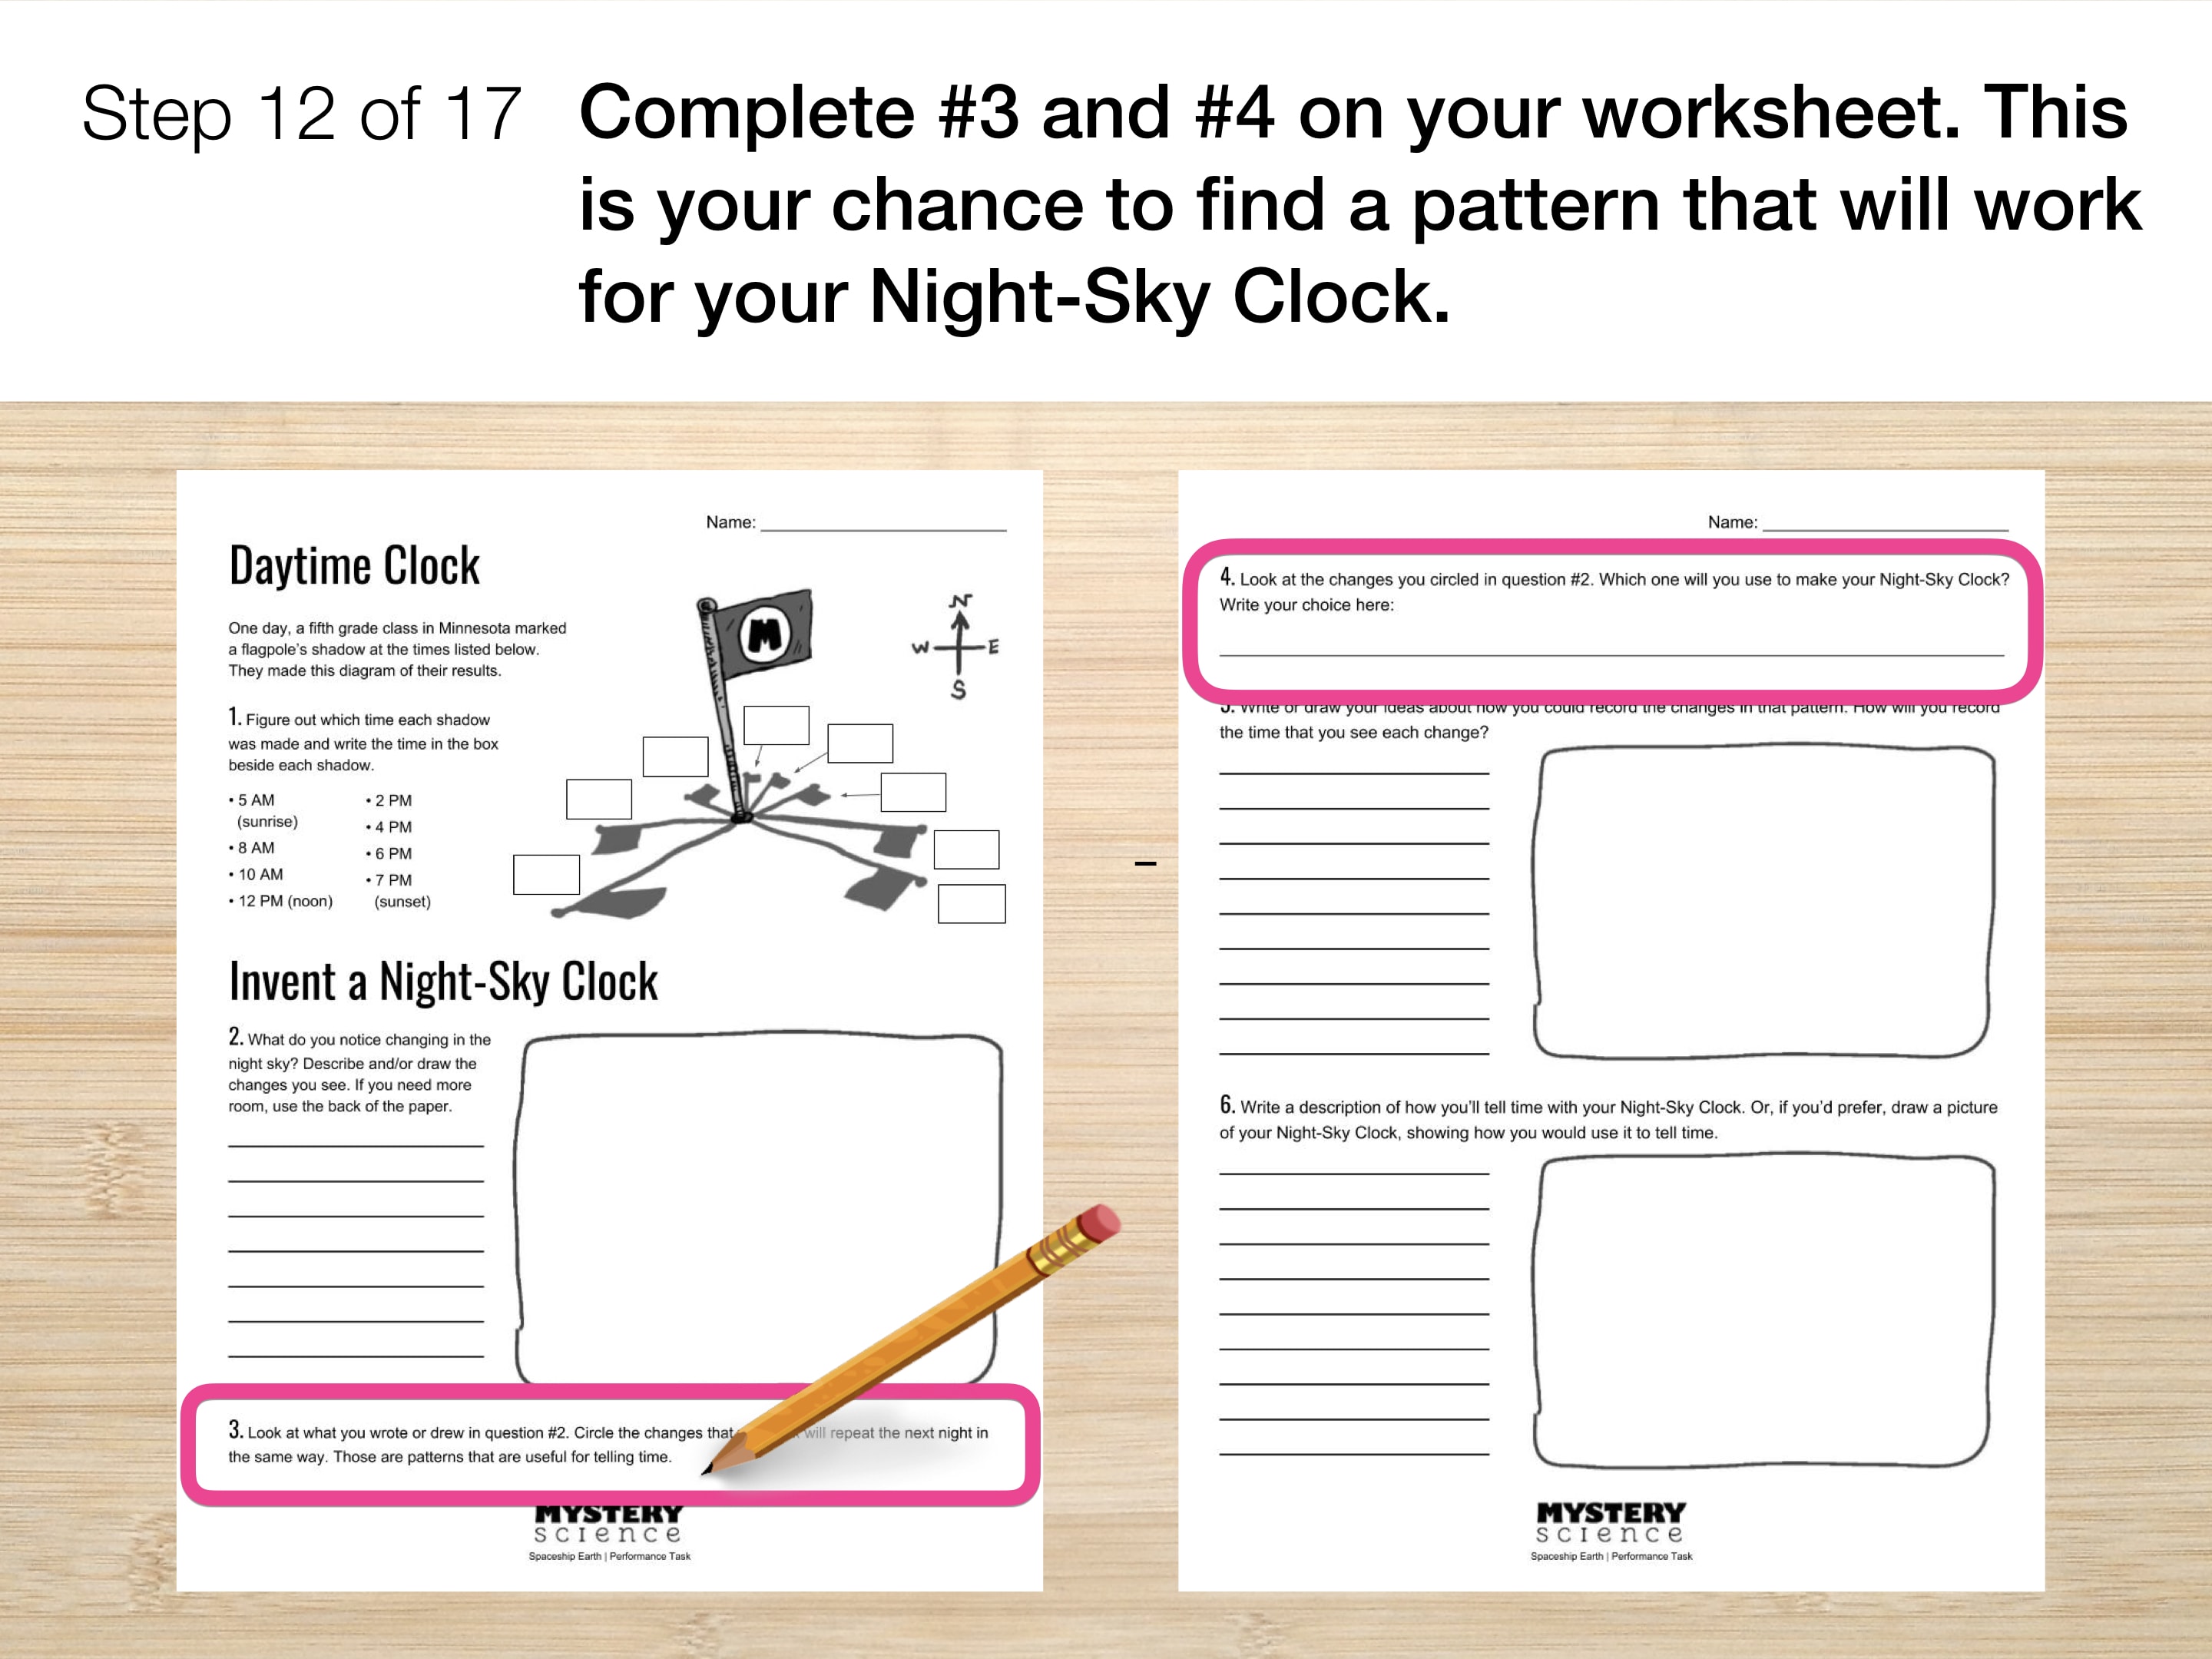
In today's activity, you'll use what you have learned in this unit to design a way to tell time.
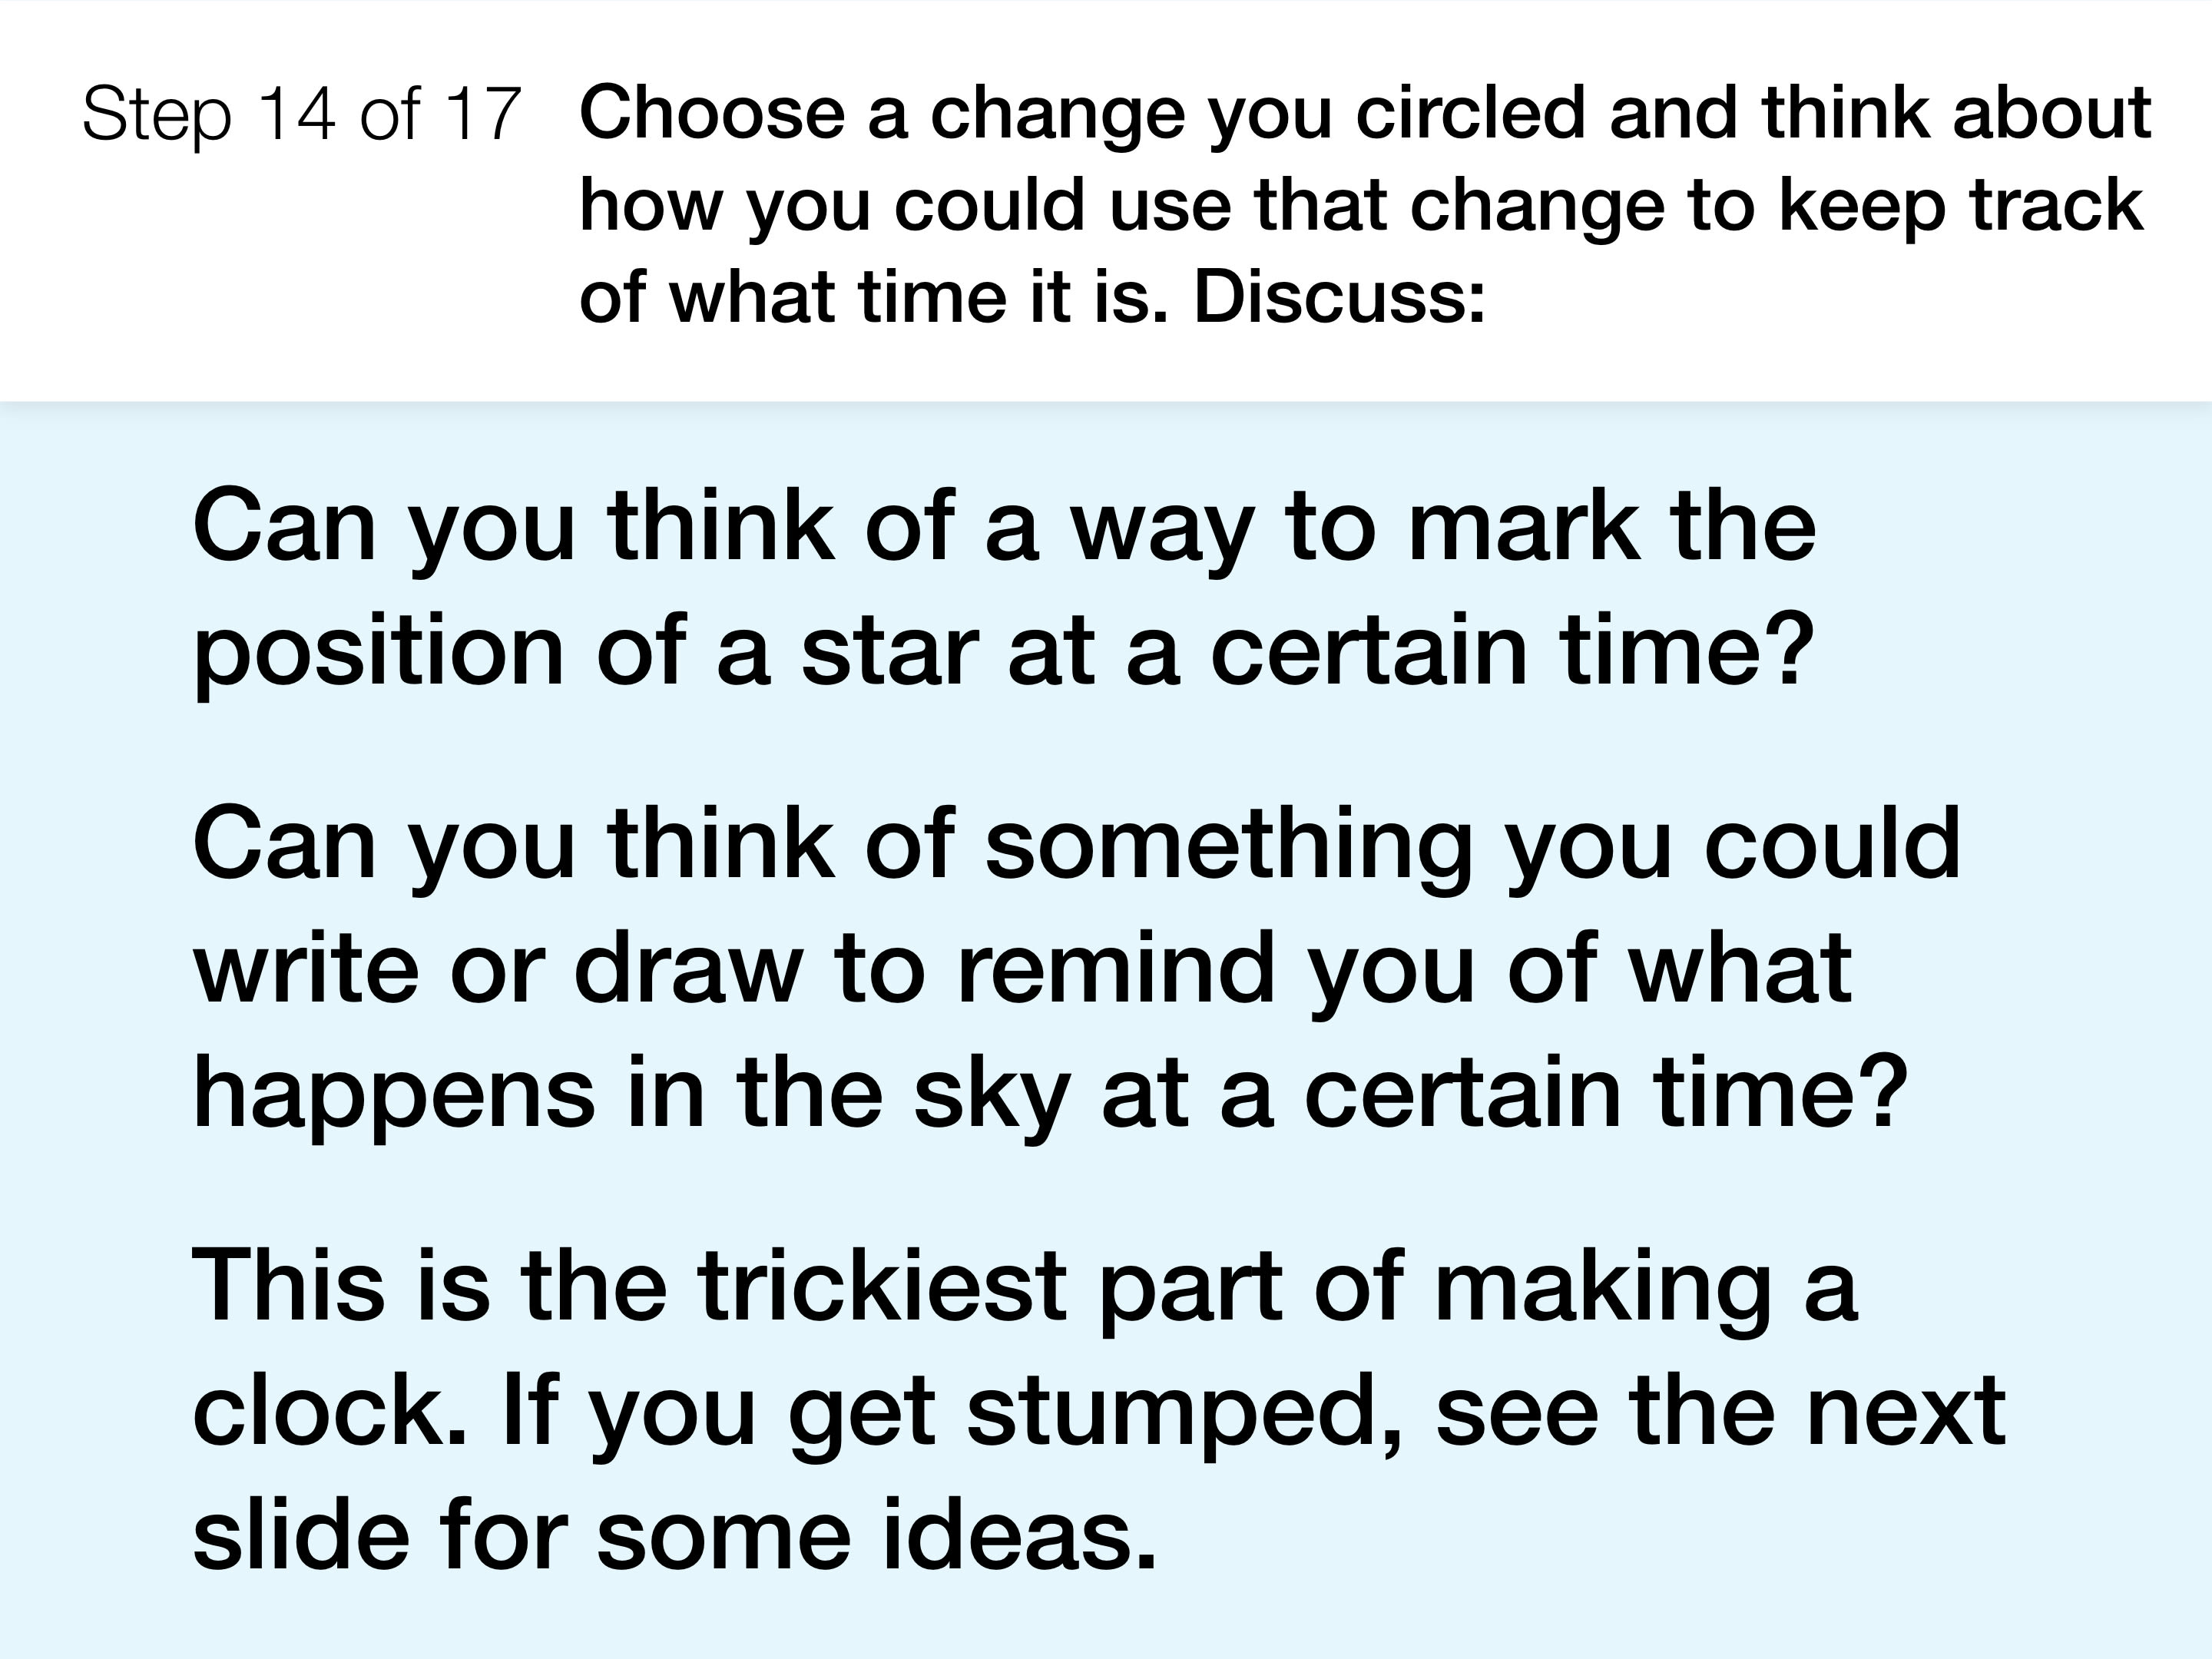
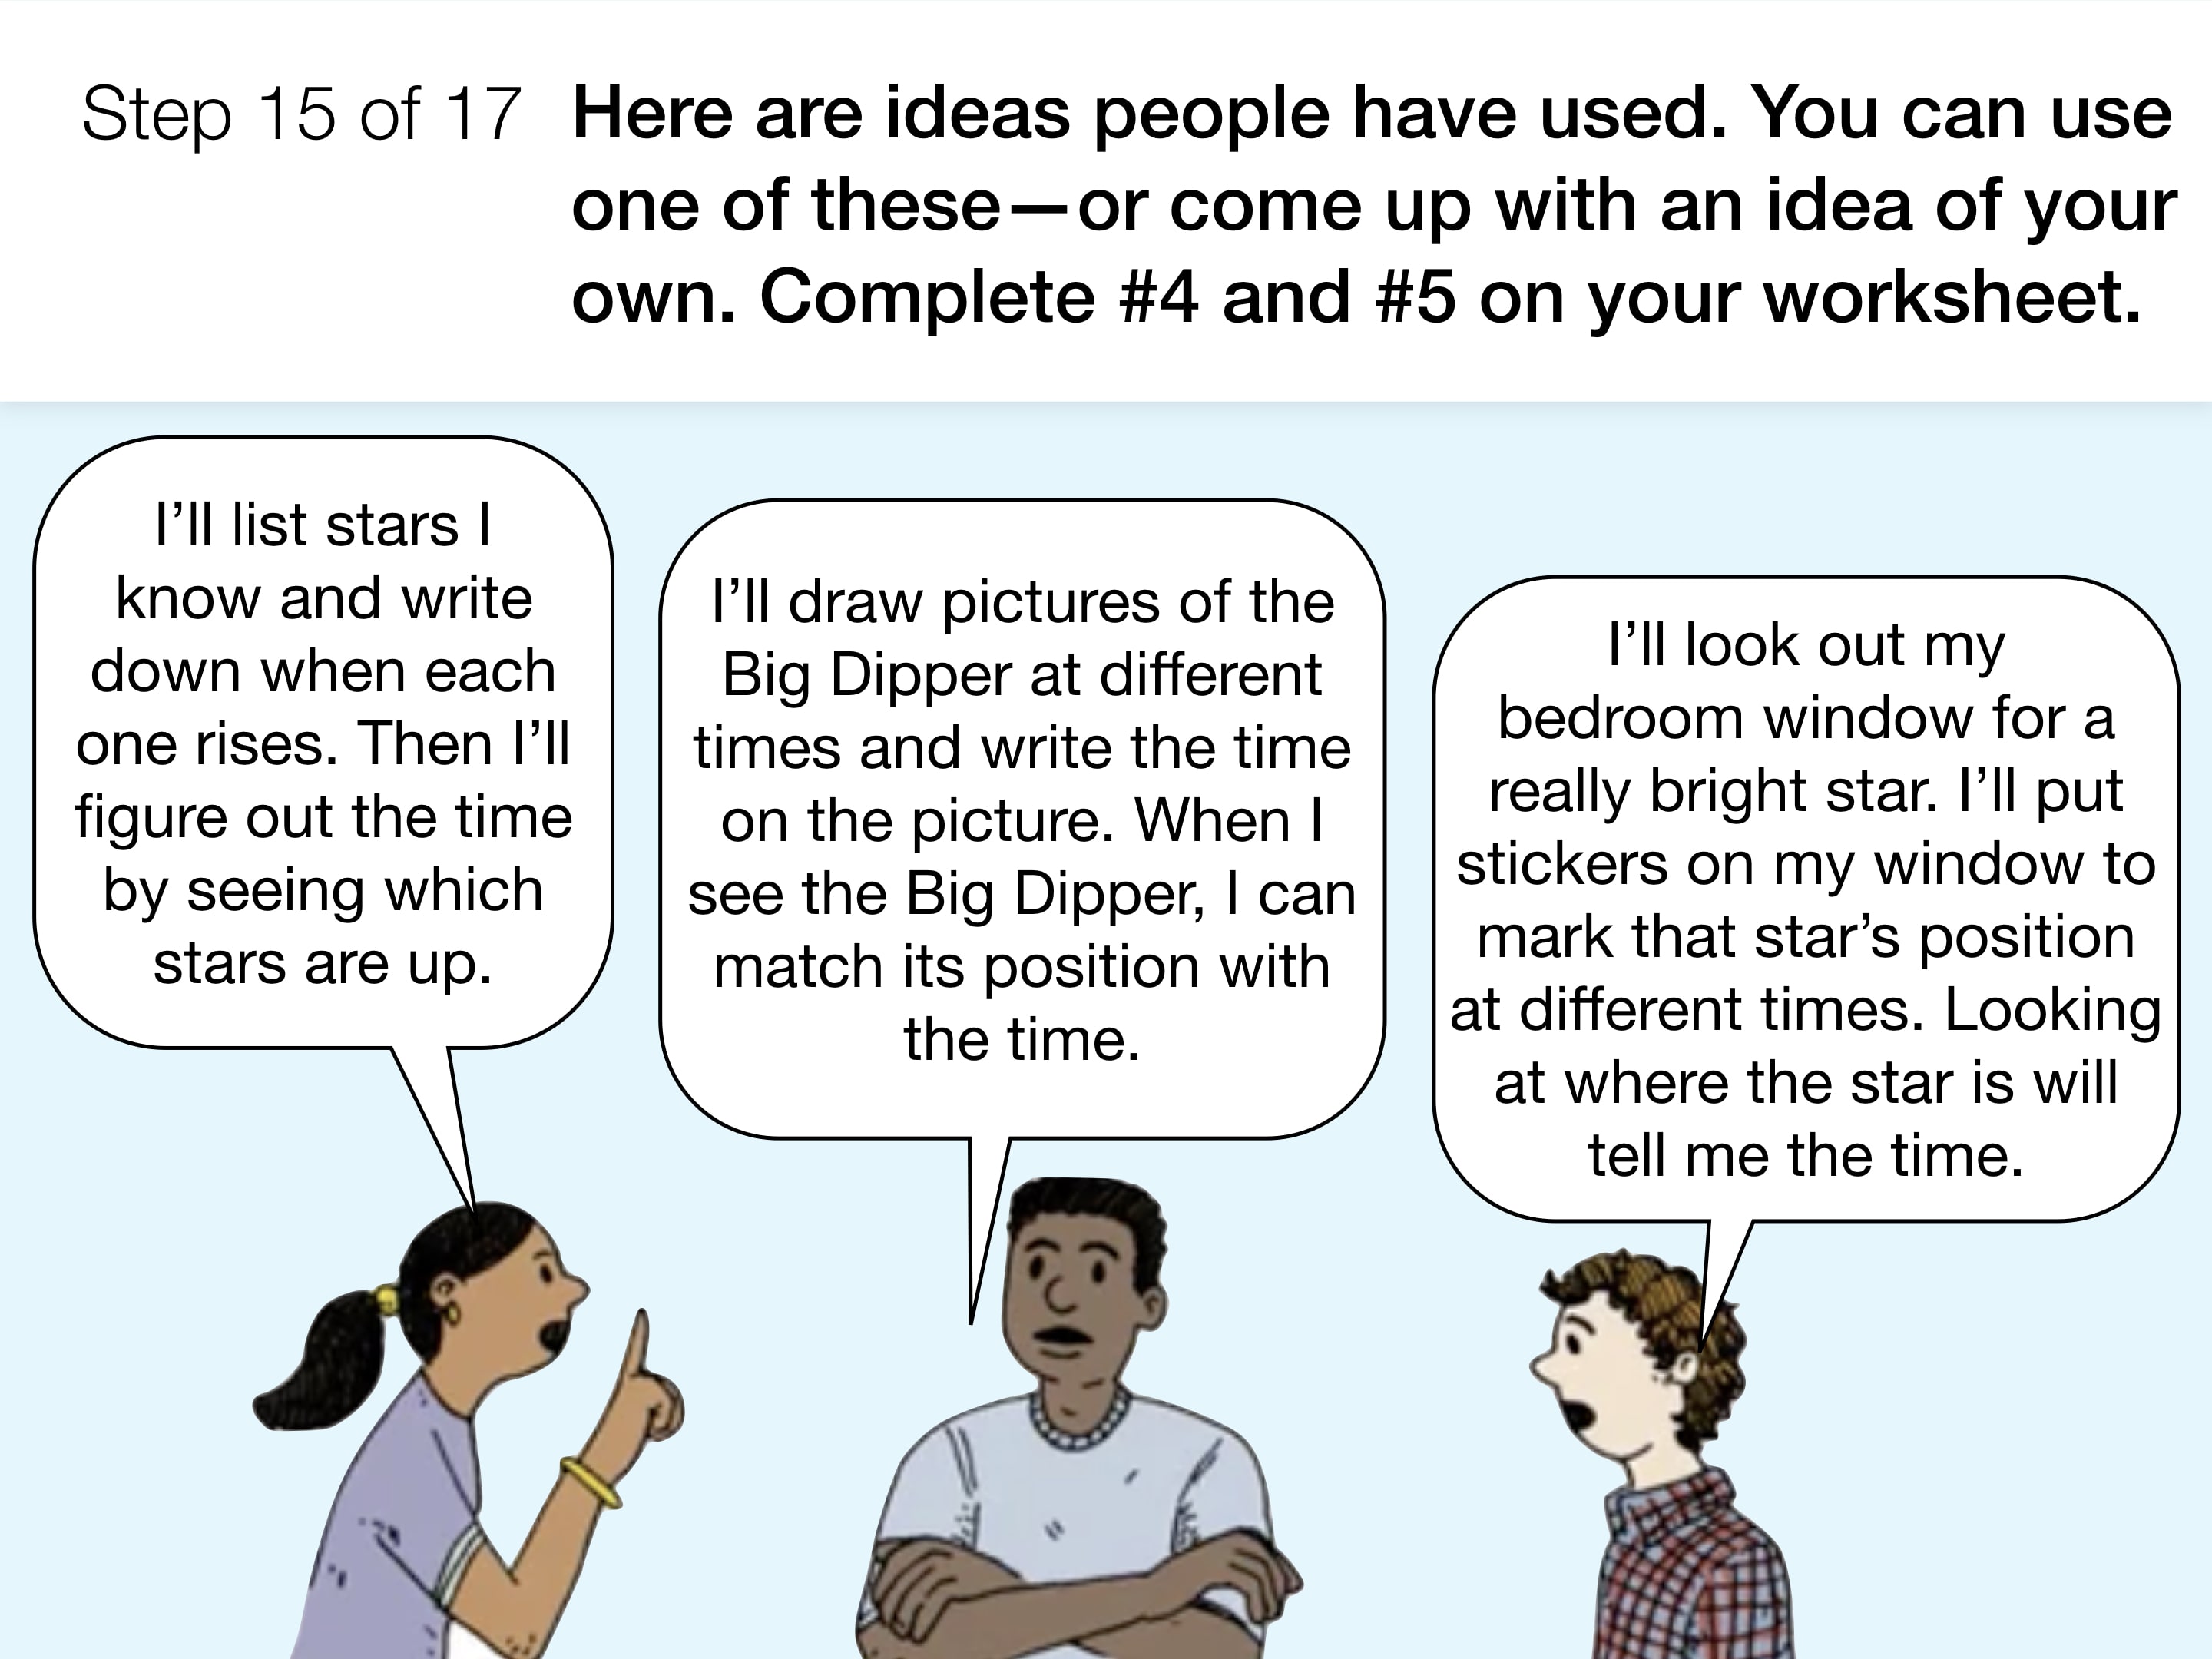
You already know how to tell time with a shadow clock during the day, so we have a special challenge for you. We want you to design a time-keeper that works AT NIGHT, when the sun isn’t out.
We’ll help you meet this challenge by walking you through the process, step by step.
