DISCUSS:
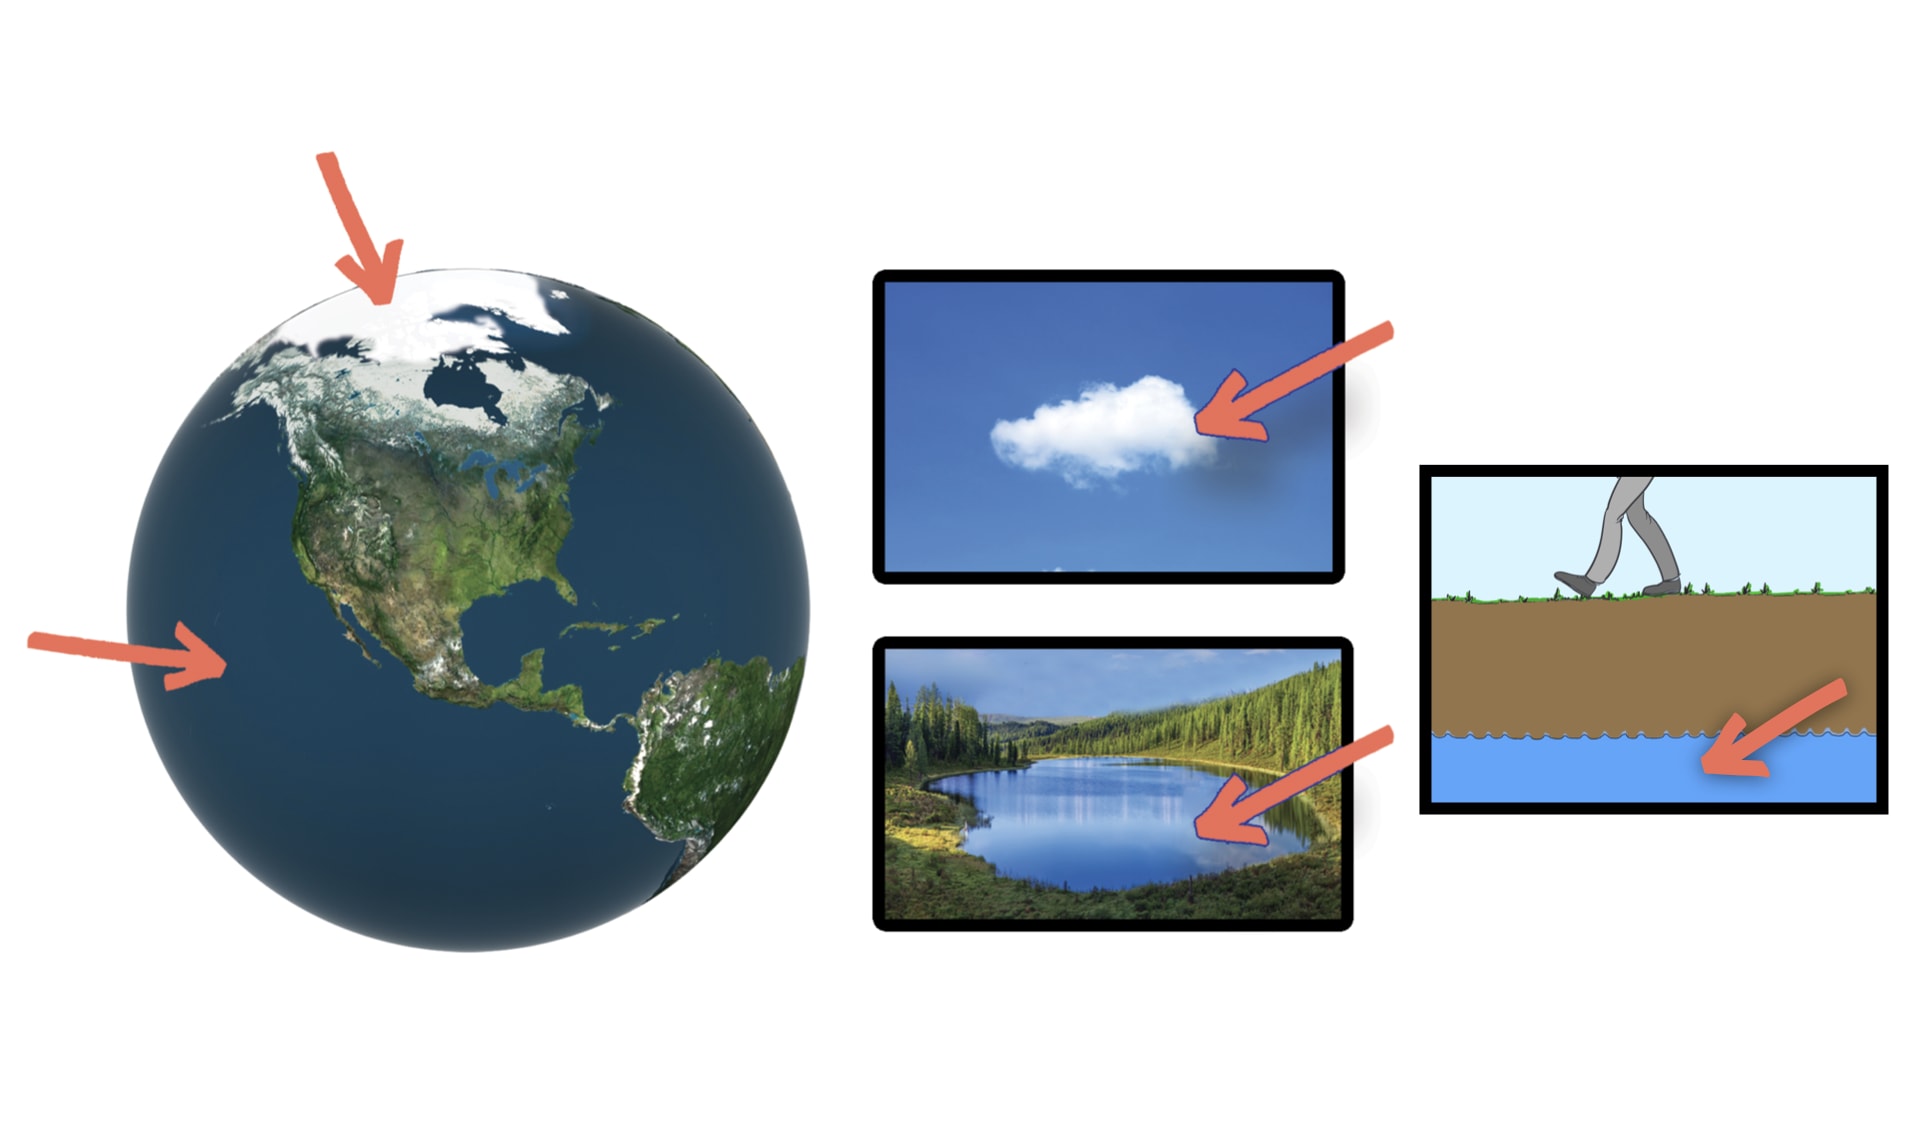
Imagine you lived in the same town as Pat’s brother. What could the town do to solve the problem of running out of fresh water? Do you have any ideas?
THINK & DRAW:
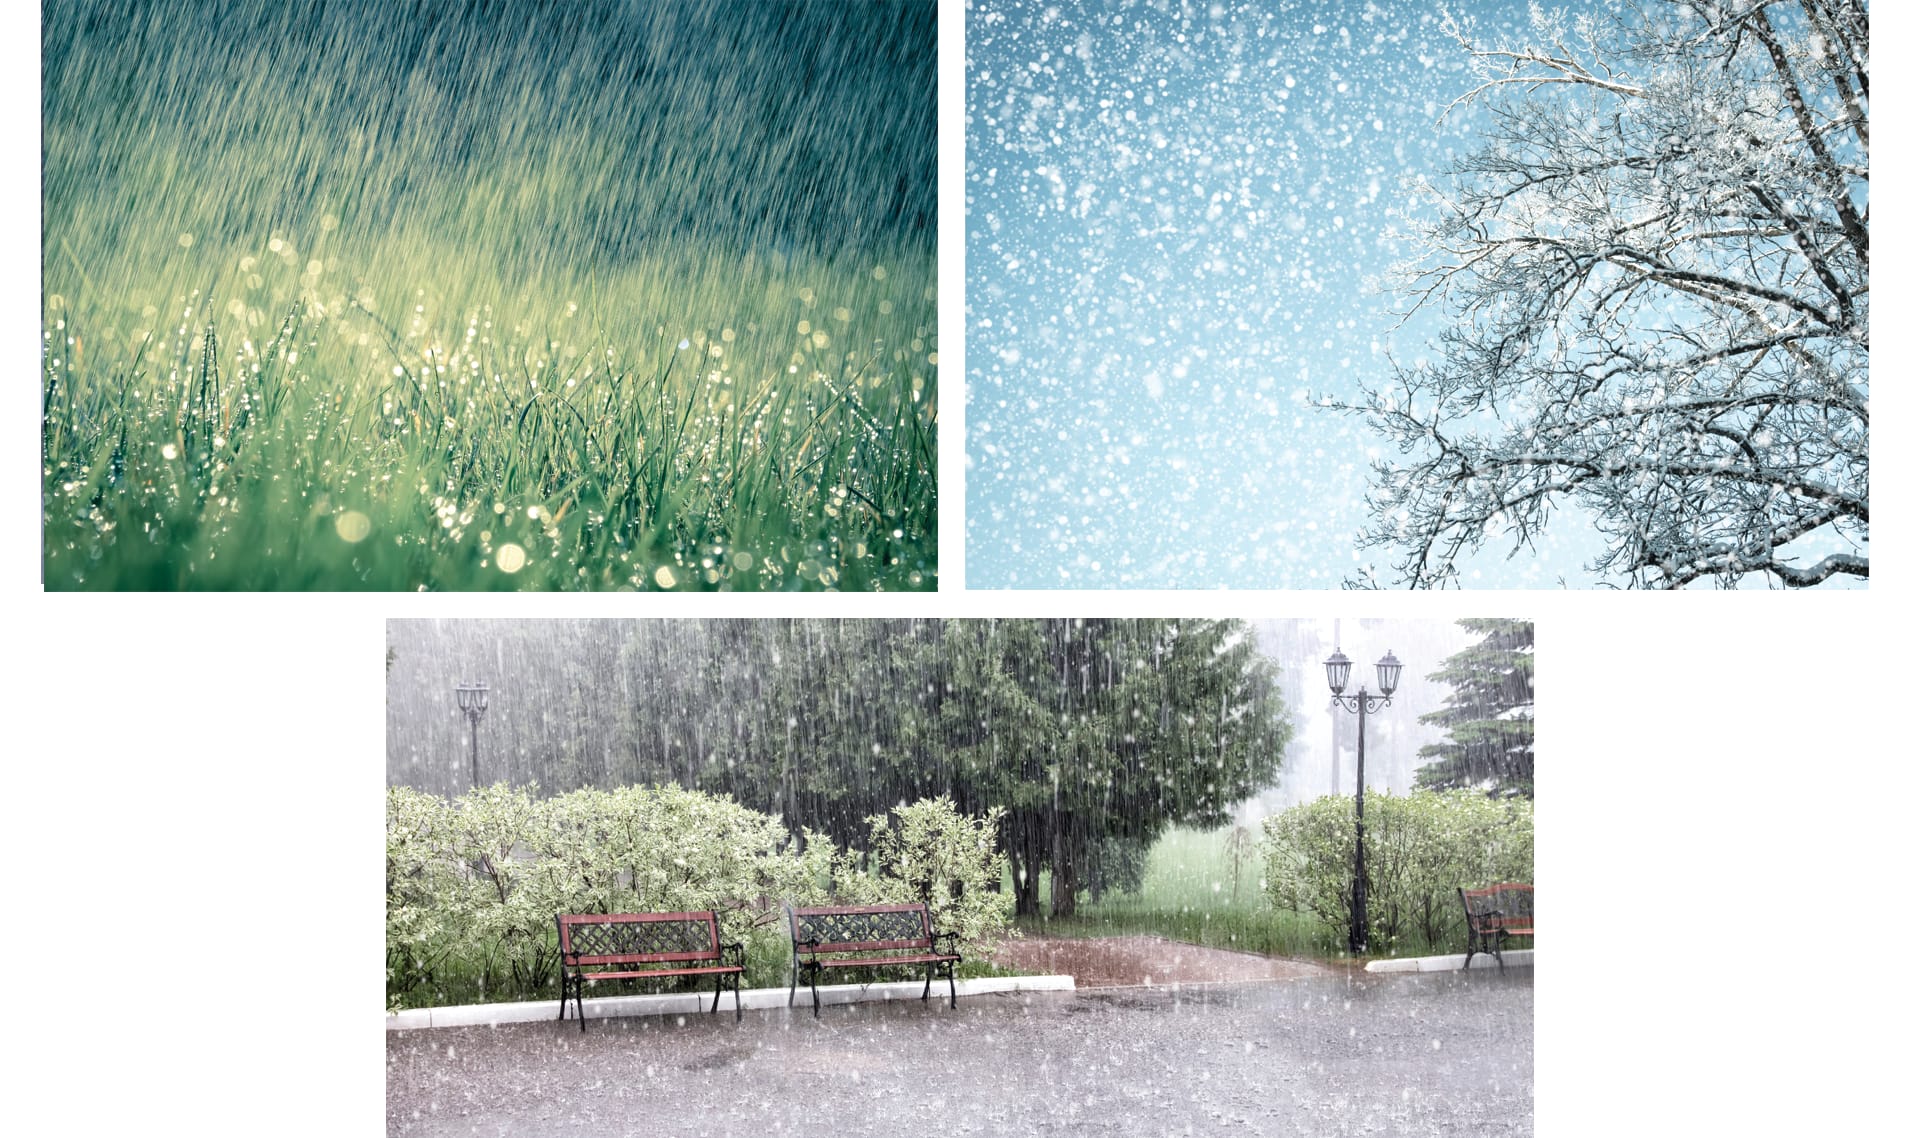
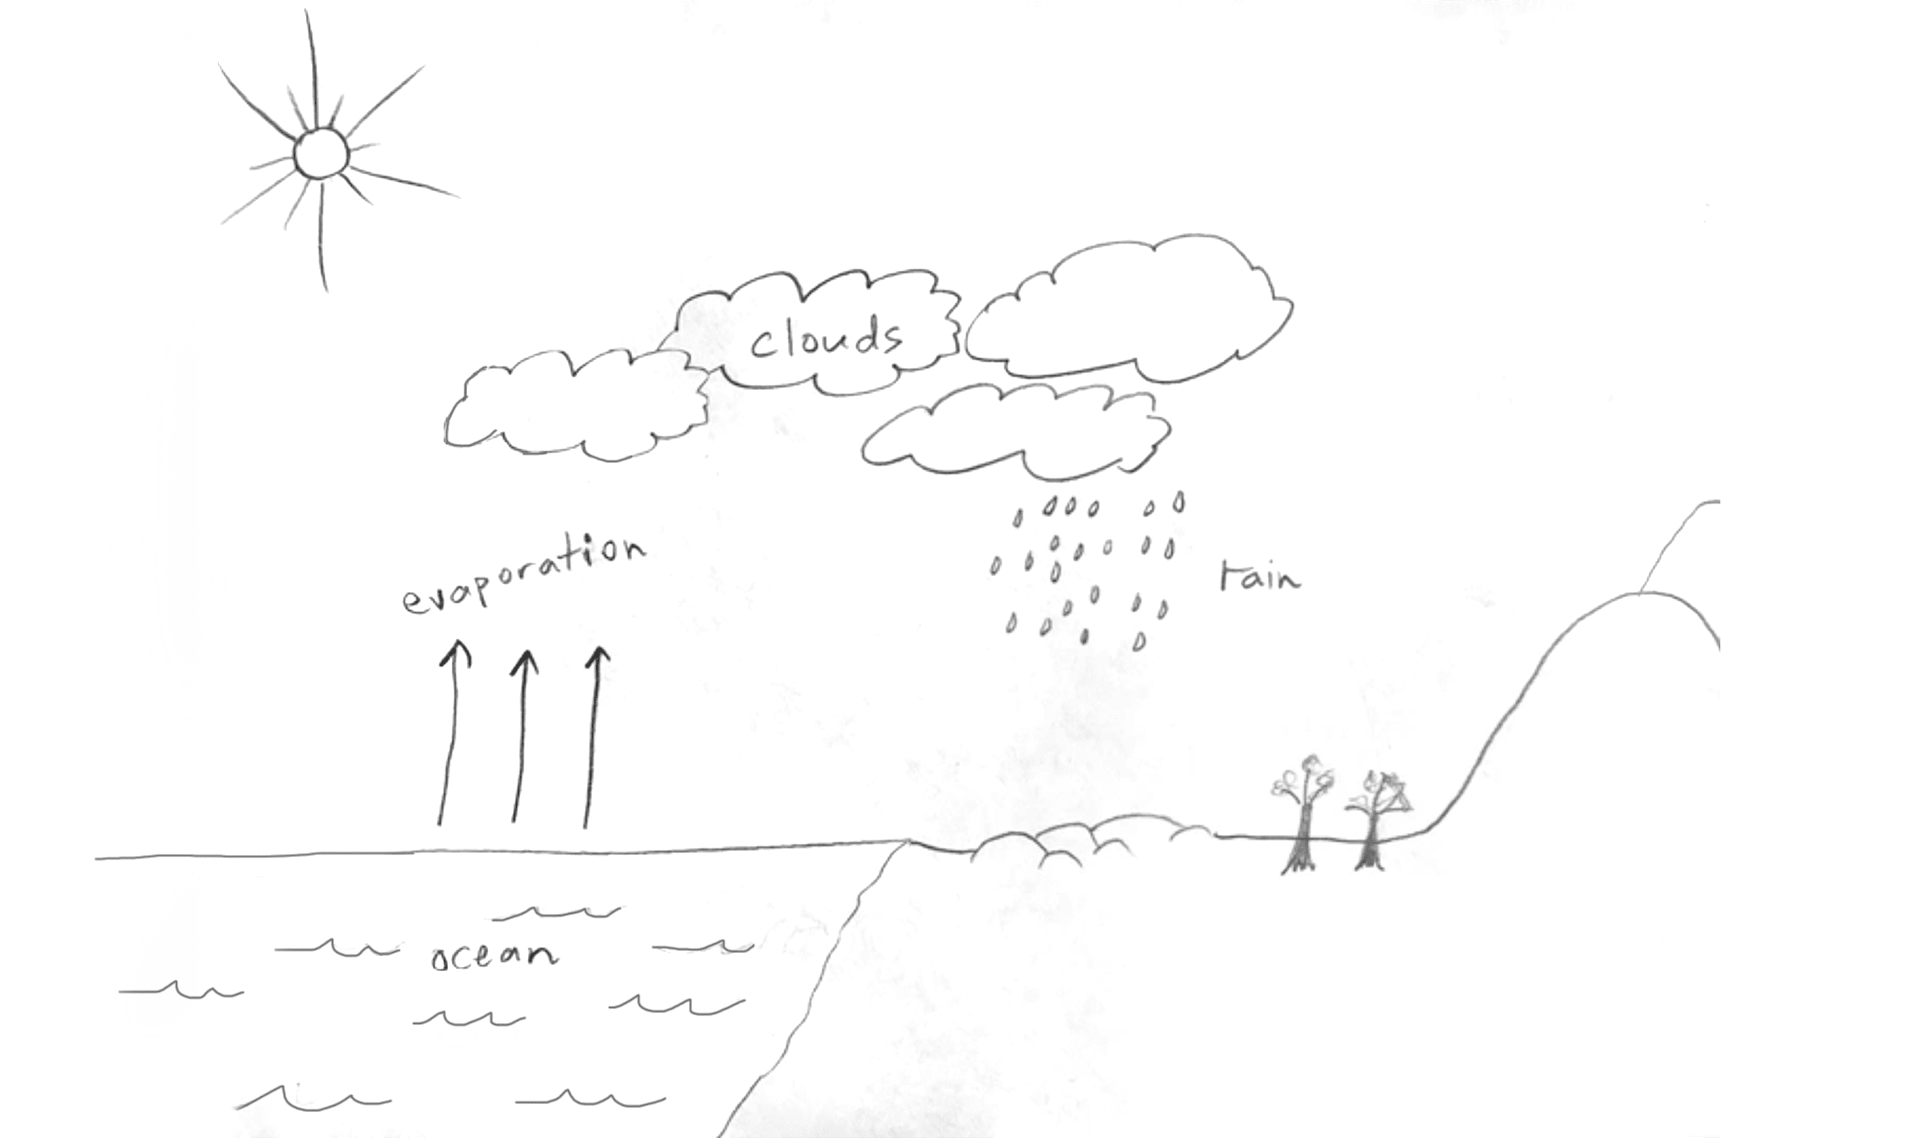
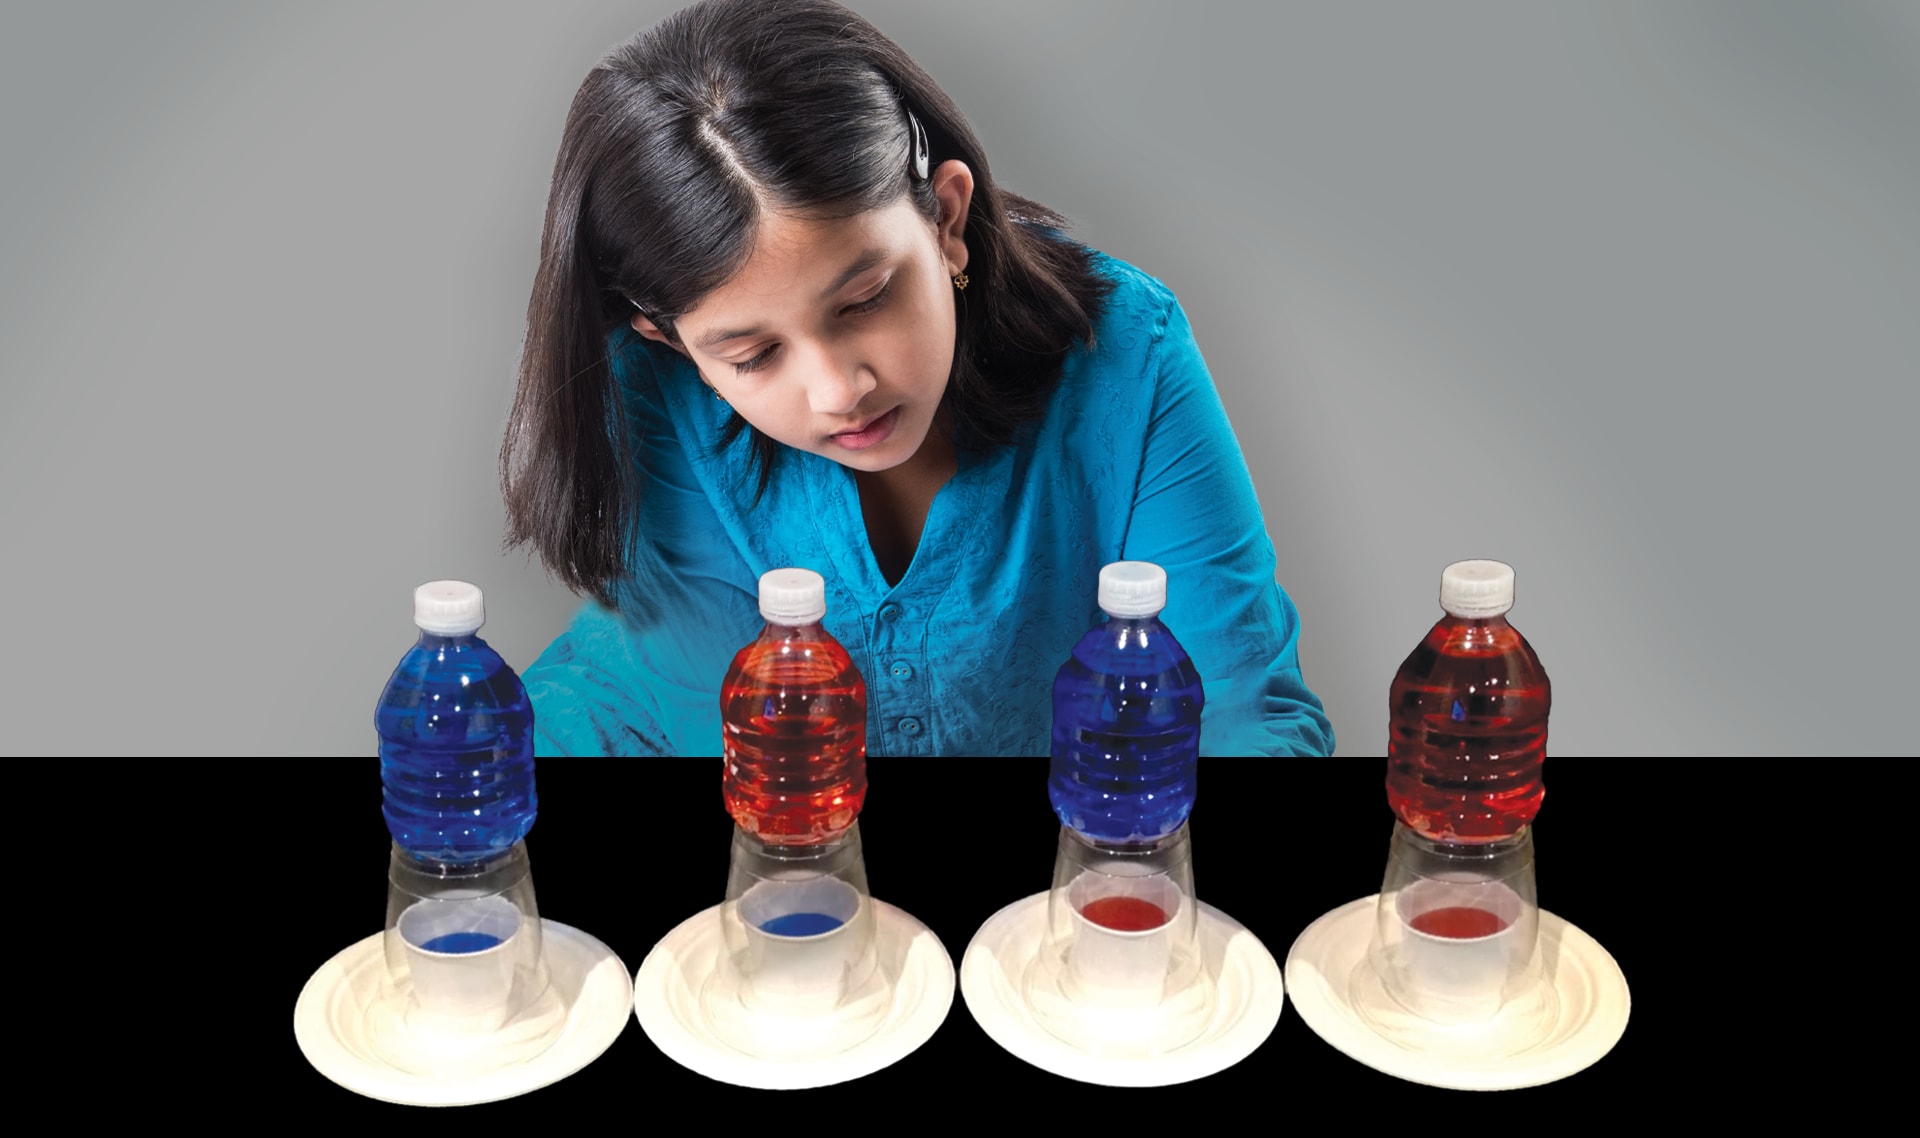
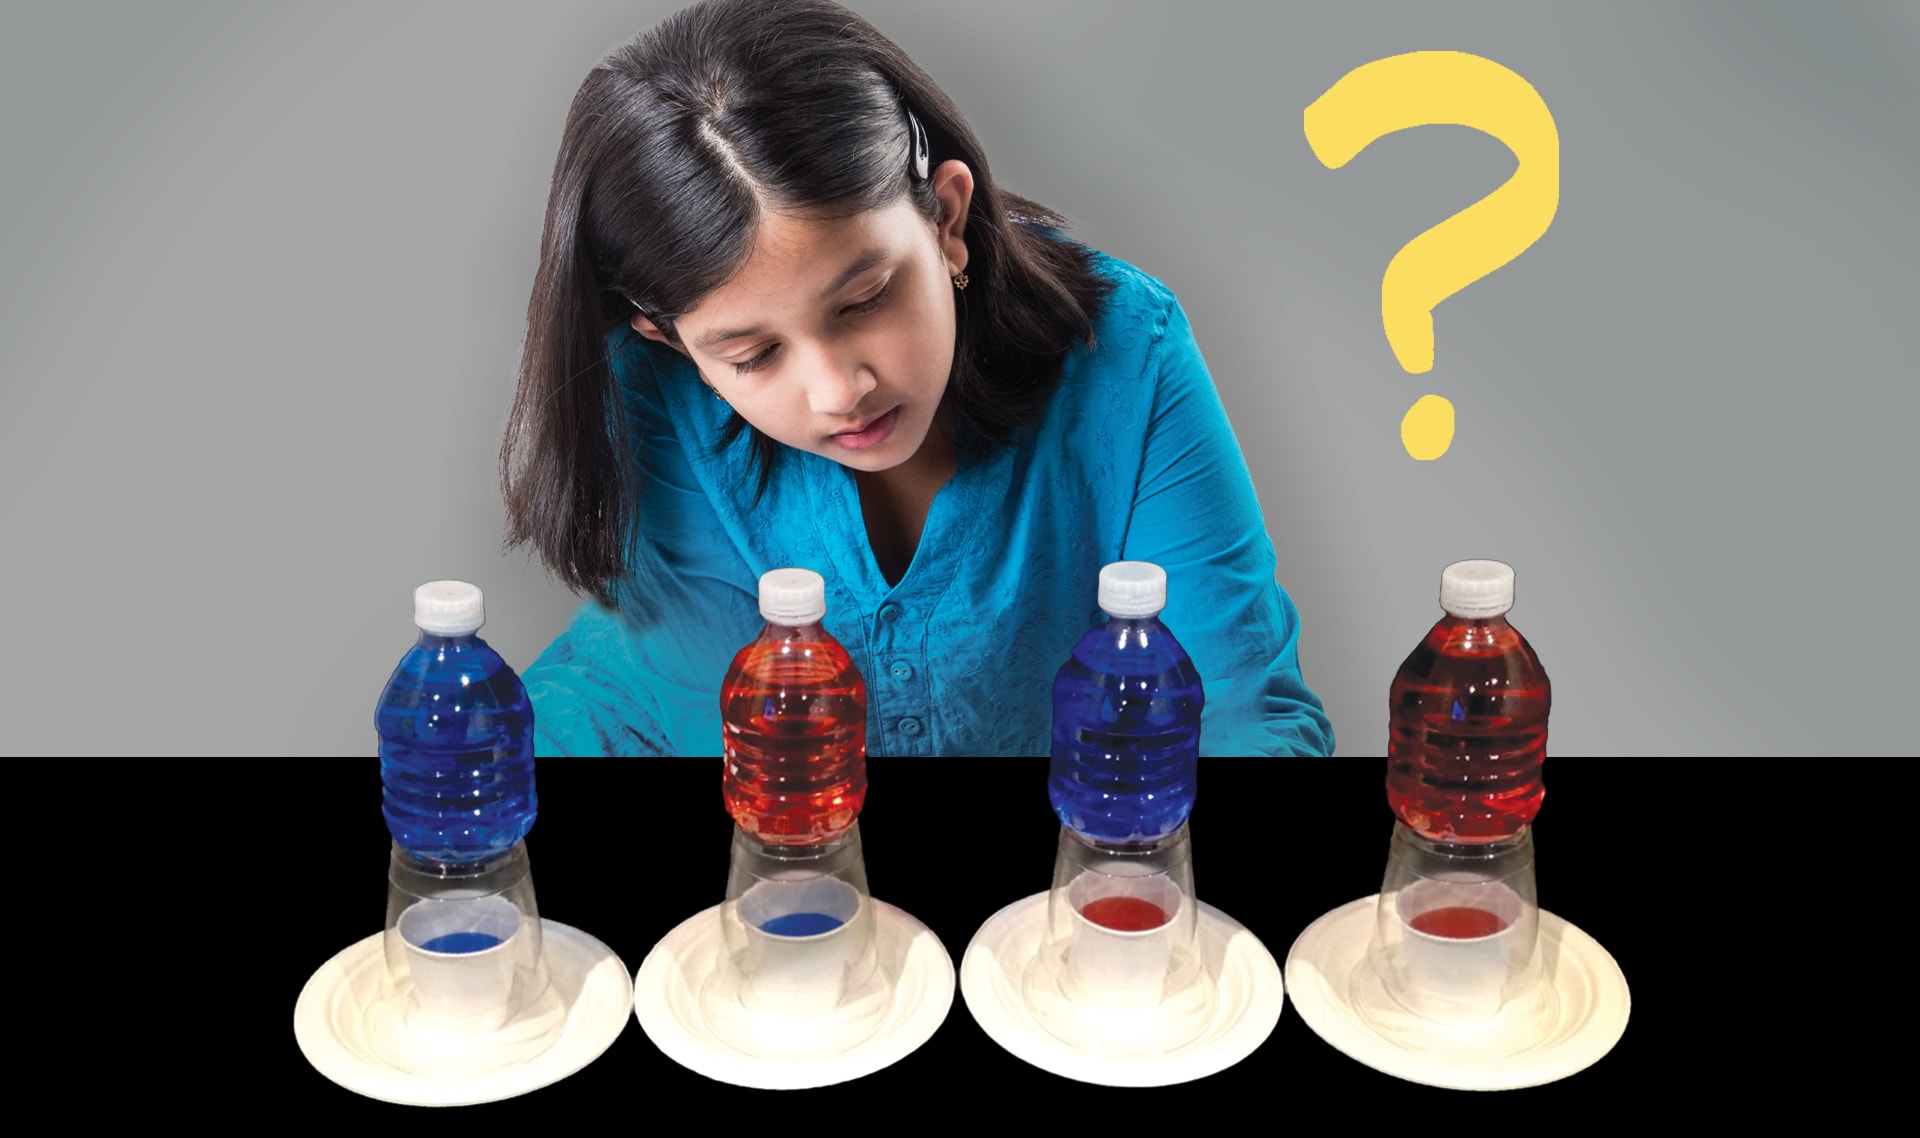
What makes it rain? How does rain get up into clouds?
Draw a picture of your ideas. Label your picture with words describing what you think happens.
DISCUSS (1 of 2):
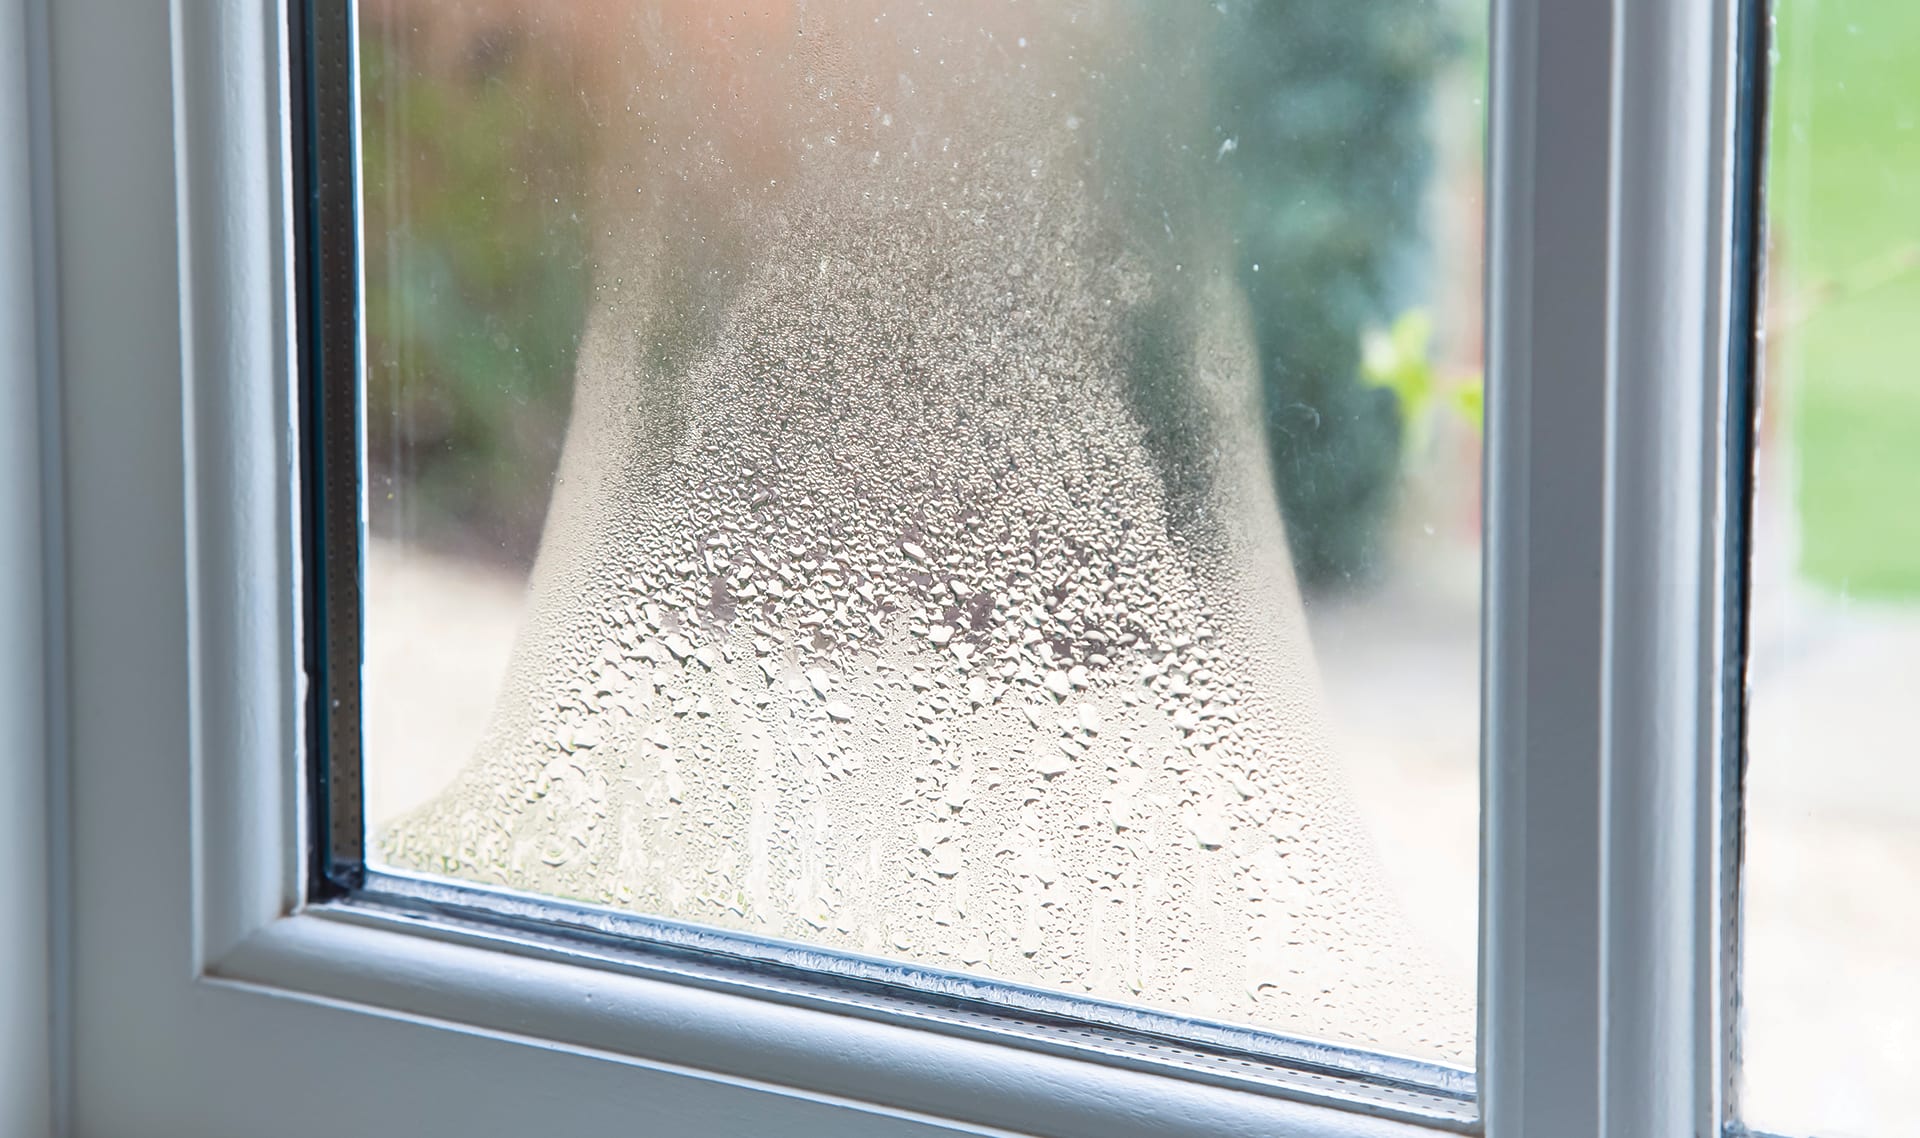
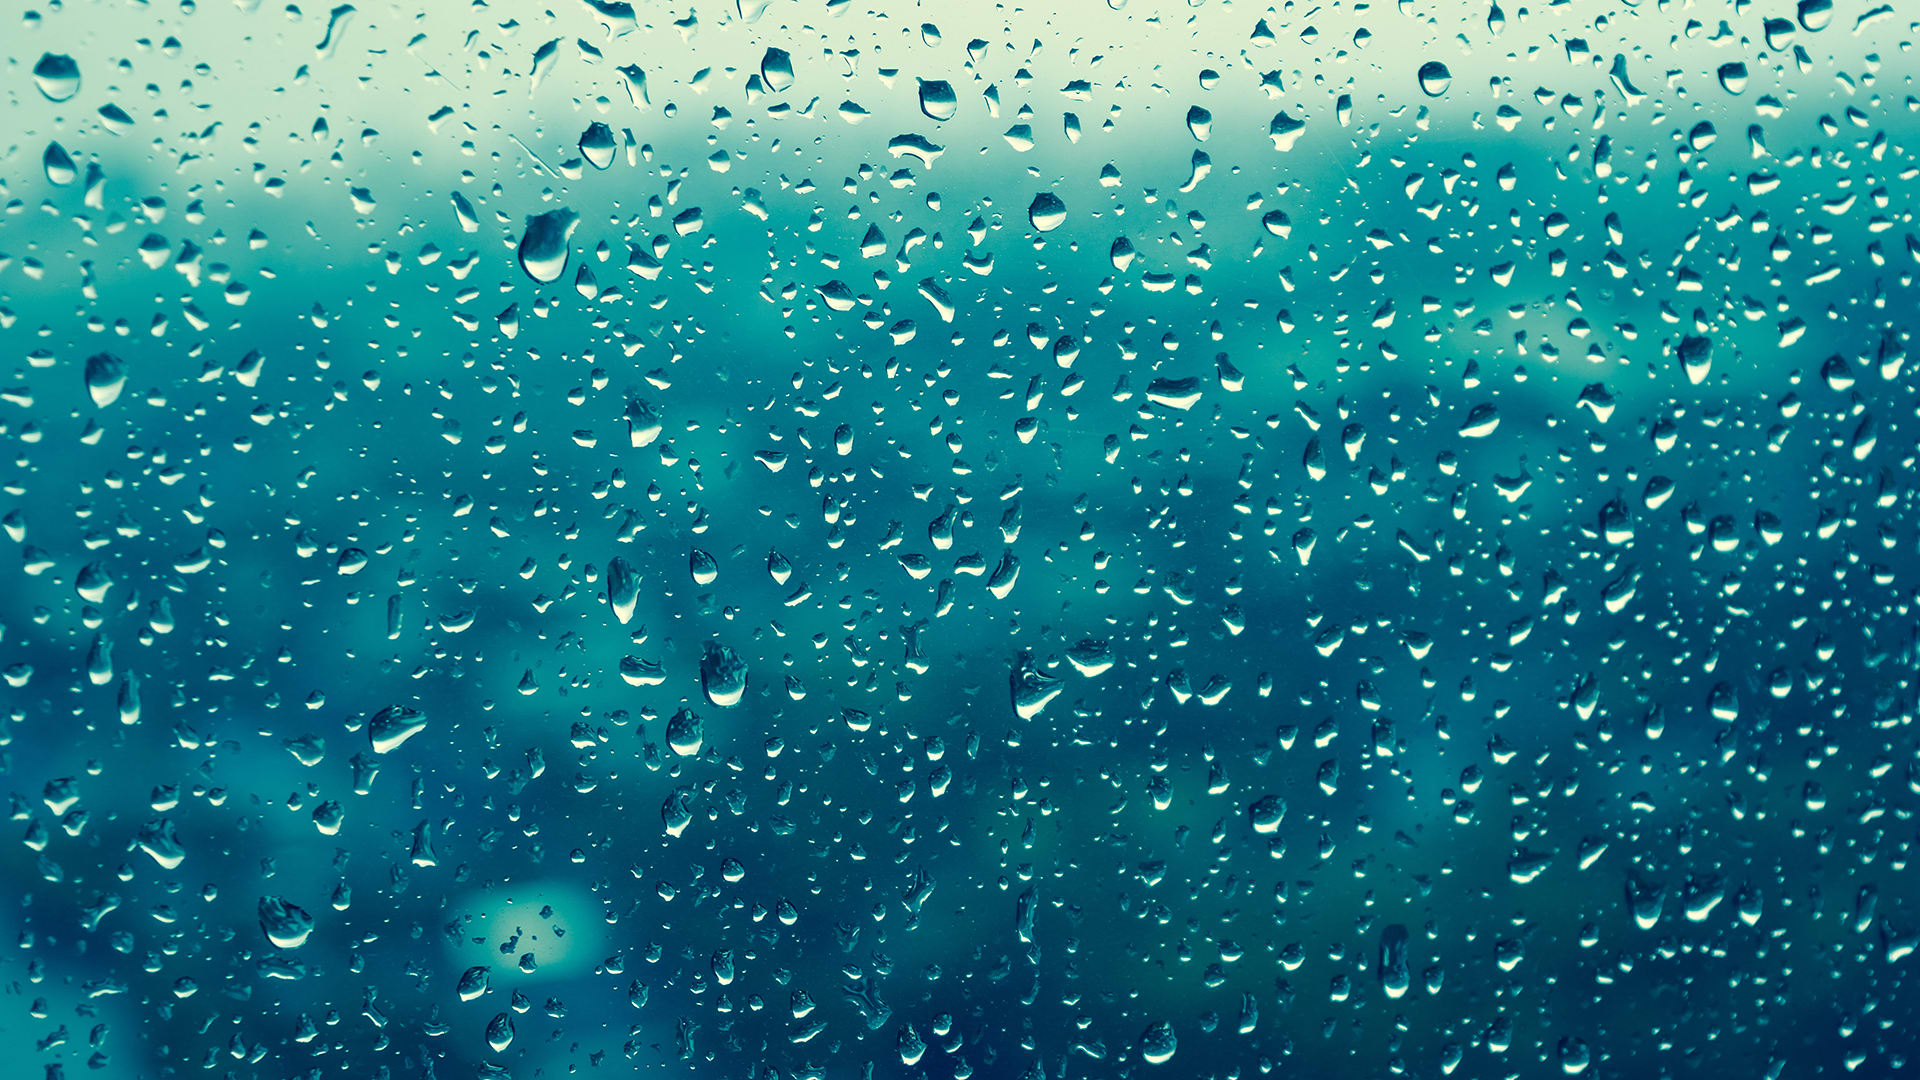
Have you ever noticed a situation where water droplets formed on something?
Go to the next slide to see examples we thought about.
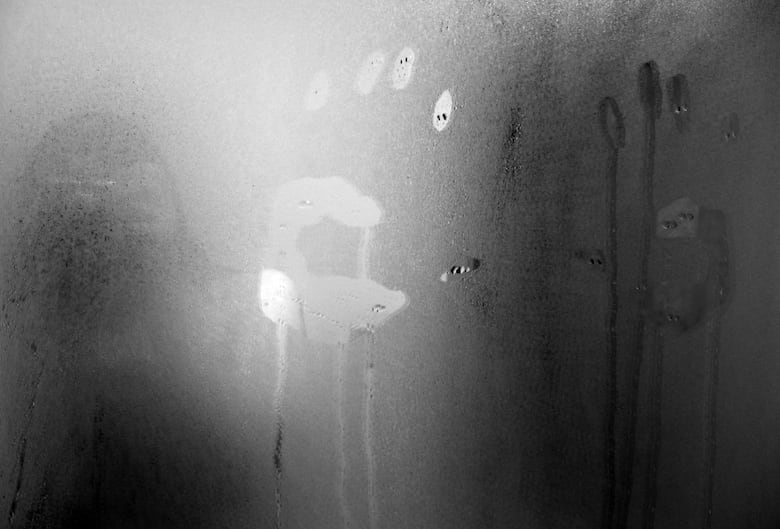
Example (1 of 3): The bathroom mirror after a shower
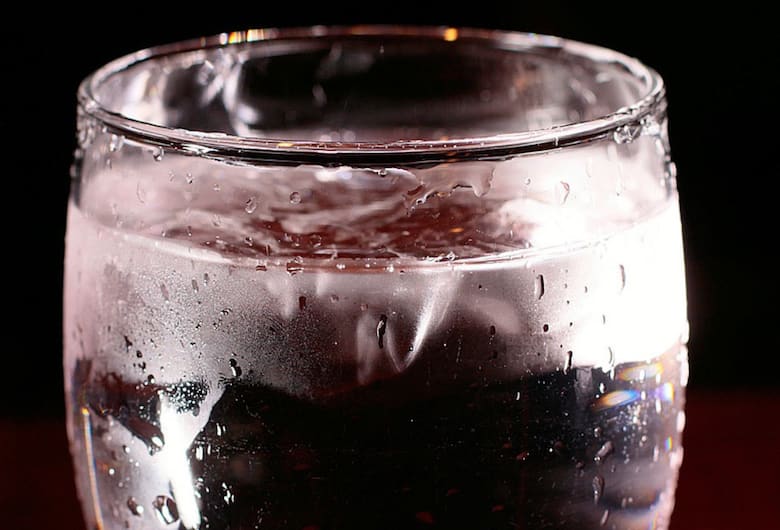
Example (2 of 3): The outside of a cold glass
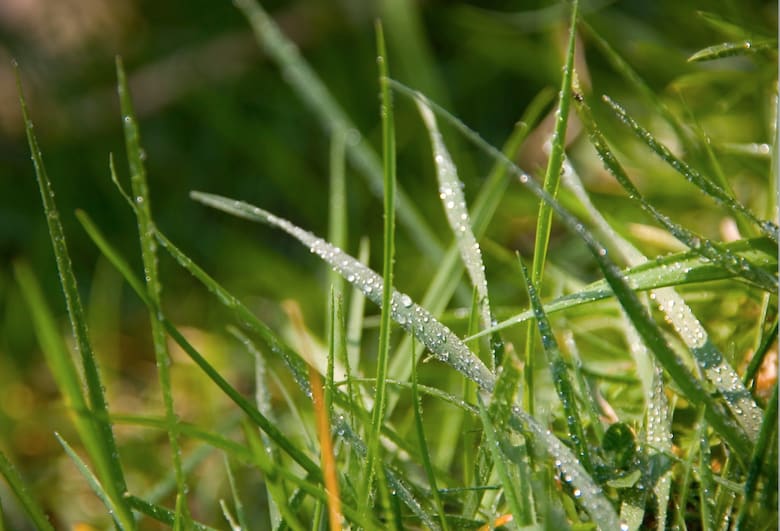
Example (3 of 3): Blades of grass first thing in the morning
DISCUSS (2 of 2):
Where do you think the water droplets came from? Why do you think they formed in these places?
Hint...
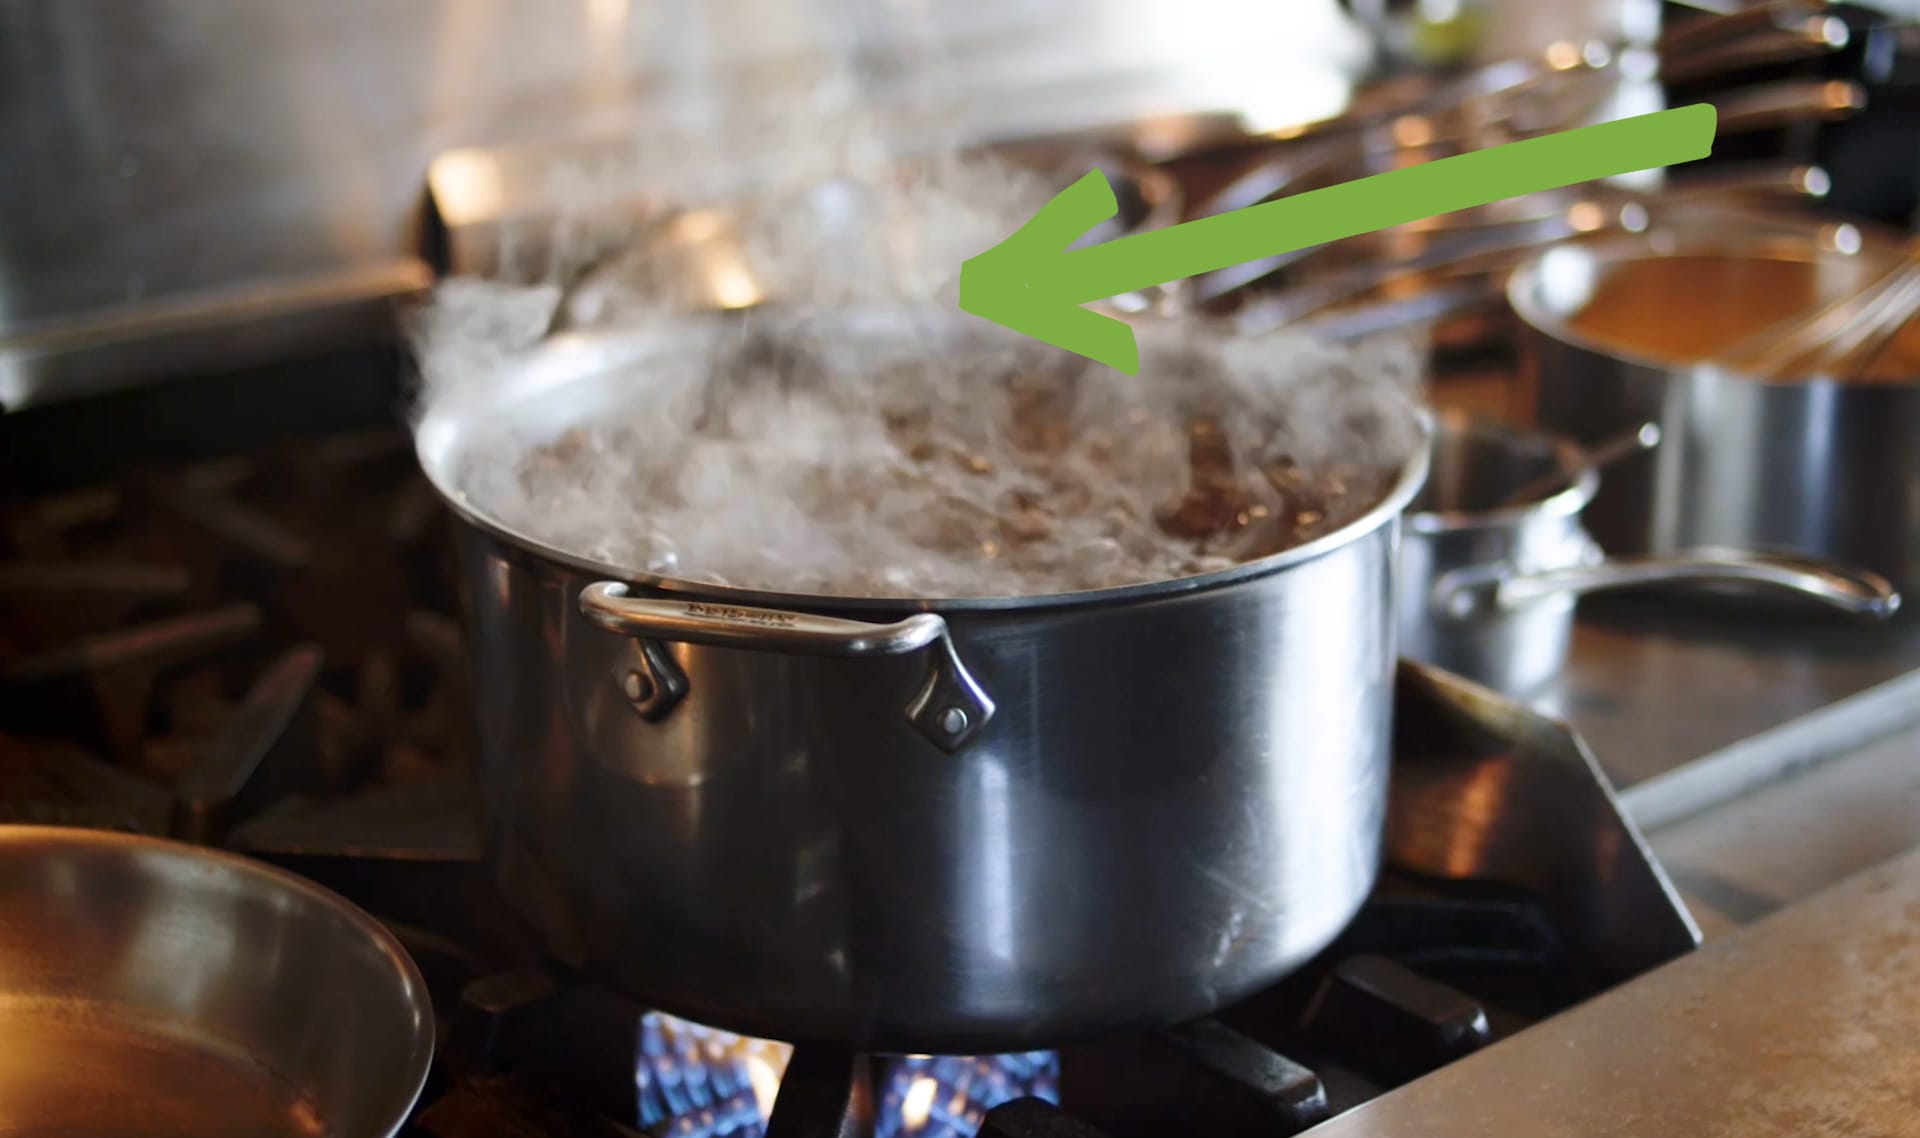
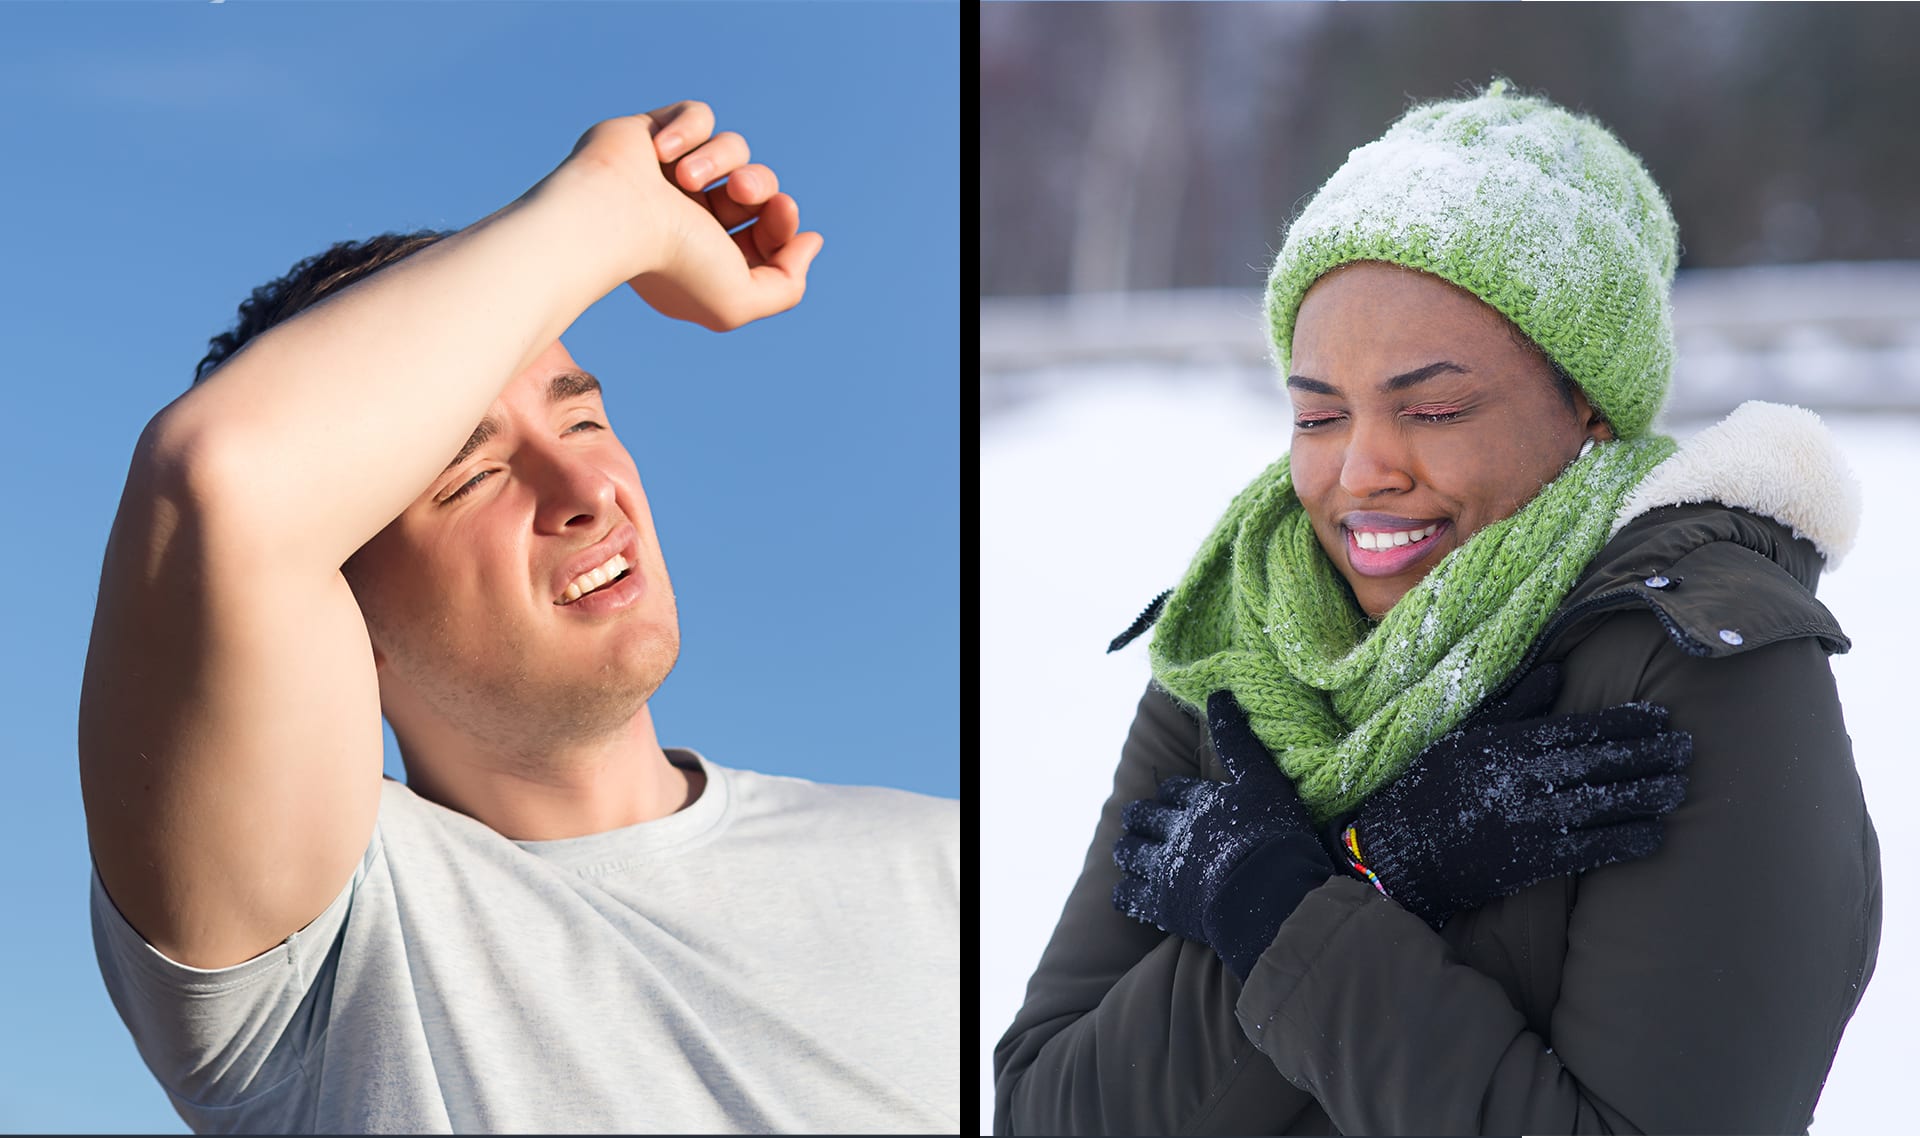
Evaporation (water turning from liquid to gas) had to do with temperature: the more you heated the liquid, the more it became water vapor. Could water turning from gas back to liquid also have to do with temperature? Think about the examples we just saw.
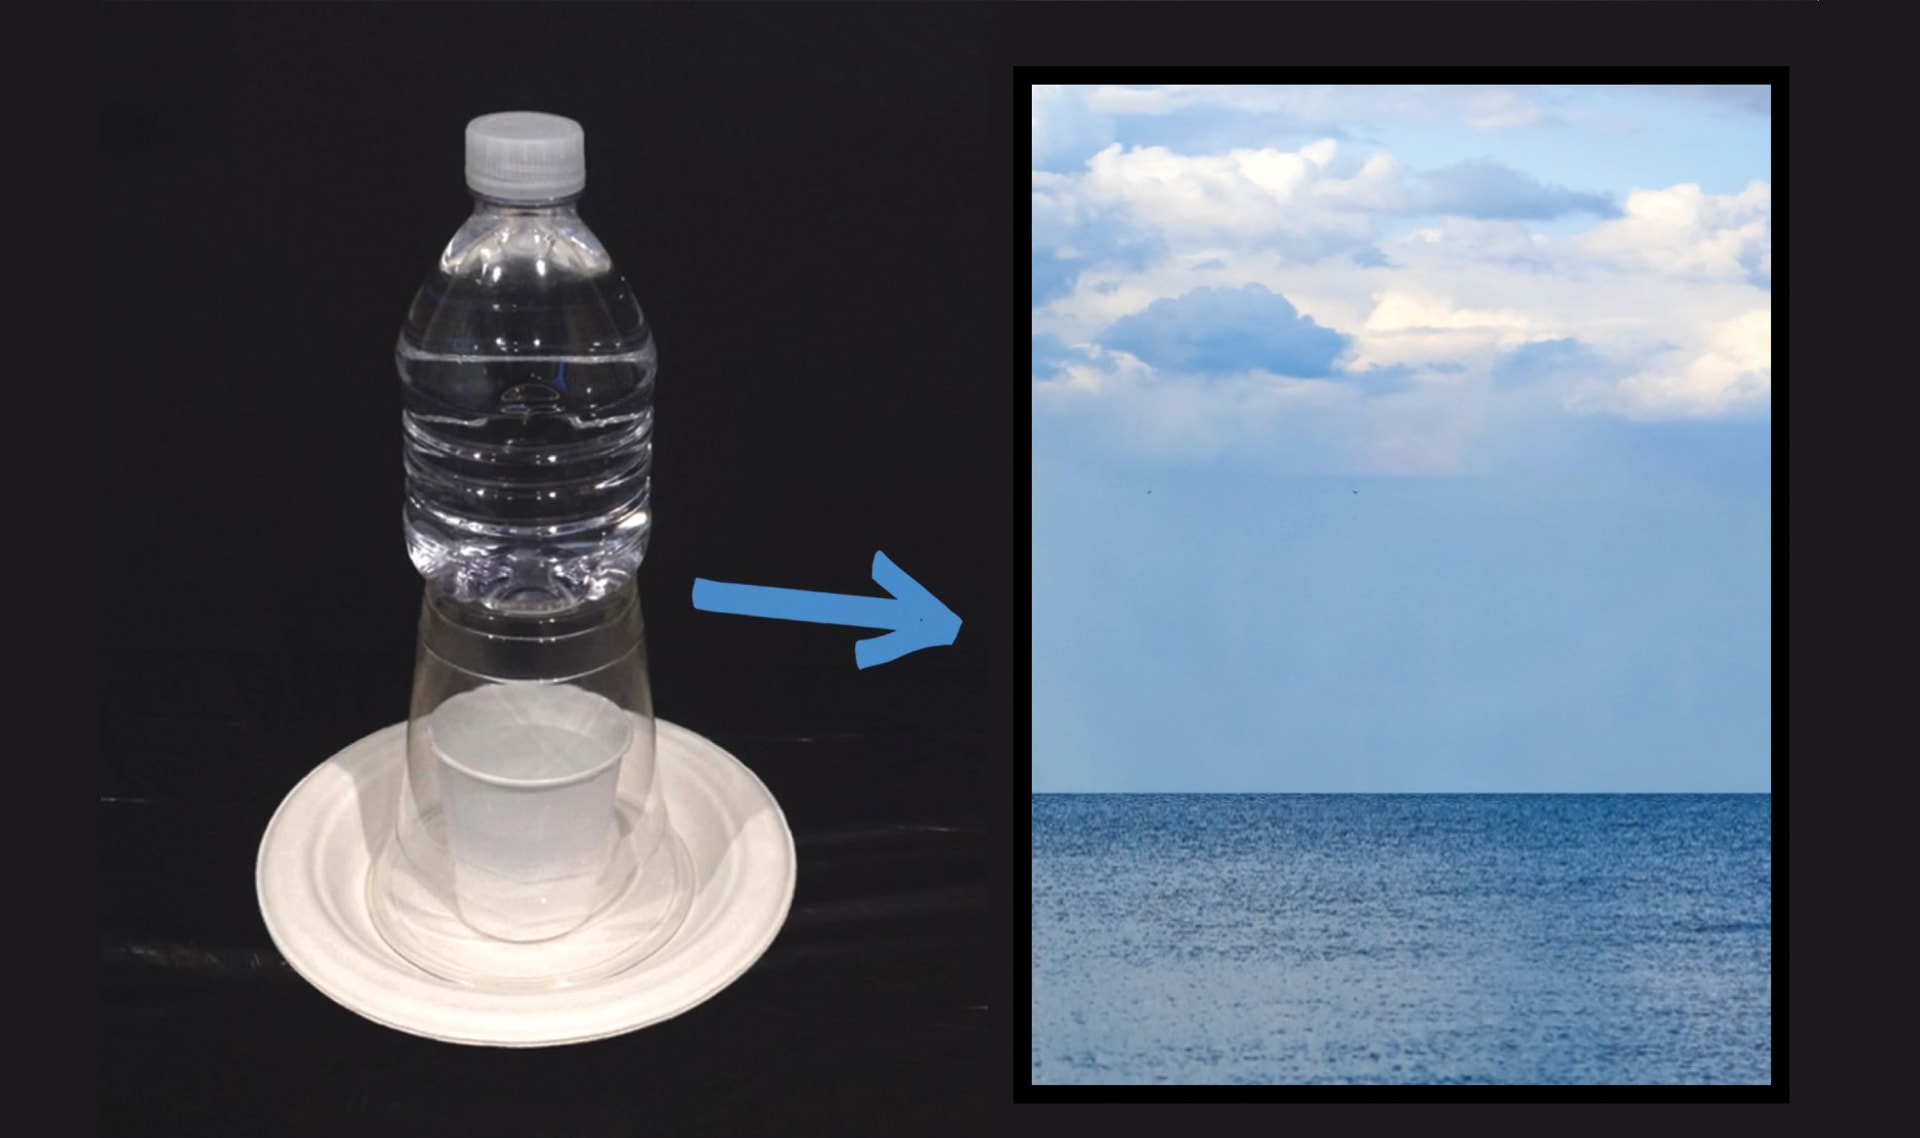
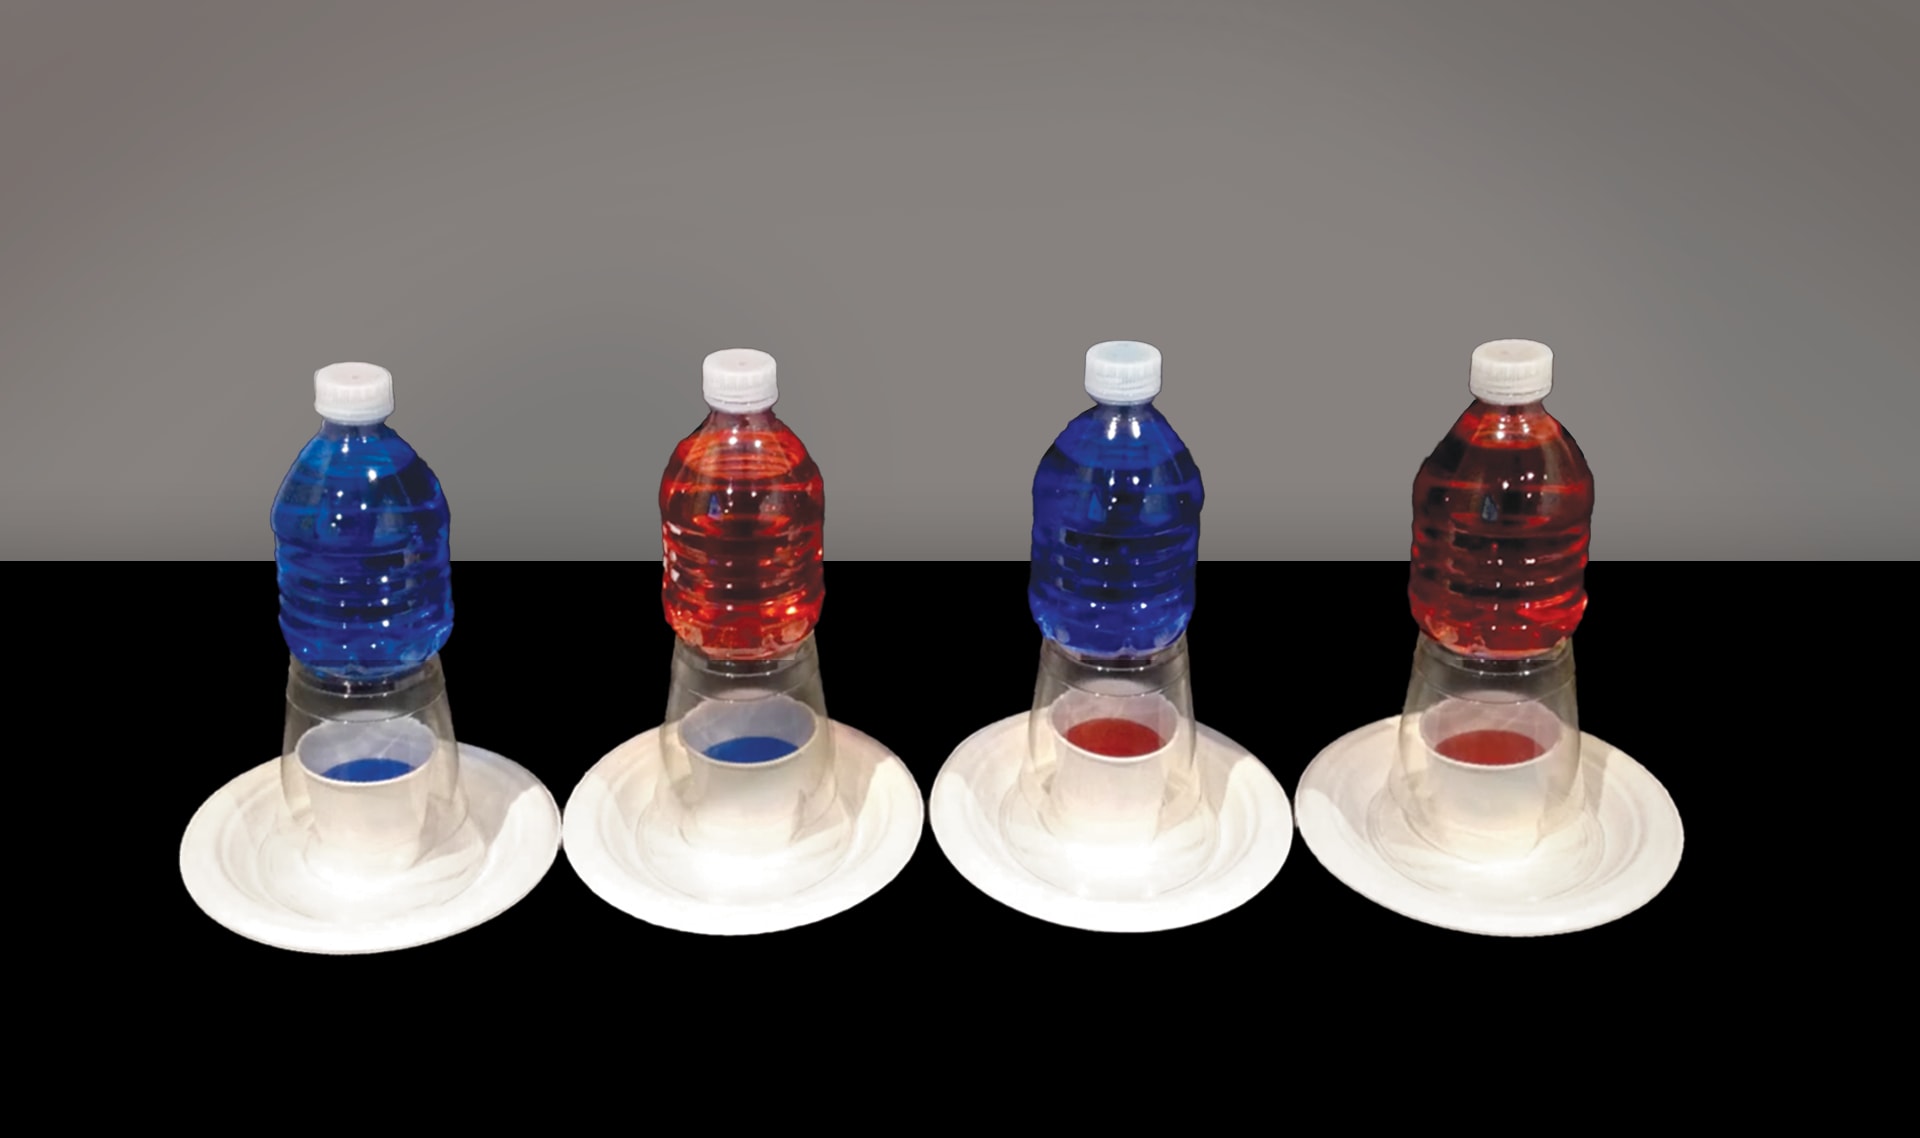
In this lesson, students develop a model to explain how water cycles from the Earth’s surface to the atmosphere and back again. In the activity, Make It Rain, students create simple models of the ocean and sky to see how these two systems interact. Students compare how the temperature of the ocean and the temperature of the sky affect evaporation and condensation.
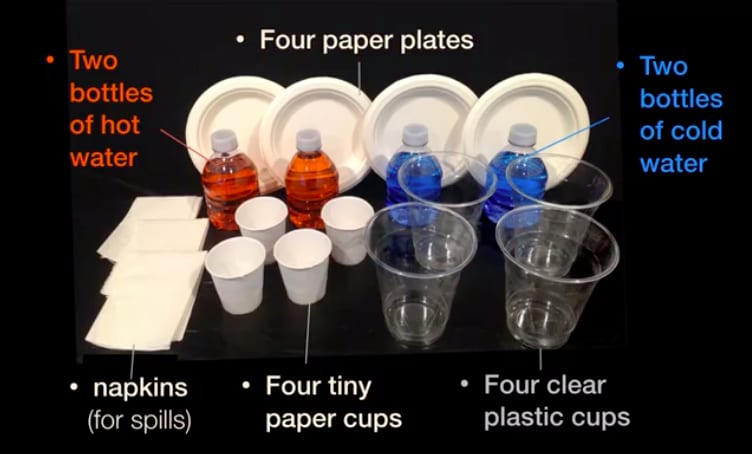
Preview activityRainmaker Experiments worksheet | 30 copies |
Clean-up Supplies (Eg. Paper Towels)
|
1 roll |
Coolers
One for the hot water bottles and one for the cold water bottles.
You can line 2 cardboard boxes with bath towels to create homemade coolers.
|
Details
2 coolers
|
Blue Food Coloring
(about 40 drops)
|
Details
2 milliliters
|
Clear Plastic Cups (10 oz)
Frosted cups won’t work. Cup must be tall enough to extend at least an inch above the Dixie Cup.
|
Details
32 cups
|
Dixie Cups (3 oz)
|
32 cups |
Plastic Bottles (8oz)
Each group needs four bottles. We suggest having a few extras on-hand. We encourage you to use recycled bottles.
|
Details
32 bottles
|
Red Food Coloring
(about 40 drops)
|
Details
2 milliliters
|
Thick Paper Plates
The thick paper acts as insulation.
|
Details
32 plates
|
You will need access to a refrigerator and microwave for this activity.
We suggest students work in groups of four, which works well because there are four experimental set-ups. Homeschool students can work on their own, but will need all four experimental set-ups so that they can make comparisons.
You will need several small plastic bottles for this activity (4 bottles for every group of four students, plus a few extras to have on-hand). We encourage you to use recycled bottles when possible.
You’ll need to start preparing for class the night before by refrigerating the cold bottles overnight. You can prepare the hot bottles in a microwave an hour before class.
First, if you are using recycled bottles, fill all the bottles with tap water. Then divide your bottles evenly. Half of these will be your cold water bottles and half will be your hot water bottles.
To prepare the cold water bottles:
To prepare the hot water bottles:
Store hot and cold bottles in separate coolers until class. In our experience, they’ll stay warm or cool for at least an hour in a cooler.
You may want to separate supplies for easier classroom distribution. Each group of four students needs the following:
Thanks for your feedback! If you have a question or need help, please contact us. Please consider sharing your review:
Sorry the lesson didn’t go well. We read every single review in an effort to improve our Mysteries.
Thanks for letting us know. We’ll wait to ask you for feedback until after you've actually taught it.
Thanks for the feedback! We read every single review in an effort to improve our Mysteries.
Please follow these steps:
Locked
6:10
Why is the sky blue?
Locked
4:41
Why do we call them doughnuts?
Locked
5:16
Could a turtle live outside its shell?
Your membership is expired. The archive of past Mini Lessons is not included in your limited access.
View pricing