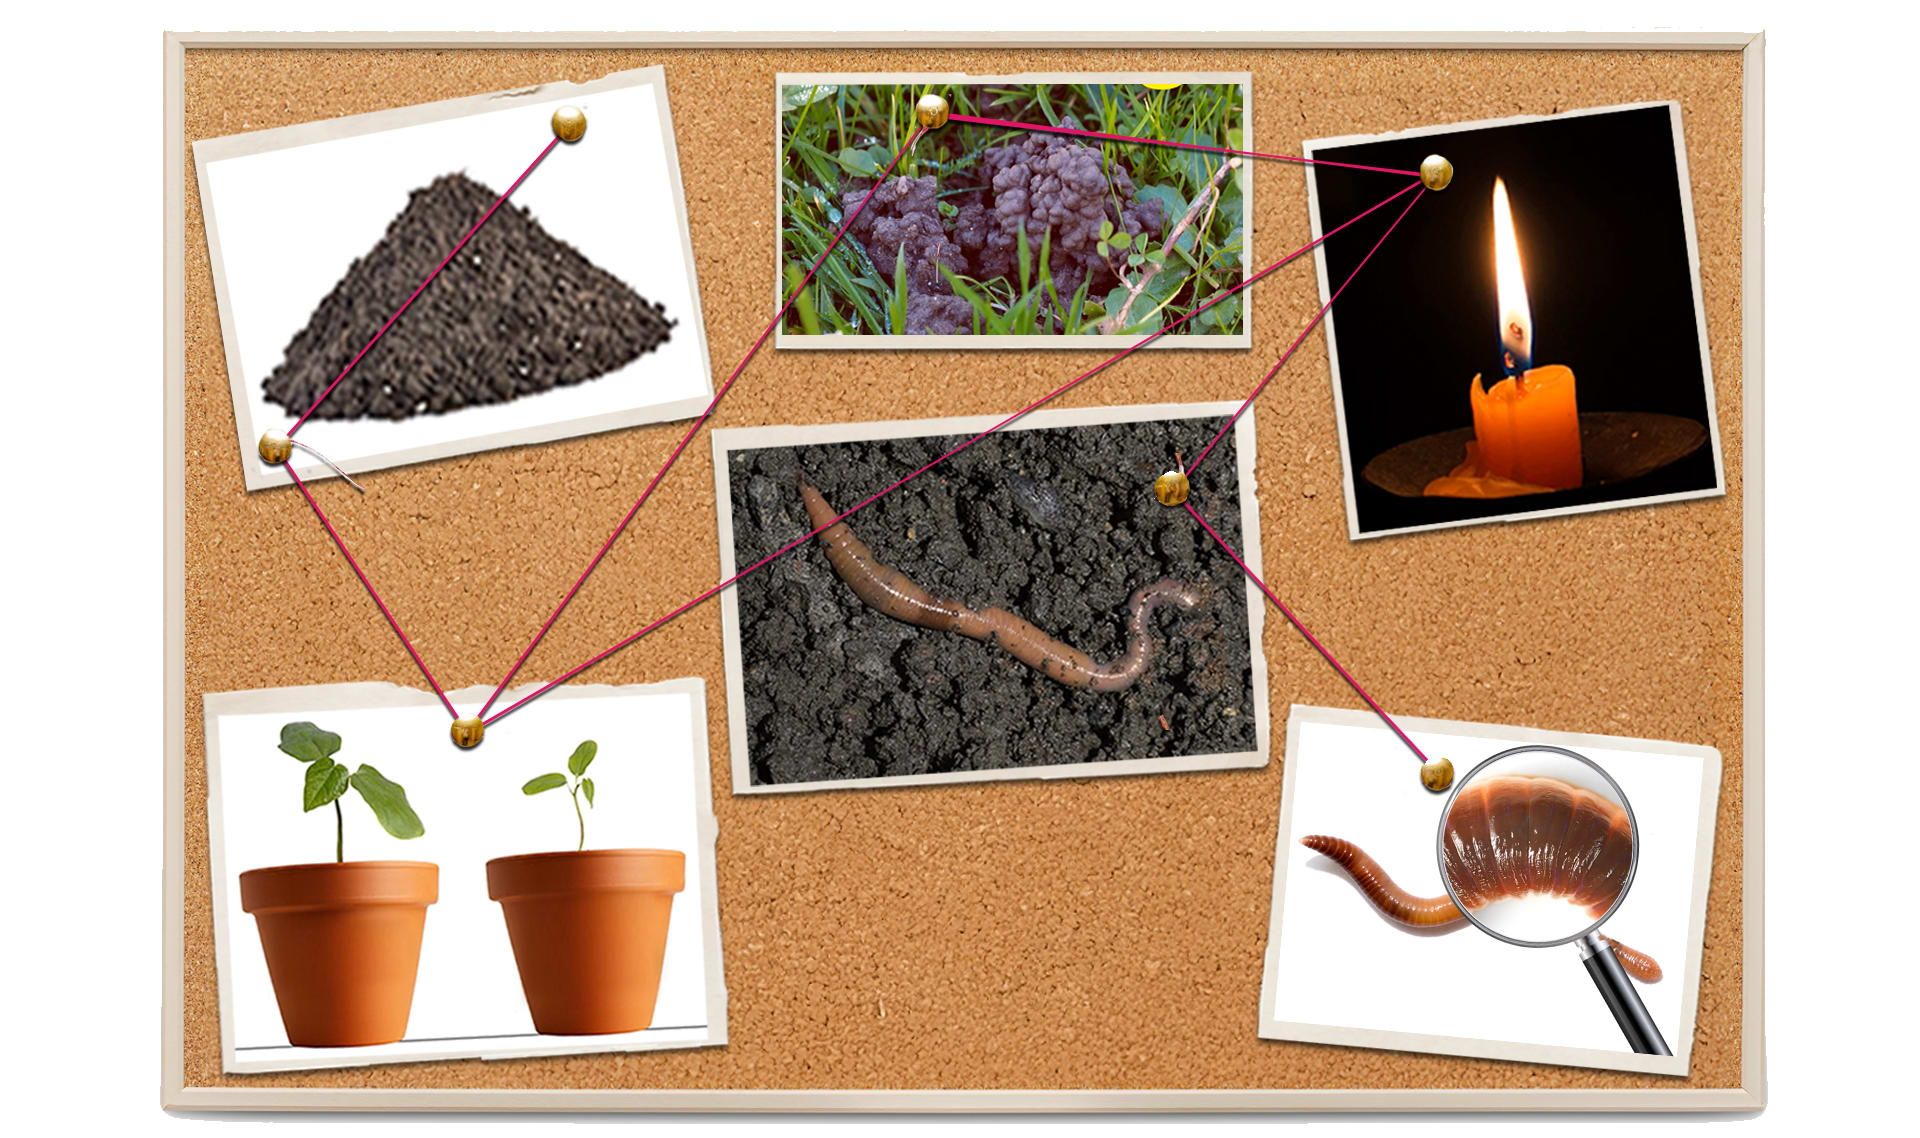
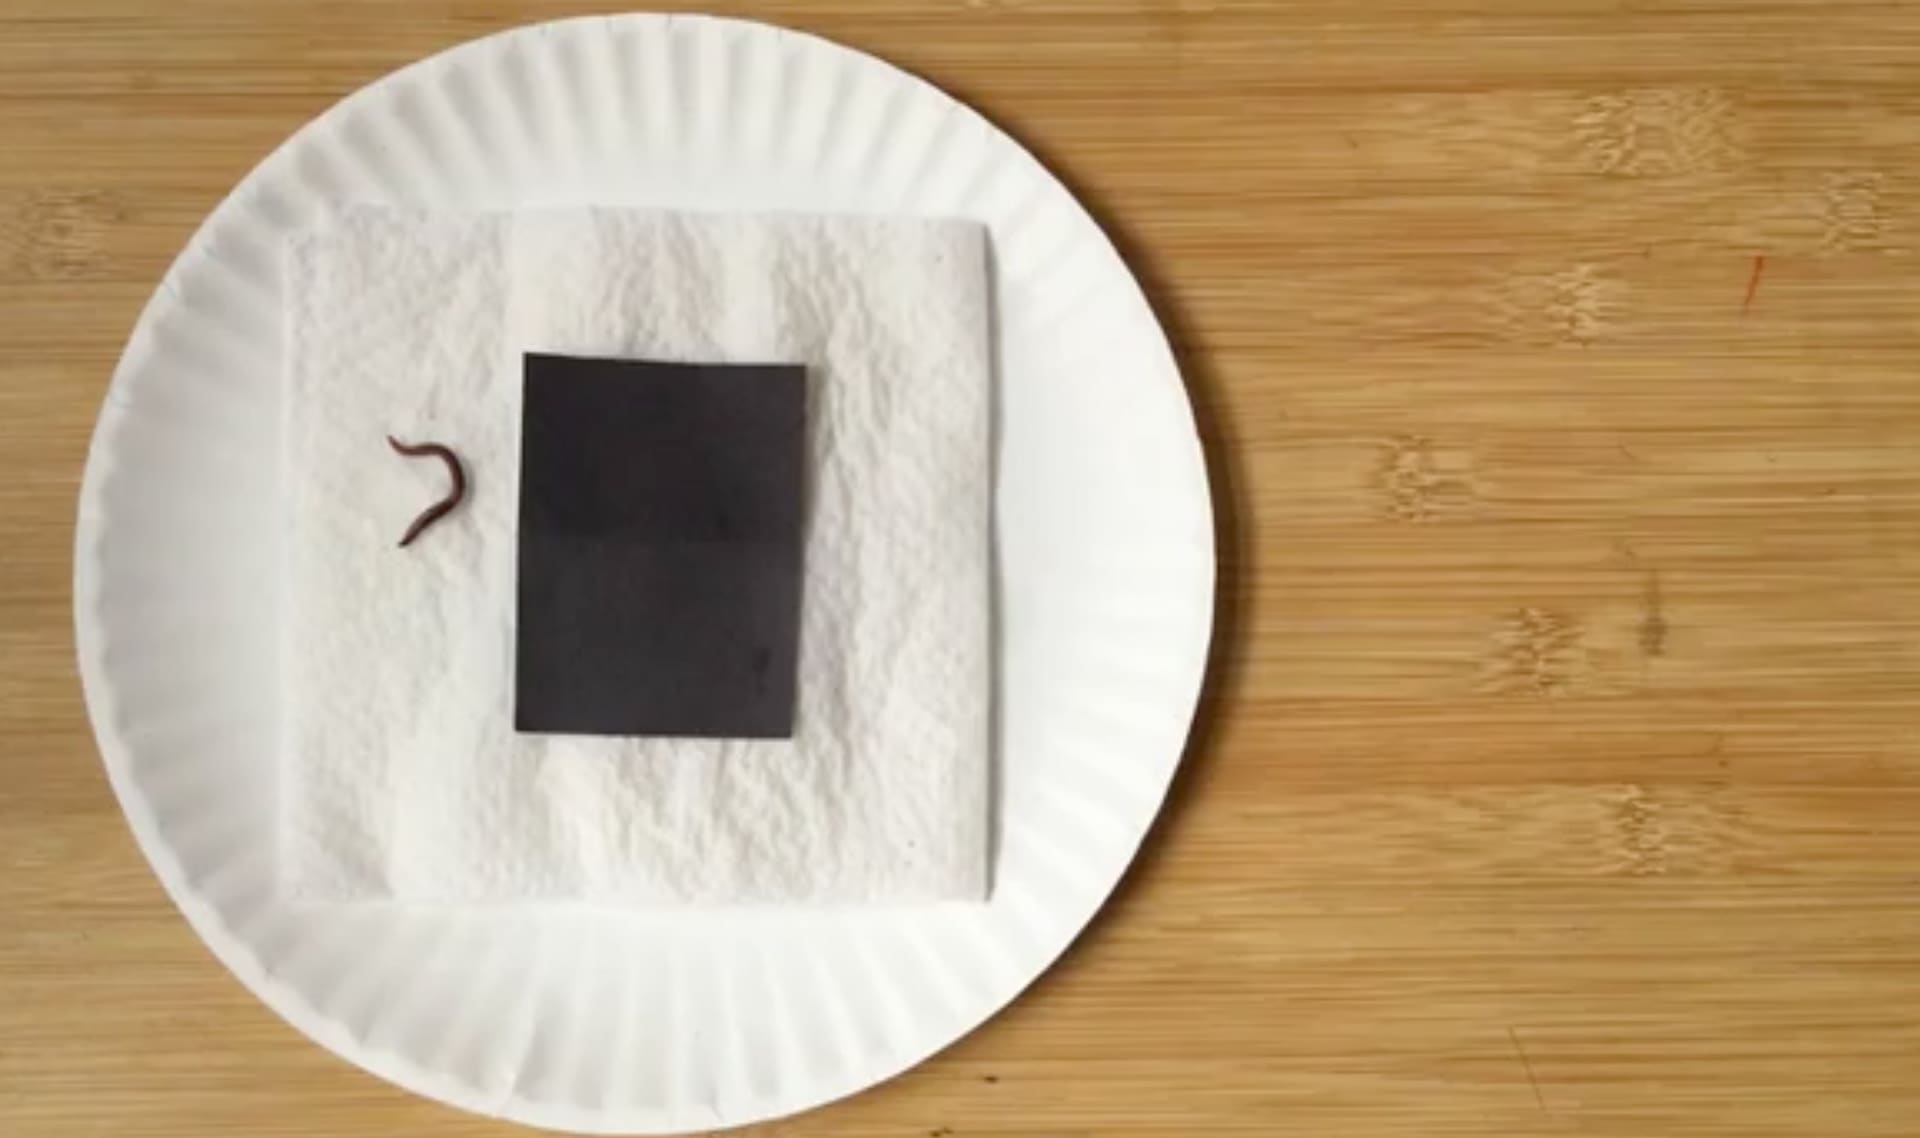
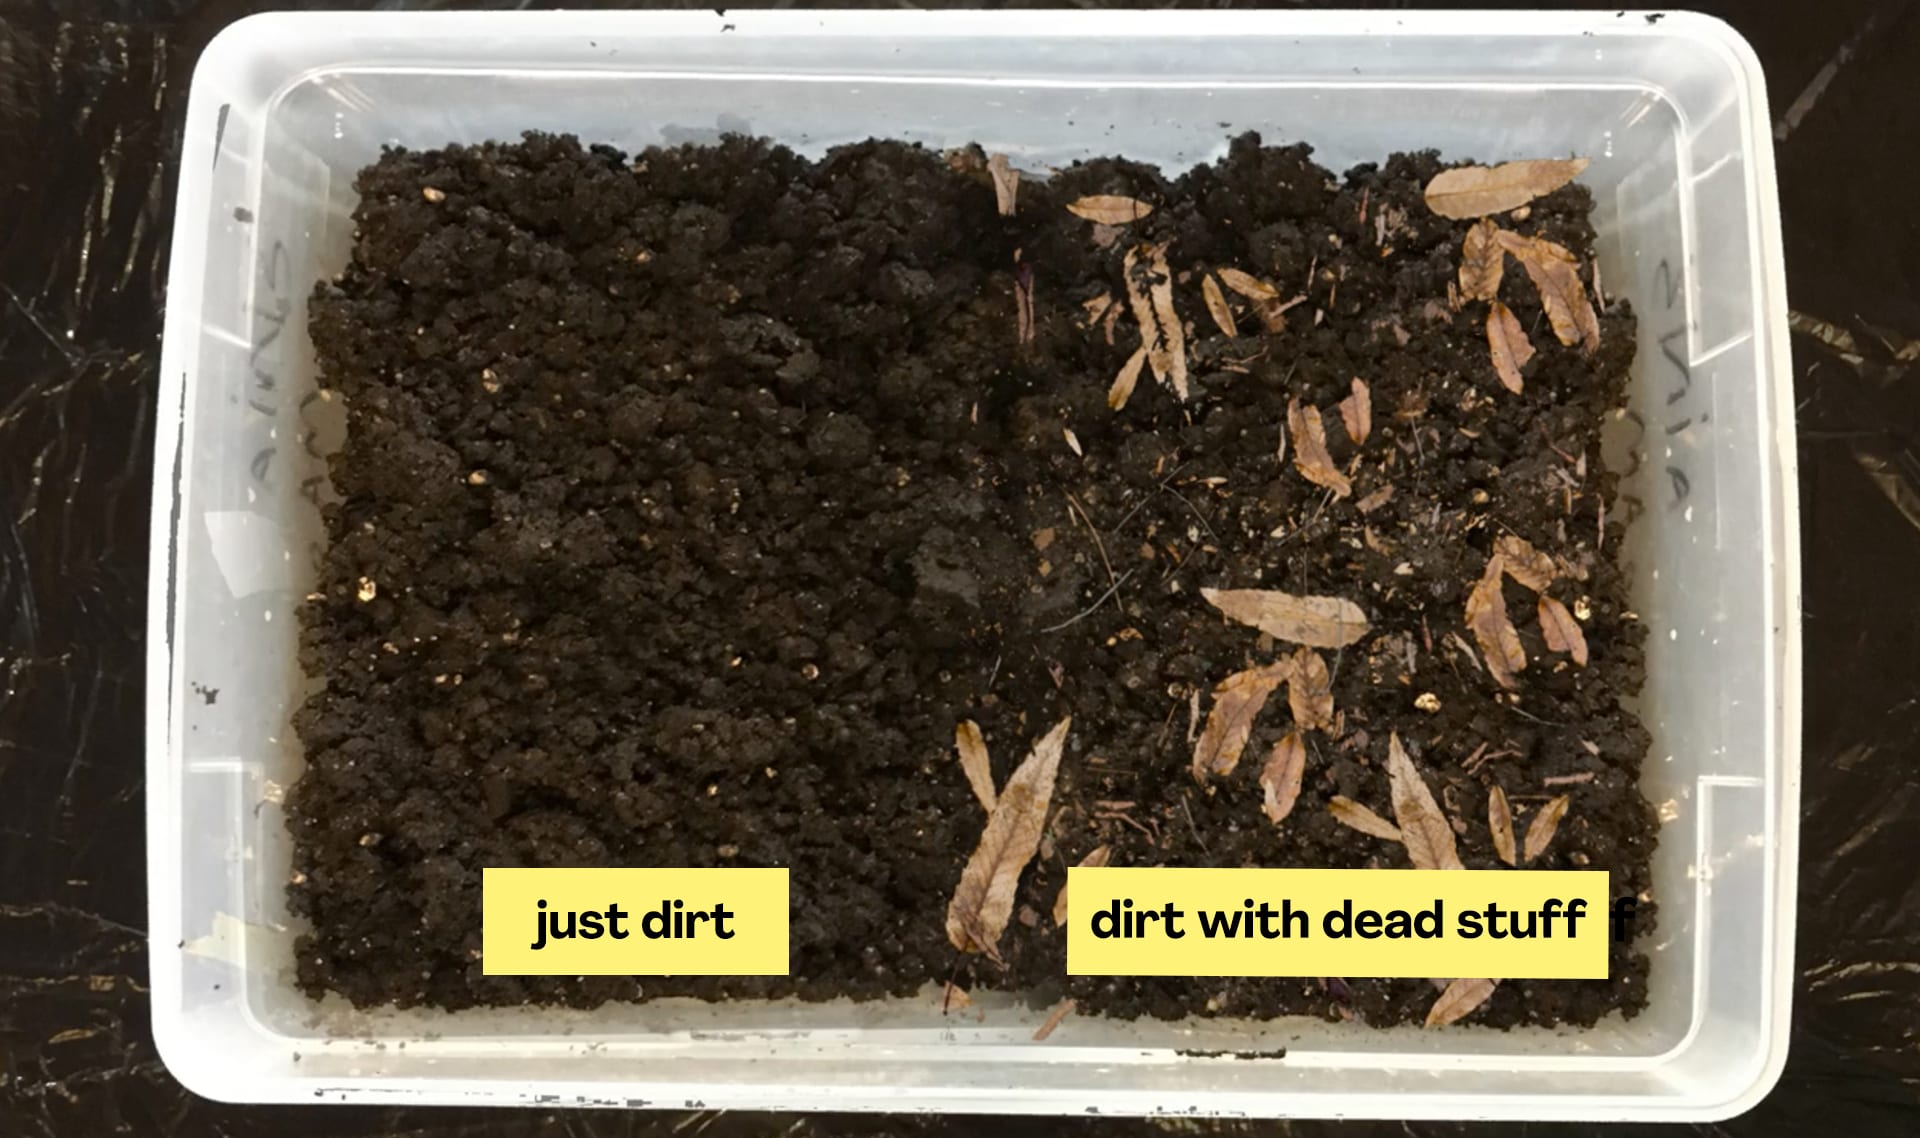
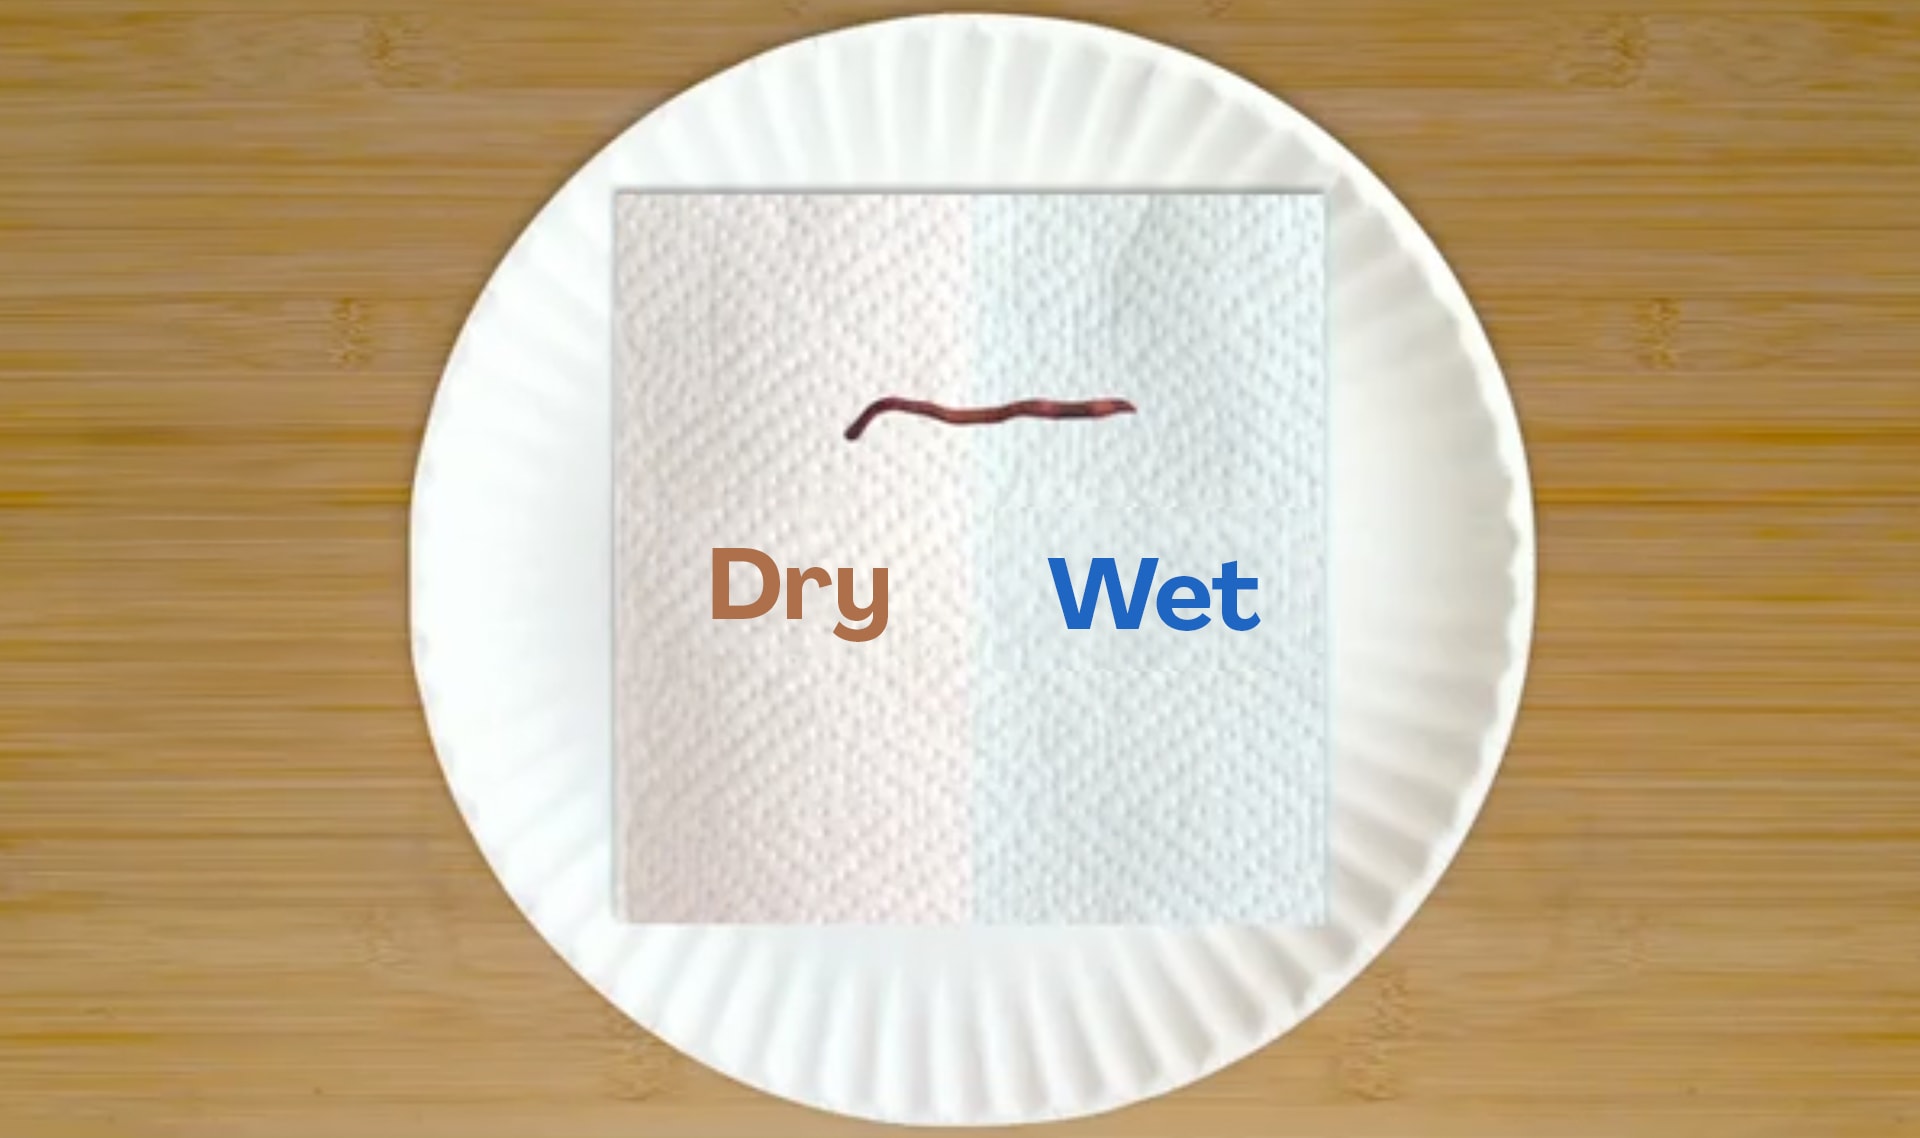
We suggest students work in groups of four. Students will share supplies with their group in Part 1 and share experiment ideas with their group in Part 2. Homeschool students can work on their own.
You will need access to water for this activity.
Plan Your Time
You may want to divide this activity into two sessions.
Part 1 (observing a worm) takes 15 to 20 minutes.
Part 2 (experimenting with worms) takes another 20 to 25 minutes. Part 2 begins here.
Source Your Worms
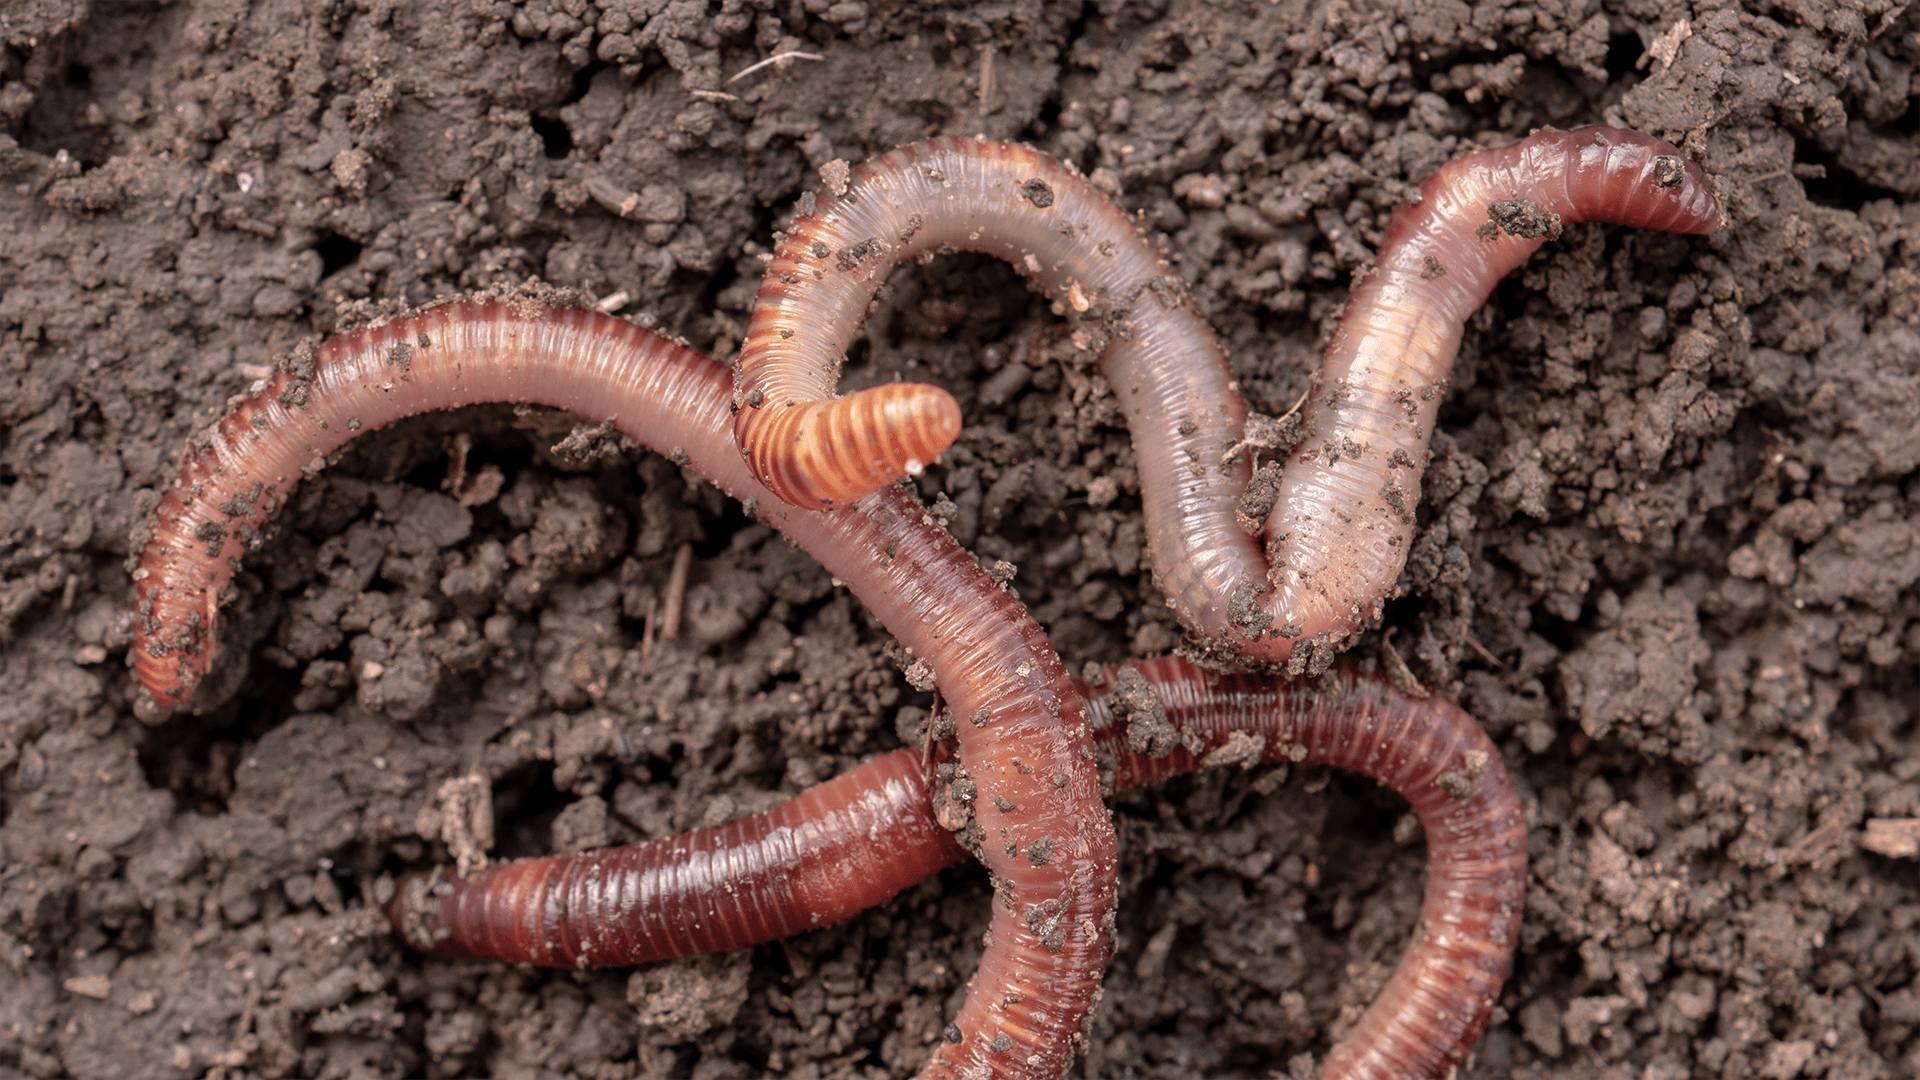
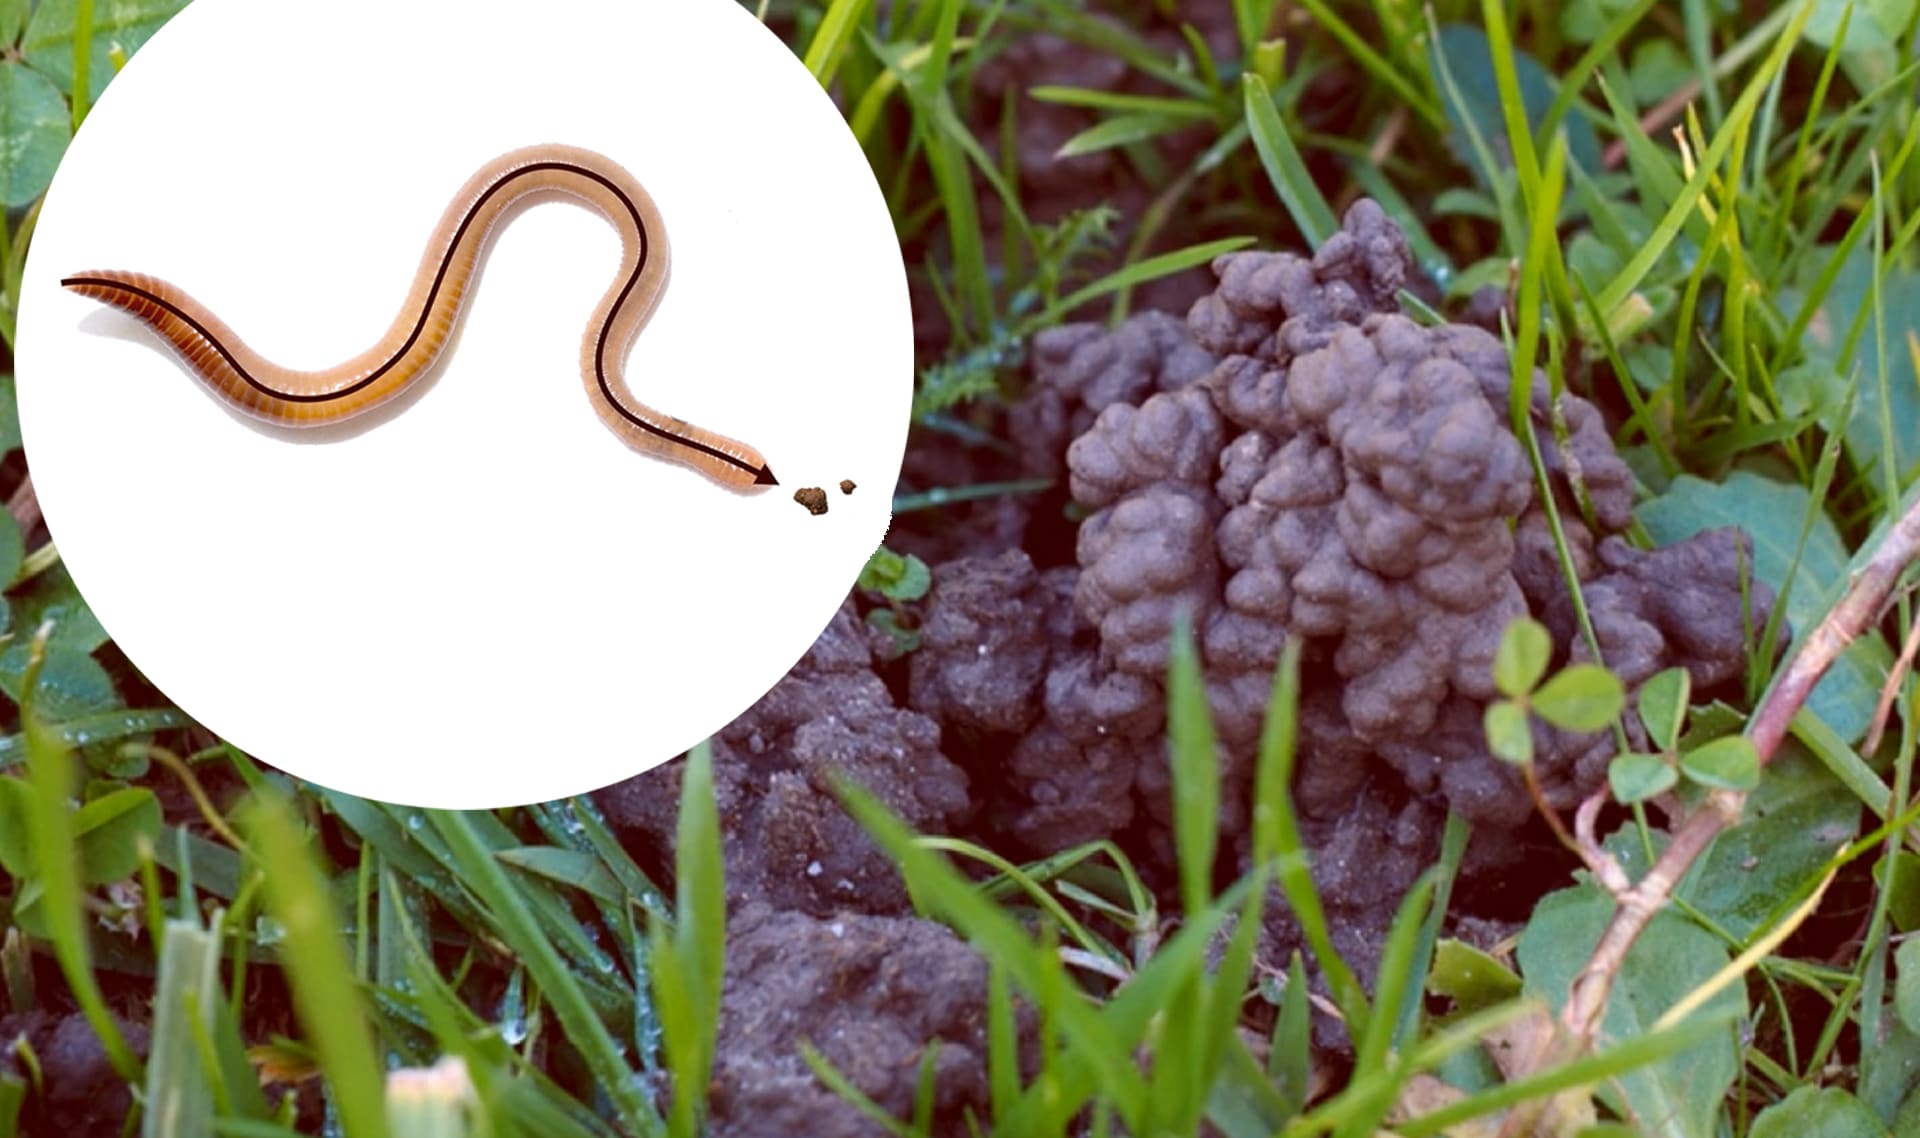
Red worms (also known as red wigglers) can be purchased from a garden store or ordered by mail from a variety of online sources. We recommend ordering from Uncle Jim's Worm Farm. At bait shops, you can sometimes find red worms, but more commonly you’ll find earthworms. The bigger red worms are great for observations and in the natural habitat, they burrow deep in the soil, making red worms a better choice if you want to make a worm bin. Red worms live in the top layers of the soil, feeding on decomposing leaves and organic debris.
Prepare the Construction Paper
Cut each sheet of black construction paper into eight pieces.
Divide Supplies Into Part 1 and Part 2
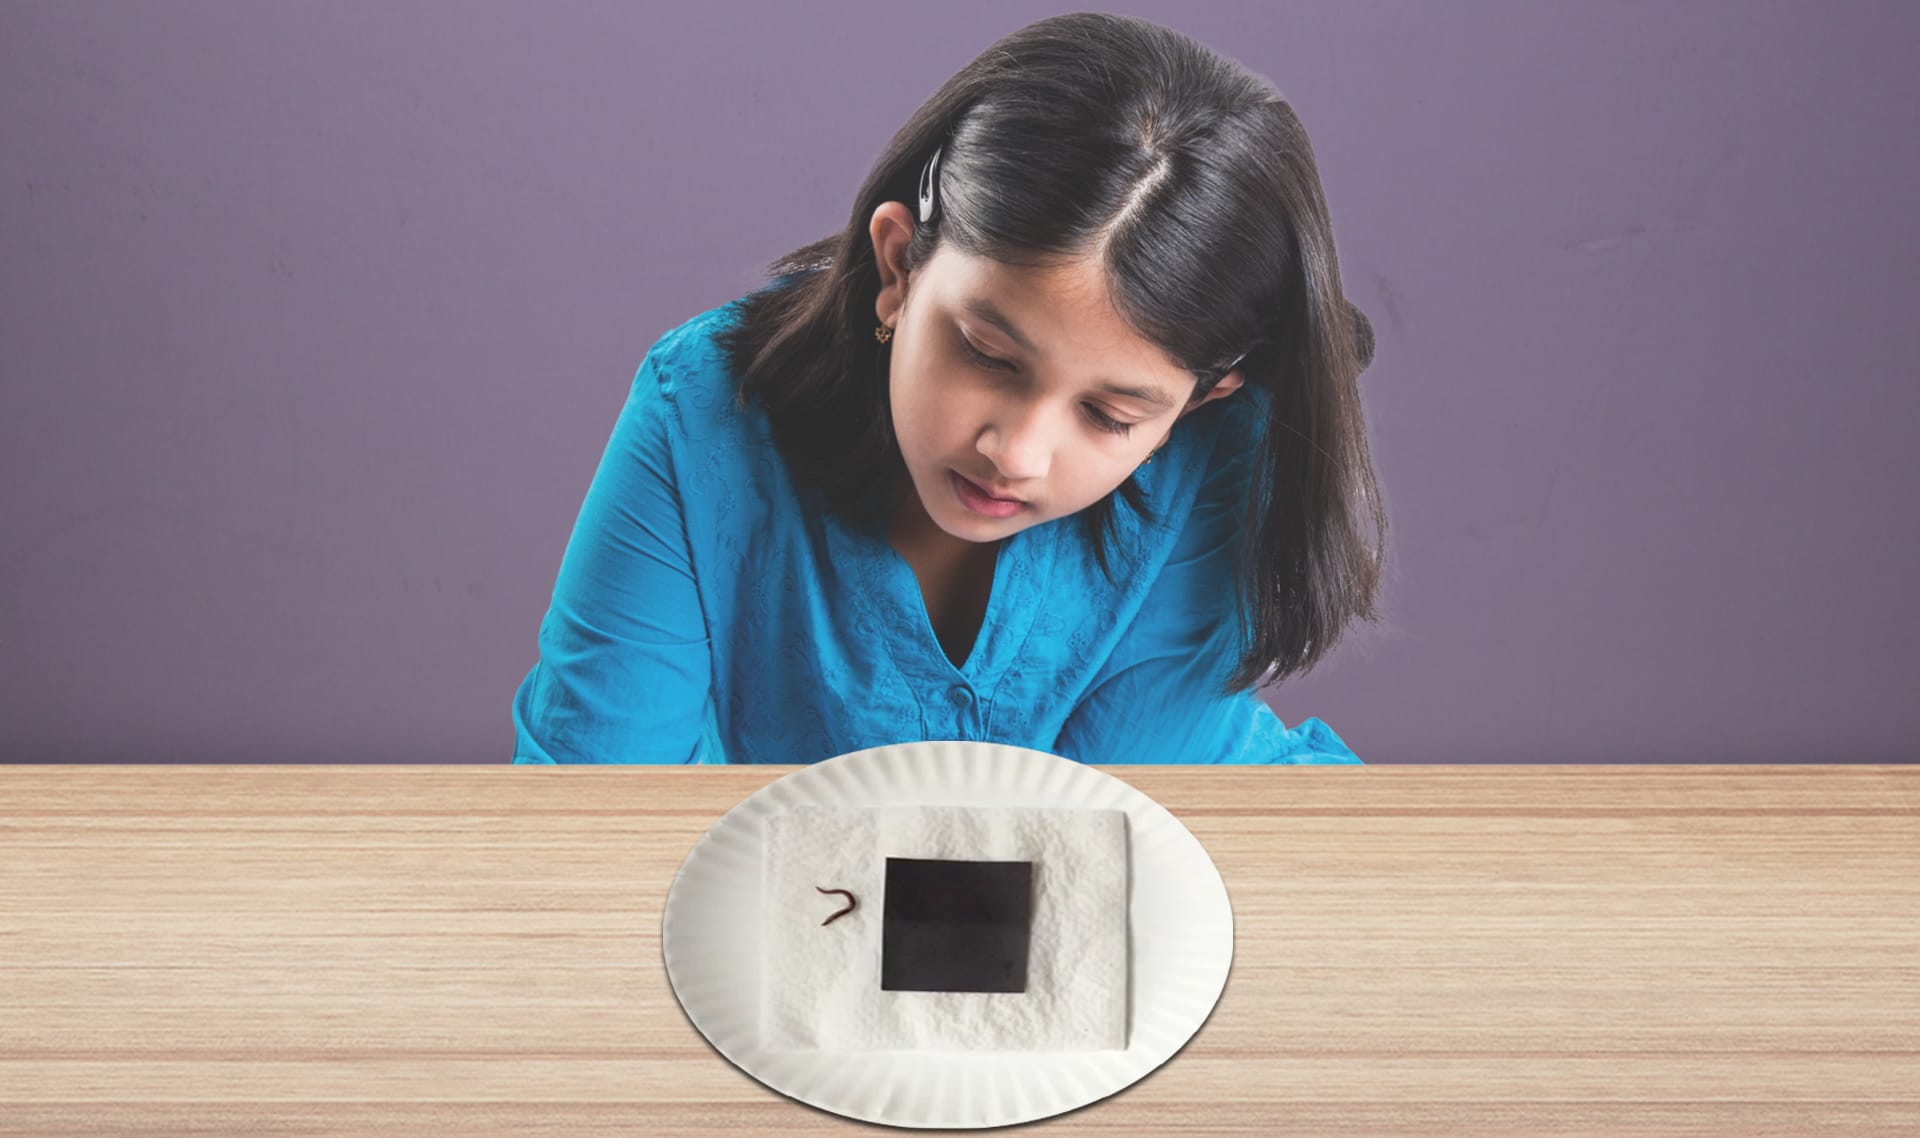
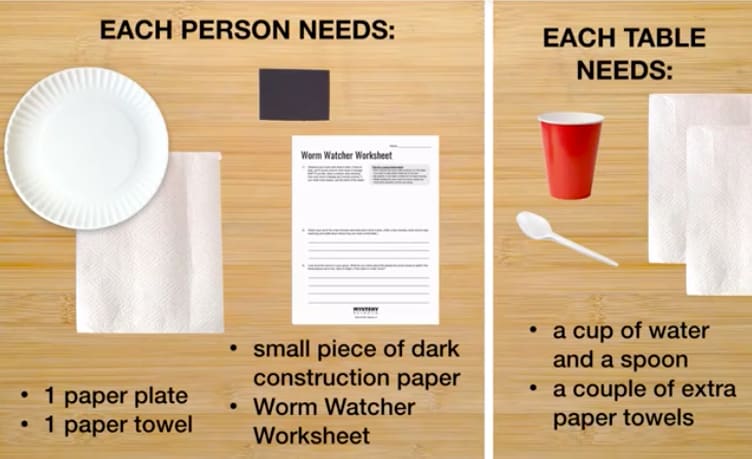
For Part 1, each student needs 1 paper towel, 1 paper plate, a small piece of black construction paper, and a Worm Watcher worksheet. Each table group of four students will also need a cup of water, a spoon, and a few extra paper towels.
For students that don't feel comfortable touching worms, you can provide plastic gloves.
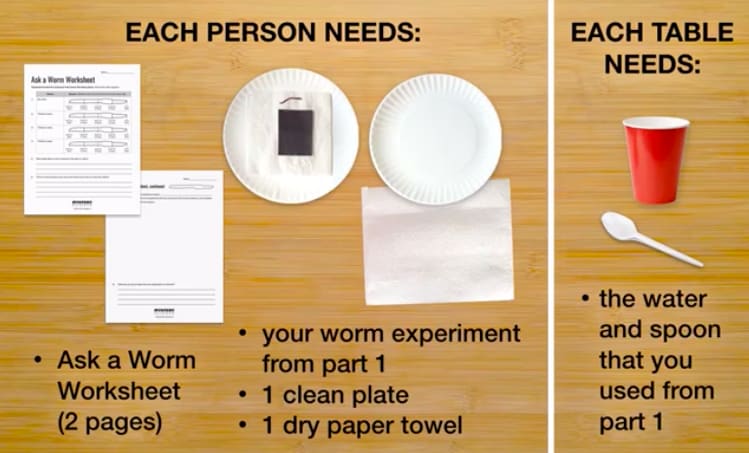
For Part 2, students will need all supplies from Part 1. In addition, each student needs another dry paper towel, another clean paper plate, and the Ask A Worm worksheet.
Set Up a Temporary Worm Bin
Once you purchase your worms, you’ll need to make a temporary worm bin. To make a temporary worm bin, you’ll need a large plastic bin, worm bedding, and some water. First, add a layer of worm bedding that’s at least 2 inches deep into the large plastic bin. Then, wet the worm bedding until it’s thoroughly damp but not soggy. Finally, add your worms.
This worm bin can serve both as temporary housing for your worms and as a place that students can conduct worm experiments, using the approach we describe in the final video of the lesson.
Your temporary worm bin can house your worms for a few weeks. Feed the worms by burying fruit and vegetable scraps (the smaller the better) in their bedding. Worms will eat apple cores, carrot peels, and browning lettuce, but avoid adding lots of orange peels -- they’re too acidic. Worms eat about 3 times their weight in food each week. Keep the bedding moist. Some recommend punching holes in the top of the bin, but our worms have done fine without that. Fluff up the bedding every week or so to make sure the worms get enough air.
Set Up Worm Stations
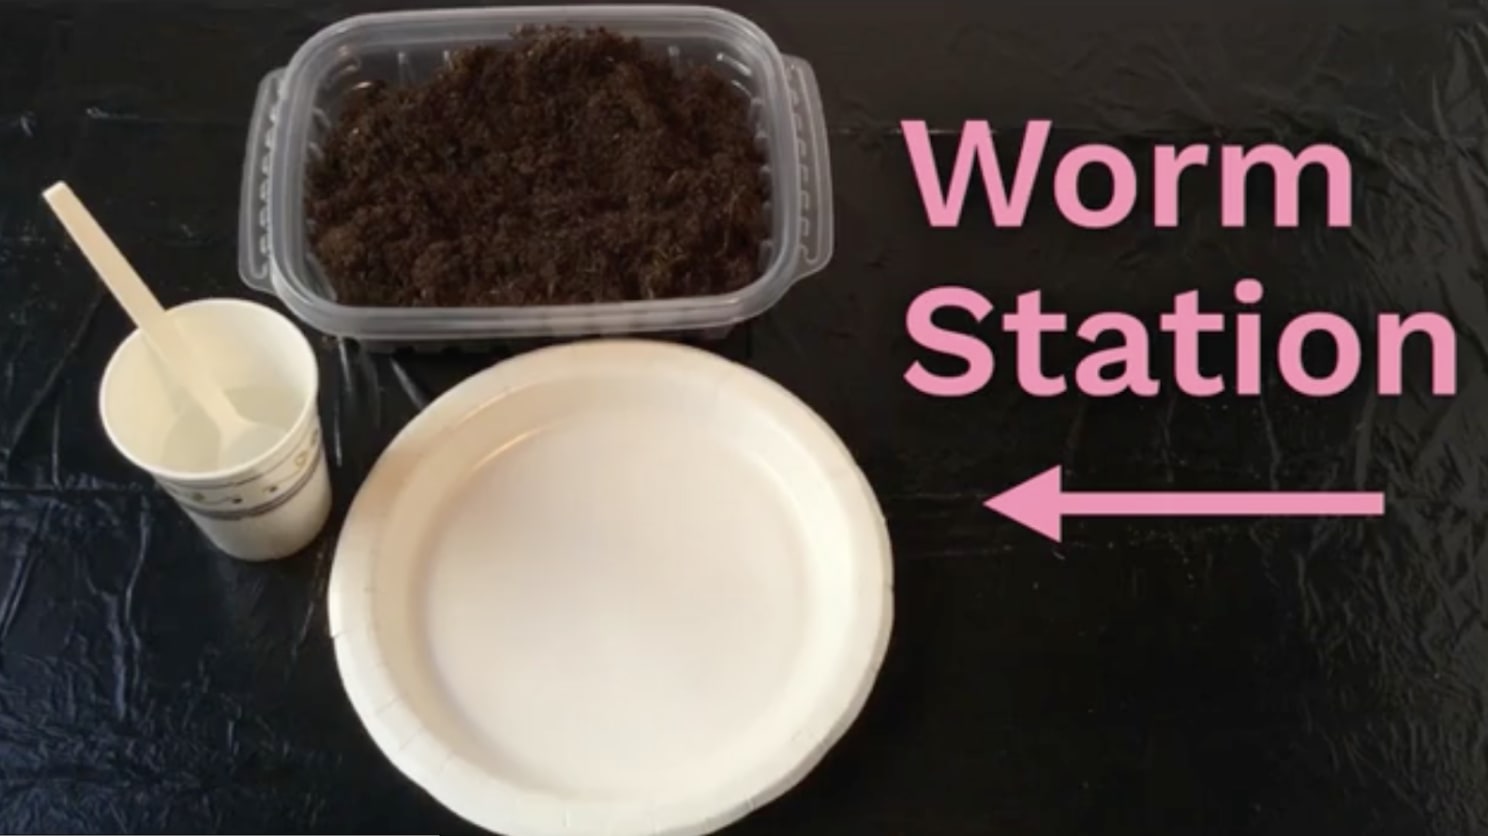
During the activity, each student will observe a worm. We recommend that you set up Worm Stations where students can obtain a worm, wash off the soil, and then bring it back to their desks for observation. For a class of 32, we recommend setting up four Worm Stations. For each Worm Station, dig a dozen worms out of your worm bin. The easiest technique is to wear a rubber glove and dig with your hand. The worms will congregate wherever you last placed food. Check out this video to see how easy it is to set up a Worm Station.
To set up a Worm Station:
- Cover a table with plastic or newspaper.
- Fill a cup with water and place it on the table.
- Put two spoons, one plastic plate, and one of the small plastic containers on the table.
- Right before you do the activity, add some of the worms and soil from your temporary worm bin.
Make a Permanent Worm Bin or Release Your Worms
Our focus is on designing an experiment. Though we don’t include time for students to carry out their experiments as part of this class session, we encourage teachers and students to complete their experiments on their own, using a temporary worm bin. If you want to let students carry out the experiments they design, additional supplies will depend on the experiments they come up with.
NOTE: Worms can be a great addition to your garden, but they are not a good addition to a forest habitat. In a forest, worms devour the leaf litter that native plants and animals depend on. To protect the forest, do not dump your worms in a forest or woodland. Find a gardener who will welcome them as an addition to their compost bin — or start a compost bin of your own.
