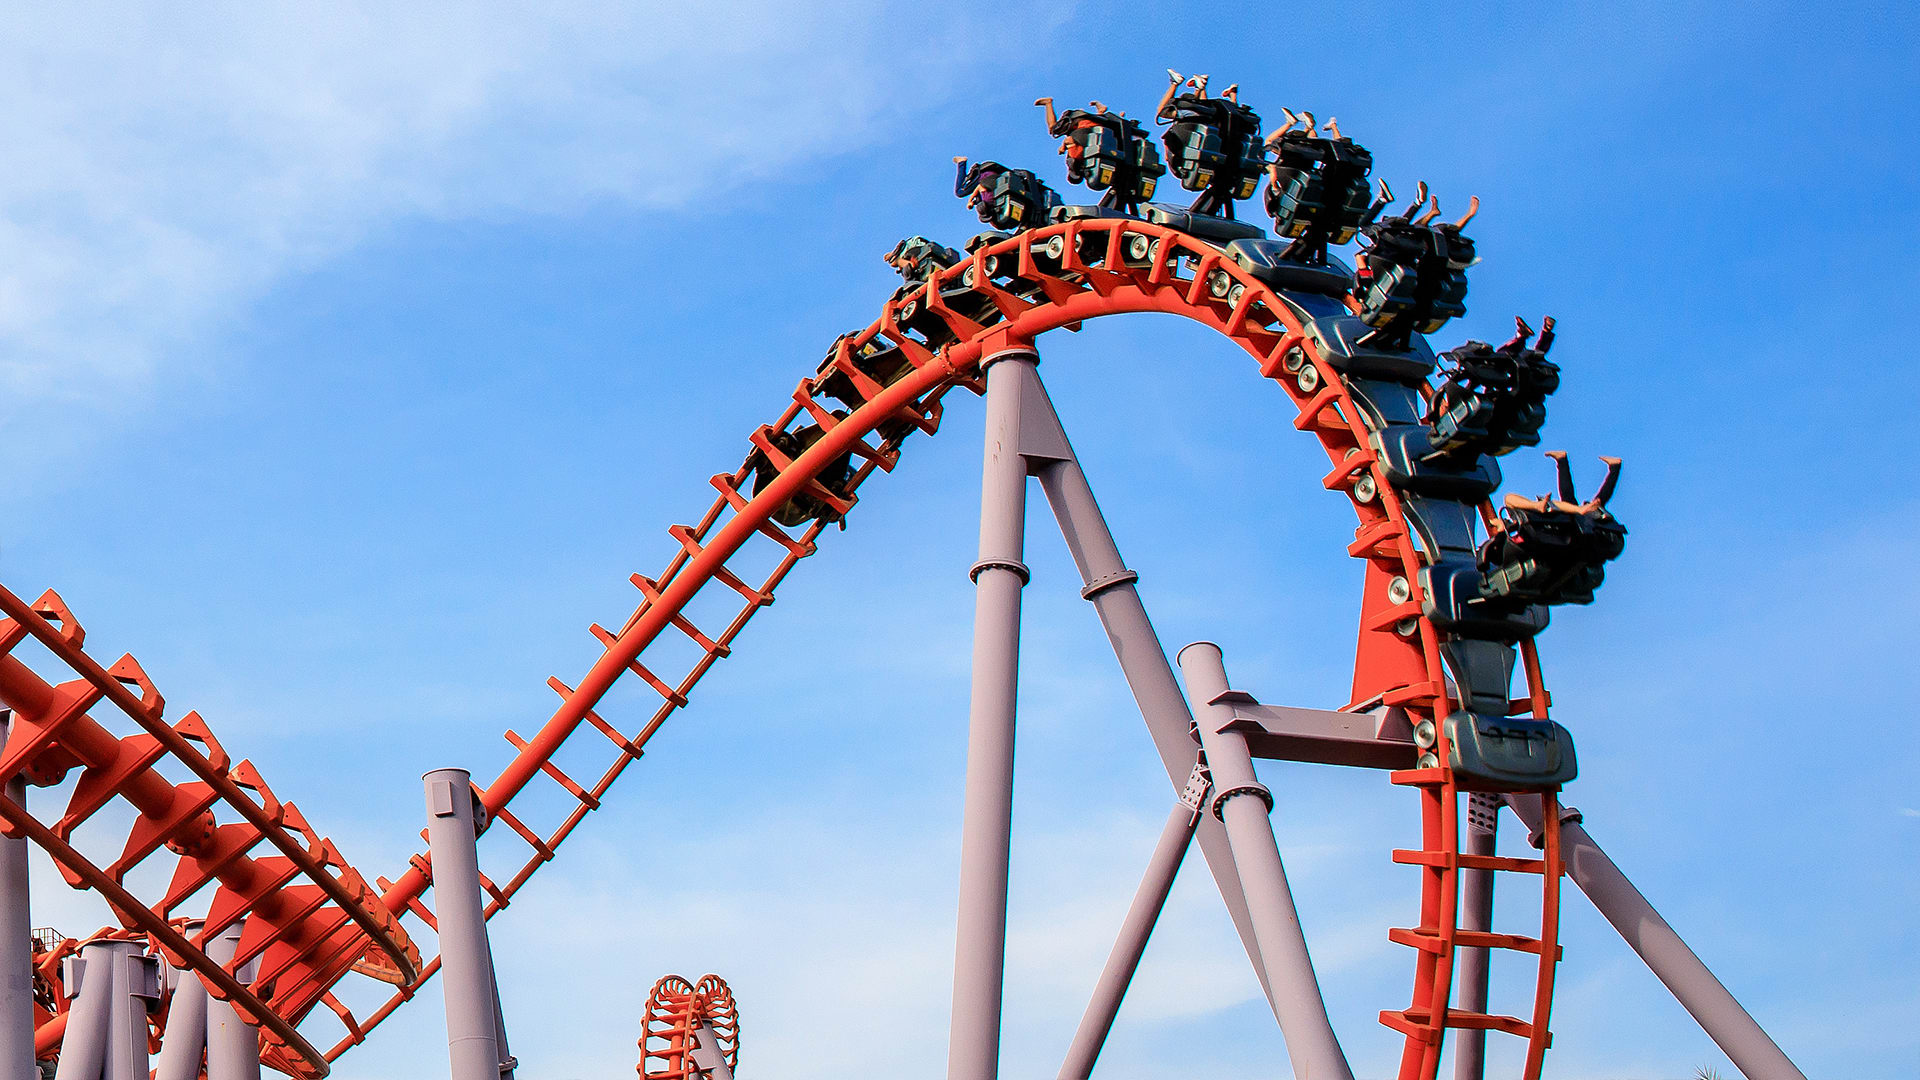
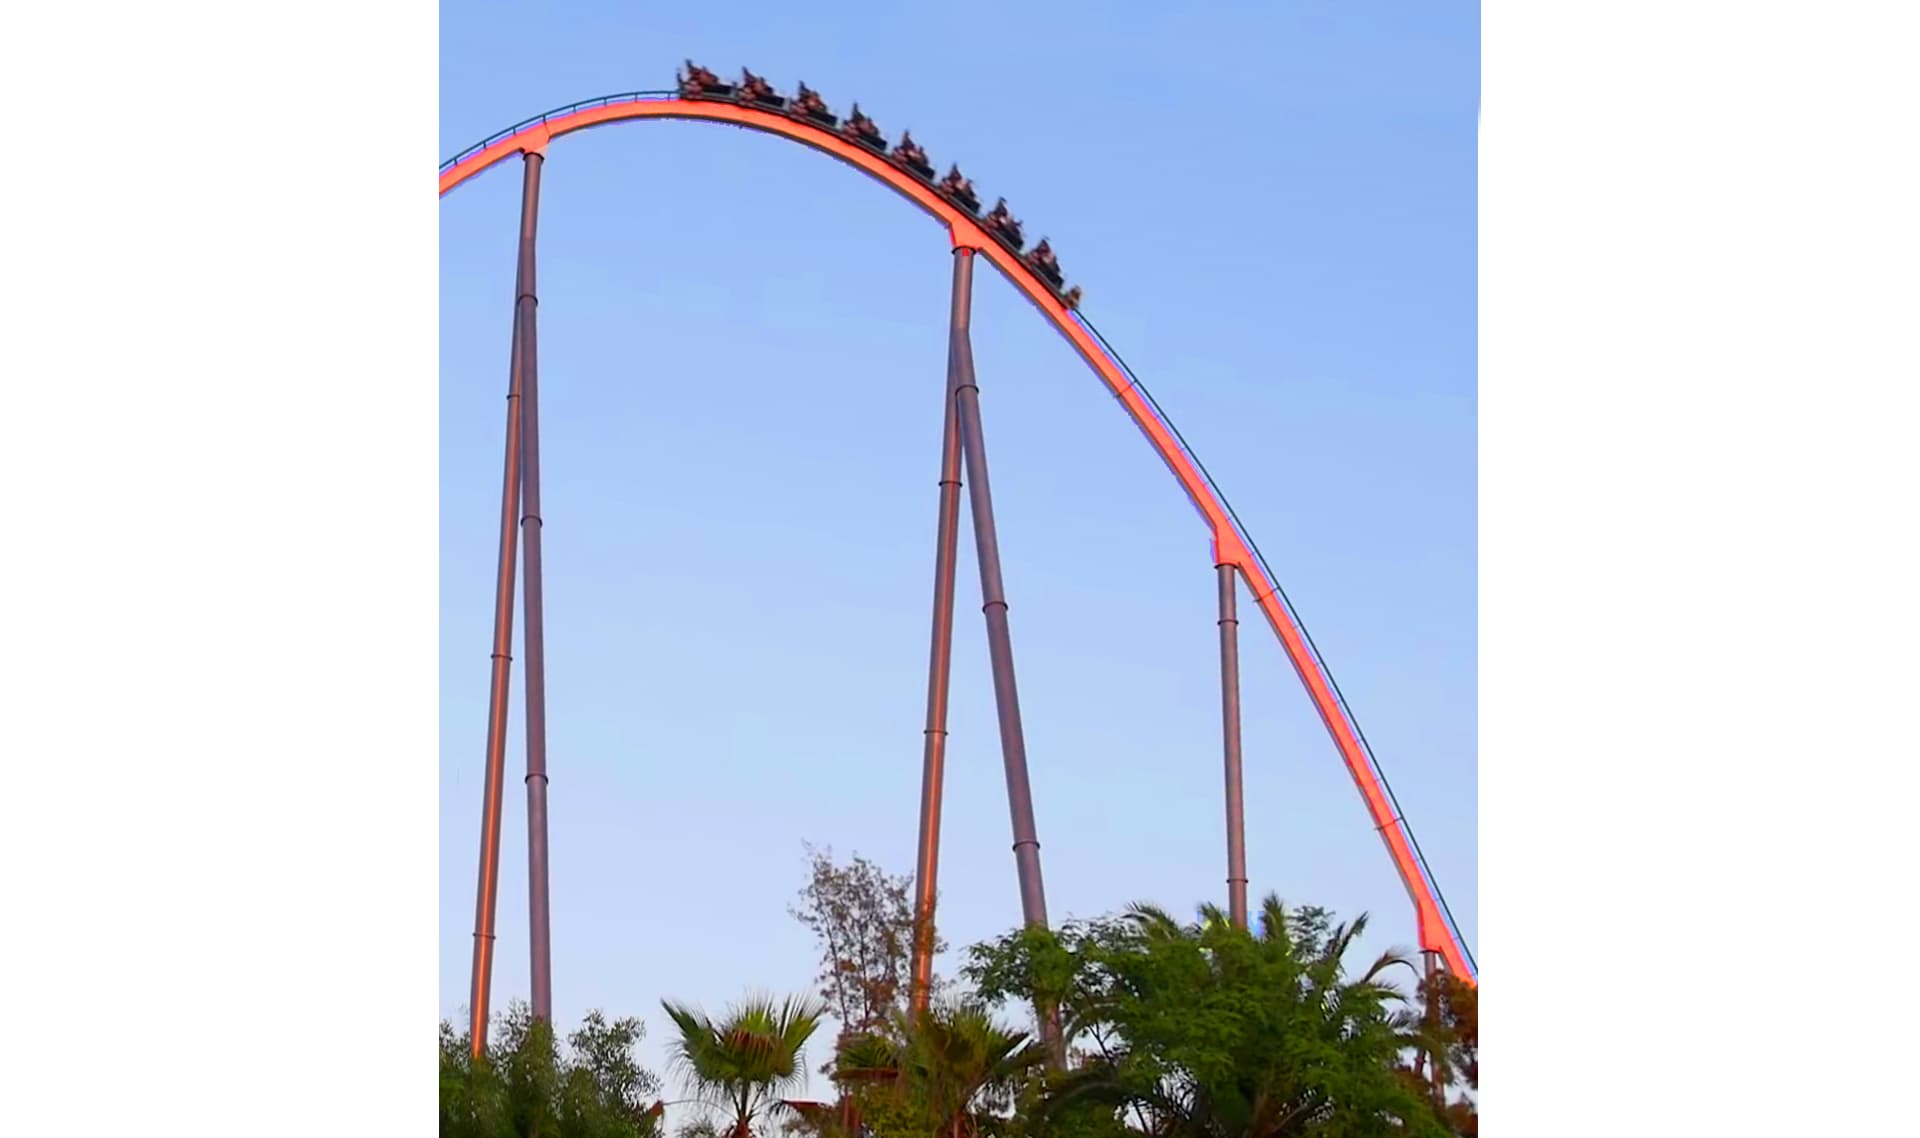
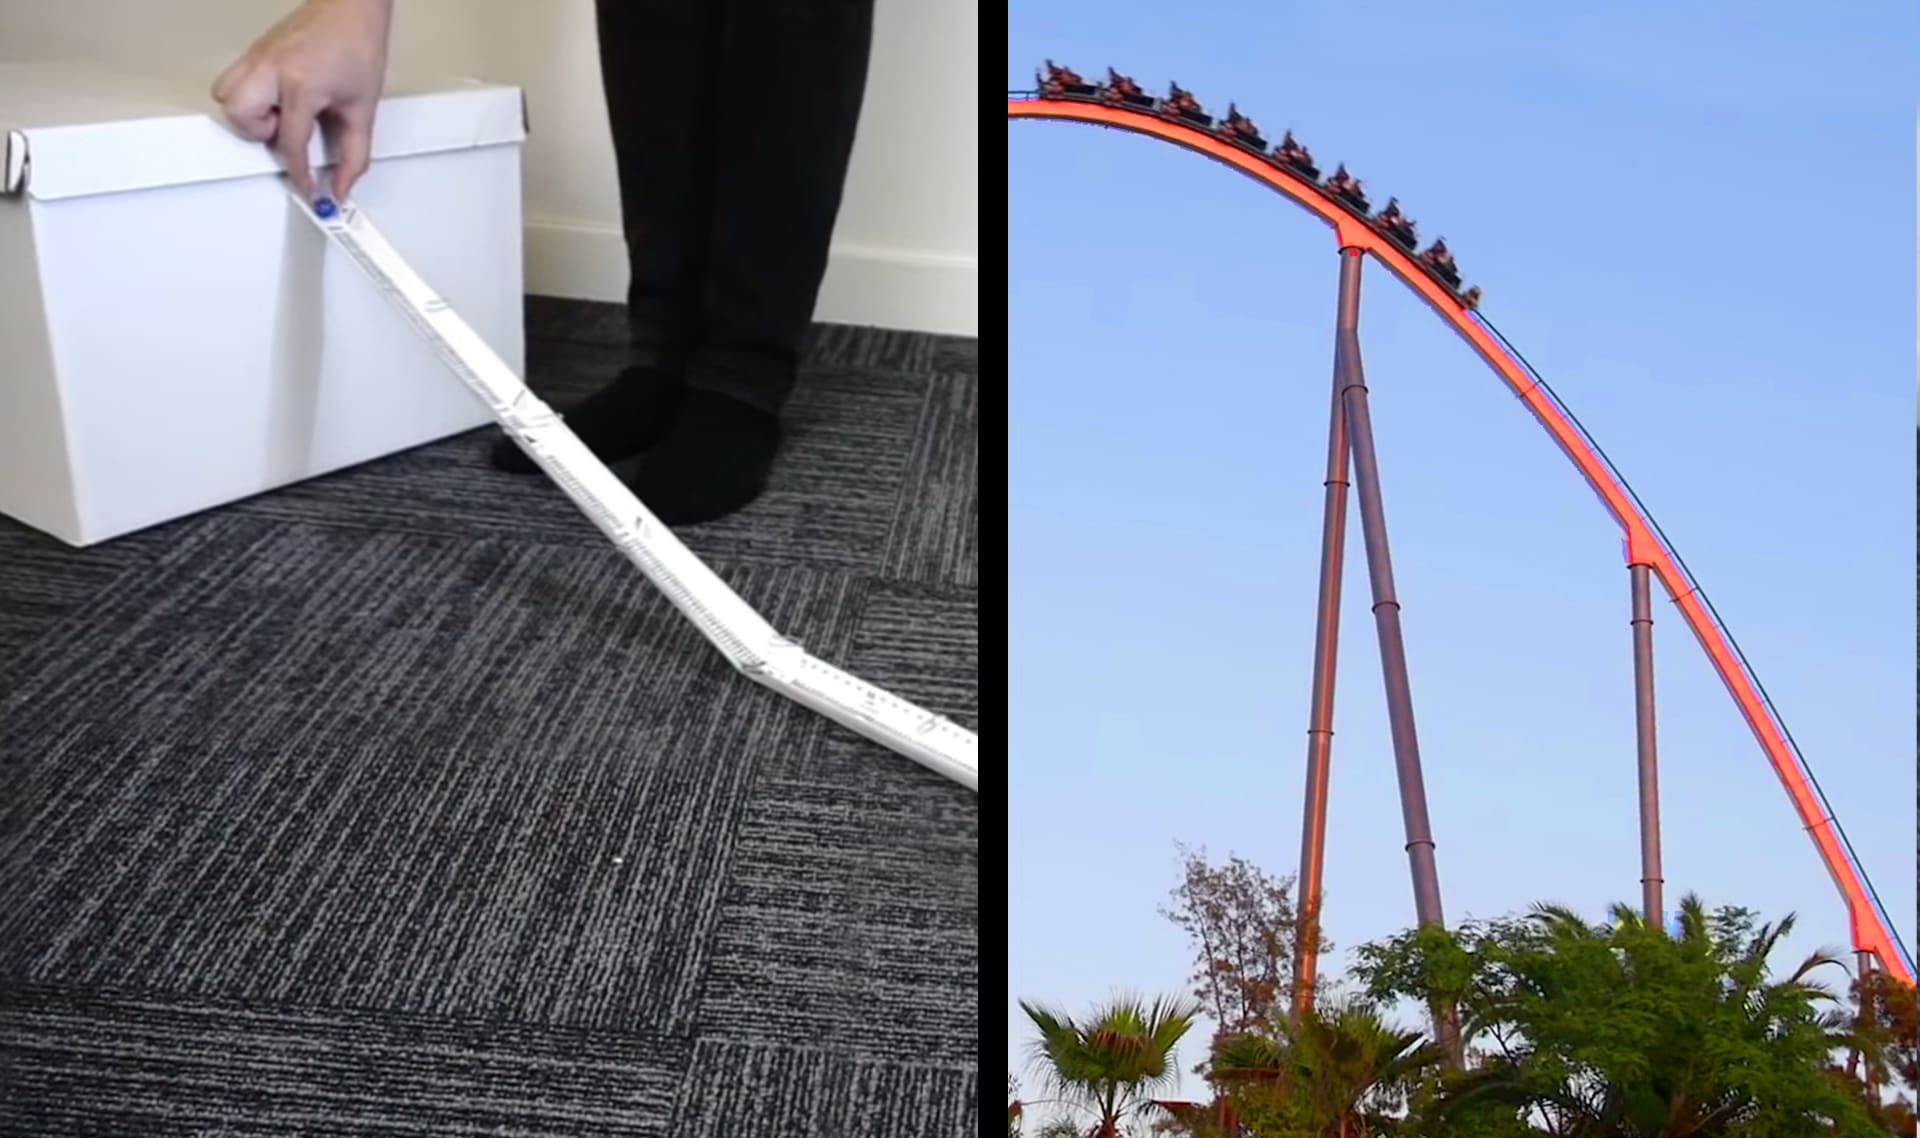
What makes roller coasters go so fast?
Energizing Everything Unit
Lesson 2 of 5
Gravitational Energy, Speed, & Collisions
4.5
(6794 reviews)
Scroll for prep

Please wait…
This video is having trouble loading. You may have lost your Internet connection.
Step 1: Click to Reload this page
Step 2: Click to
Try our other video player
Step 3: contact support if trouble persists.
Or,
dismiss this message.
DISCUSS:
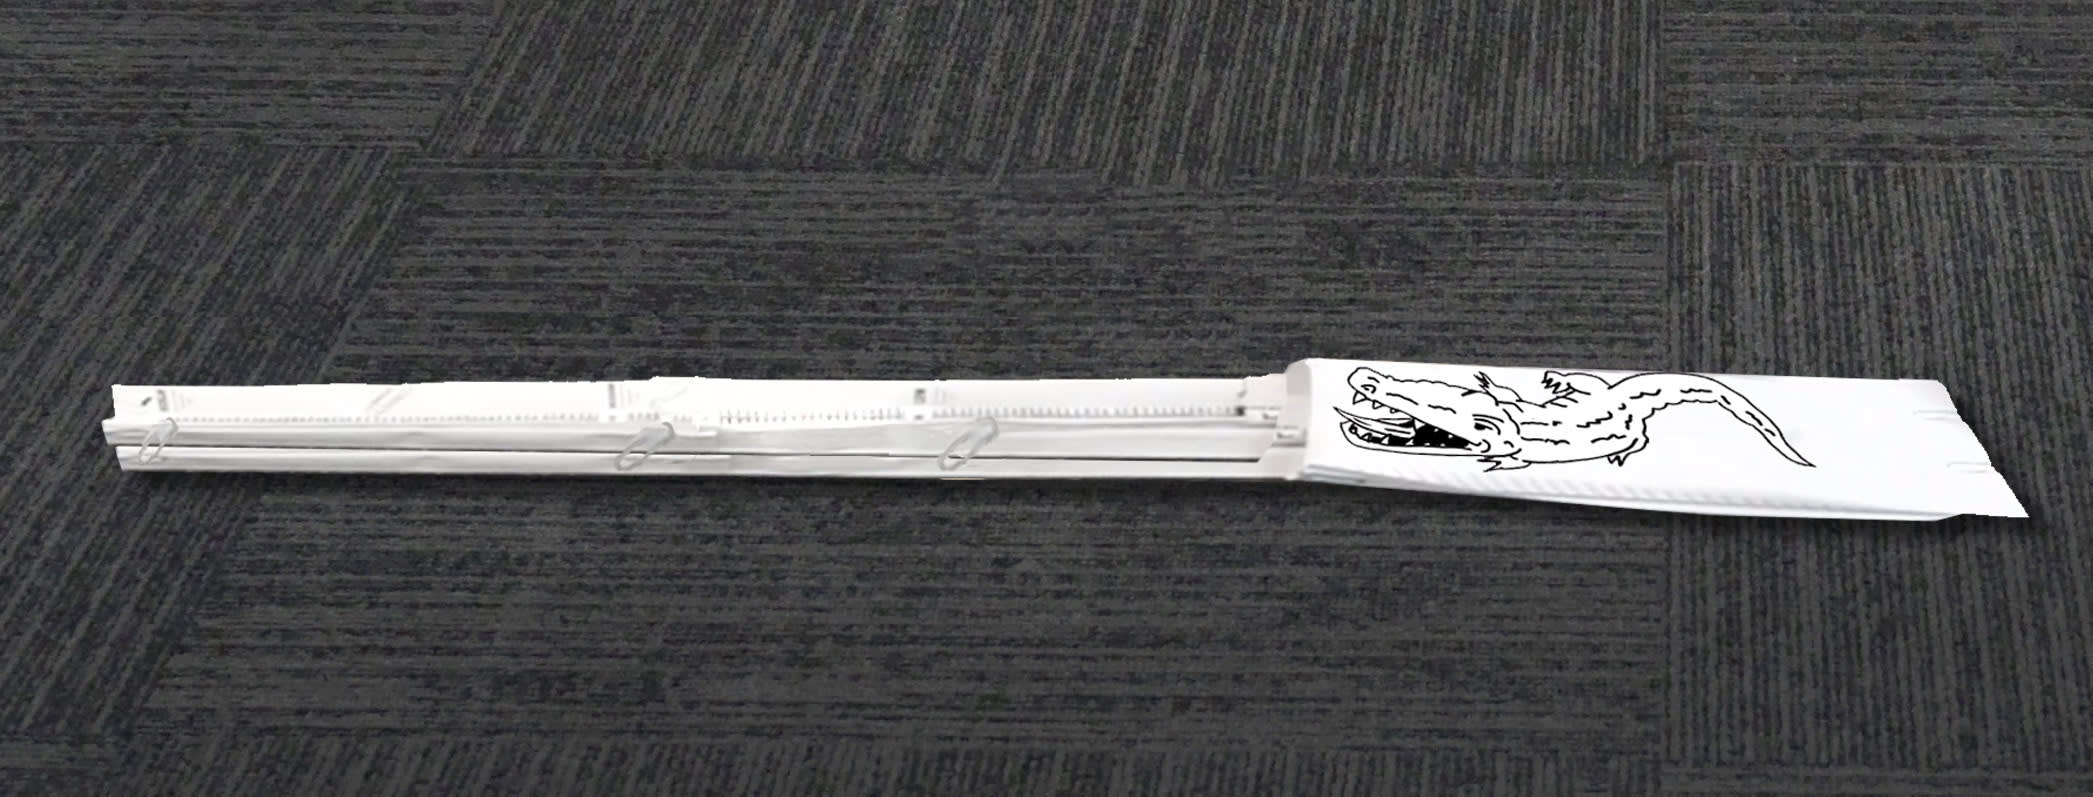
How do roller coaster cars move if they don’t have an engine? (Where do they get their energy from?)
Please wait…
This video is having trouble loading. You may have lost your Internet connection.
Step 1: Click to Reload this page
Step 2: Click to
Try our other video player
Step 3: contact support if trouble persists.
Or,
dismiss this message.
Please wait…
This video is having trouble loading. You may have lost your Internet connection.
Step 1: Click to Reload this page
Step 2: Click to
Try our other video player
Step 3: contact support if trouble persists.
Or,
dismiss this message.
Please wait…
This video is having trouble loading. You may have lost your Internet connection.
Step 1: Click to Reload this page
Step 2: Click to
Try our other video player
Step 3: contact support if trouble persists.
Or,
dismiss this message.
Please wait…
This video is having trouble loading. You may have lost your Internet connection.
Step 1: Click to Reload this page
Step 2: Click to
Try our other video player
Step 3: contact support if trouble persists.
Or,
dismiss this message.
Please wait…
This video is having trouble loading. You may have lost your Internet connection.
Step 1: Click to Reload this page
Step 2: Click to
Try our other video player
Step 3: contact support if trouble persists.
Or,
dismiss this message.
Please wait…
This video is having trouble loading. You may have lost your Internet connection.
Step 1: Click to Reload this page
Step 2: Click to
Try our other video player
Step 3: contact support if trouble persists.
Or,
dismiss this message.
Please wait…
This video is having trouble loading. You may have lost your Internet connection.
Step 1: Click to Reload this page
Step 2: Click to
Try our other video player
Step 3: contact support if trouble persists.
Or,
dismiss this message.
Please wait…
This video is having trouble loading. You may have lost your Internet connection.
Step 1: Click to Reload this page
Step 2: Click to
Try our other video player
Step 3: contact support if trouble persists.
Or,
dismiss this message.
Please wait…
This video is having trouble loading. You may have lost your Internet connection.
Step 1: Click to Reload this page
Step 2: Click to
Try our other video player
Step 3: contact support if trouble persists.
Or,
dismiss this message.
Please wait…
This video is having trouble loading. You may have lost your Internet connection.
Step 1: Click to Reload this page
Step 2: Click to
Try our other video player
Step 3: contact support if trouble persists.
Or,
dismiss this message.
Please wait…
This video is having trouble loading. You may have lost your Internet connection.
Step 1: Click to Reload this page
Step 2: Click to
Try our other video player
Step 3: contact support if trouble persists.
Or,
dismiss this message.
Please wait…
This video is having trouble loading. You may have lost your Internet connection.
Step 1: Click to Reload this page
Step 2: Click to
Try our other video player
Step 3: contact support if trouble persists.
Or,
dismiss this message.
If you need a natural stopping point!
Teachers: If you are short on time, this is a good stopping point. We recommend leaving your students' tracks set up so they can get right to experimenting at the start of the next session.
If you’re continuing right now, advance to the next slide.
Please wait…
This video is having trouble loading. You may have lost your Internet connection.
Step 1: Click to Reload this page
Step 2: Click to
Try our other video player
Step 3: contact support if trouble persists.
Or,
dismiss this message.
Please wait…
This video is having trouble loading. You may have lost your Internet connection.
Step 1: Click to Reload this page
Step 2: Click to
Try our other video player
Step 3: contact support if trouble persists.
Or,
dismiss this message.
Please wait…
This video is having trouble loading. You may have lost your Internet connection.
Step 1: Click to Reload this page
Step 2: Click to
Try our other video player
Step 3: contact support if trouble persists.
Or,
dismiss this message.
Please wait…
This video is having trouble loading. You may have lost your Internet connection.
Step 1: Click to Reload this page
Step 2: Click to
Try our other video player
Step 3: contact support if trouble persists.
Or,
dismiss this message.
Please wait…
This video is having trouble loading. You may have lost your Internet connection.
Step 1: Click to Reload this page
Step 2: Click to
Try our other video player
Step 3: contact support if trouble persists.
Or,
dismiss this message.
Please wait…
This video is having trouble loading. You may have lost your Internet connection.
Step 1: Click to Reload this page
Step 2: Click to
Try our other video player
Step 3: contact support if trouble persists.
Or,
dismiss this message.
Please wait…
This video is having trouble loading. You may have lost your Internet connection.
Step 1: Click to Reload this page
Step 2: Click to
Try our other video player
Step 3: contact support if trouble persists.
Or,
dismiss this message.
Please wait…
This video is having trouble loading. You may have lost your Internet connection.
Step 1: Click to Reload this page
Step 2: Click to
Try our other video player
Step 3: contact support if trouble persists.
Or,
dismiss this message.
Please wait…
This video is having trouble loading. You may have lost your Internet connection.
Step 1: Click to Reload this page
Step 2: Click to
Try our other video player
Step 3: contact support if trouble persists.
Or,
dismiss this message.
Please wait…
This video is having trouble loading. You may have lost your Internet connection.
Step 1: Click to Reload this page
Step 2: Click to
Try our other video player
Step 3: contact support if trouble persists.
Or,
dismiss this message.
Please wait…
This video is having trouble loading. You may have lost your Internet connection.
Step 1: Click to Reload this page
Step 2: Click to
Try our other video player
Step 3: contact support if trouble persists.
Or,
dismiss this message.
If you need a natural stopping point!
Teachers: If you are short on time, this is a good stopping point. The next experiment will require your students to get additional marbles.
If you’re continuing right now, advance to the next slide.
Please wait…
This video is having trouble loading. You may have lost your Internet connection.
Step 1: Click to Reload this page
Step 2: Click to
Try our other video player
Step 3: contact support if trouble persists.
Or,
dismiss this message.
Please wait…
This video is having trouble loading. You may have lost your Internet connection.
Step 1: Click to Reload this page
Step 2: Click to
Try our other video player
Step 3: contact support if trouble persists.
Or,
dismiss this message.
Please wait…
This video is having trouble loading. You may have lost your Internet connection.
Step 1: Click to Reload this page
Step 2: Click to
Try our other video player
Step 3: contact support if trouble persists.
Or,
dismiss this message.
Please wait…
This video is having trouble loading. You may have lost your Internet connection.
Step 1: Click to Reload this page
Step 2: Click to
Try our other video player
Step 3: contact support if trouble persists.
Or,
dismiss this message.
Please wait…
This video is having trouble loading. You may have lost your Internet connection.
Step 1: Click to Reload this page
Step 2: Click to
Try our other video player
Step 3: contact support if trouble persists.
Or,
dismiss this message.
Please wait…
This video is having trouble loading. You may have lost your Internet connection.
Step 1: Click to Reload this page
Step 2: Click to
Try our other video player
Step 3: contact support if trouble persists.
Or,
dismiss this message.
energy
1 of 10
the ability to do an action
gravity
2 of 10
an invisible force that pulls any object down, toward the Earth
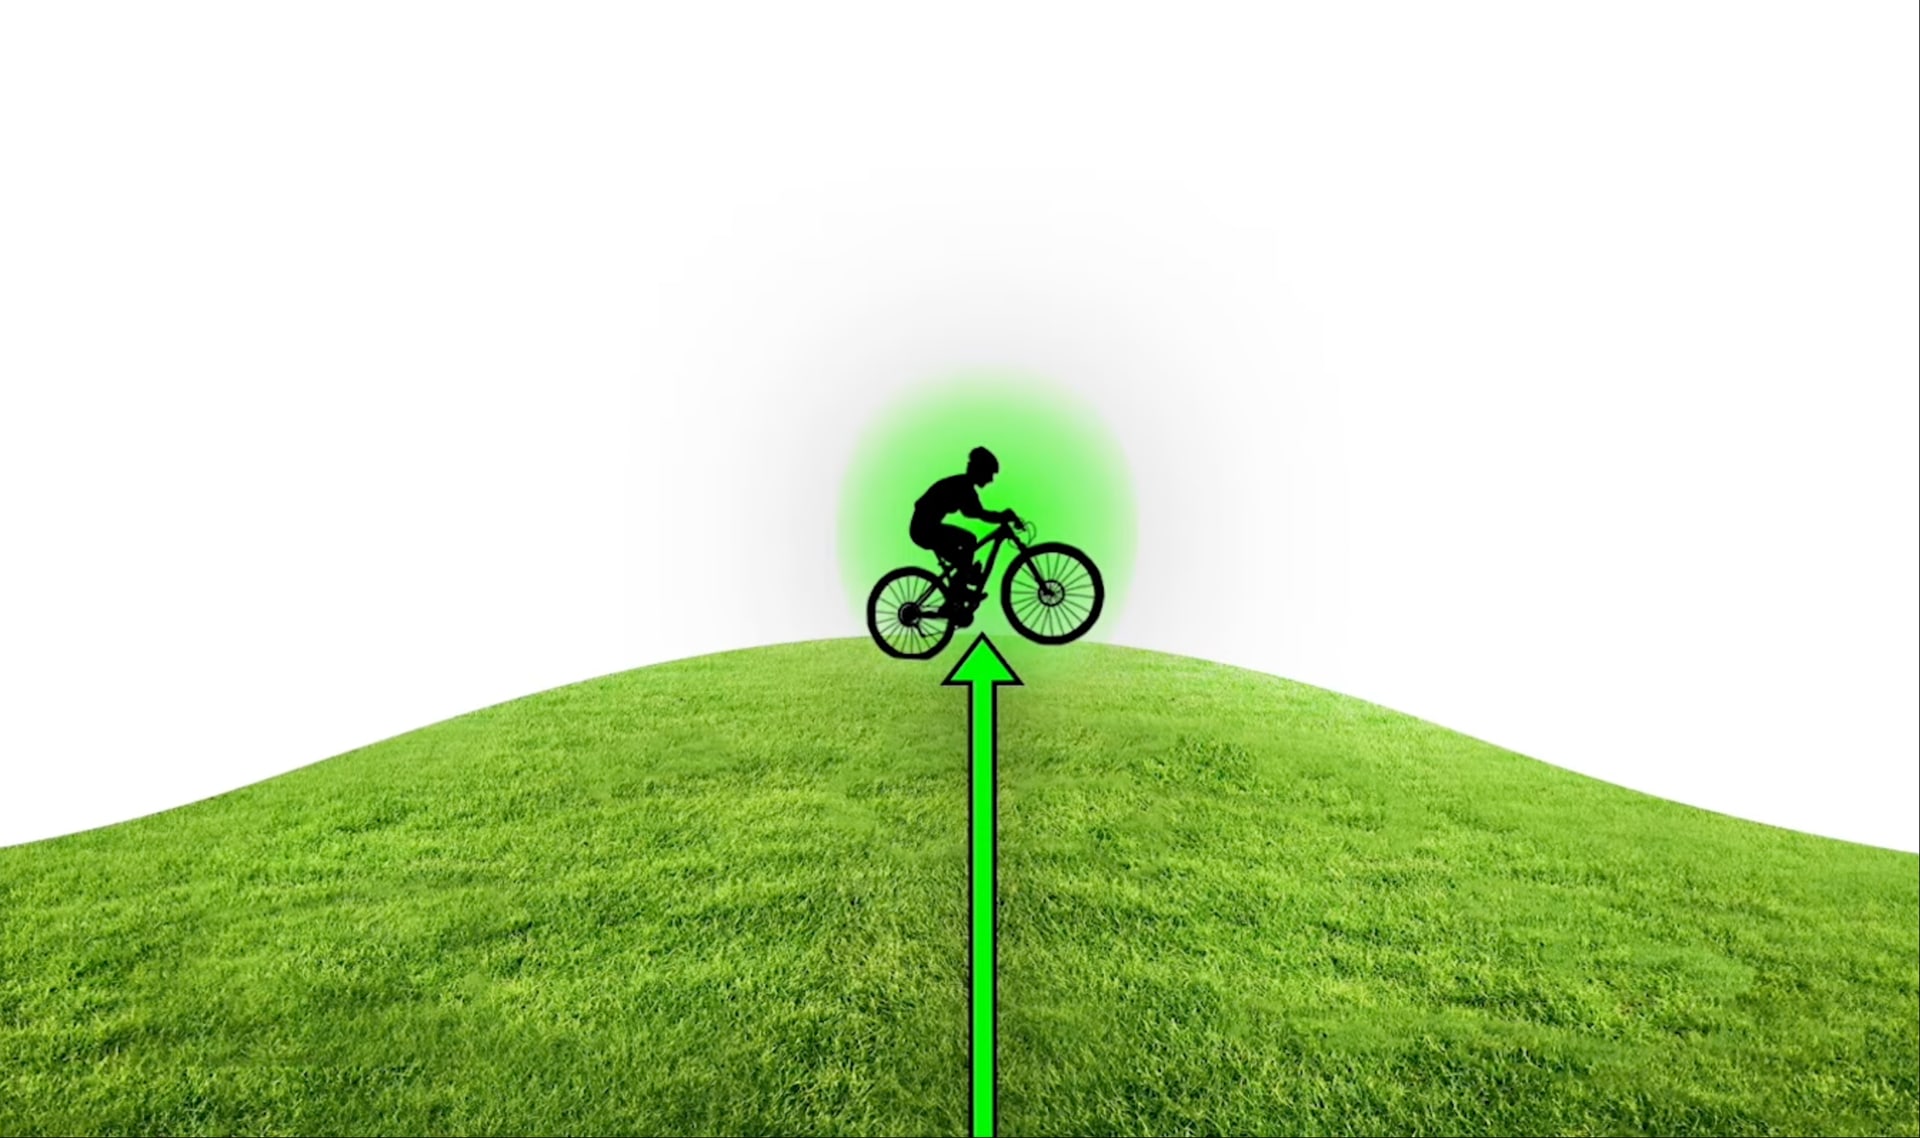
gravitational energy (height energy)
3 of 10
energy that is due to gravity
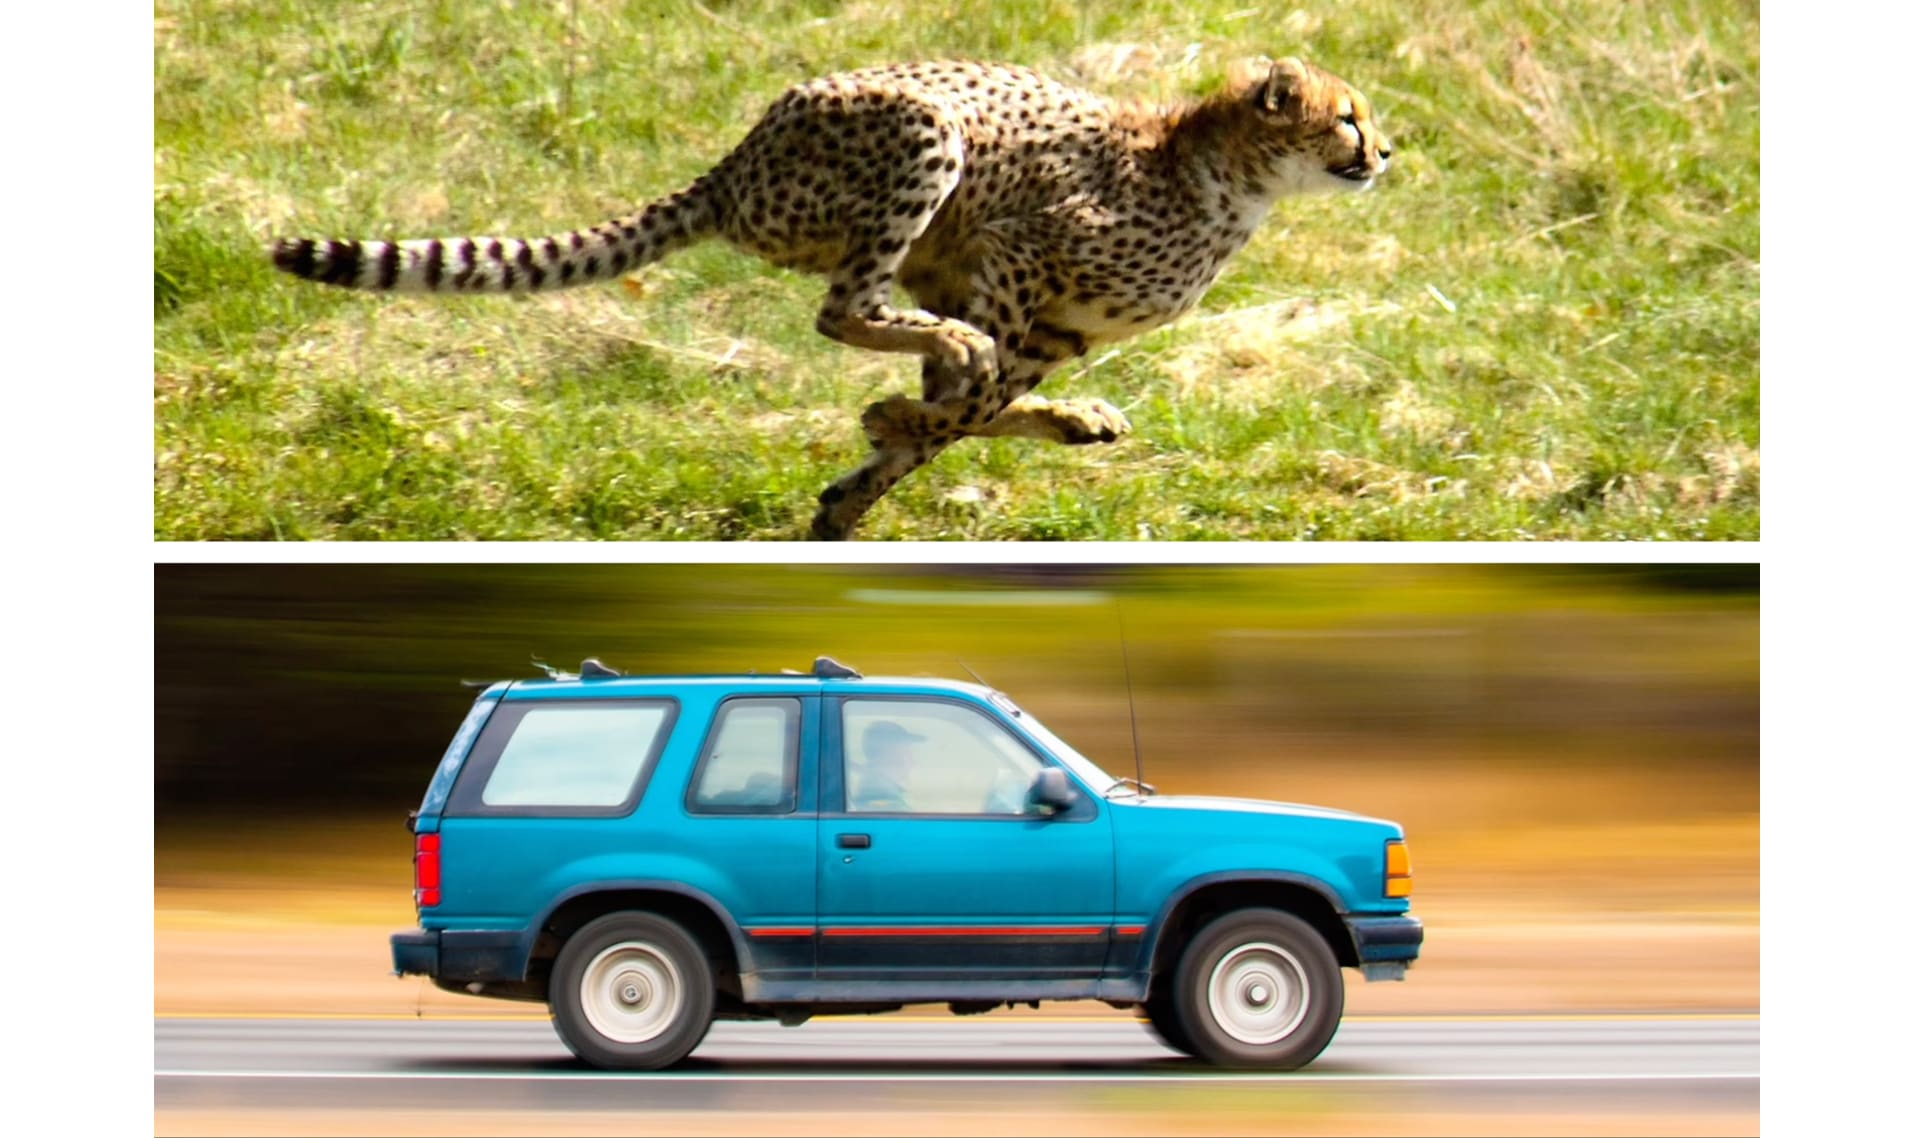
speed
4 of 10
how fast something is moving
Please wait…
This video is having trouble loading. You may have lost your Internet connection.
Step 1: Click to Reload this page
Step 2: Click to
Try our other video player
Step 3: contact support if trouble persists.
Or,
dismiss this message.
collision
5 of 10
when one object hits or crashes into another object
Please wait…
This video is having trouble loading. You may have lost your Internet connection.
Step 1: Click to Reload this page
Step 2: Click to
Try our other video player
Step 3: contact support if trouble persists.
Or,
dismiss this message.
energy transfer
6 of 10
when energy travels from one place to another
Please wait…
This video is having trouble loading. You may have lost your Internet connection.
Step 1: Click to Reload this page
Step 2: Click to
Try our other video player
Step 3: contact support if trouble persists.
Or,
dismiss this message.
sound energy
7 of 10
energy that is in the form of sound that can be heard
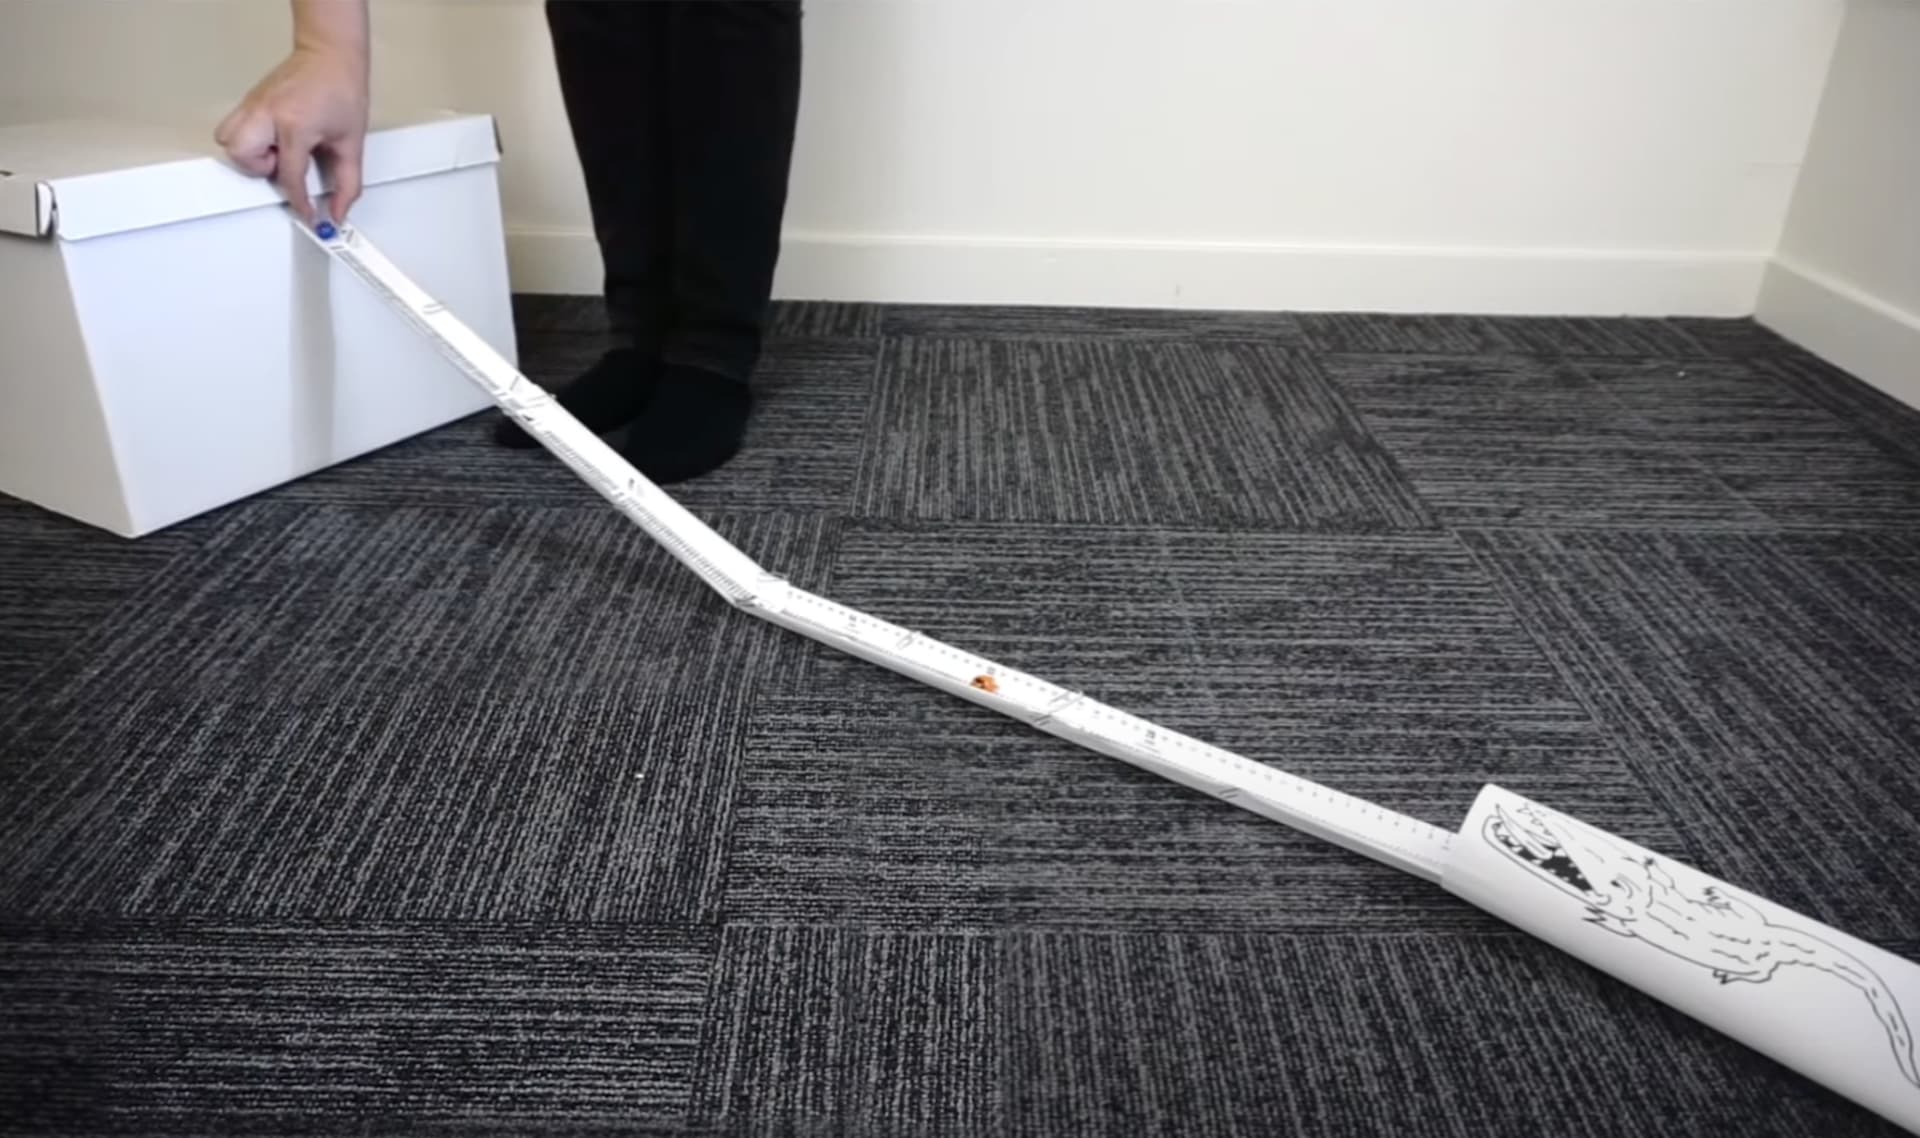
experiment
8 of 10
a test used to discover new information about a question
model
9 of 10
a pretend version of something that scientists use when the real thing is too big, small, or complicated to work with
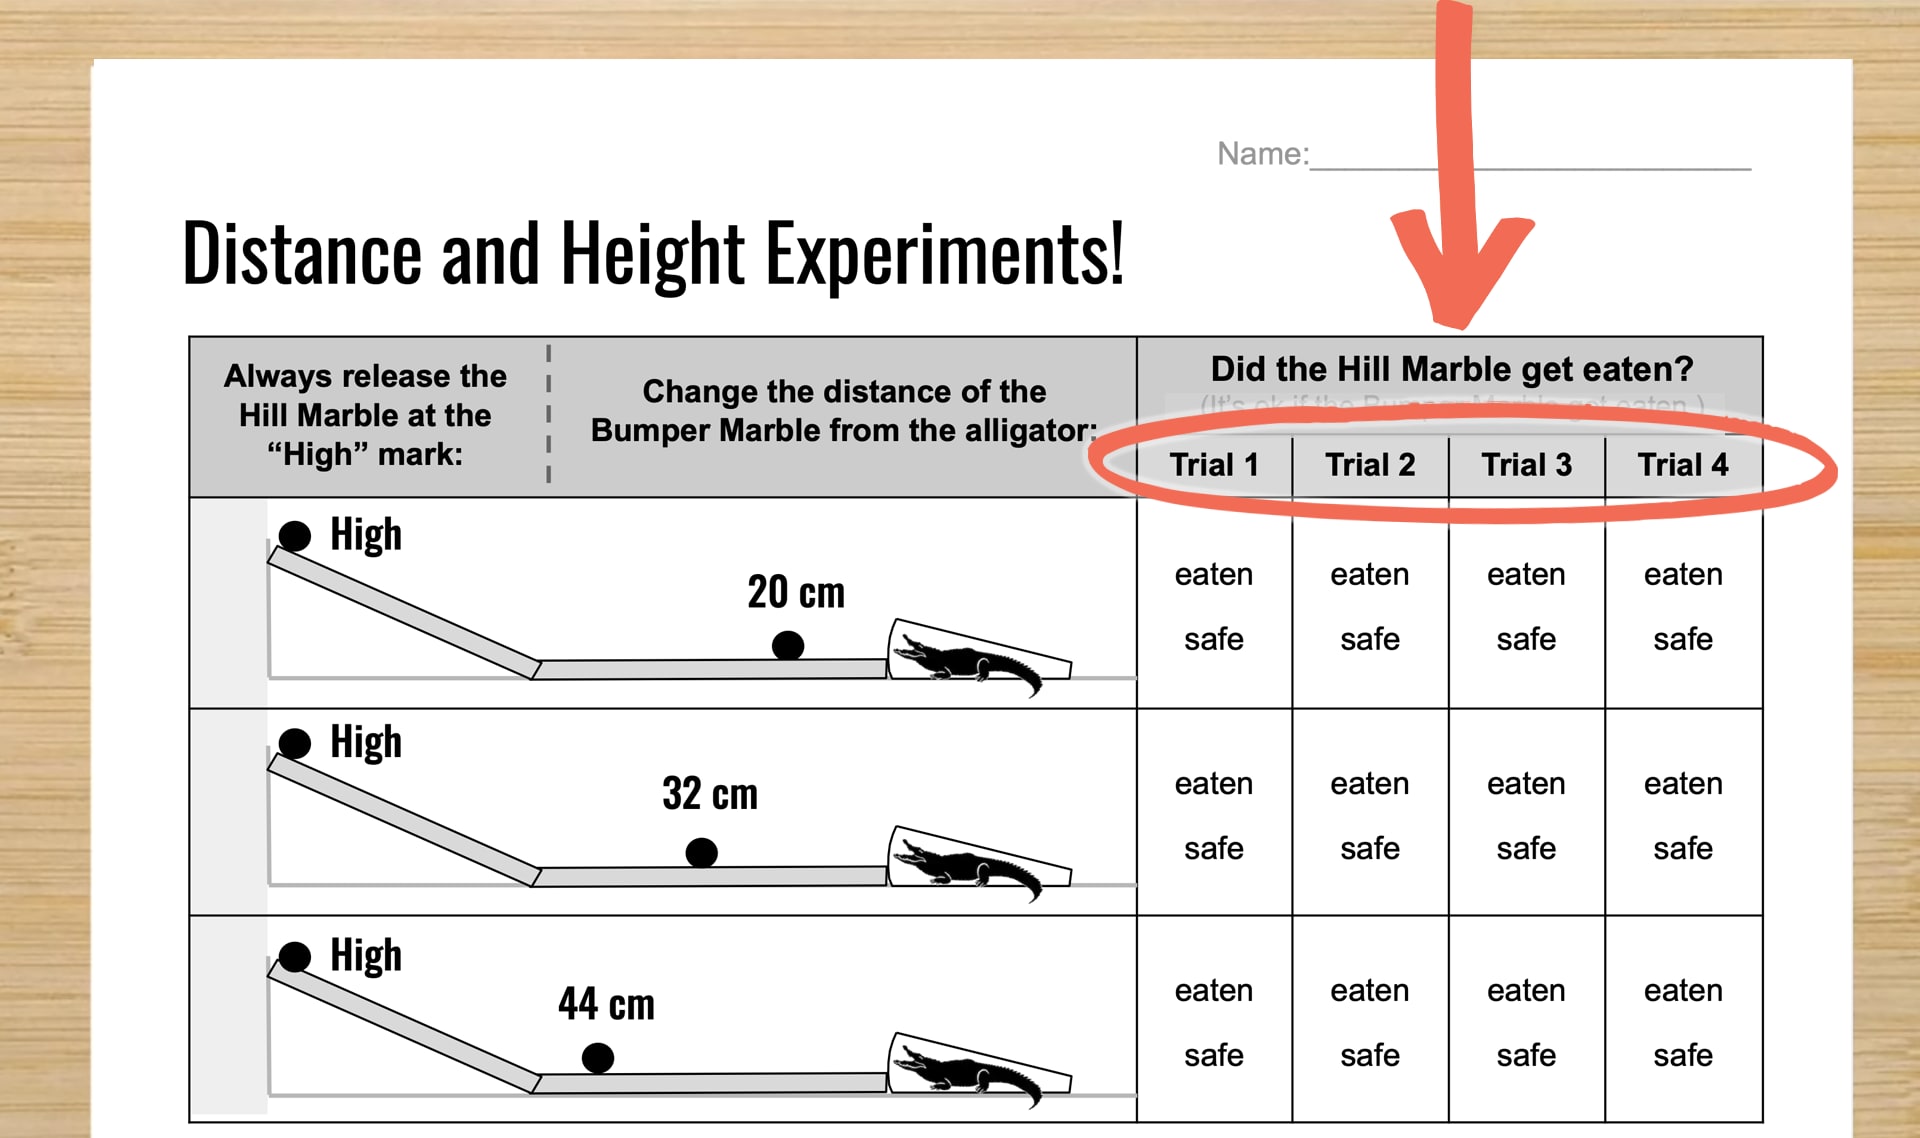
trials
10 of 10
repeated tests in an experiment
🎉
That’s it for this lesson! How did it go?
Sign up now for more great lessons!