
Image & Video Credits
Mystery Science respects the intellectual property rights of the owners of visual assets. We make every effort to use images and videos under appropriate licenses from the owner or by reaching out to the owner to get explicit permission. If you are the owner of a visual and believe we are using it without permission, please contact us—we will reply promptly and make things right.
Exploration
watermelon by
Mike Mozart
, used under CC BY
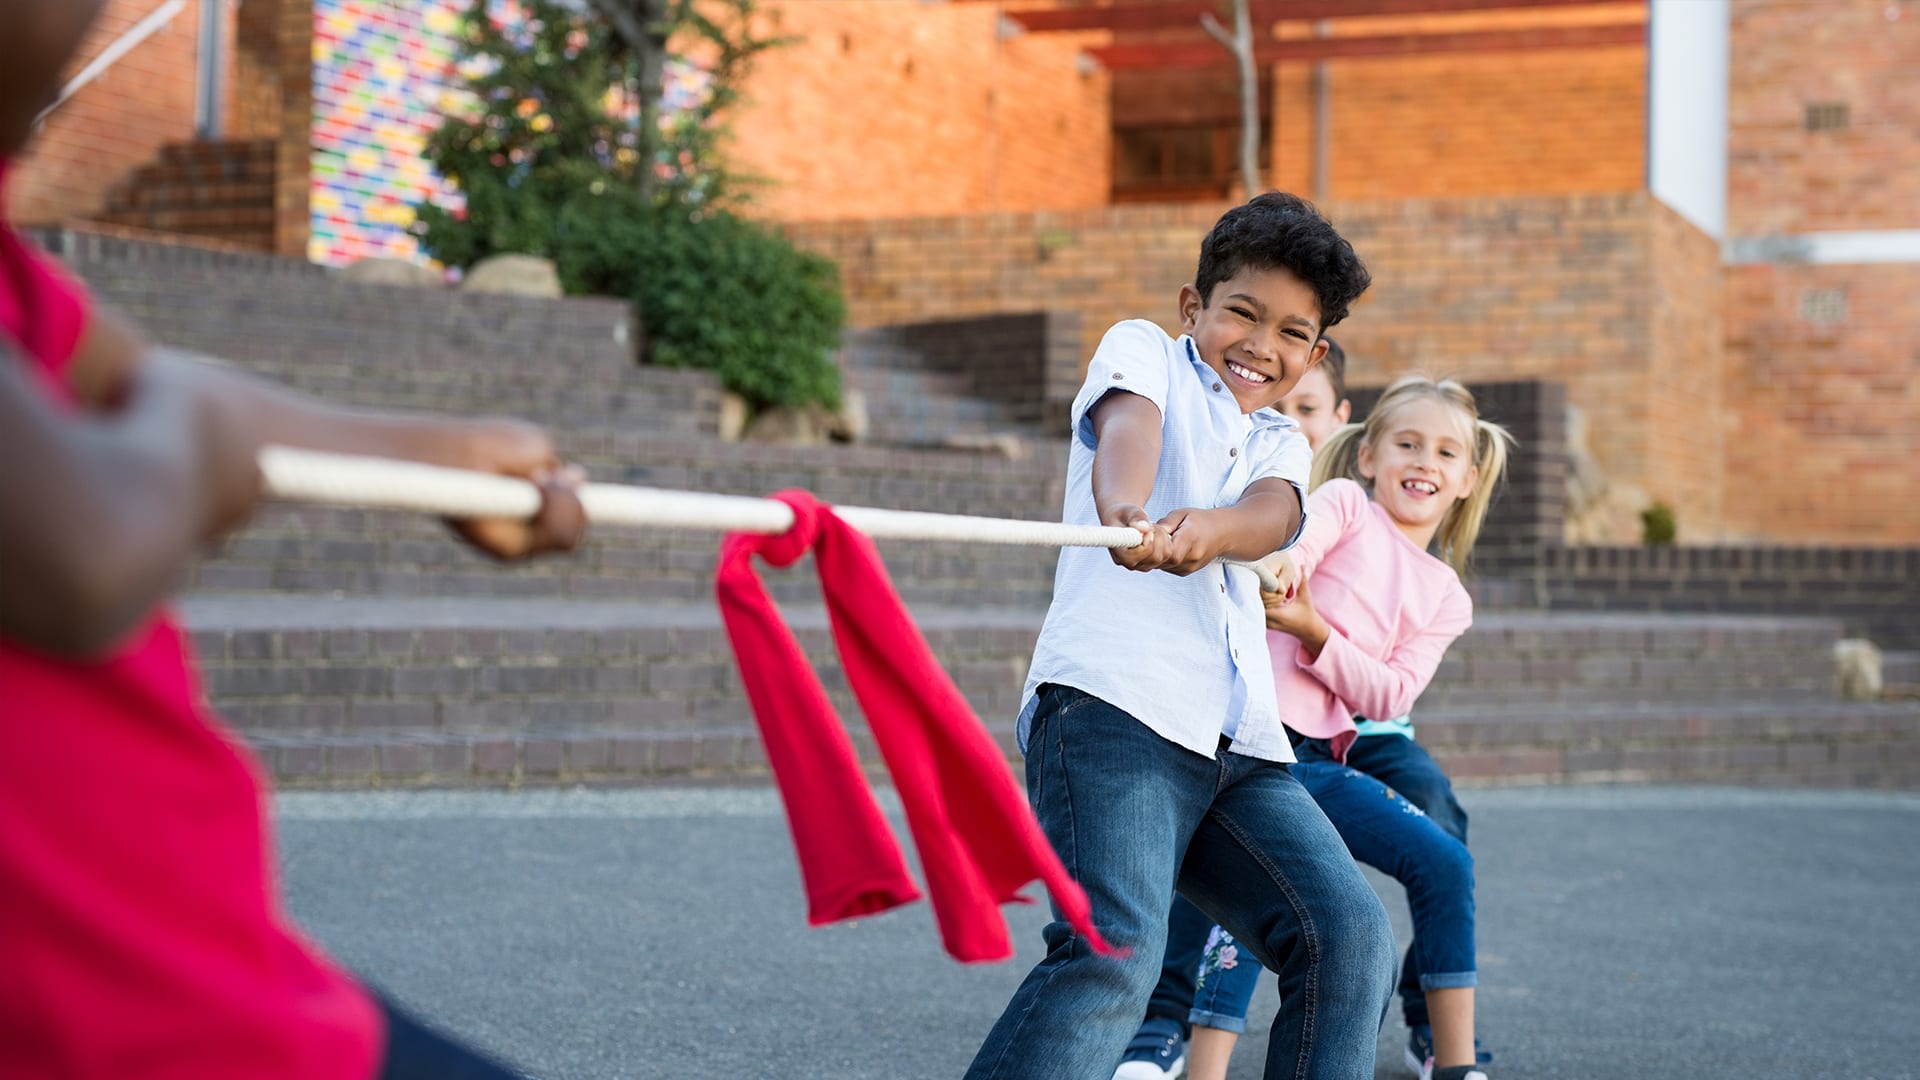
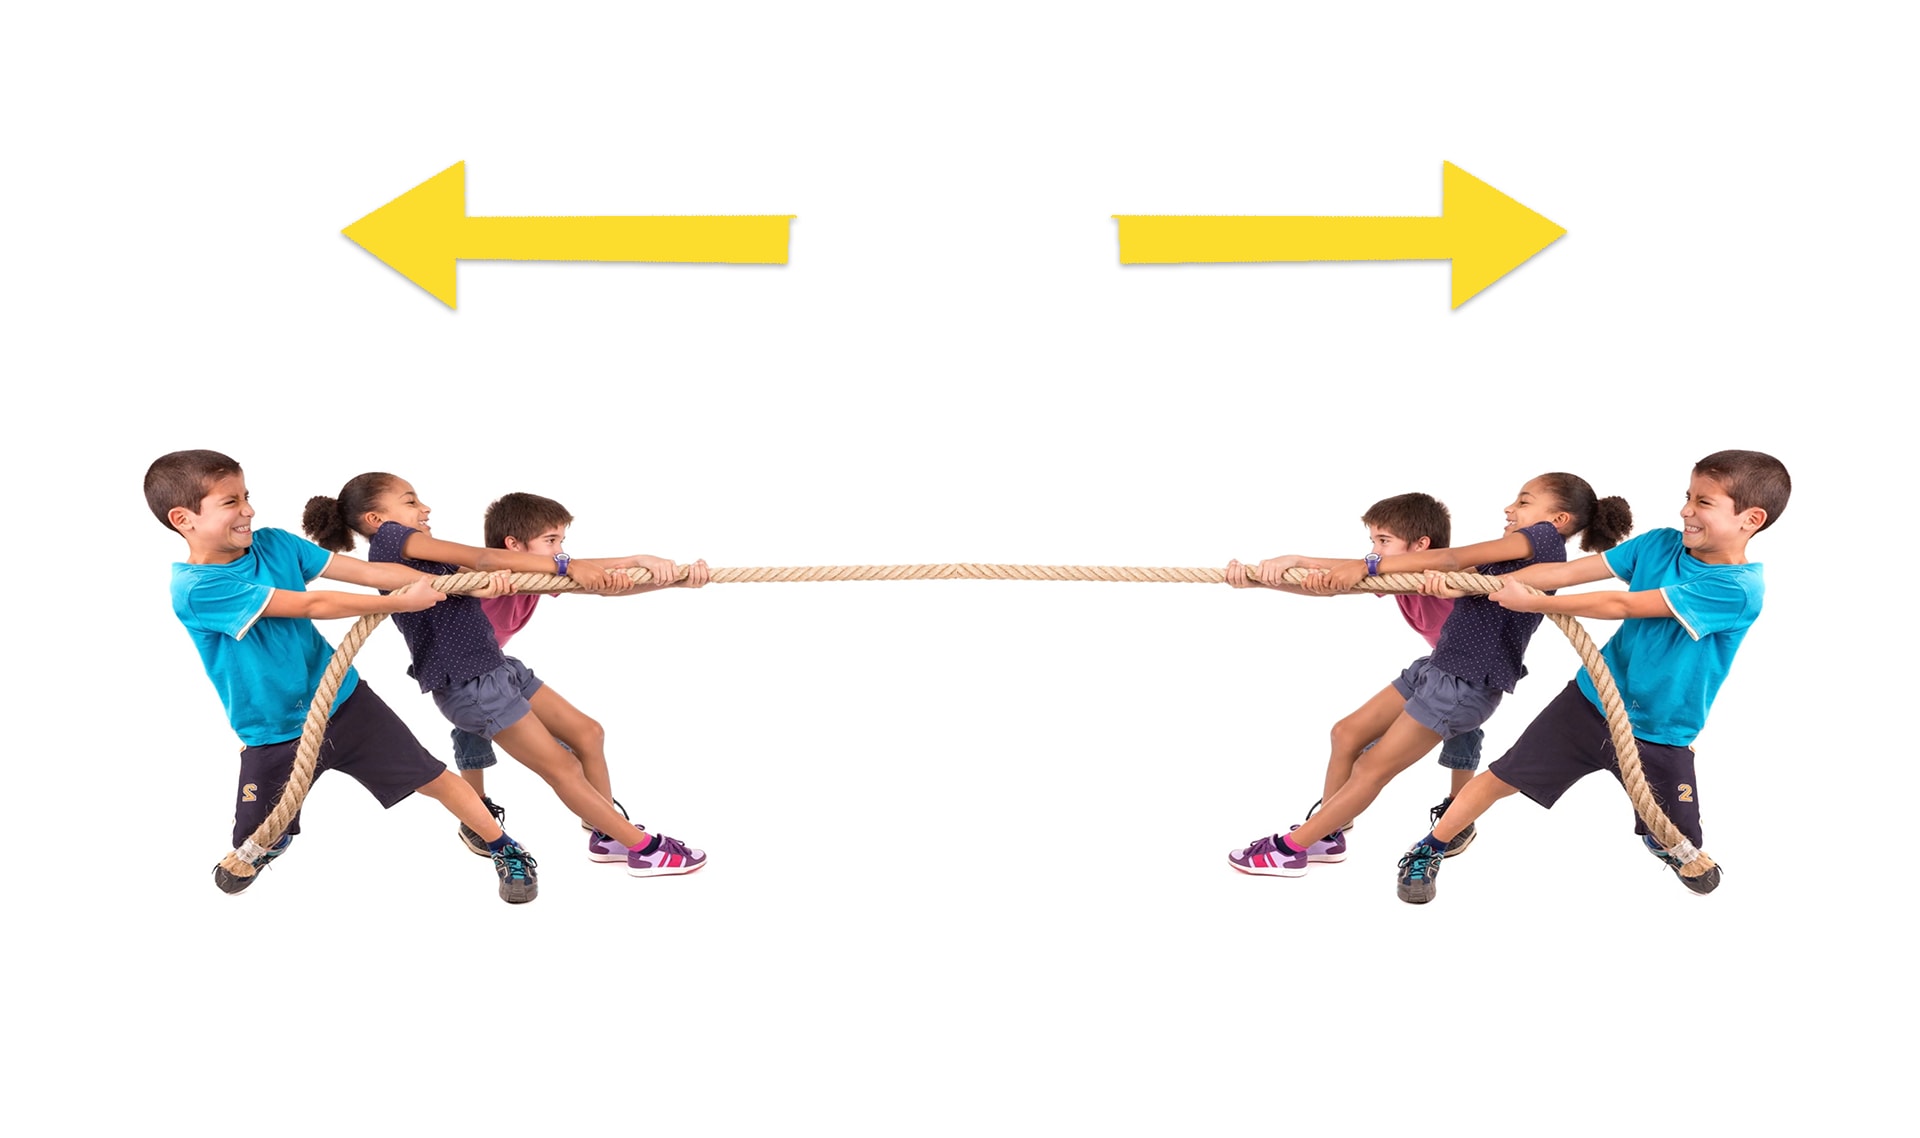
kids playing tug-of-war by
Image used under license from Shutterstock.com: Luis Louro
tug of war European championship by
Tug of War Association
Olympic weightlifter by
Simon Q
Soldiers playing tug of war by
SFC Victor Aguirre
Marine playing a tug of war by
Cpl. Matthew Callahan
teacher by
Image used under license from Shutterstock.com: wavebreakmedia
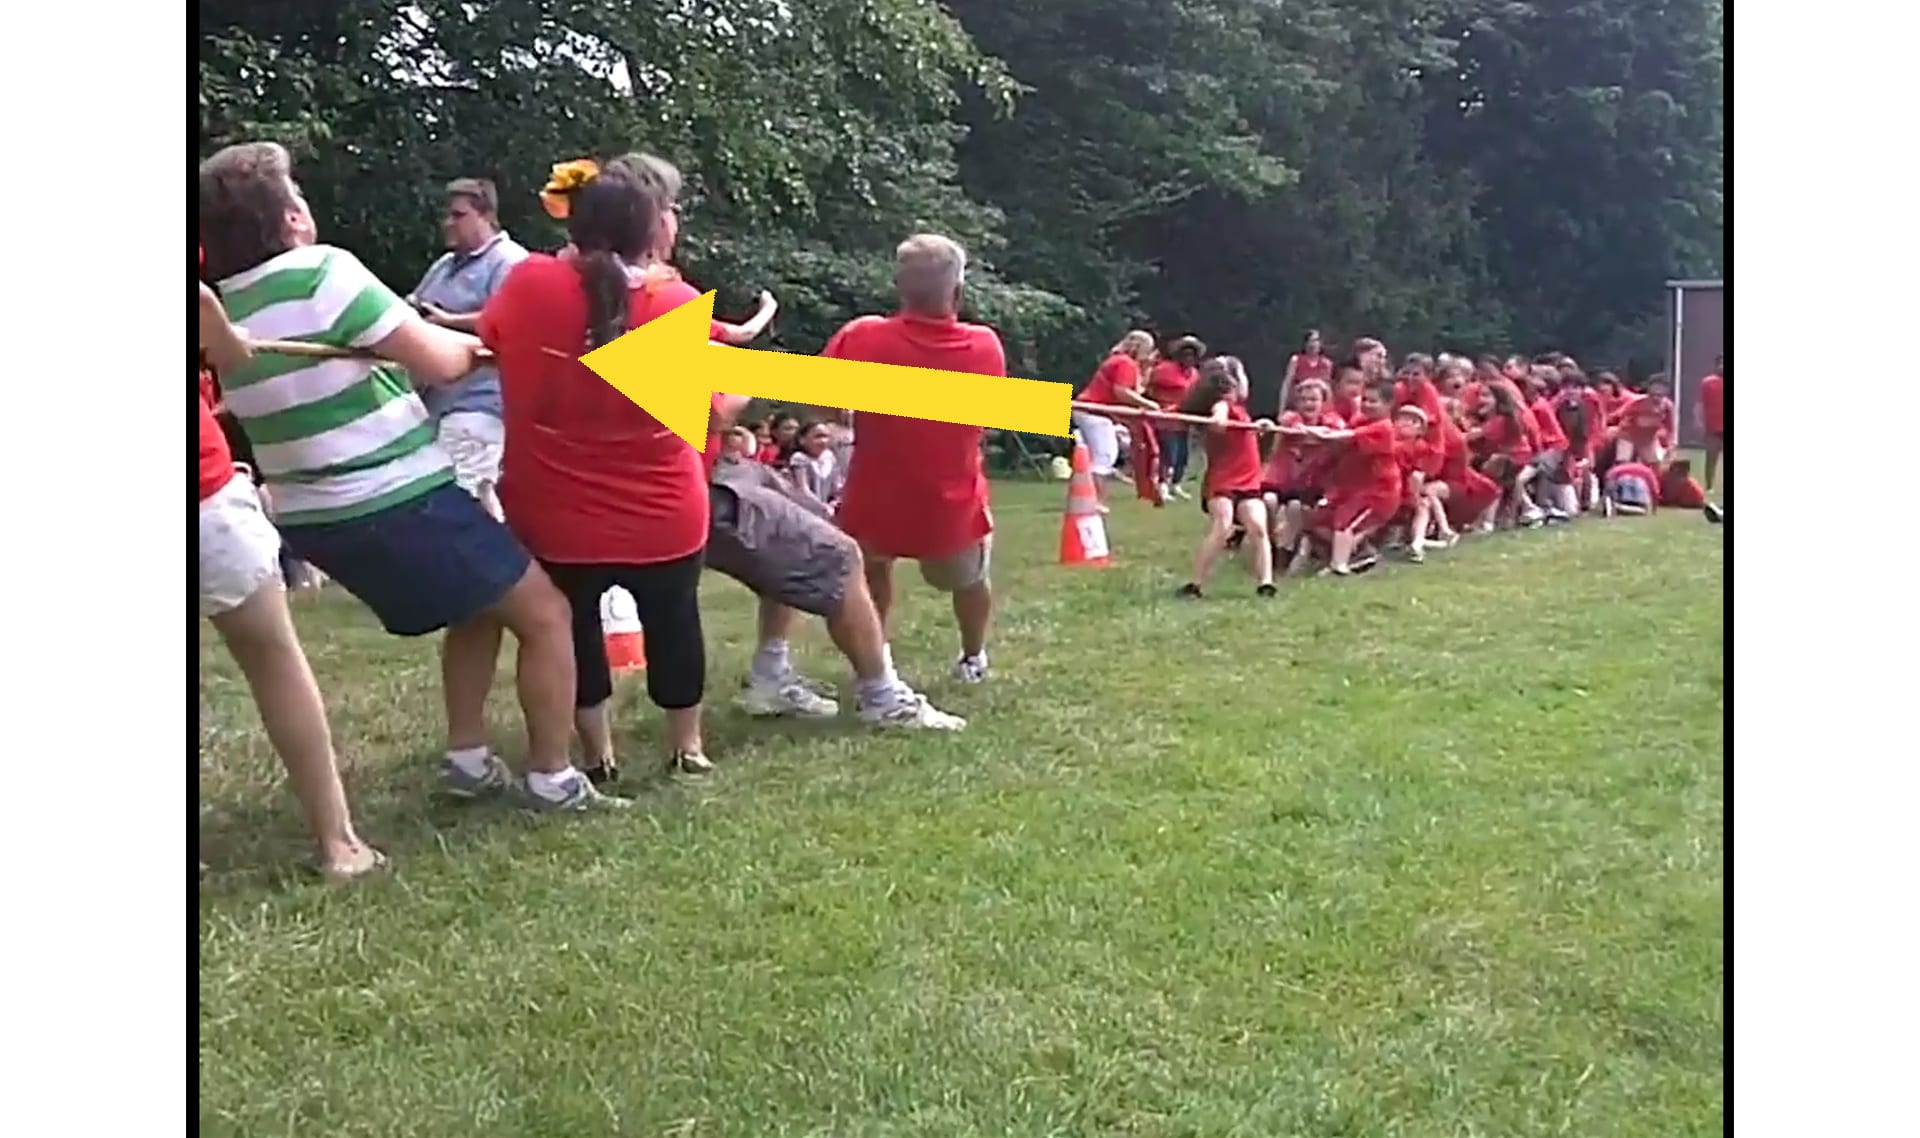
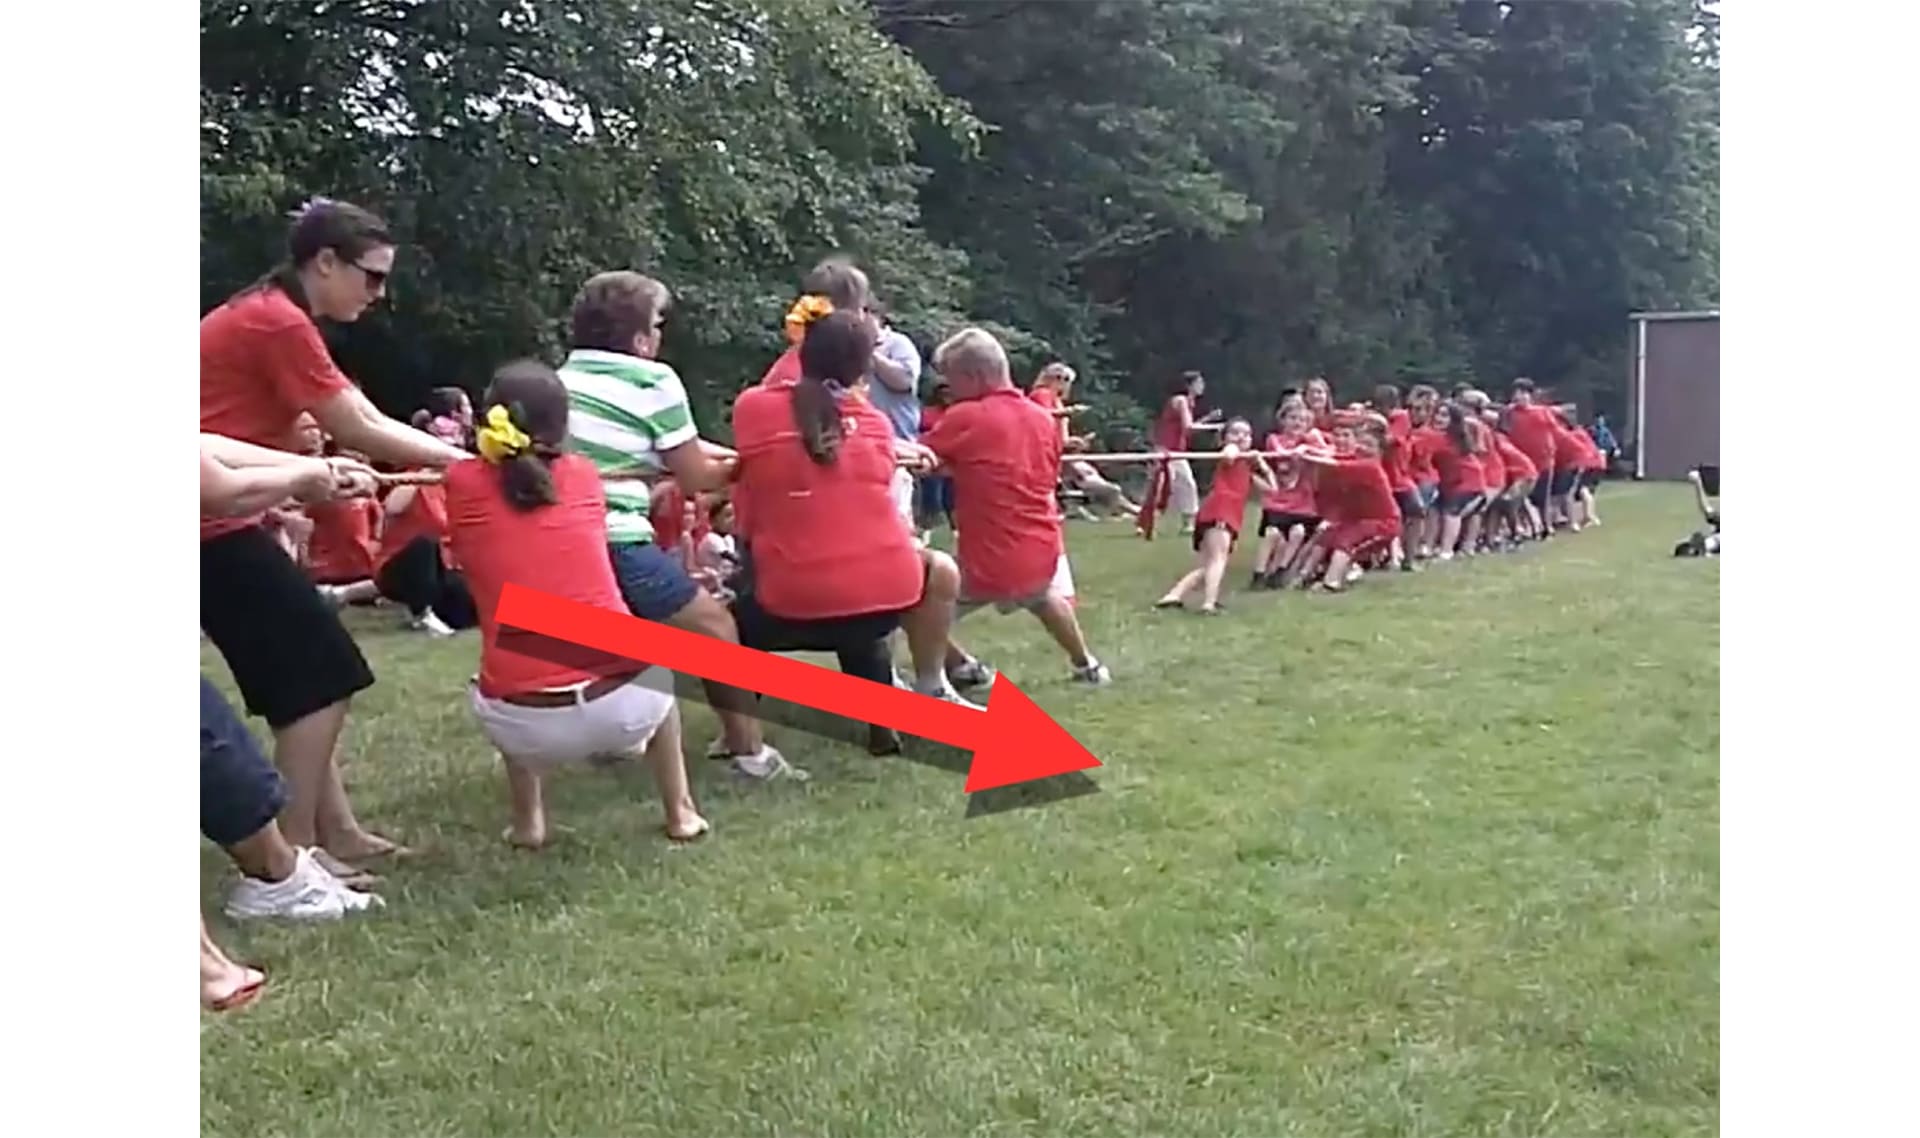
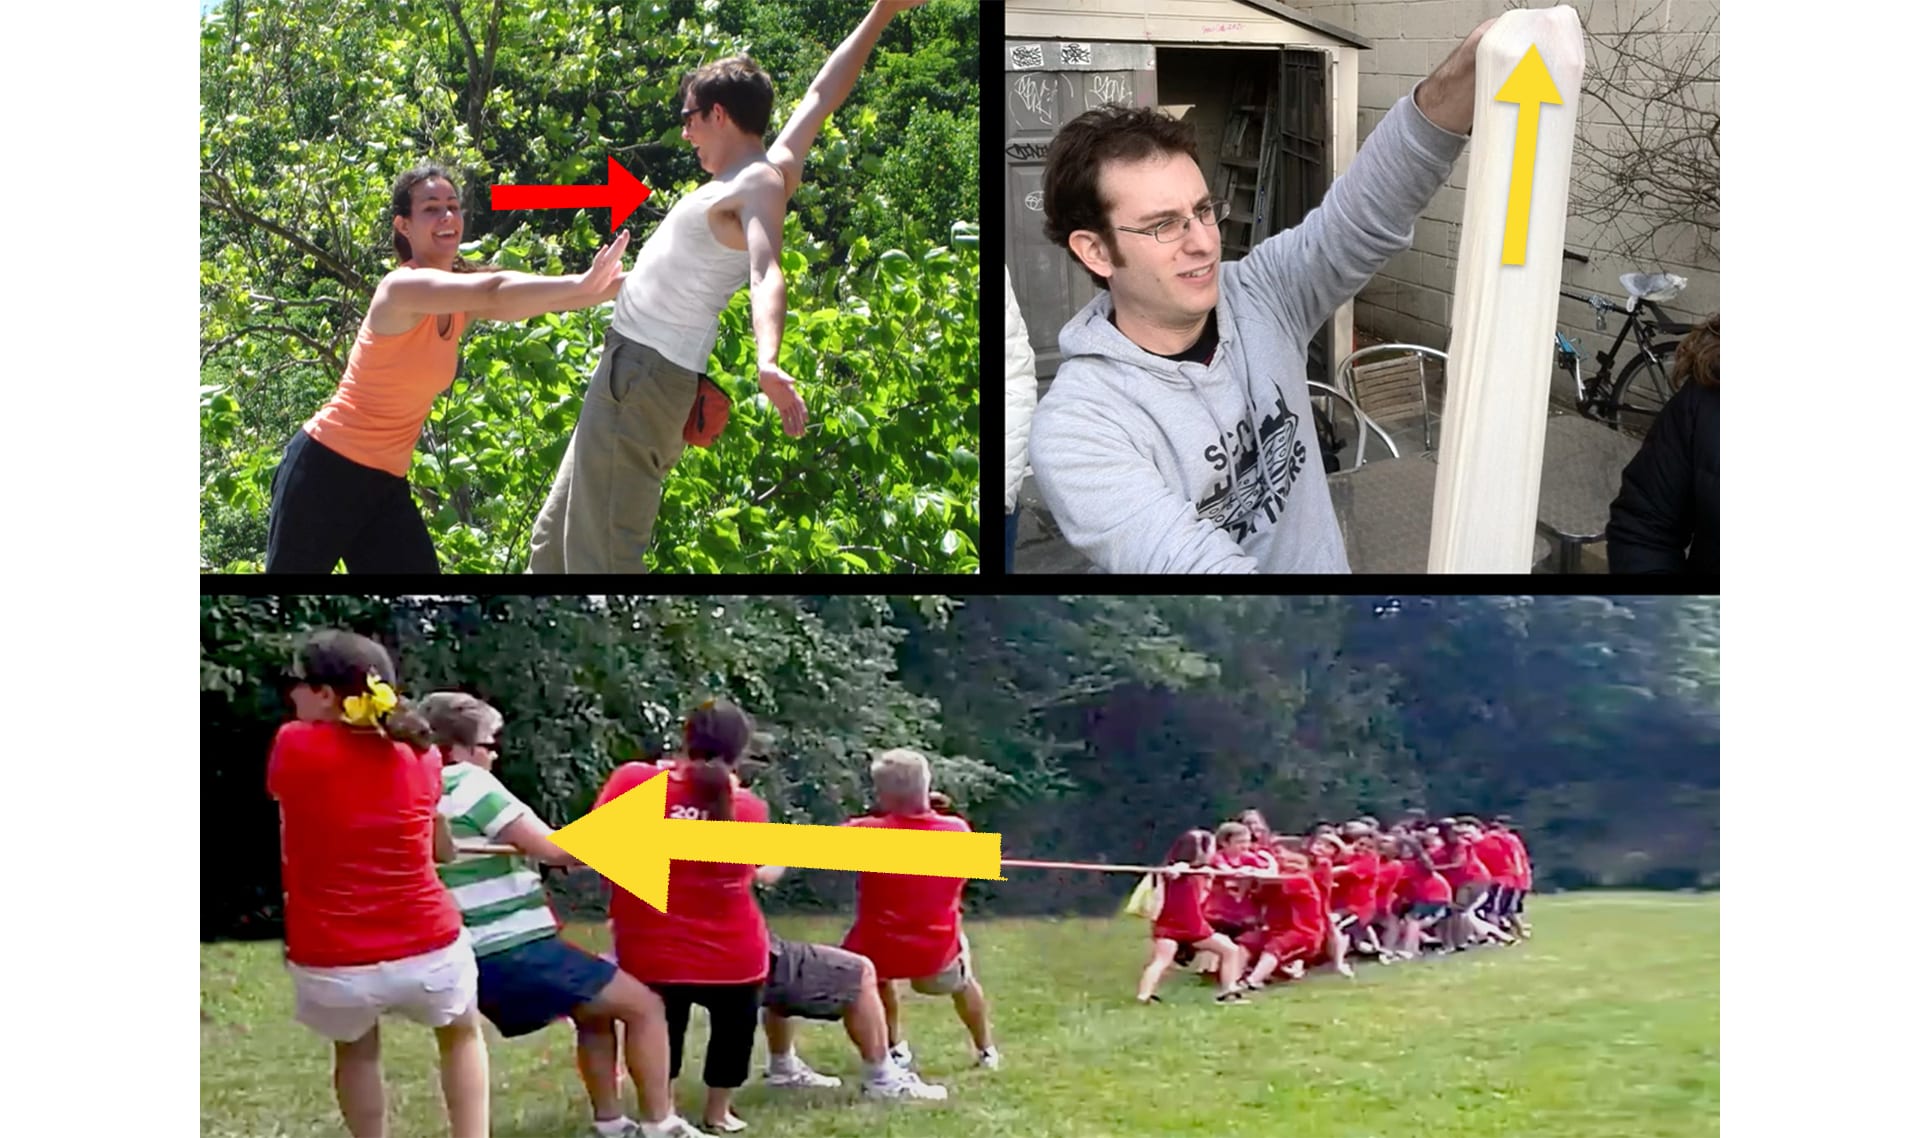
Student teacher Tug-O-War by
pittcaleb
roller skating elephant by
Carol Buckley
push by
Mark Doliner
, used under CC BY
dough stretching by
Joe Hall
, used under CC BY
roller skates by
Image used under license from Shutterstock.com: Julenochek
dog tug o' war by
kellinahandbasket
, used under CC BY
pile of watermelons by
Mike Mozart
, used under CC BY
half watermelon by
The Chic Life
slow motion watermelon video by
The Slow Mo Guys
, used under CC BY