Before starting this lesson, review the unit Teacher Guide for an overview of the Invisible Forces Anchor Layer.
Plan Ahead
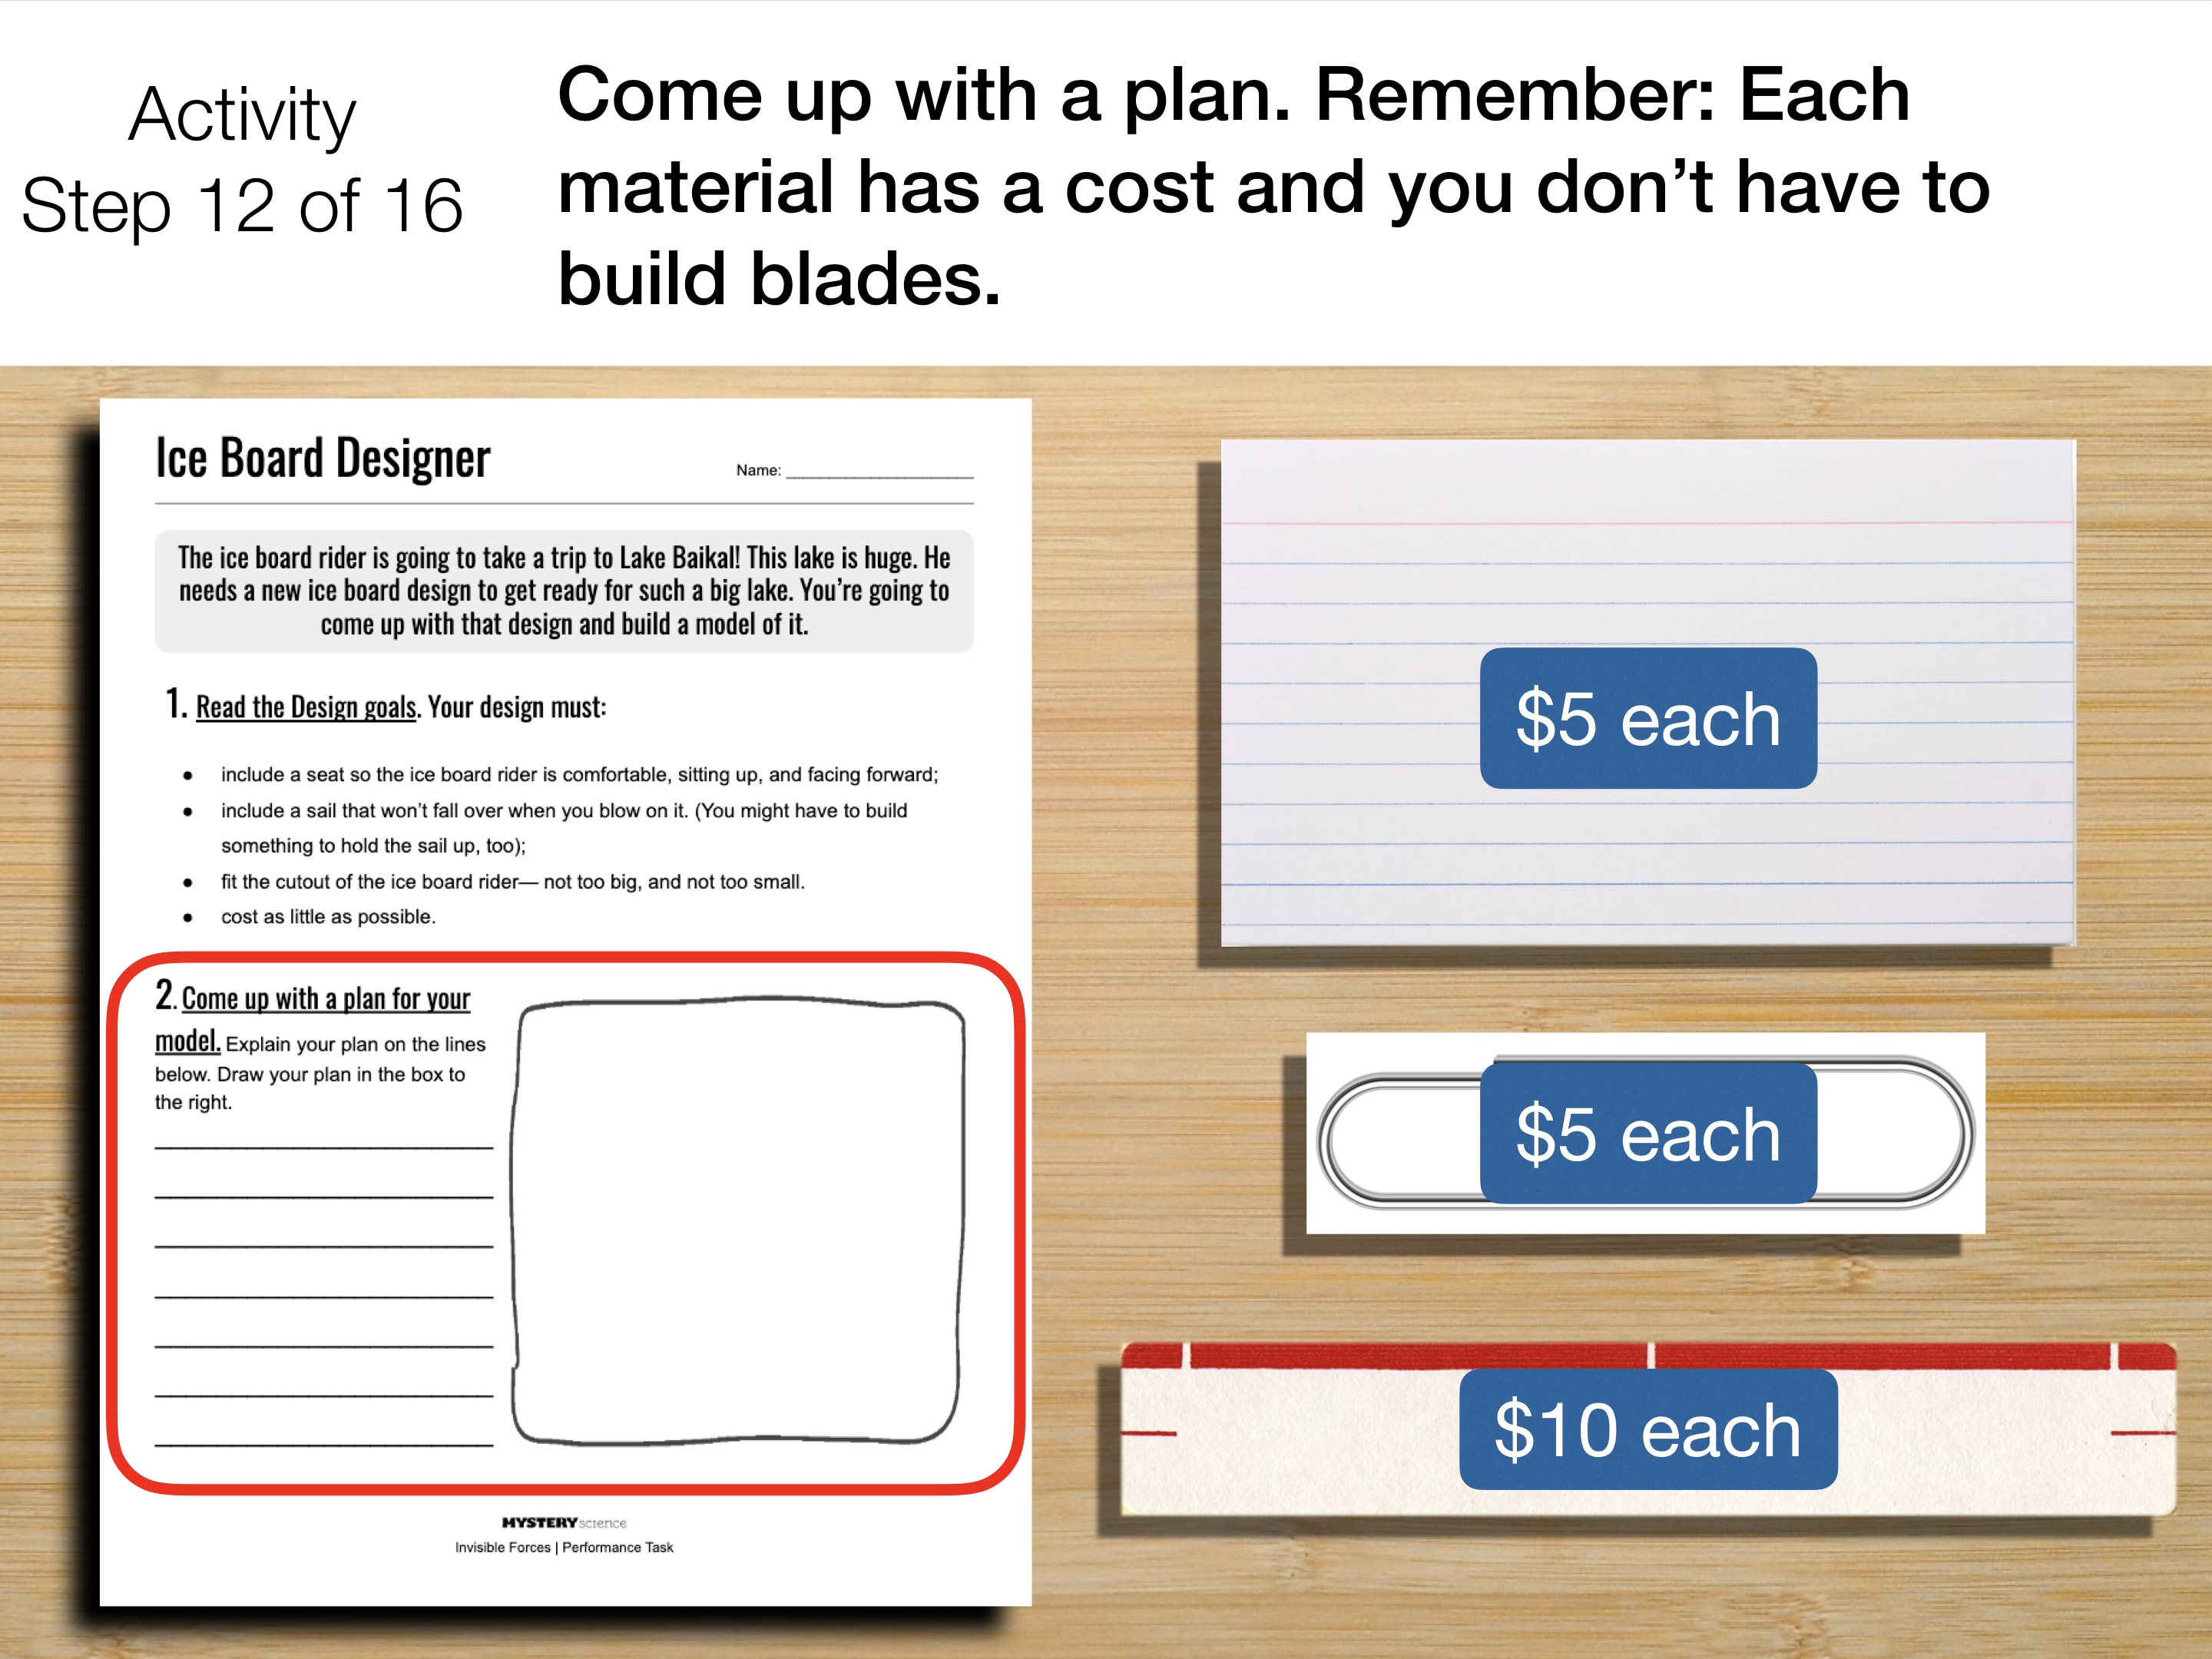
We recommend having students work in groups of two to three.
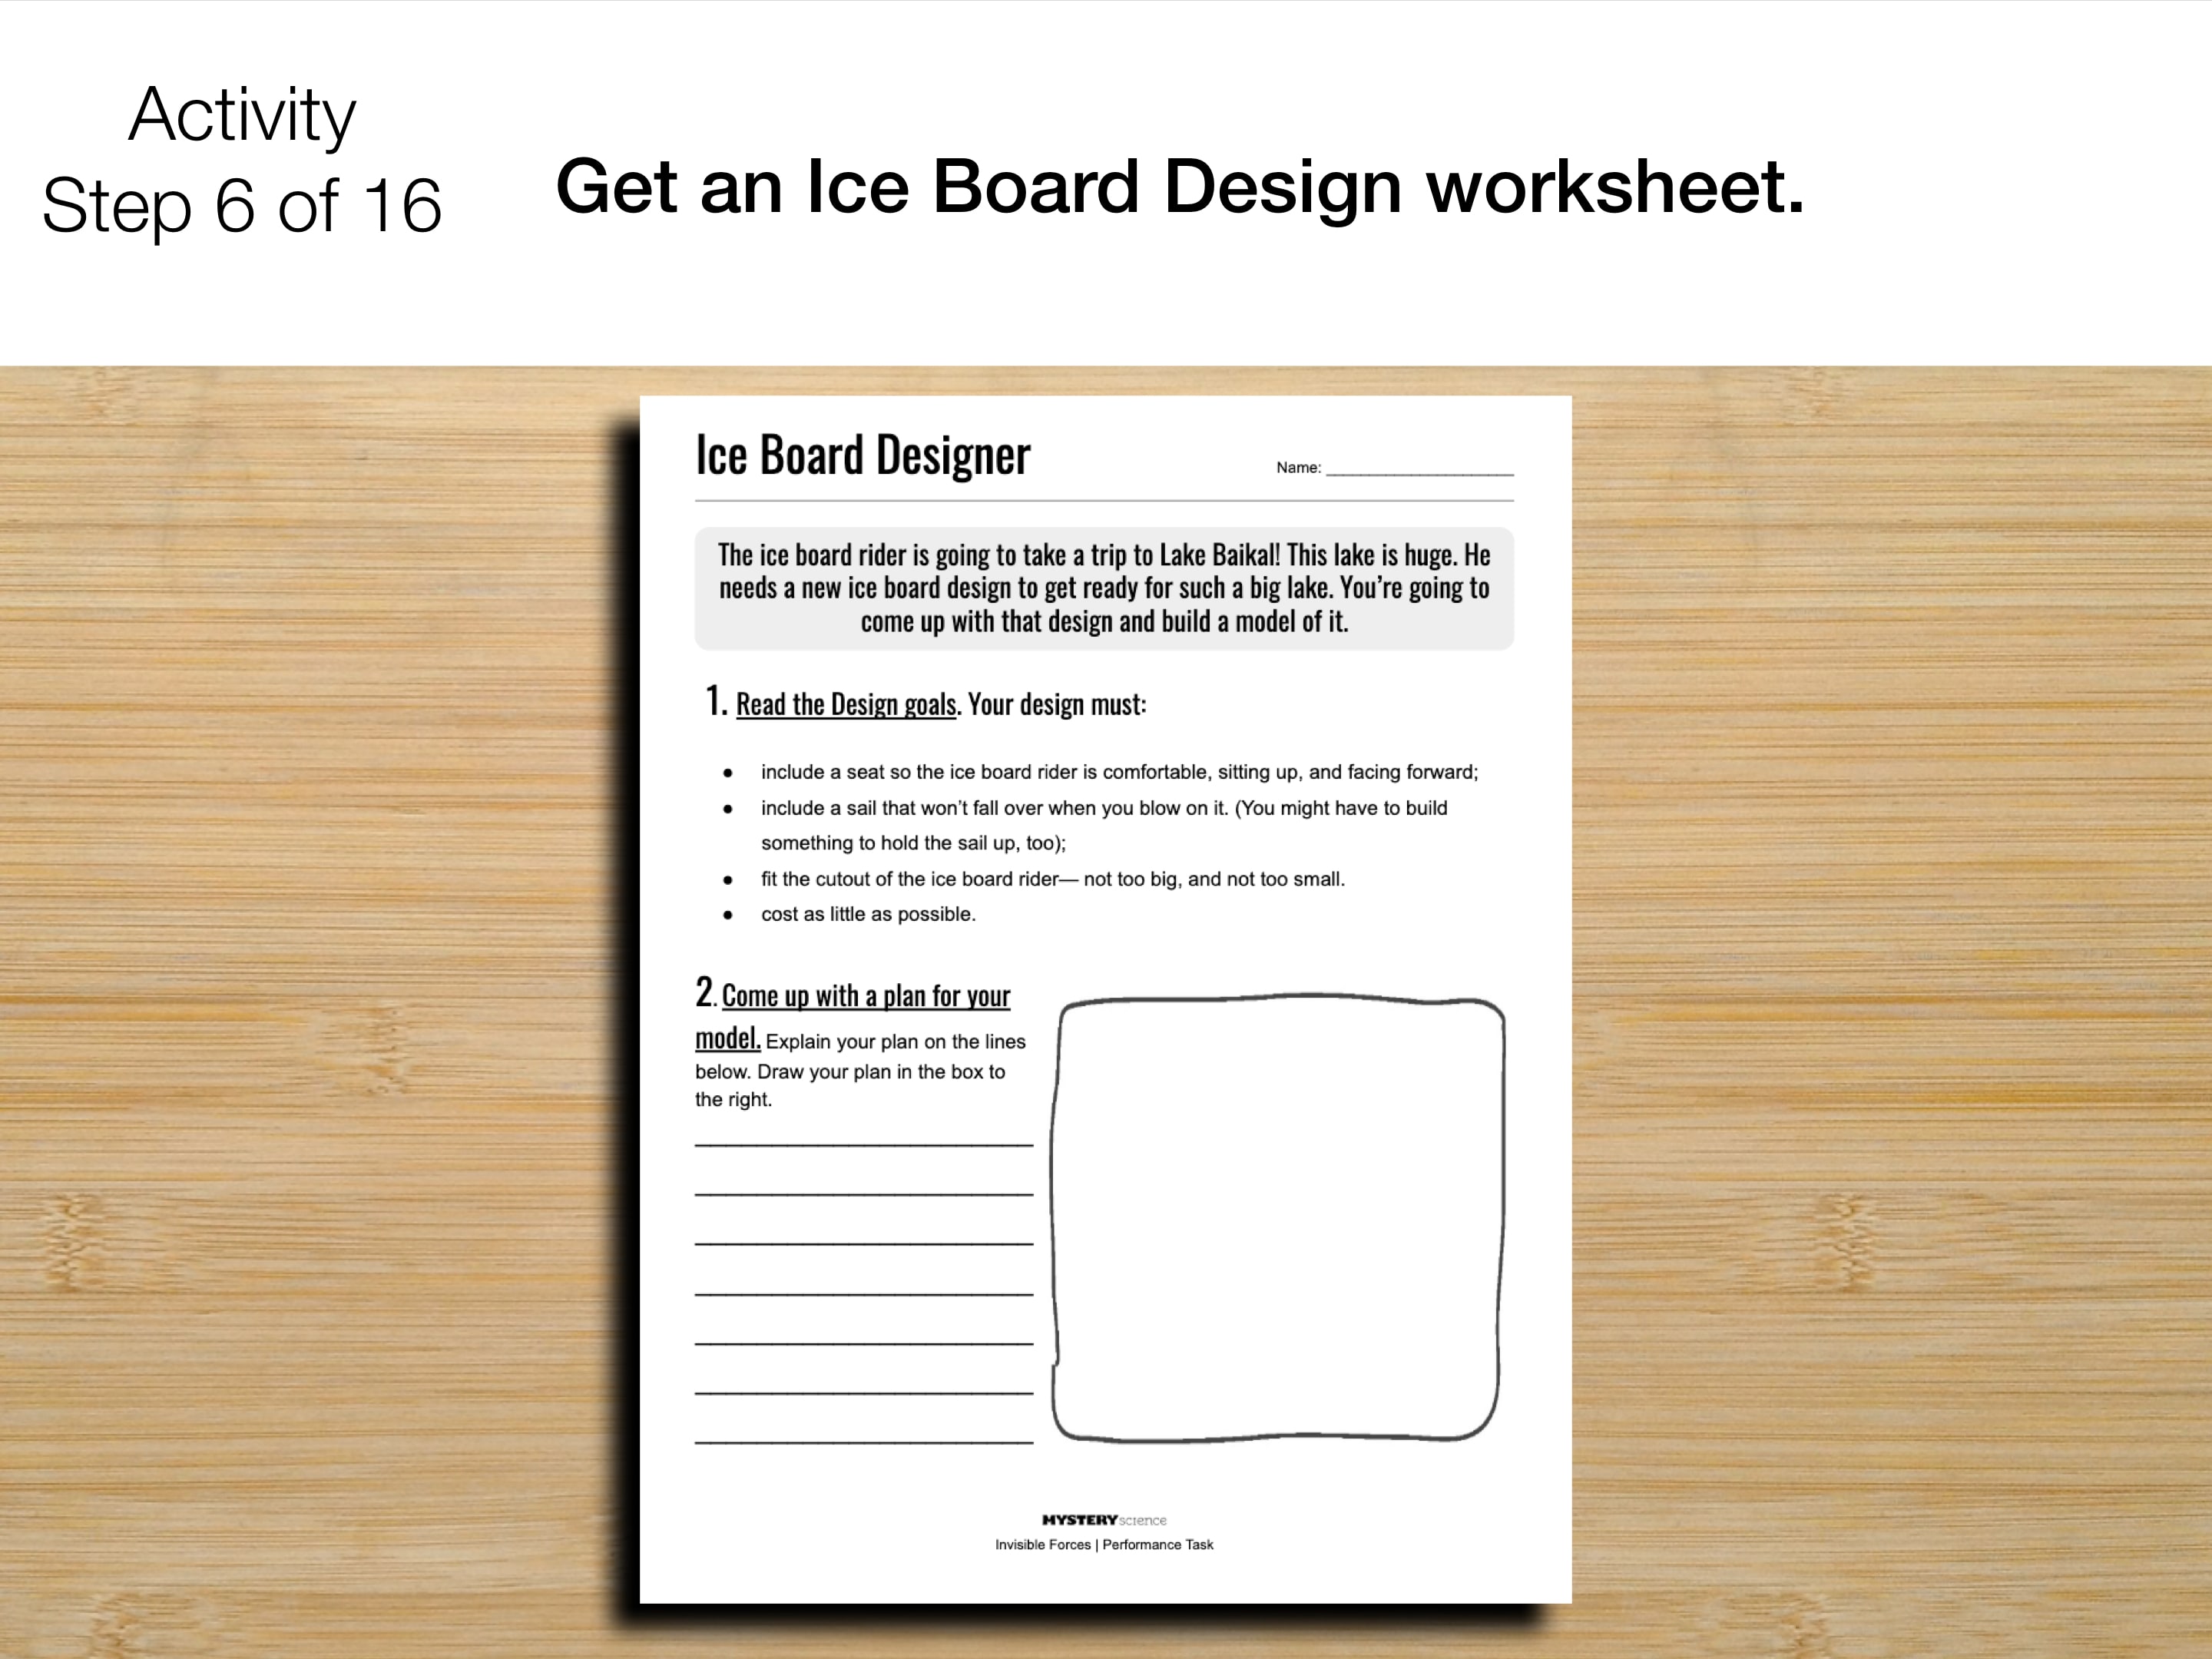
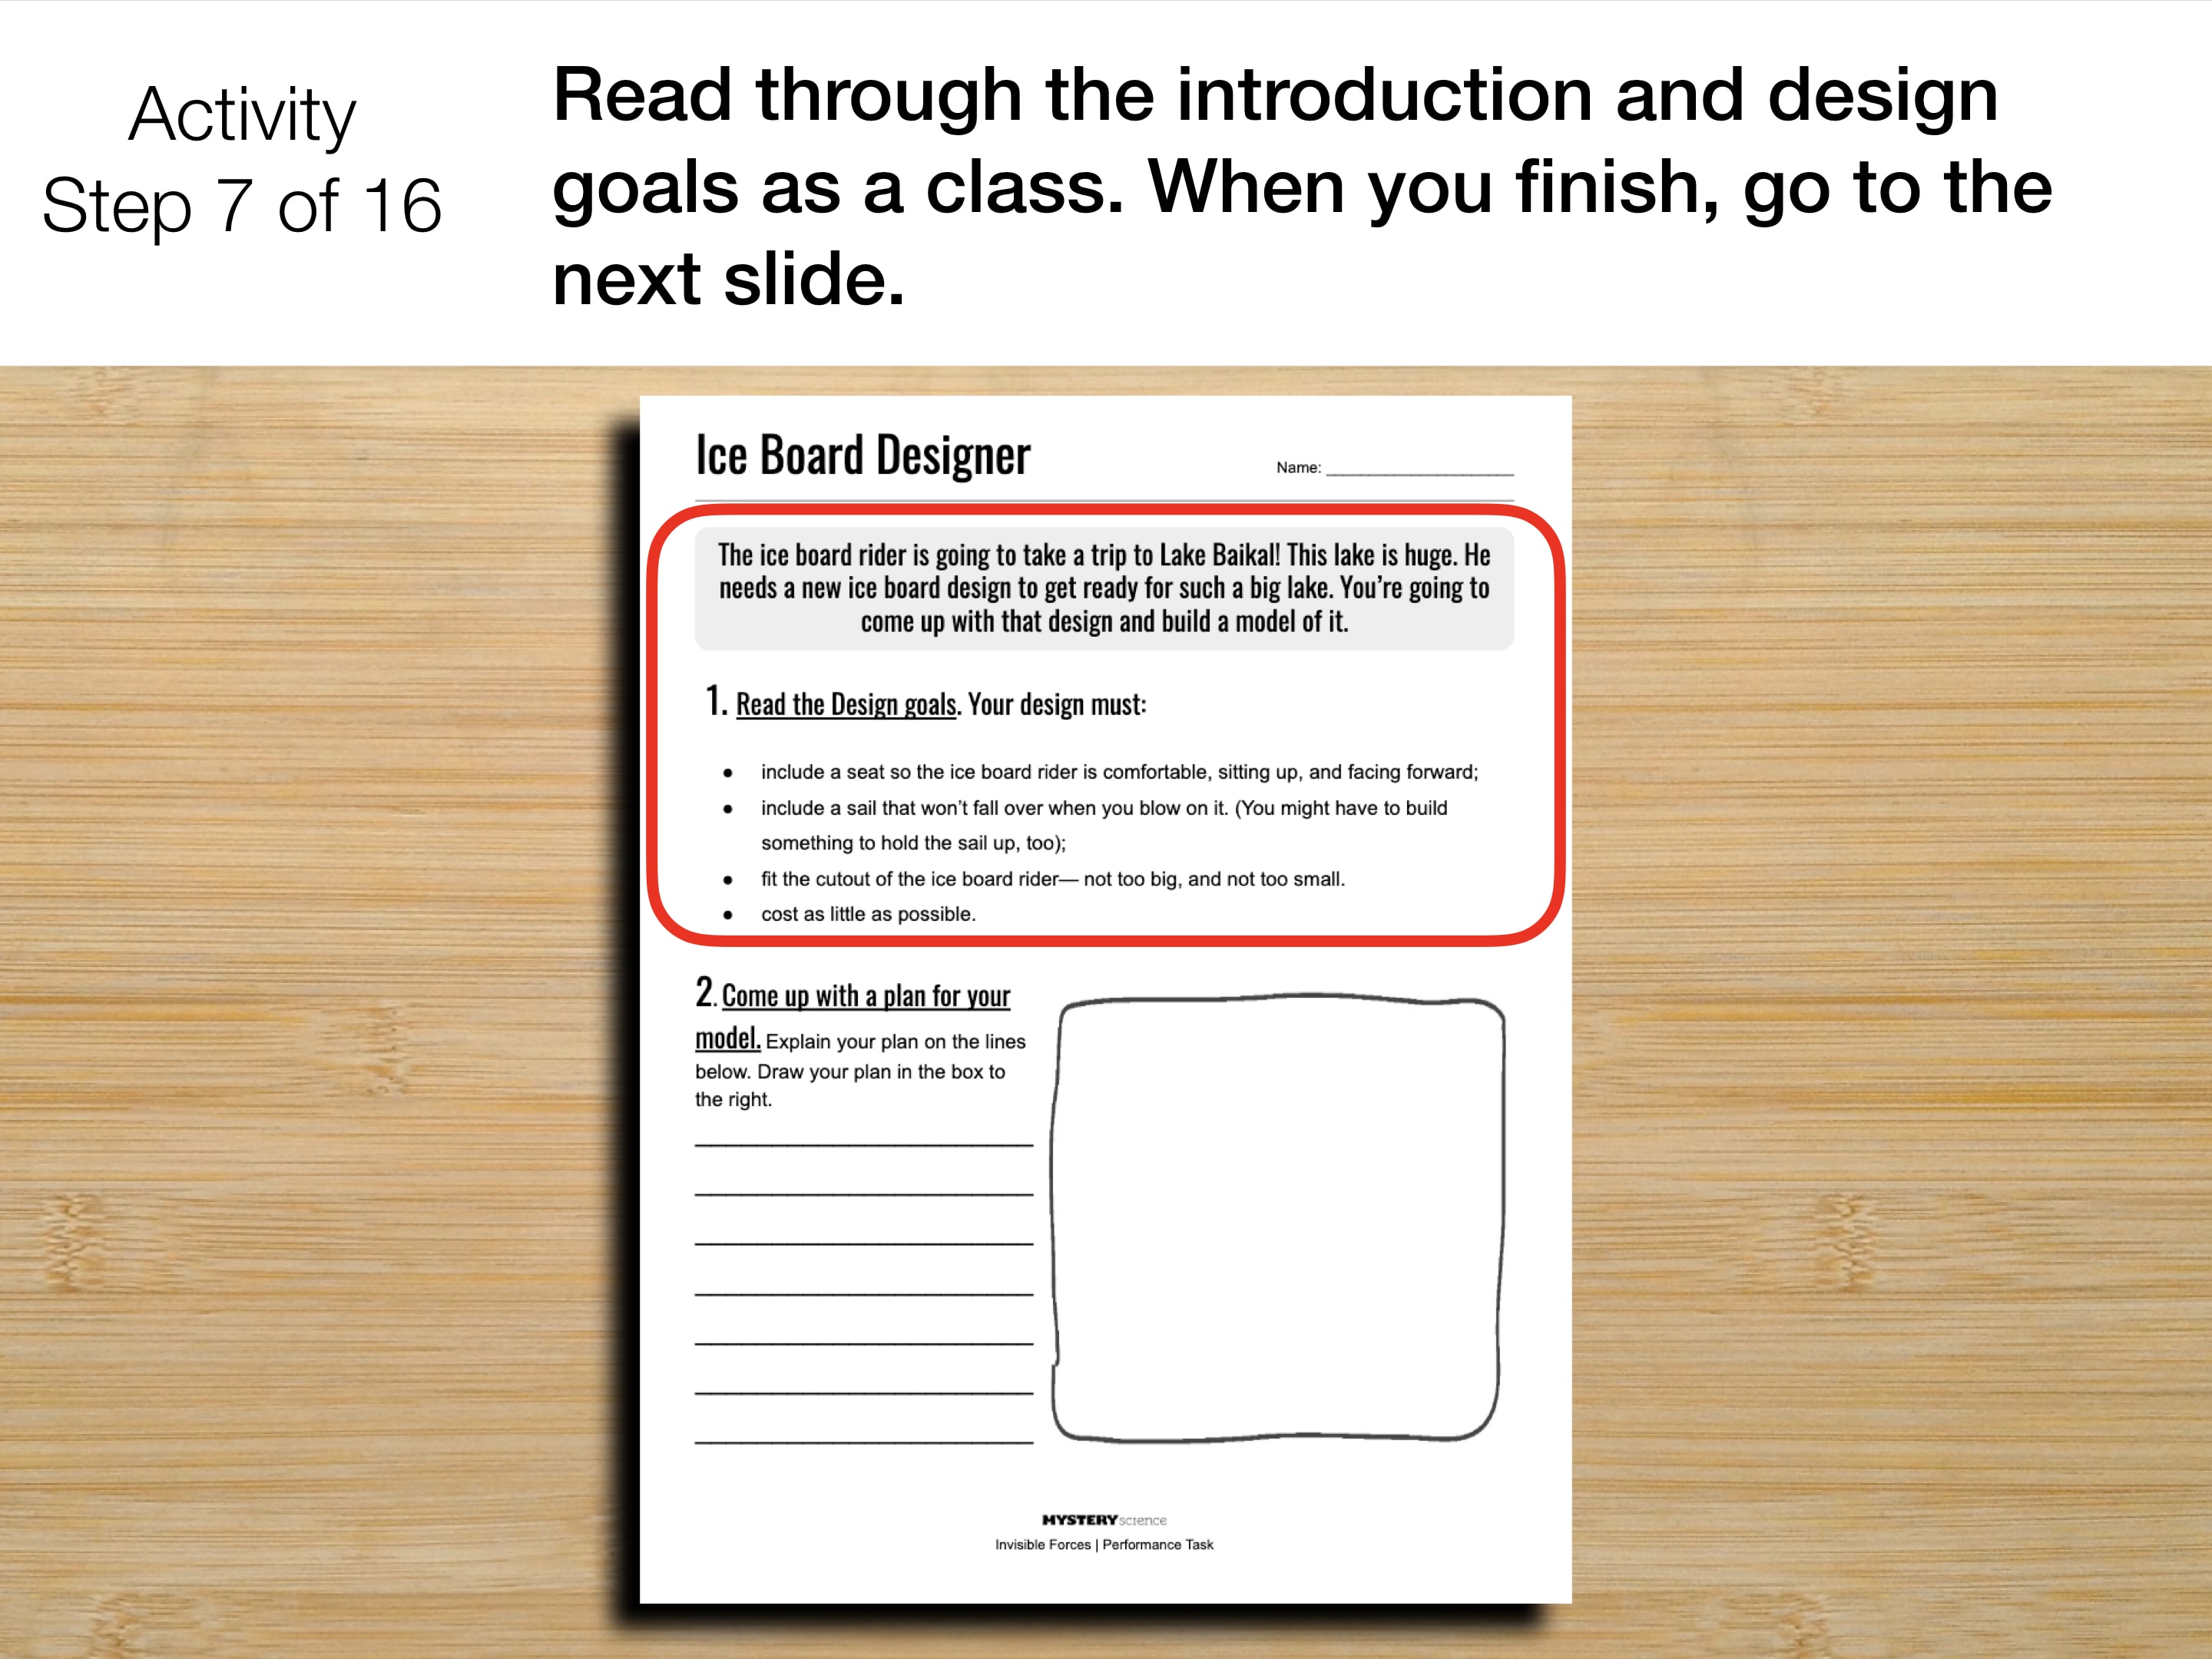
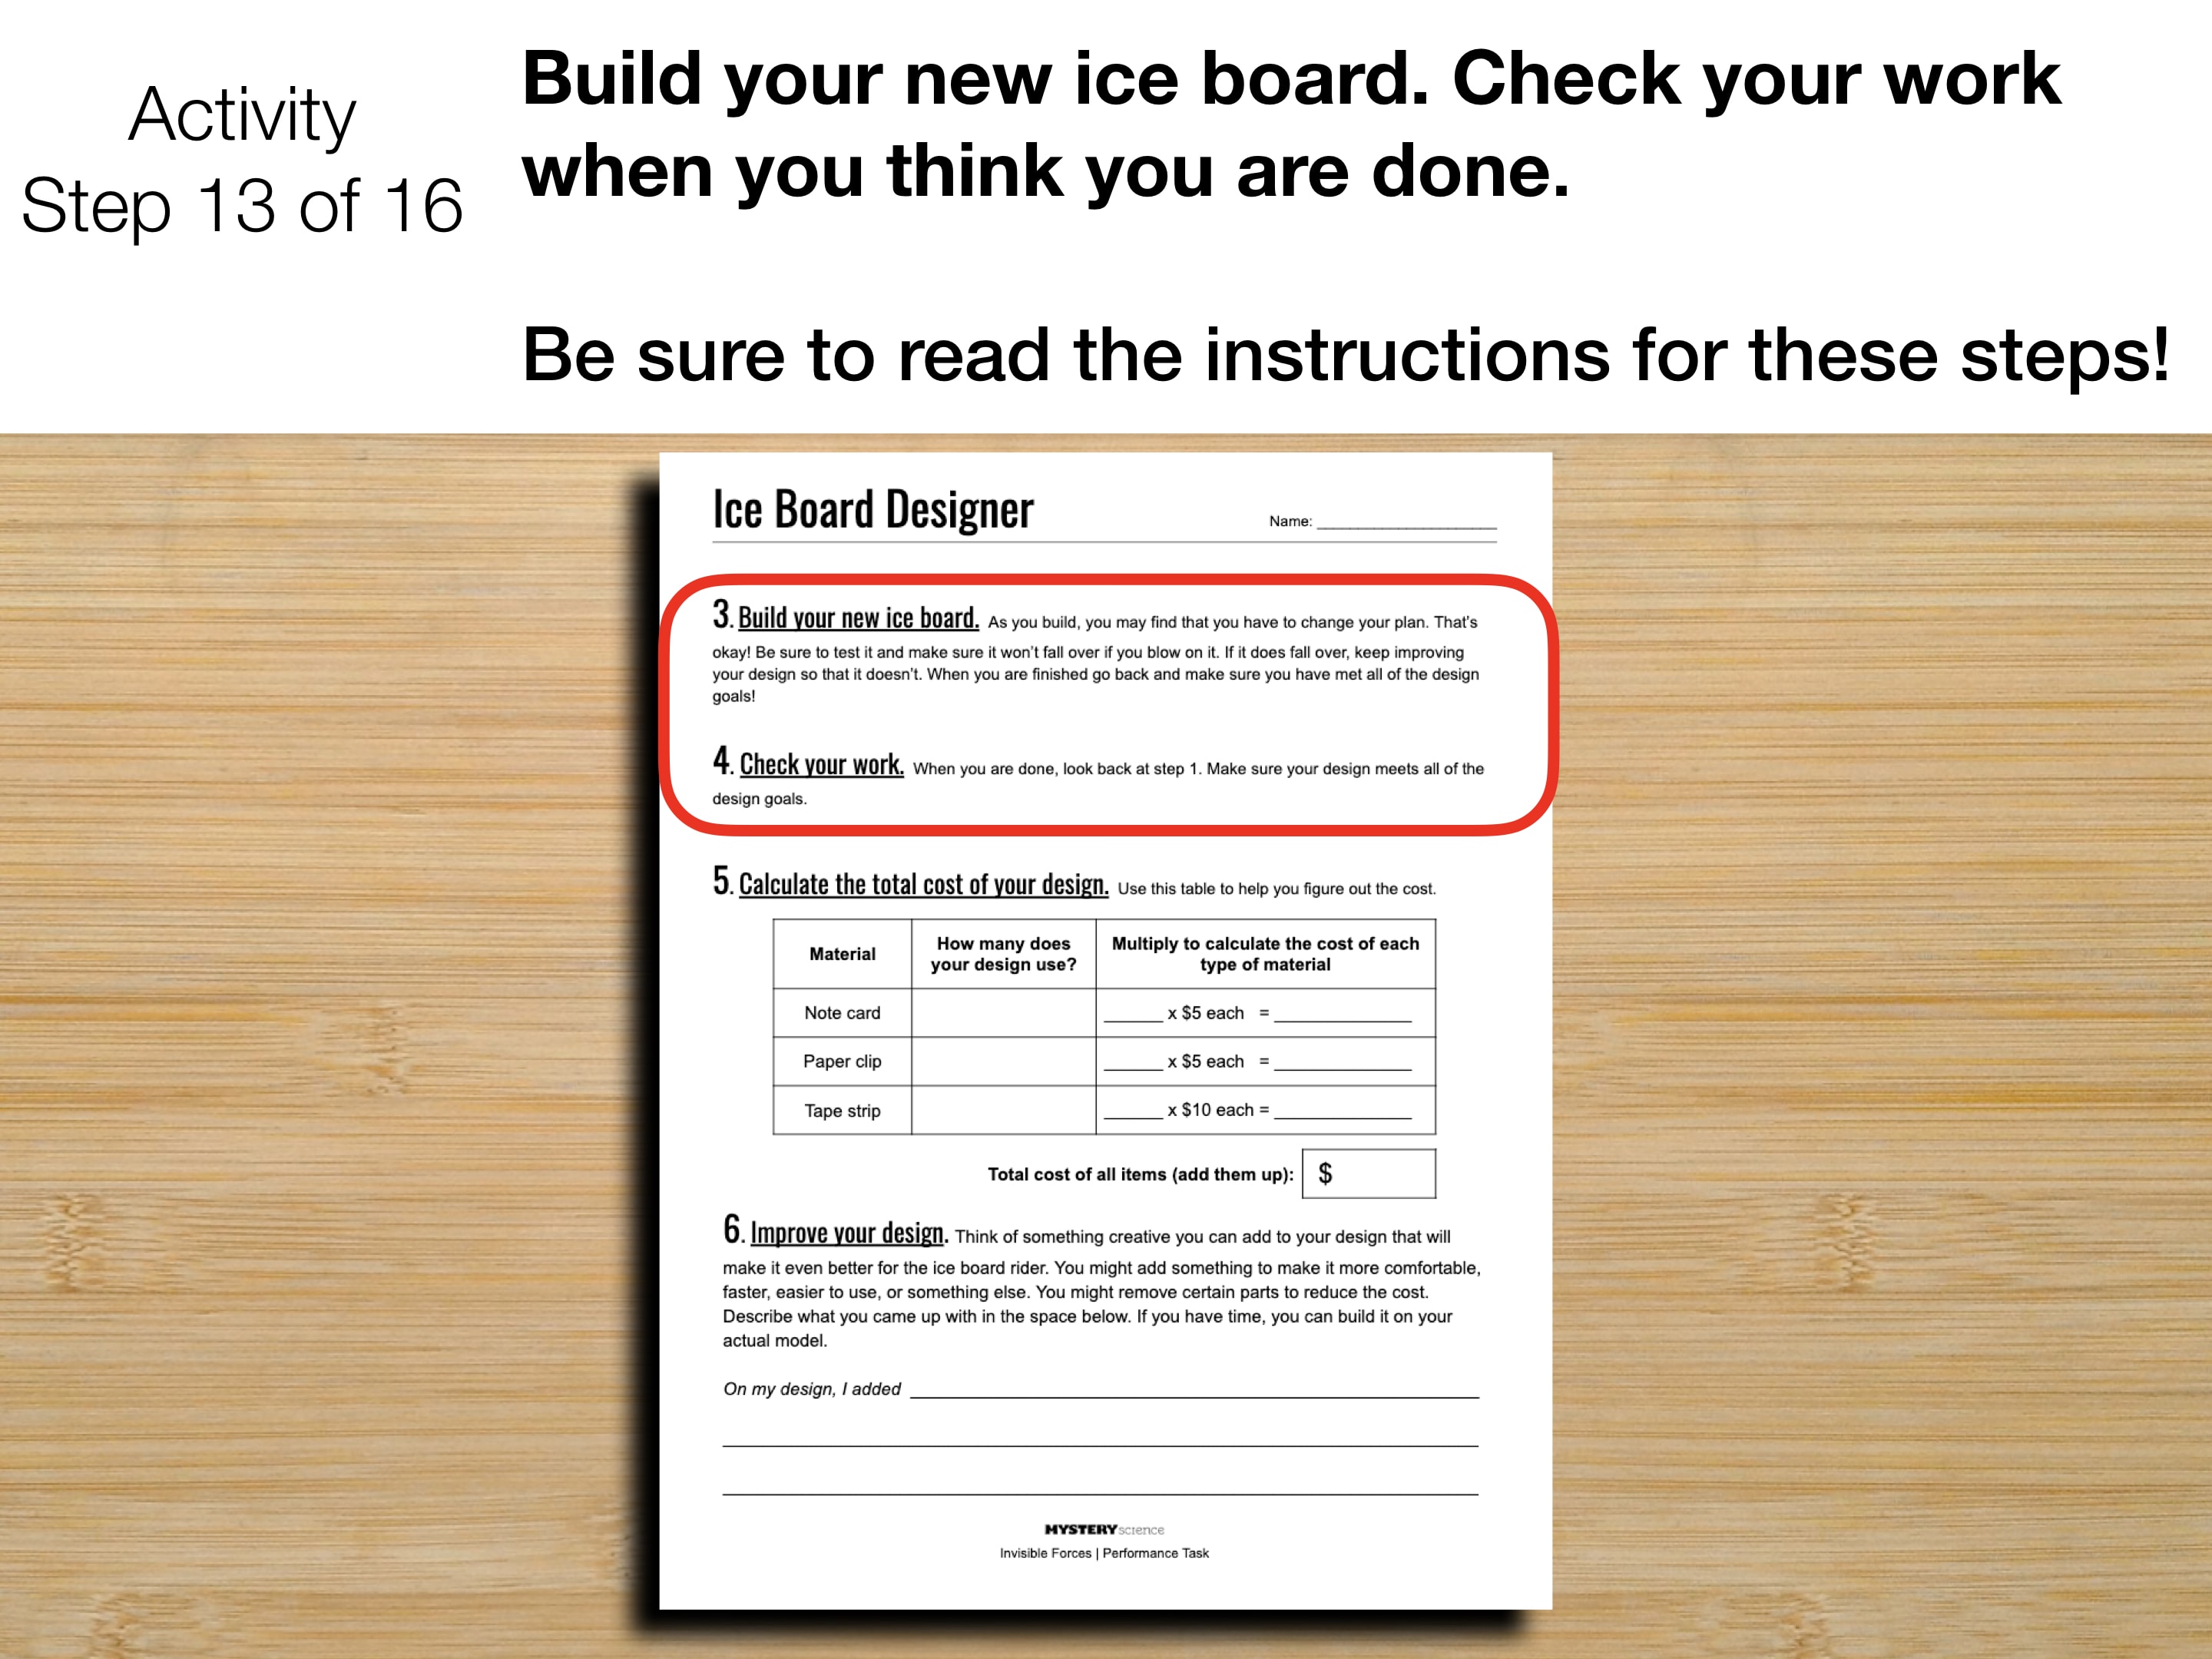
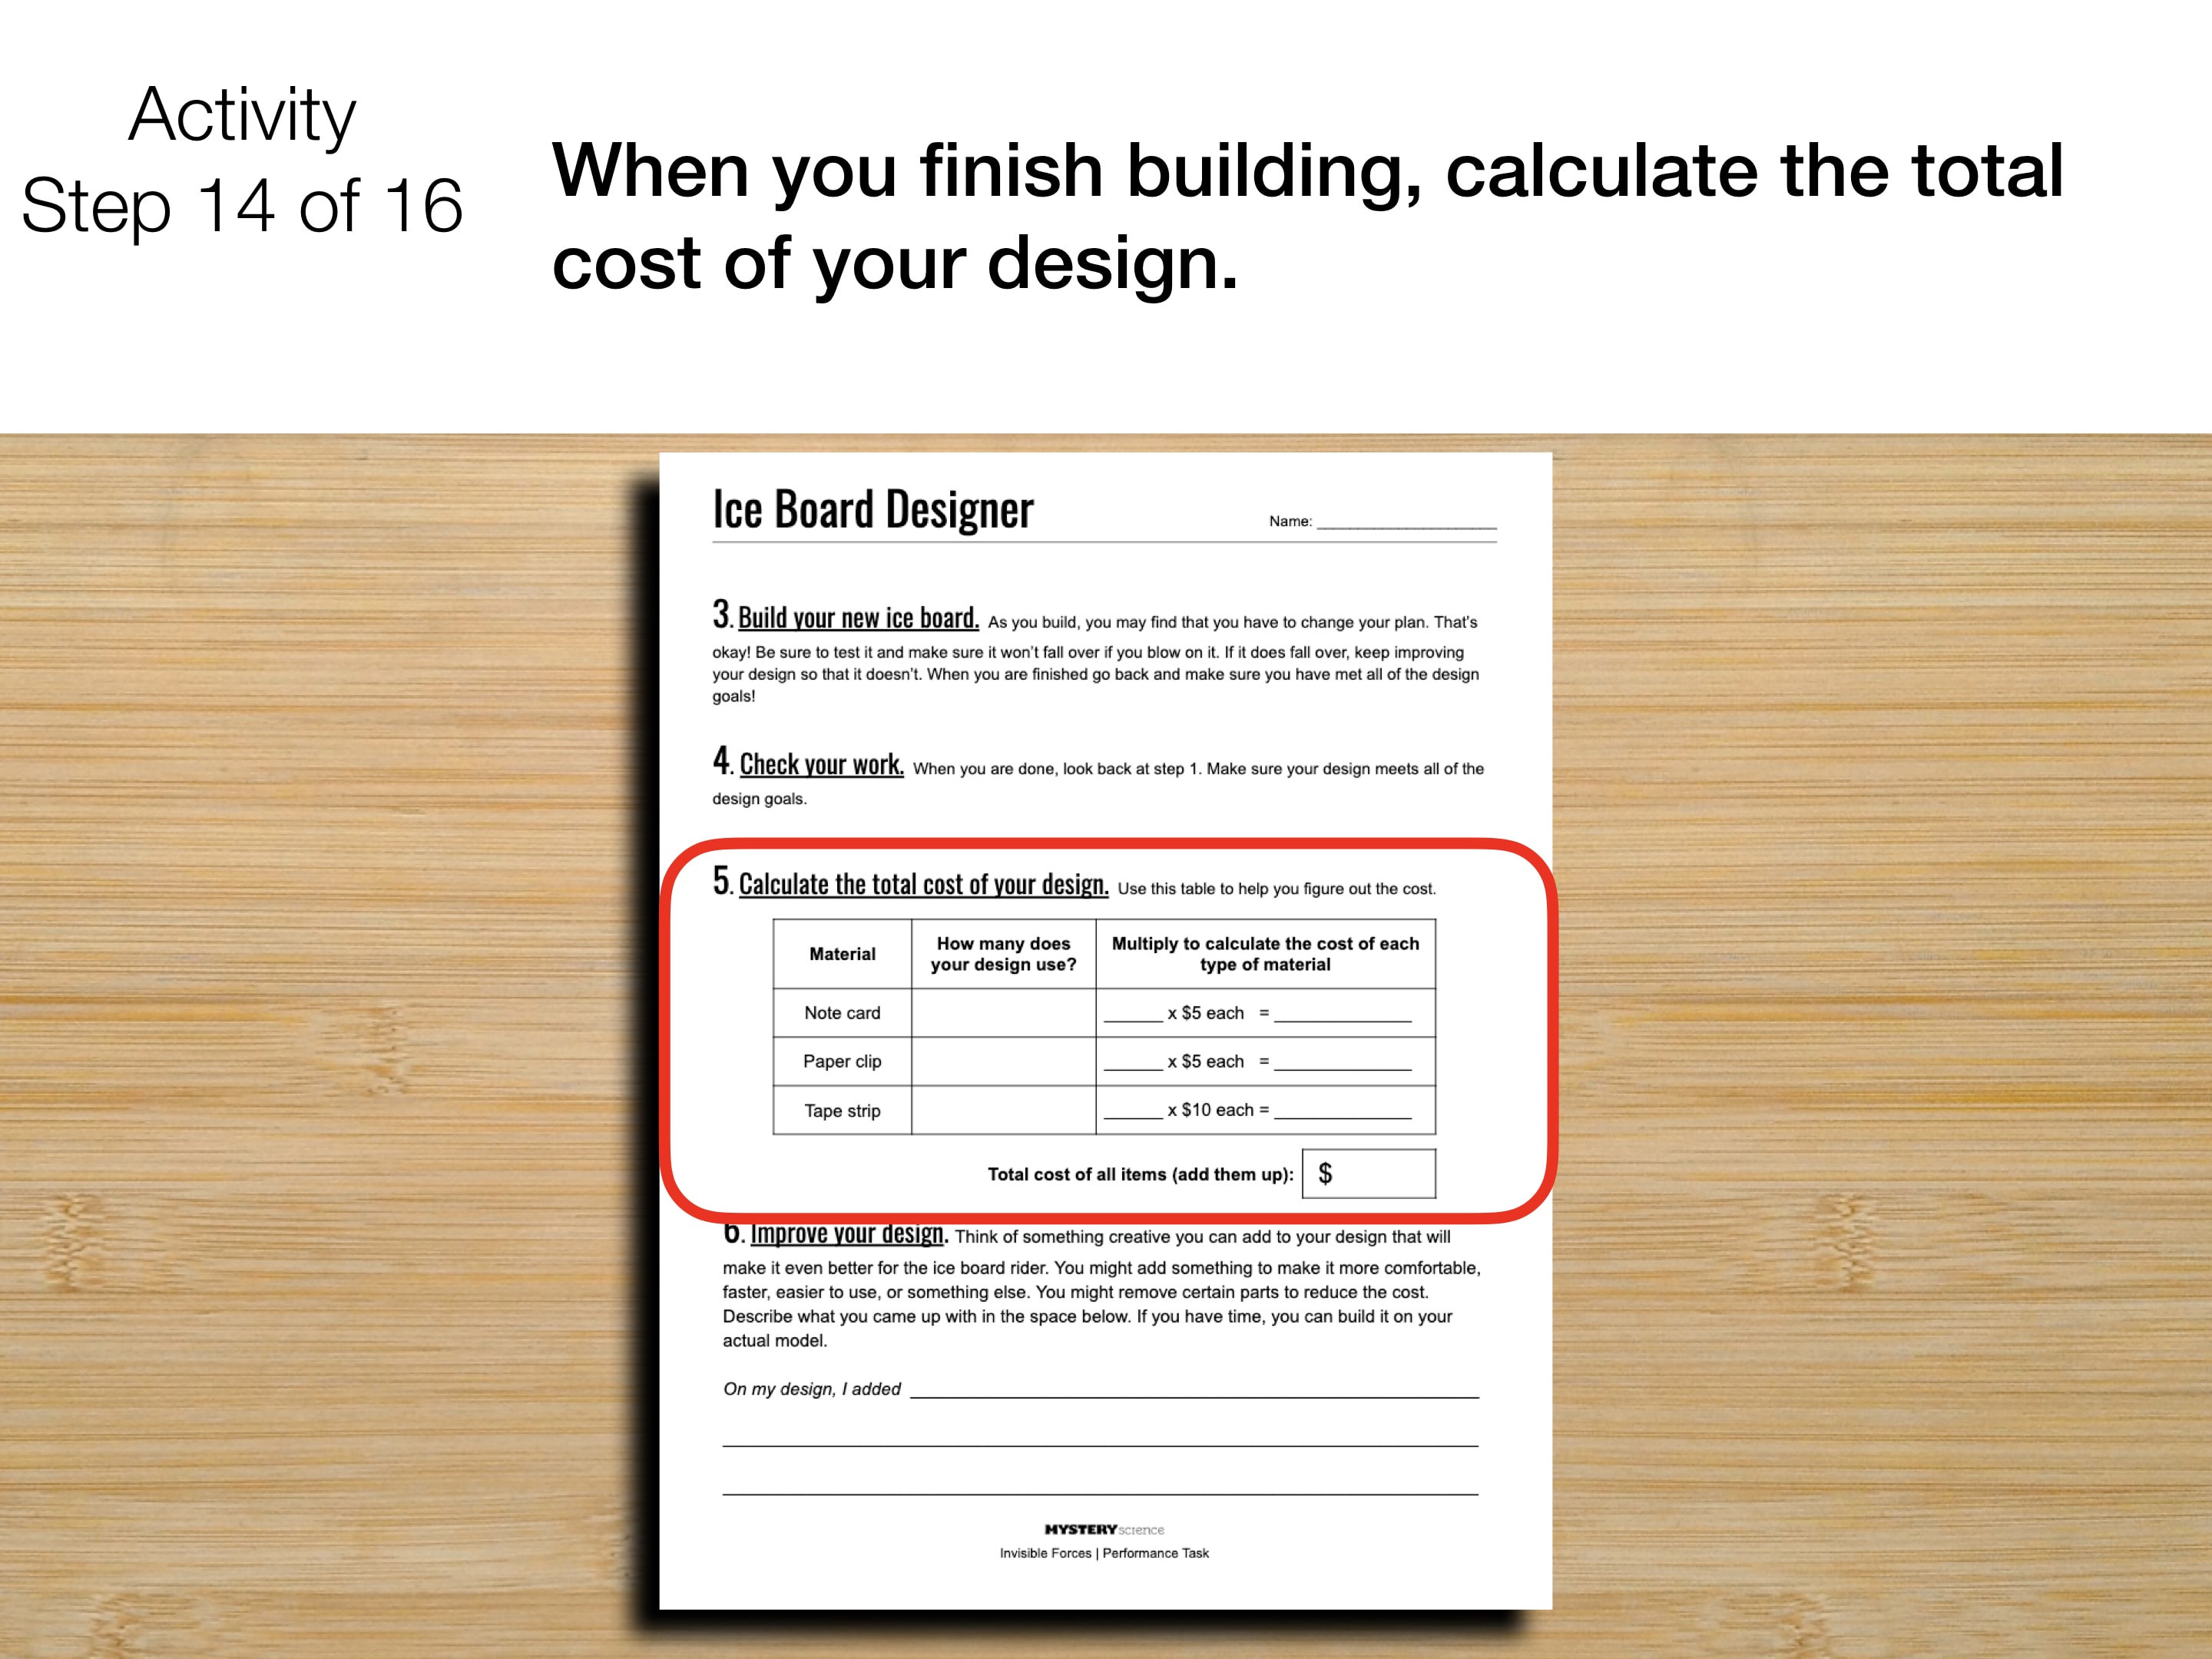
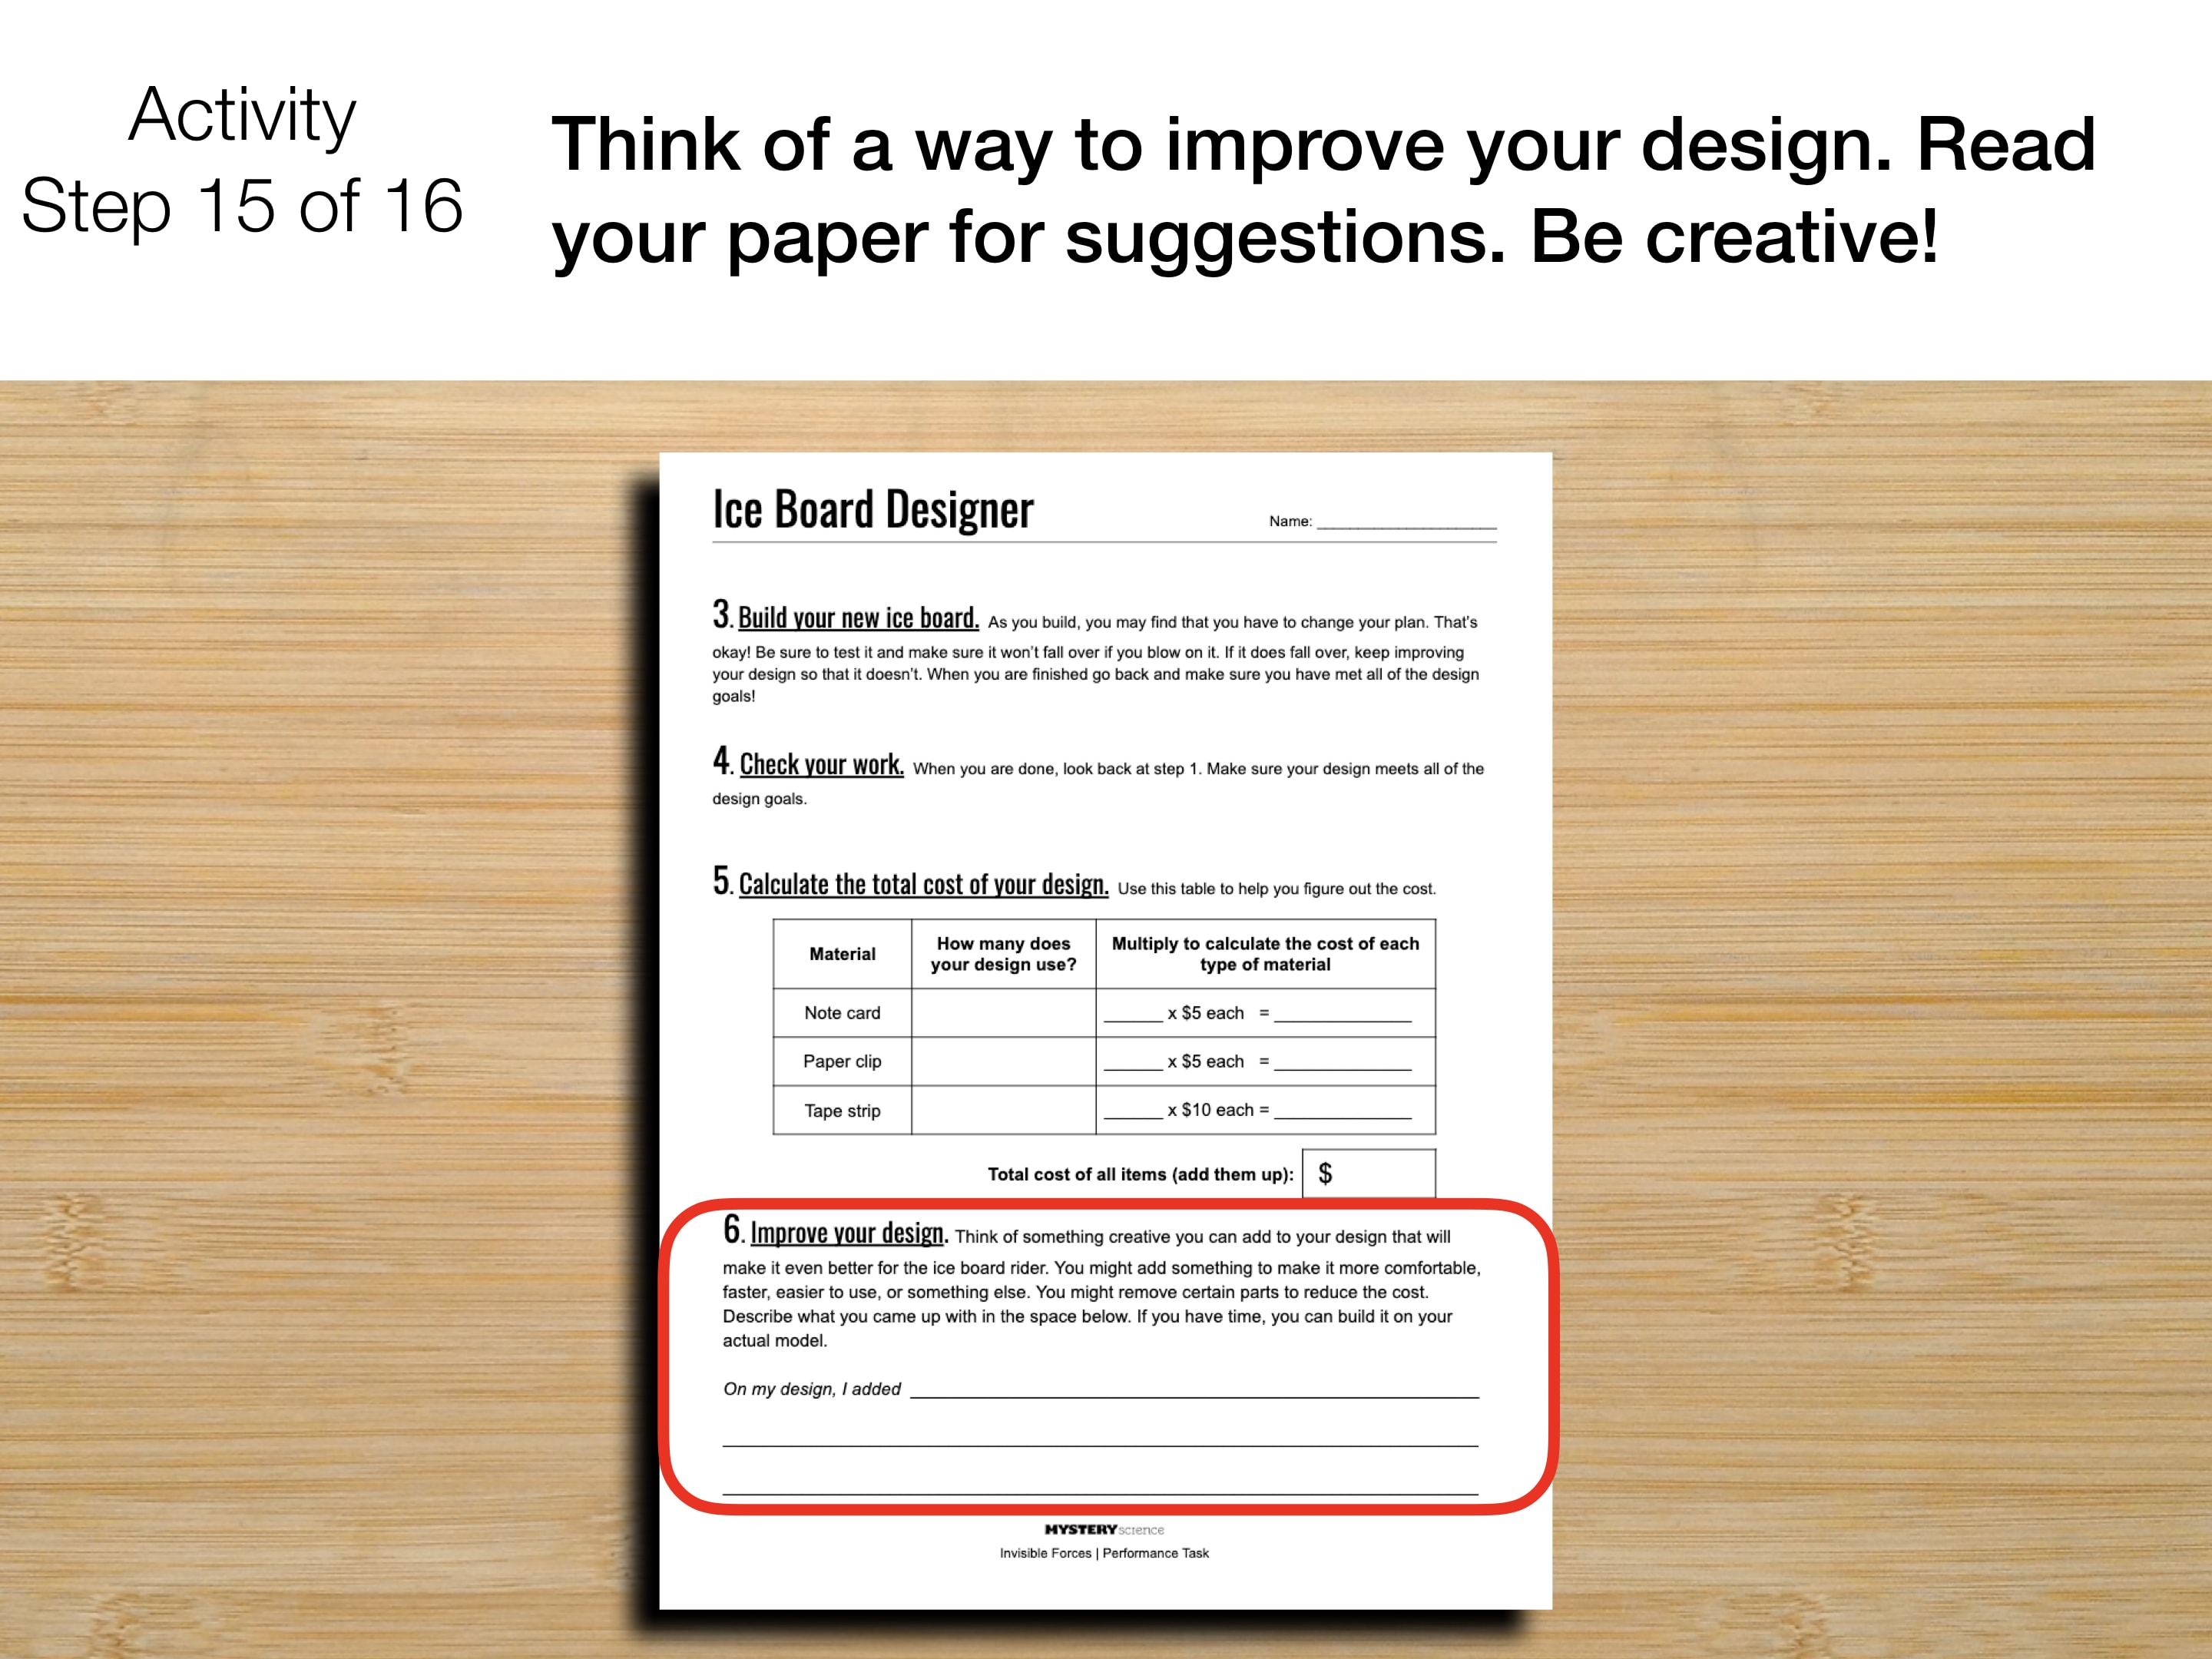
Each individual student will need one copy of each page of the Ice Board Designer worksheet.
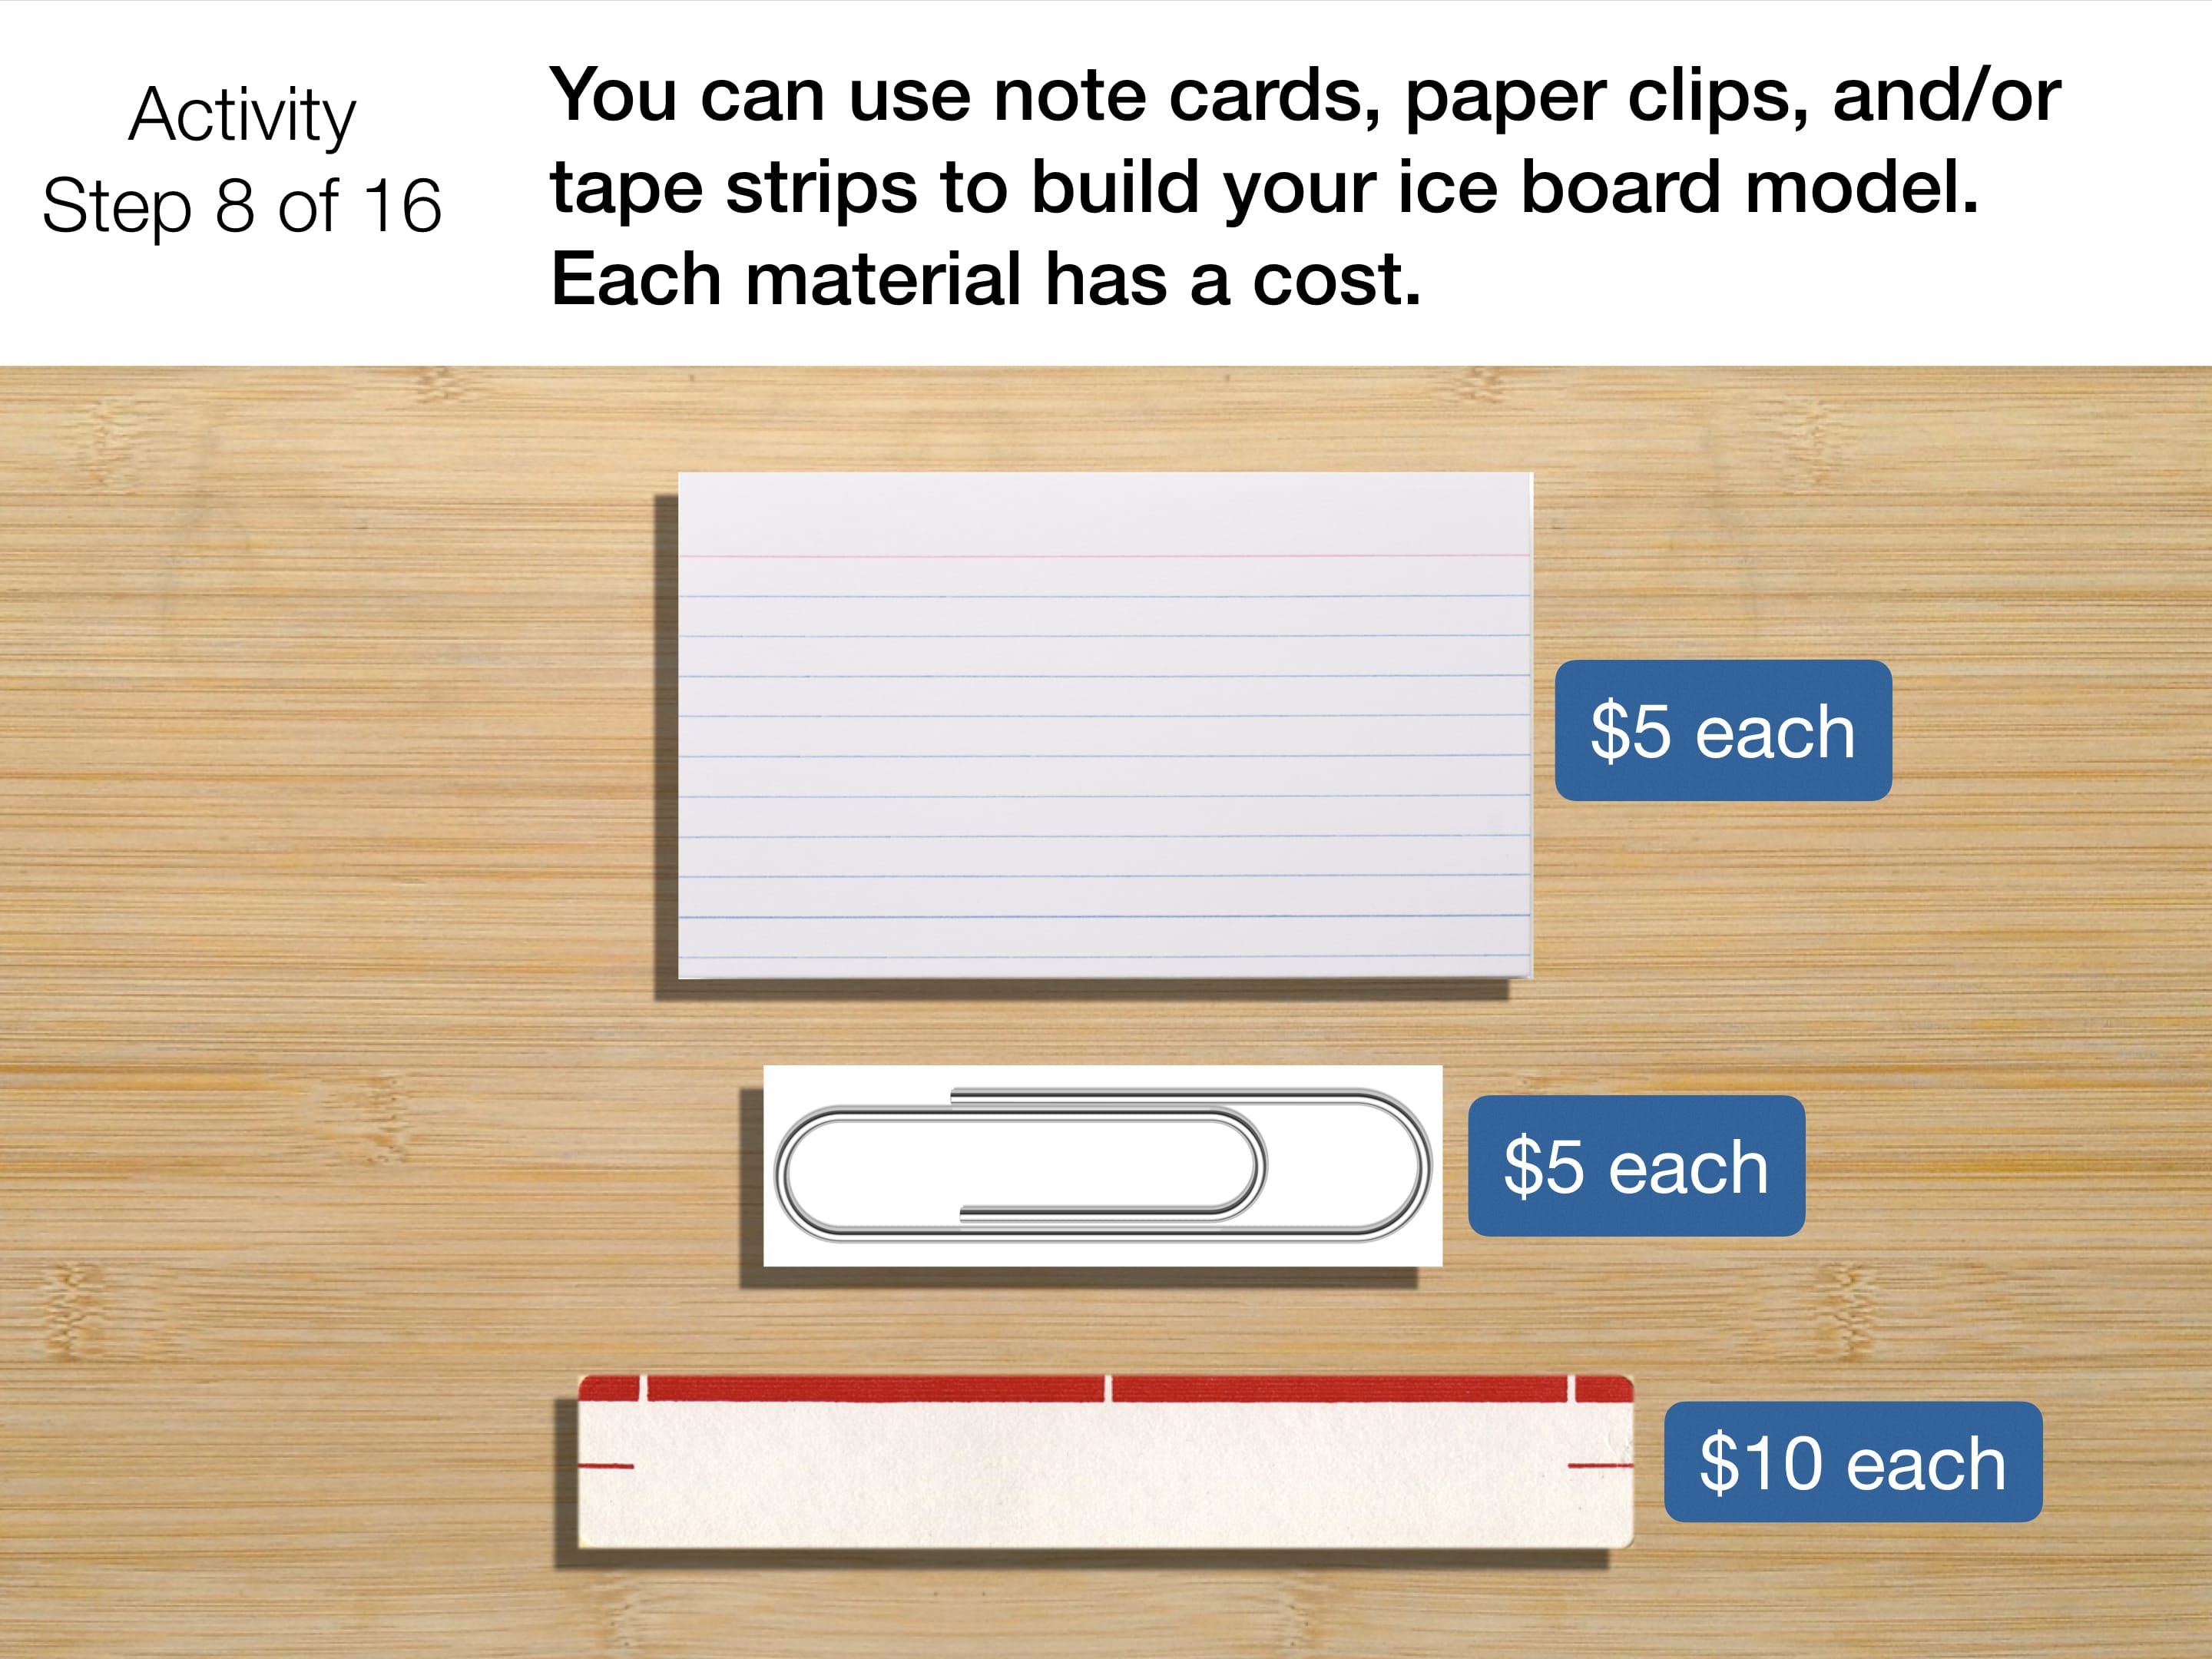
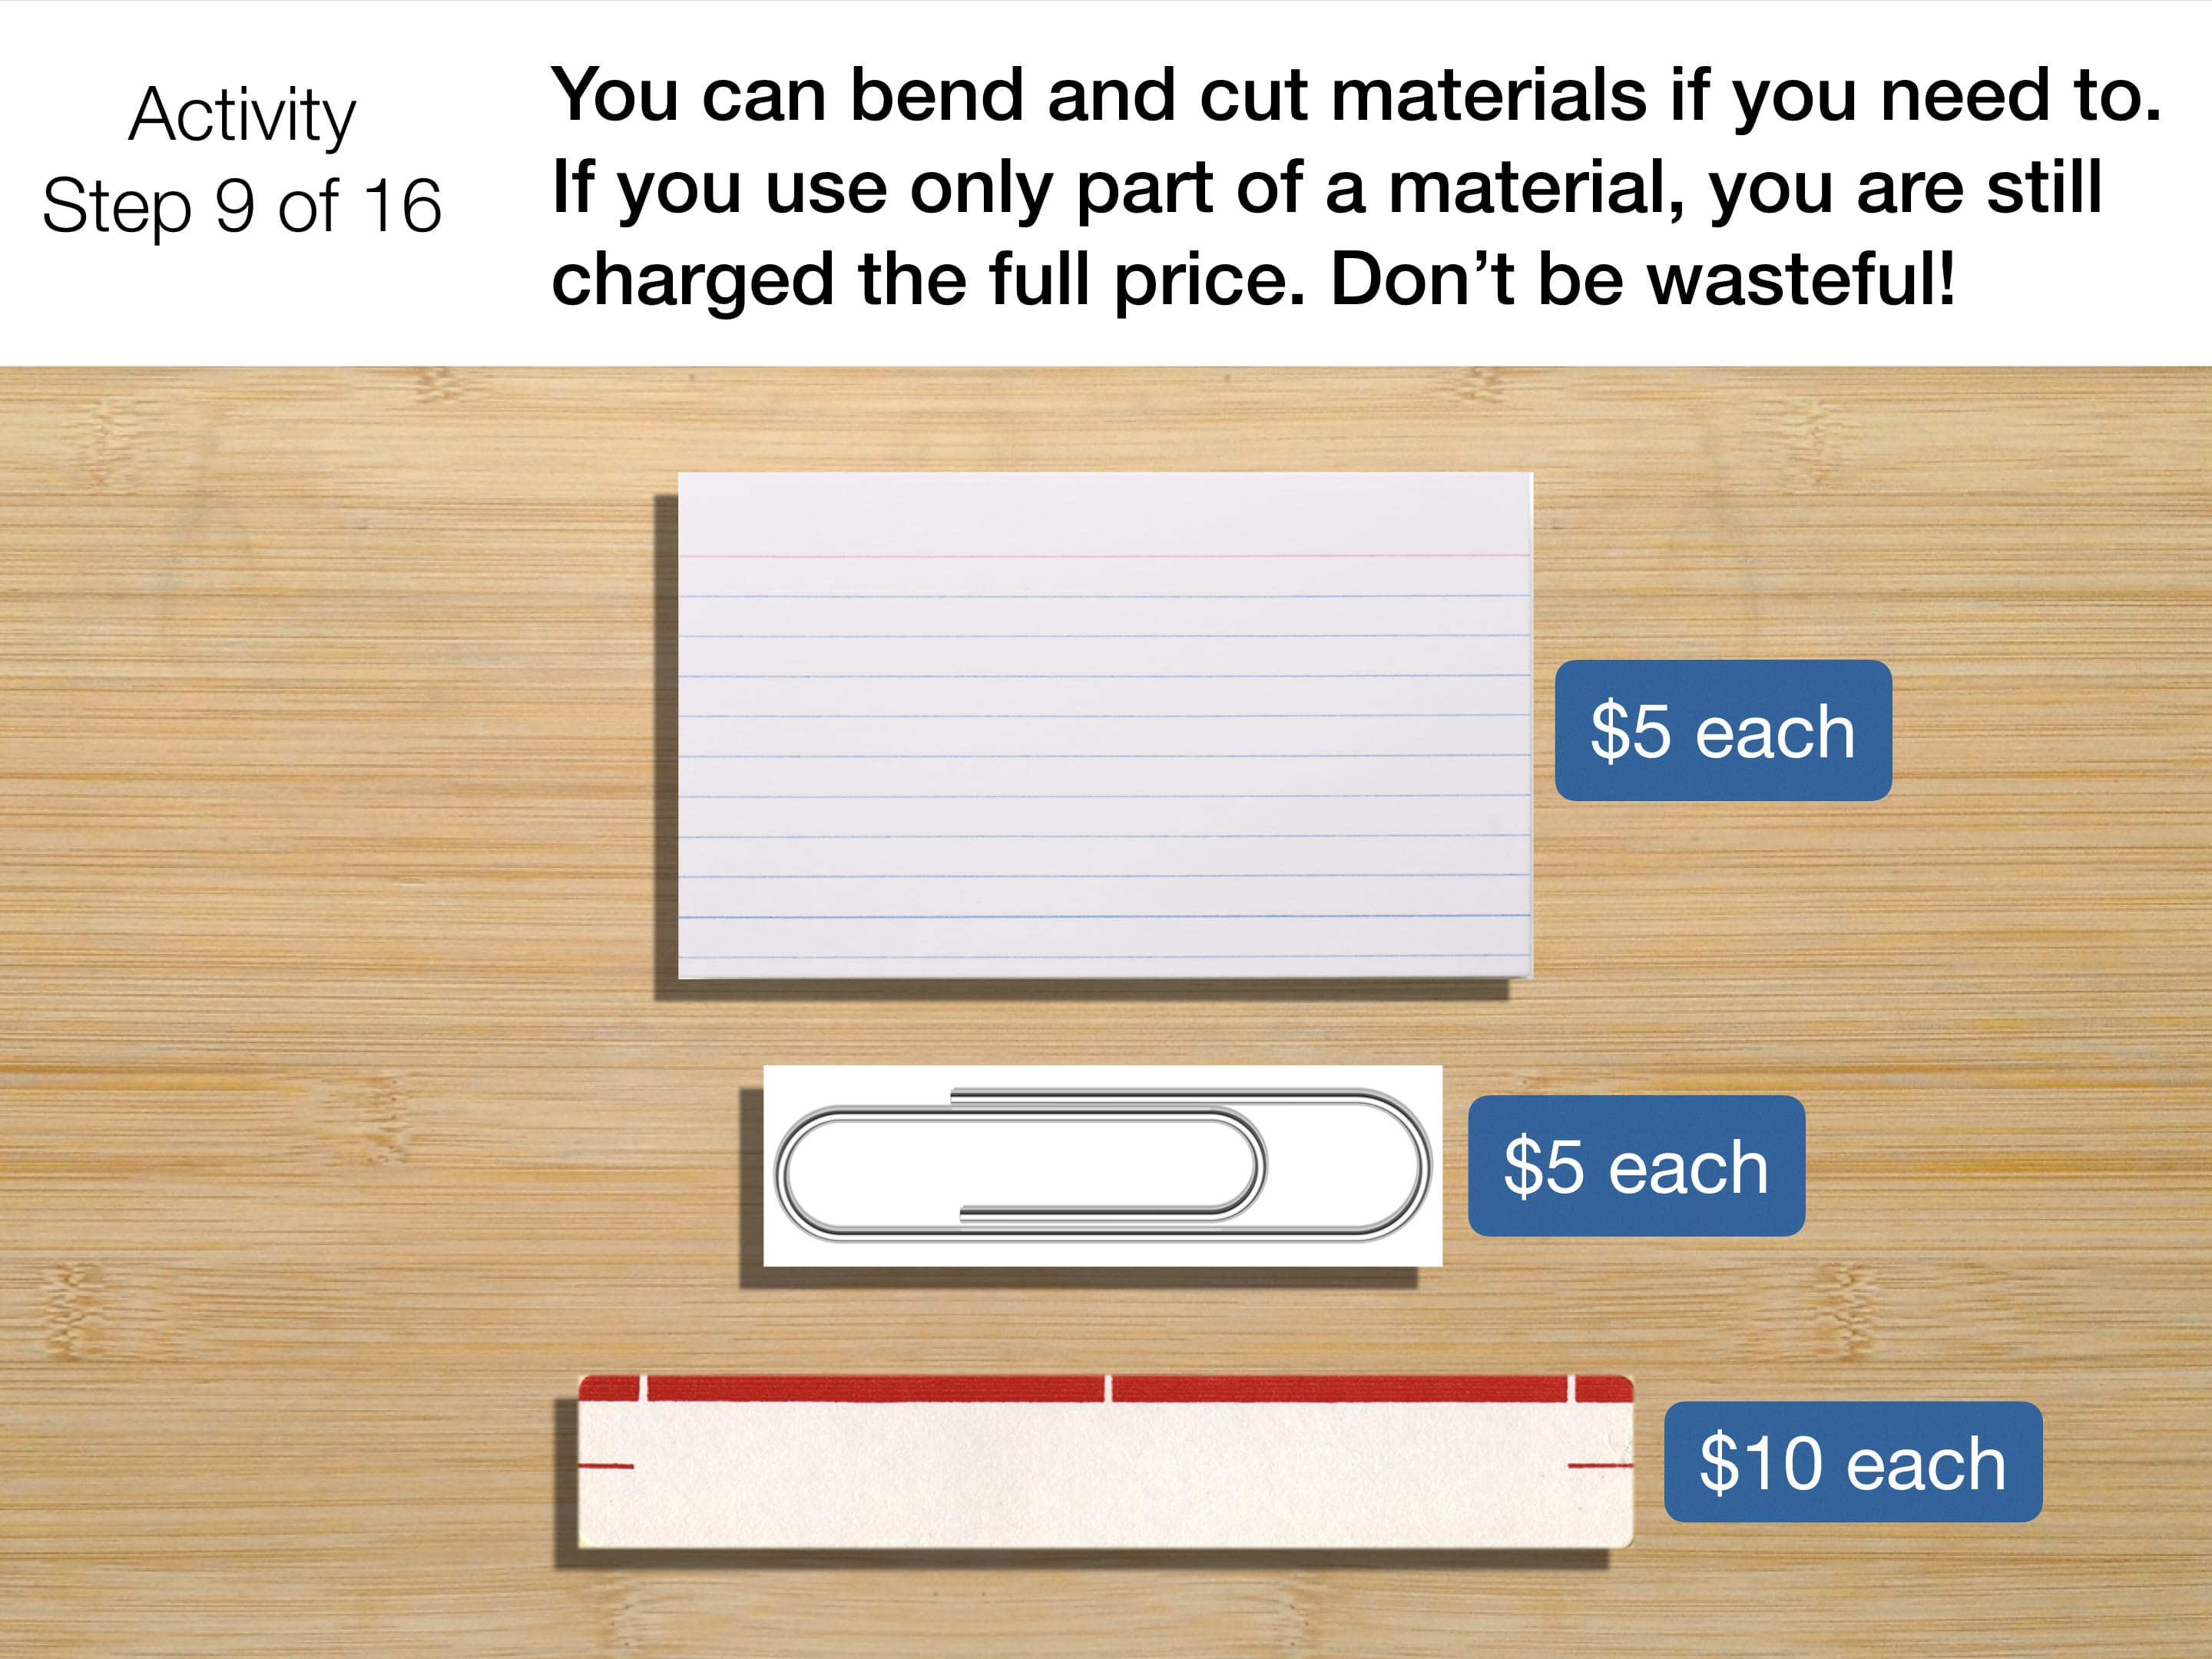
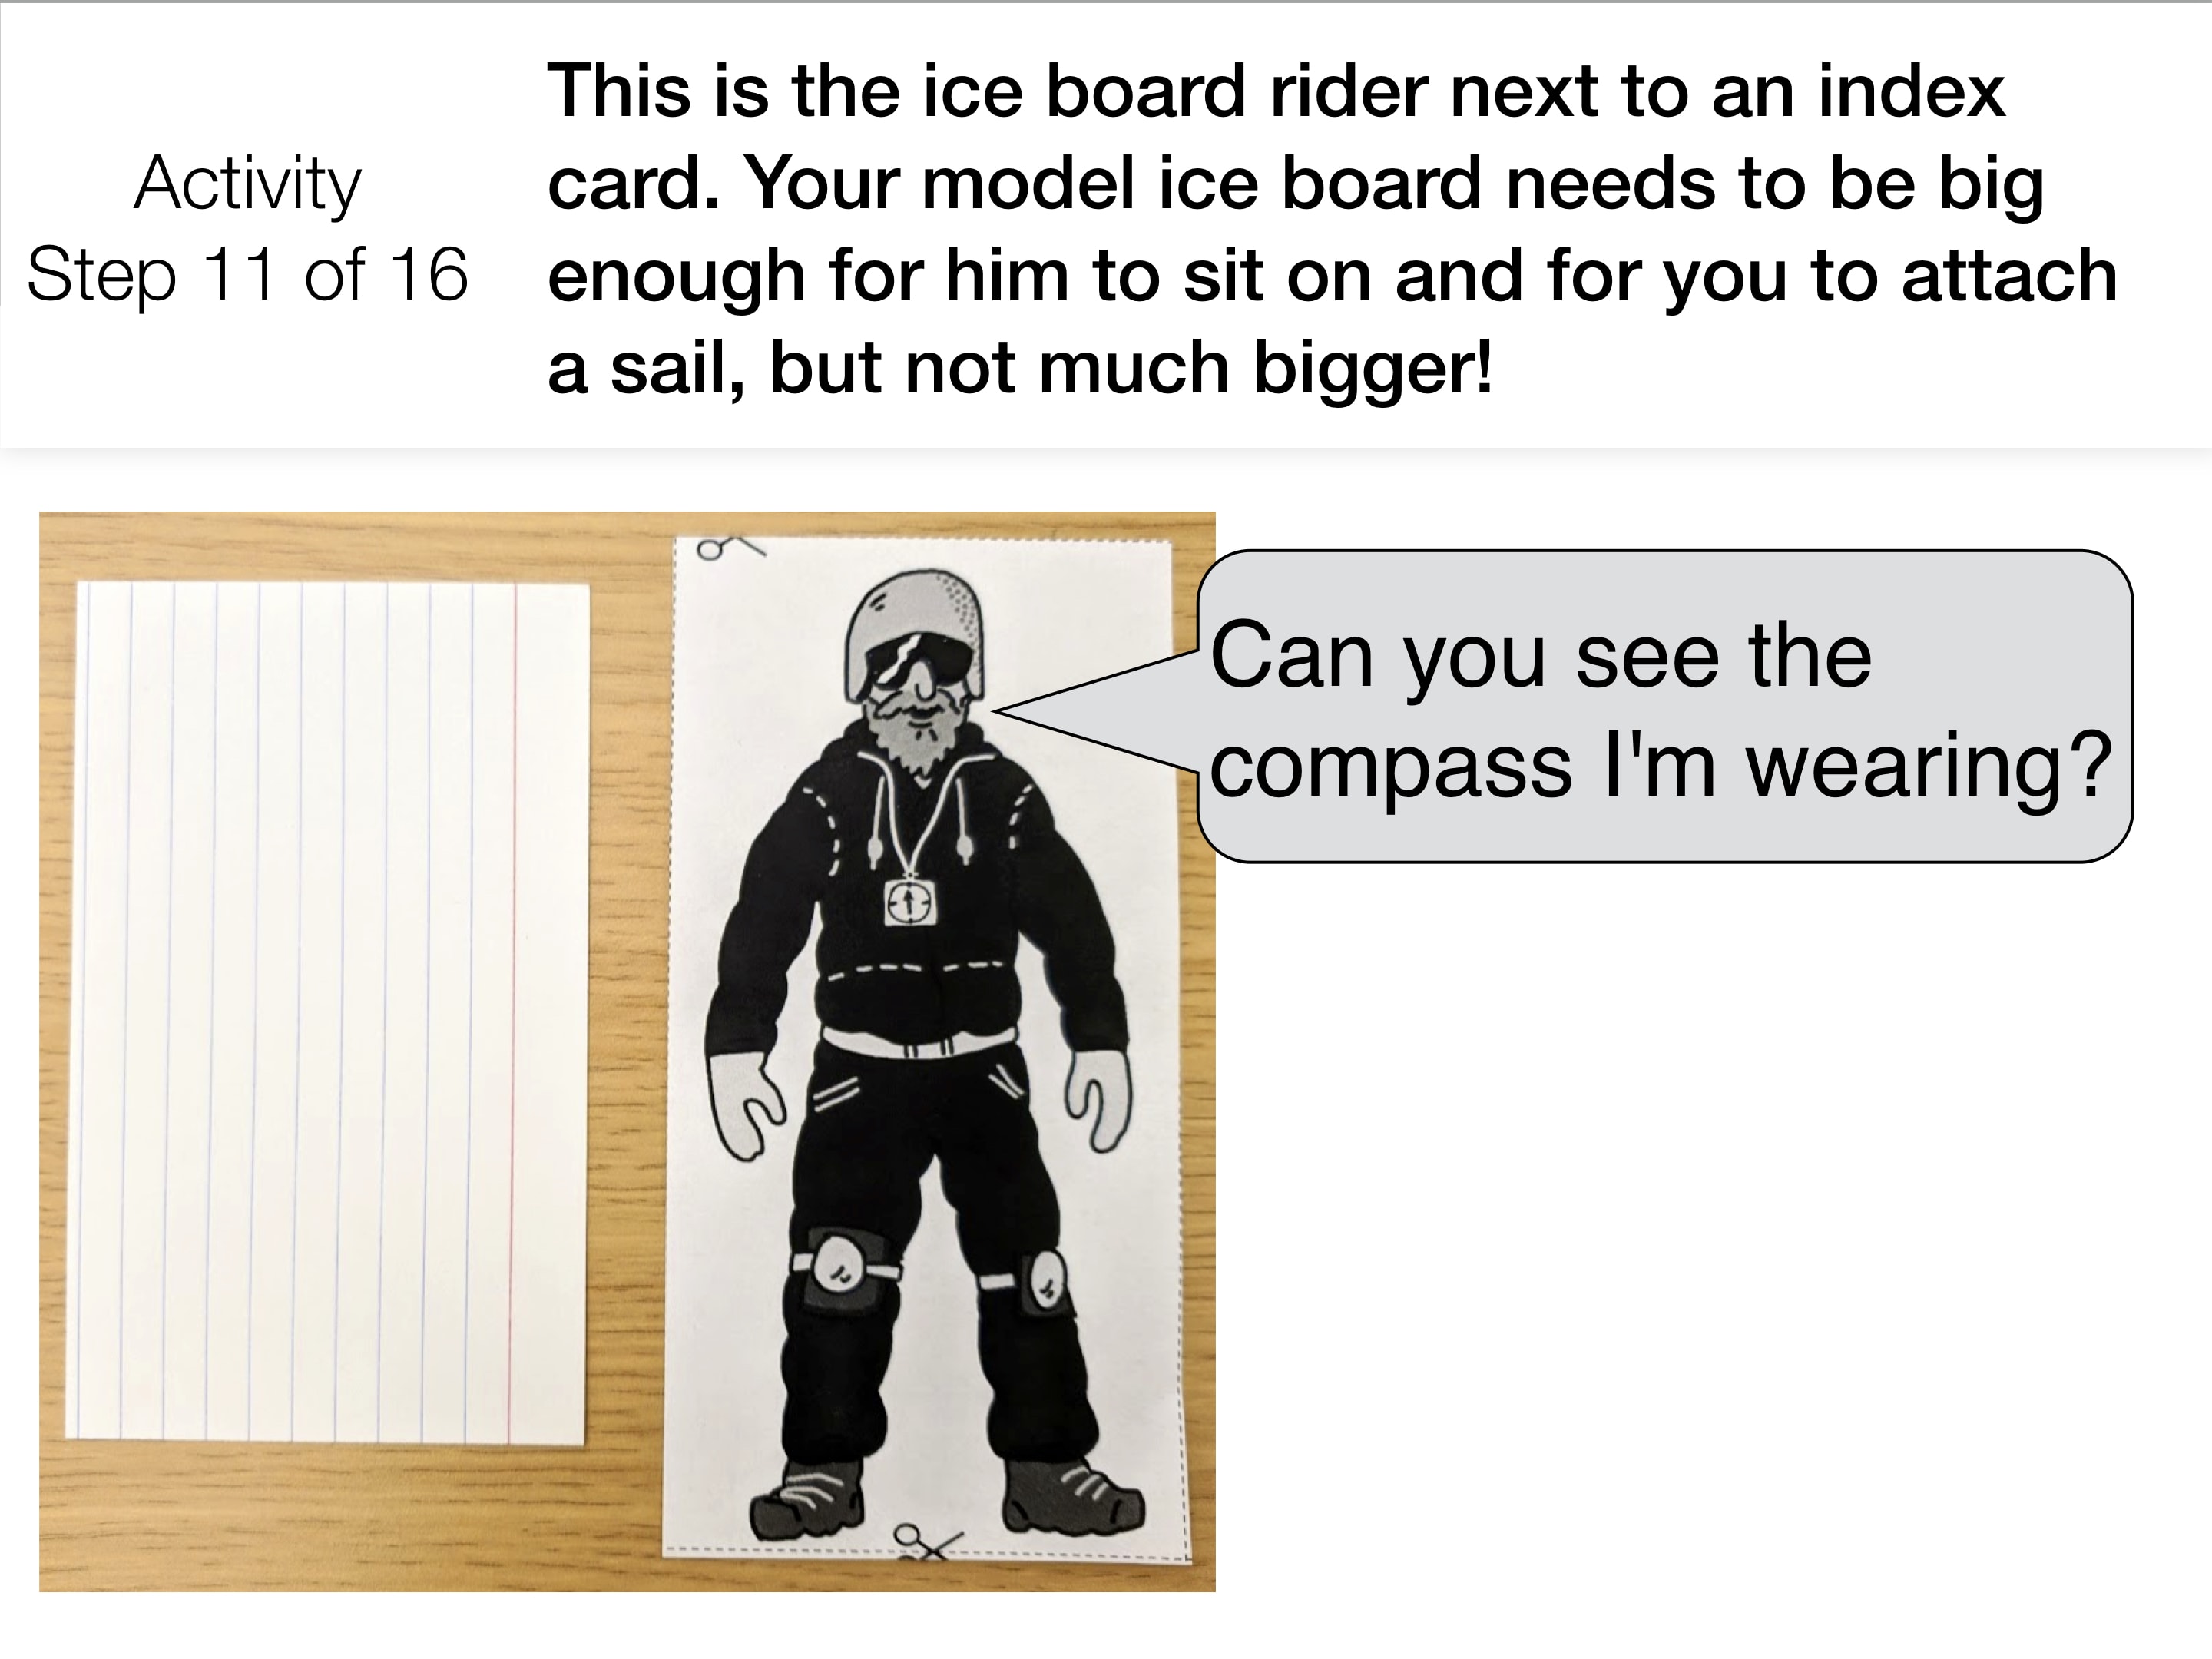
Each group will need one cutout of the ice board rider, as well as a pack of the supplies listed in the supply calculator above.
You can put the supplies for each group and a cutout of the ice board rider into an envelope or plastic bag before class to make it easier to hand them out.
Example Ice Board Models
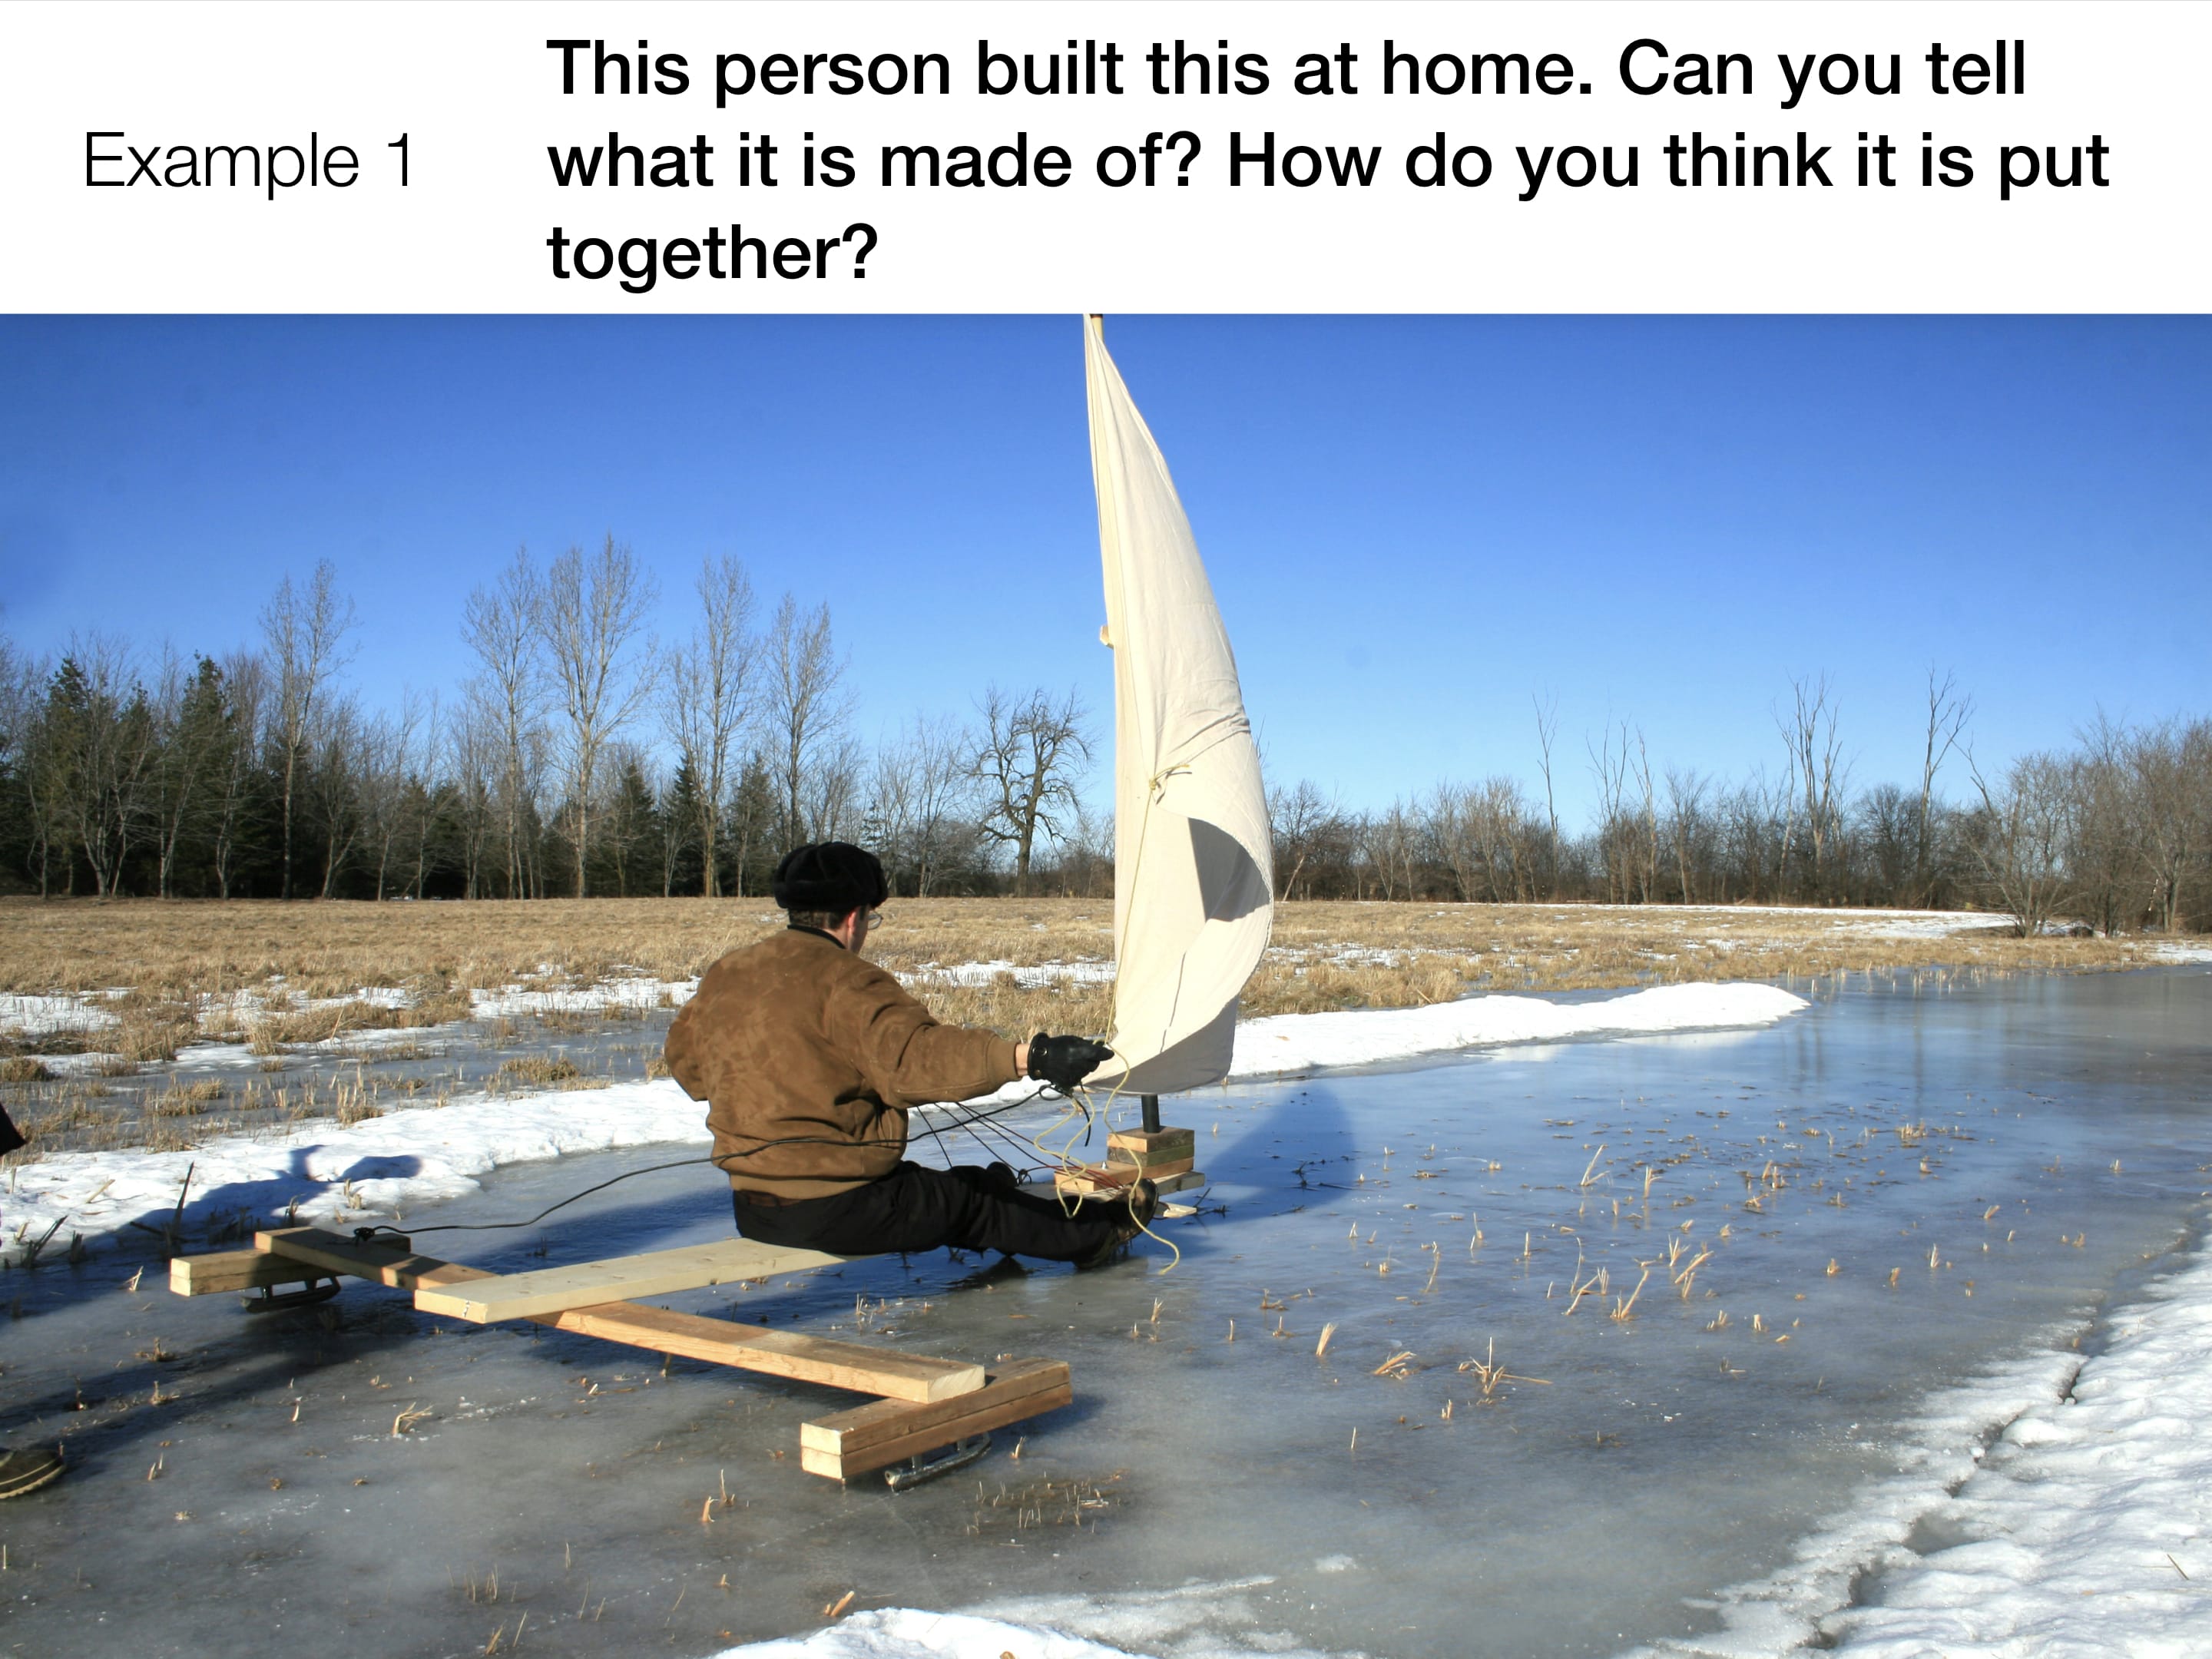
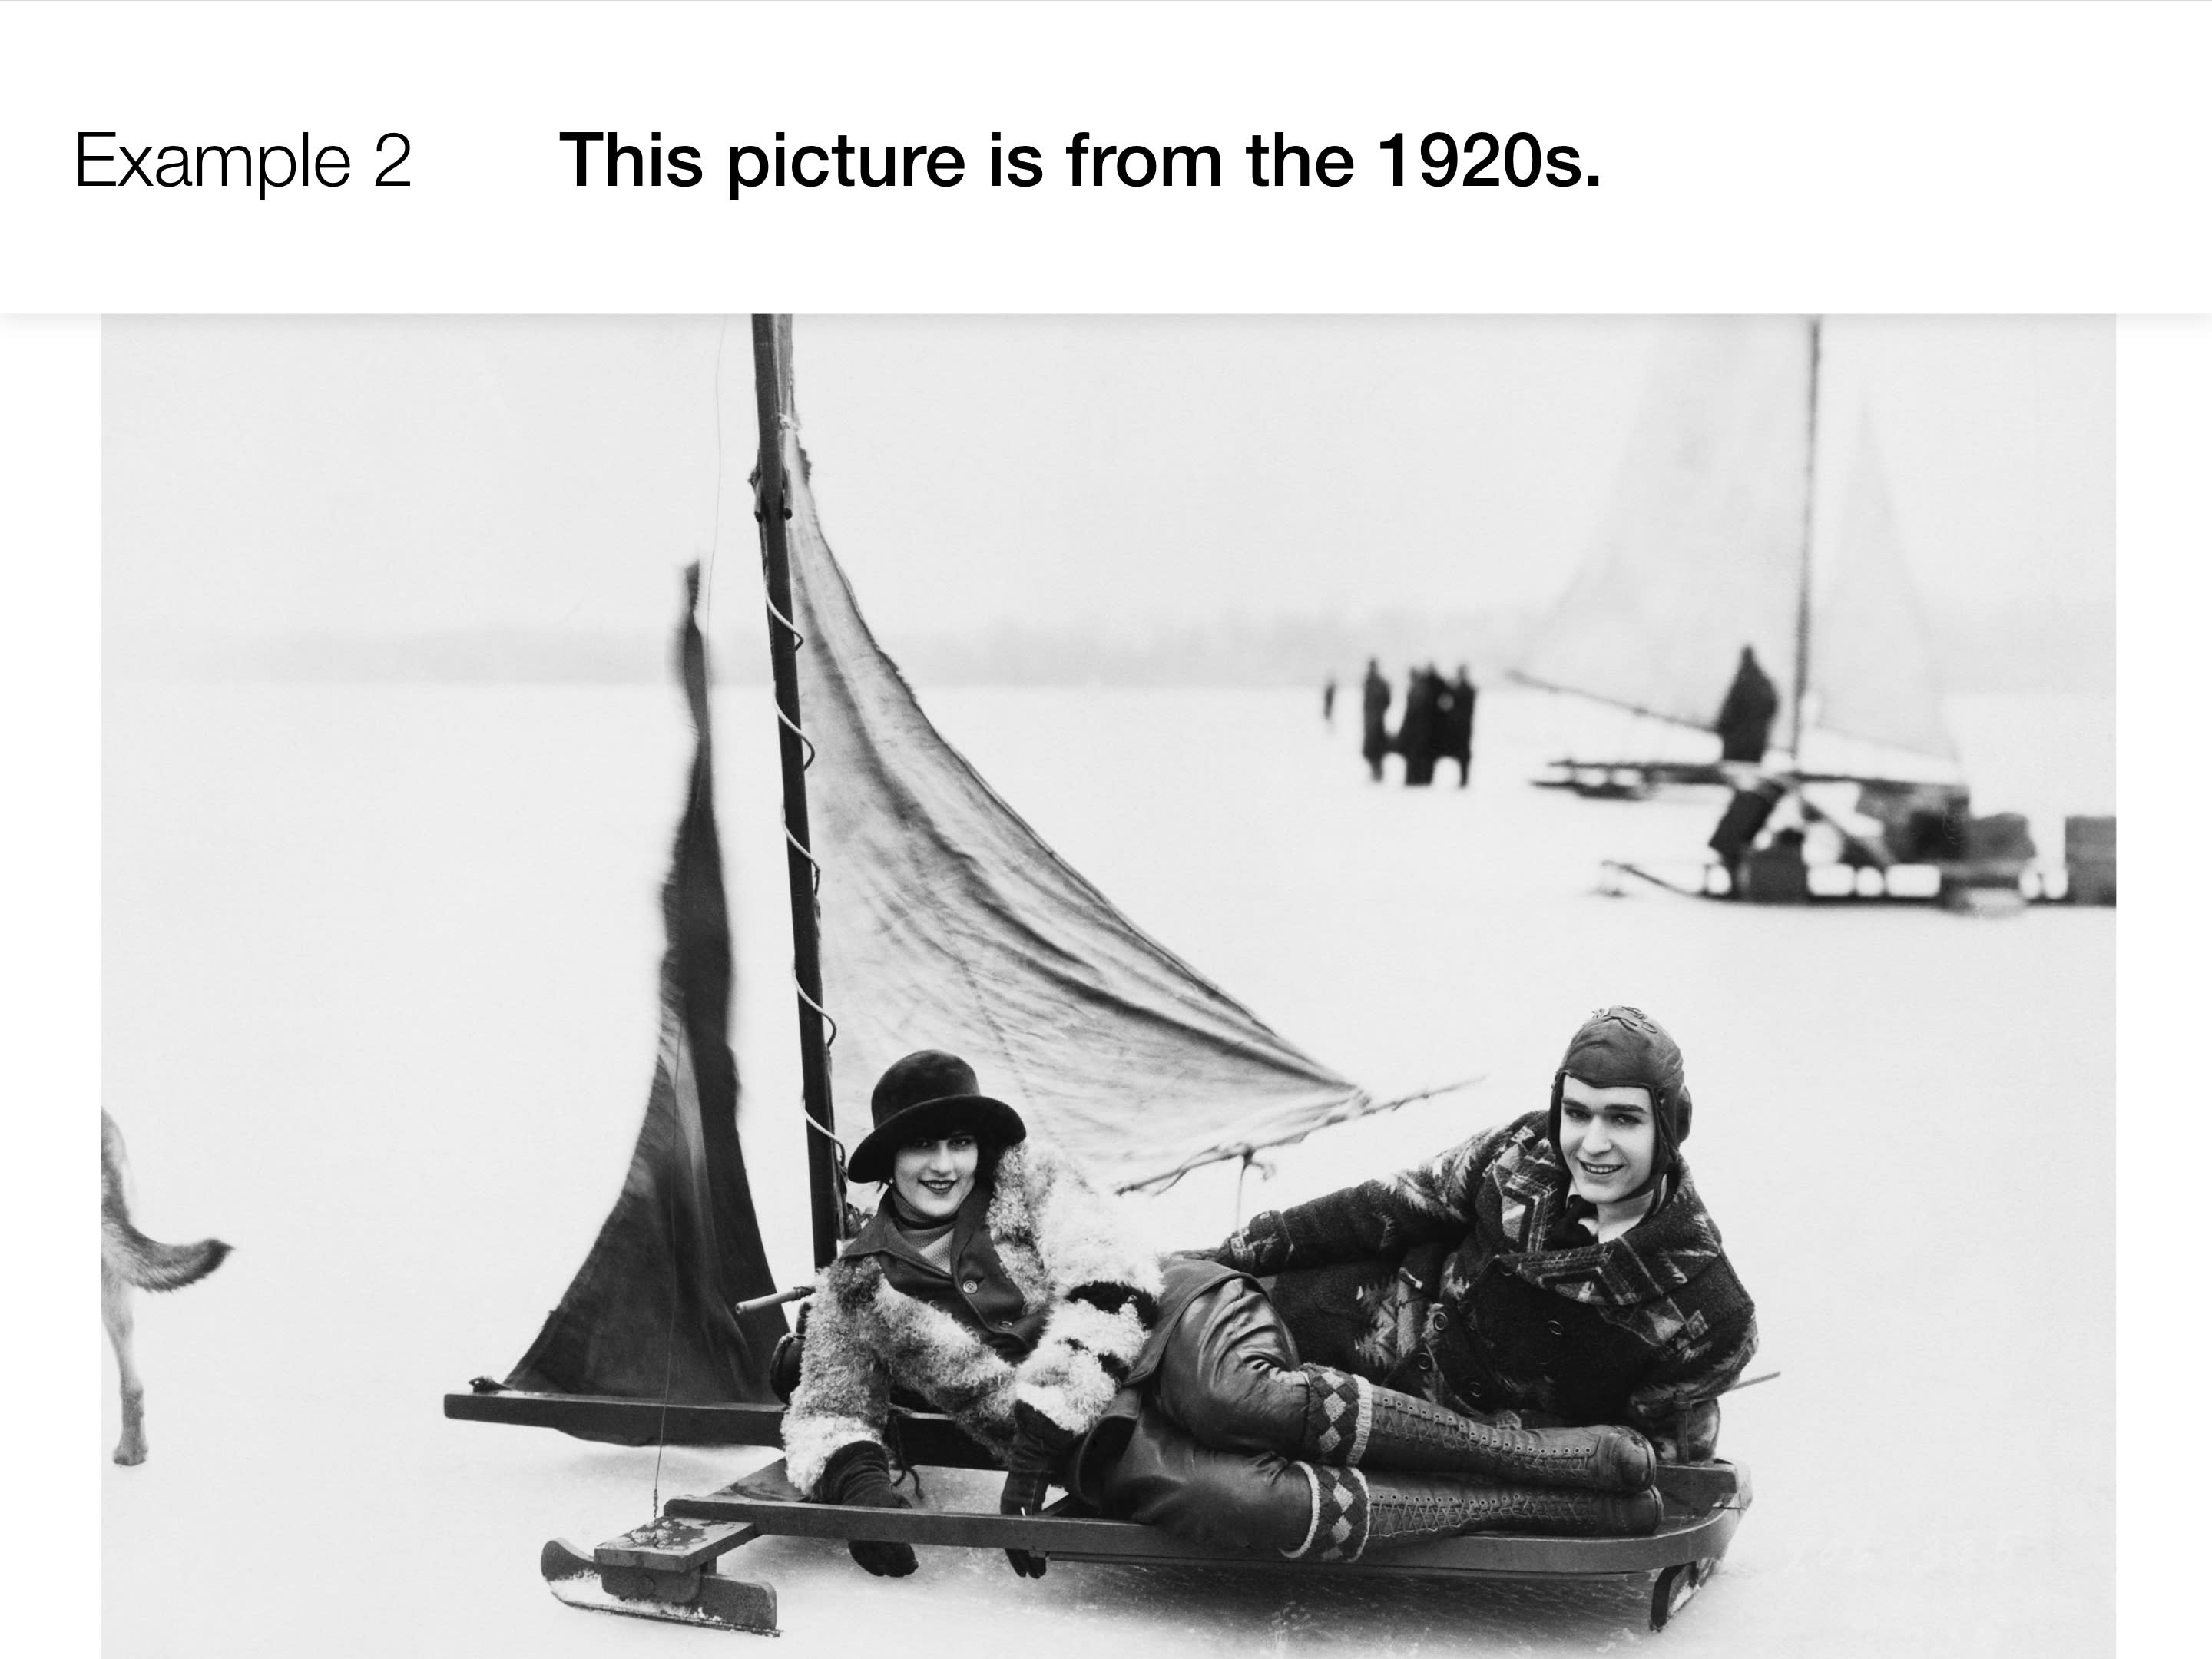
Here are a few examples of finished products from this activity.
* Example 1
* Example 2
* Example 3
* Example 4
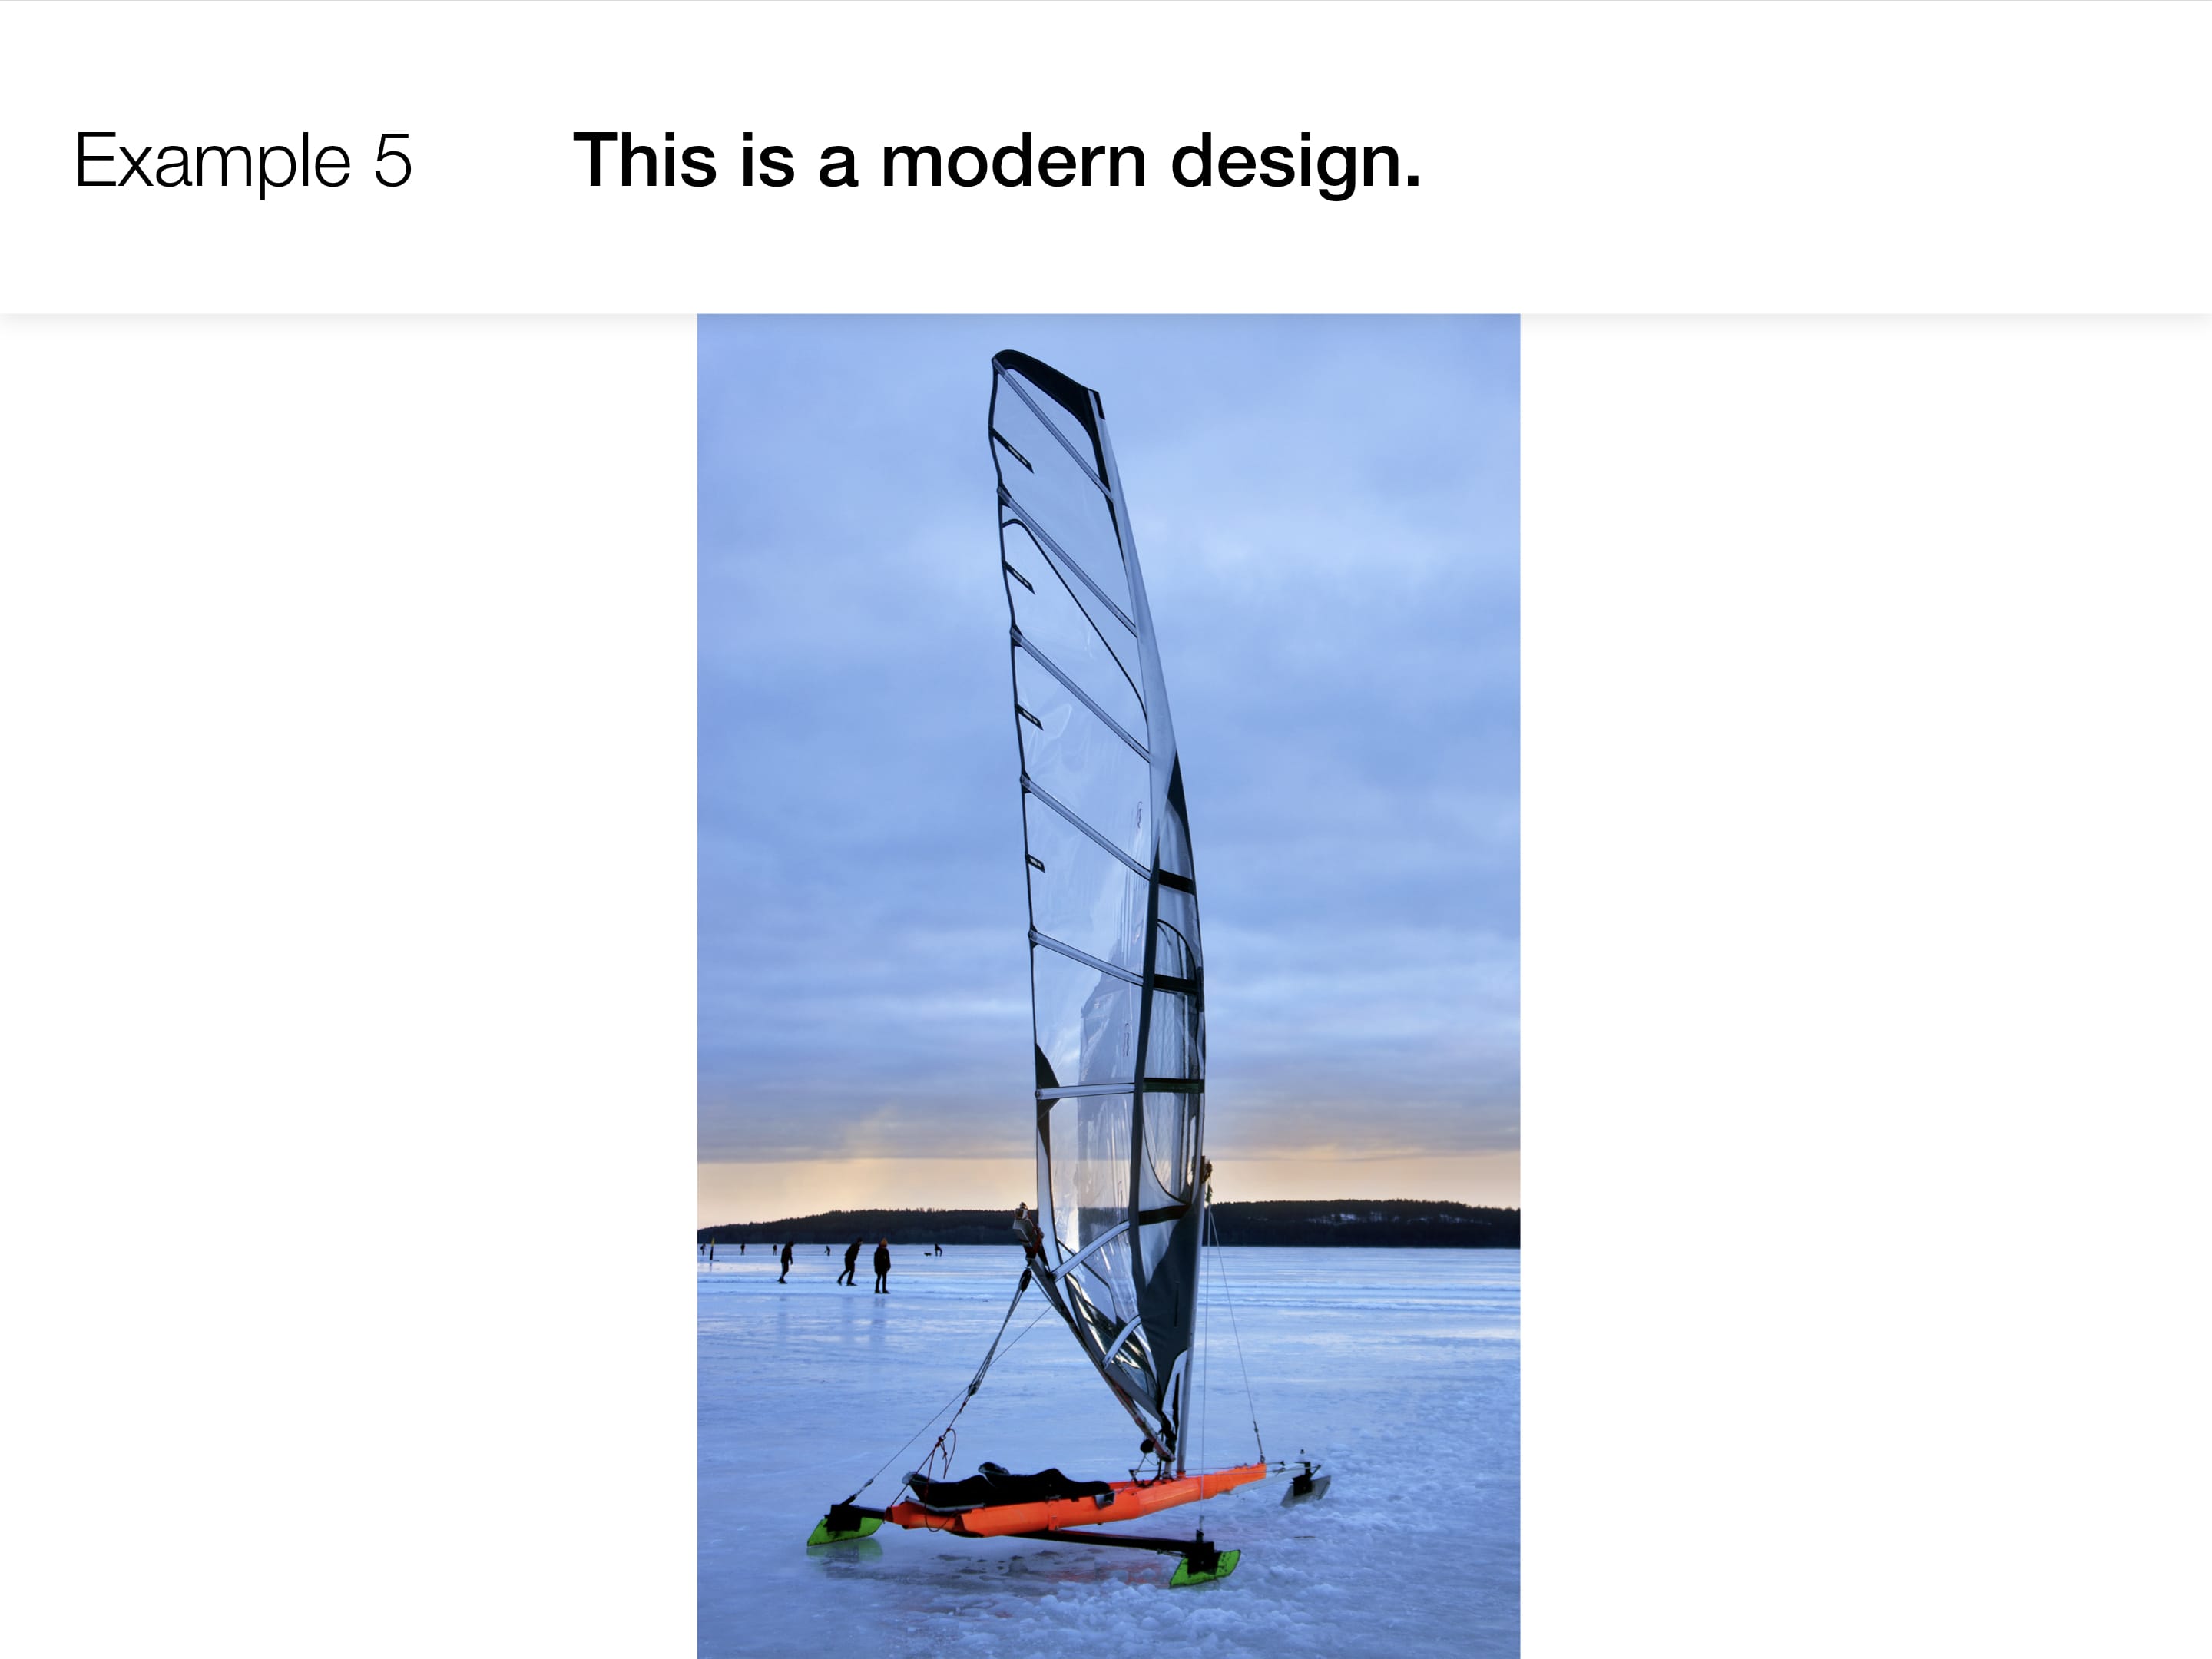
* Example 5
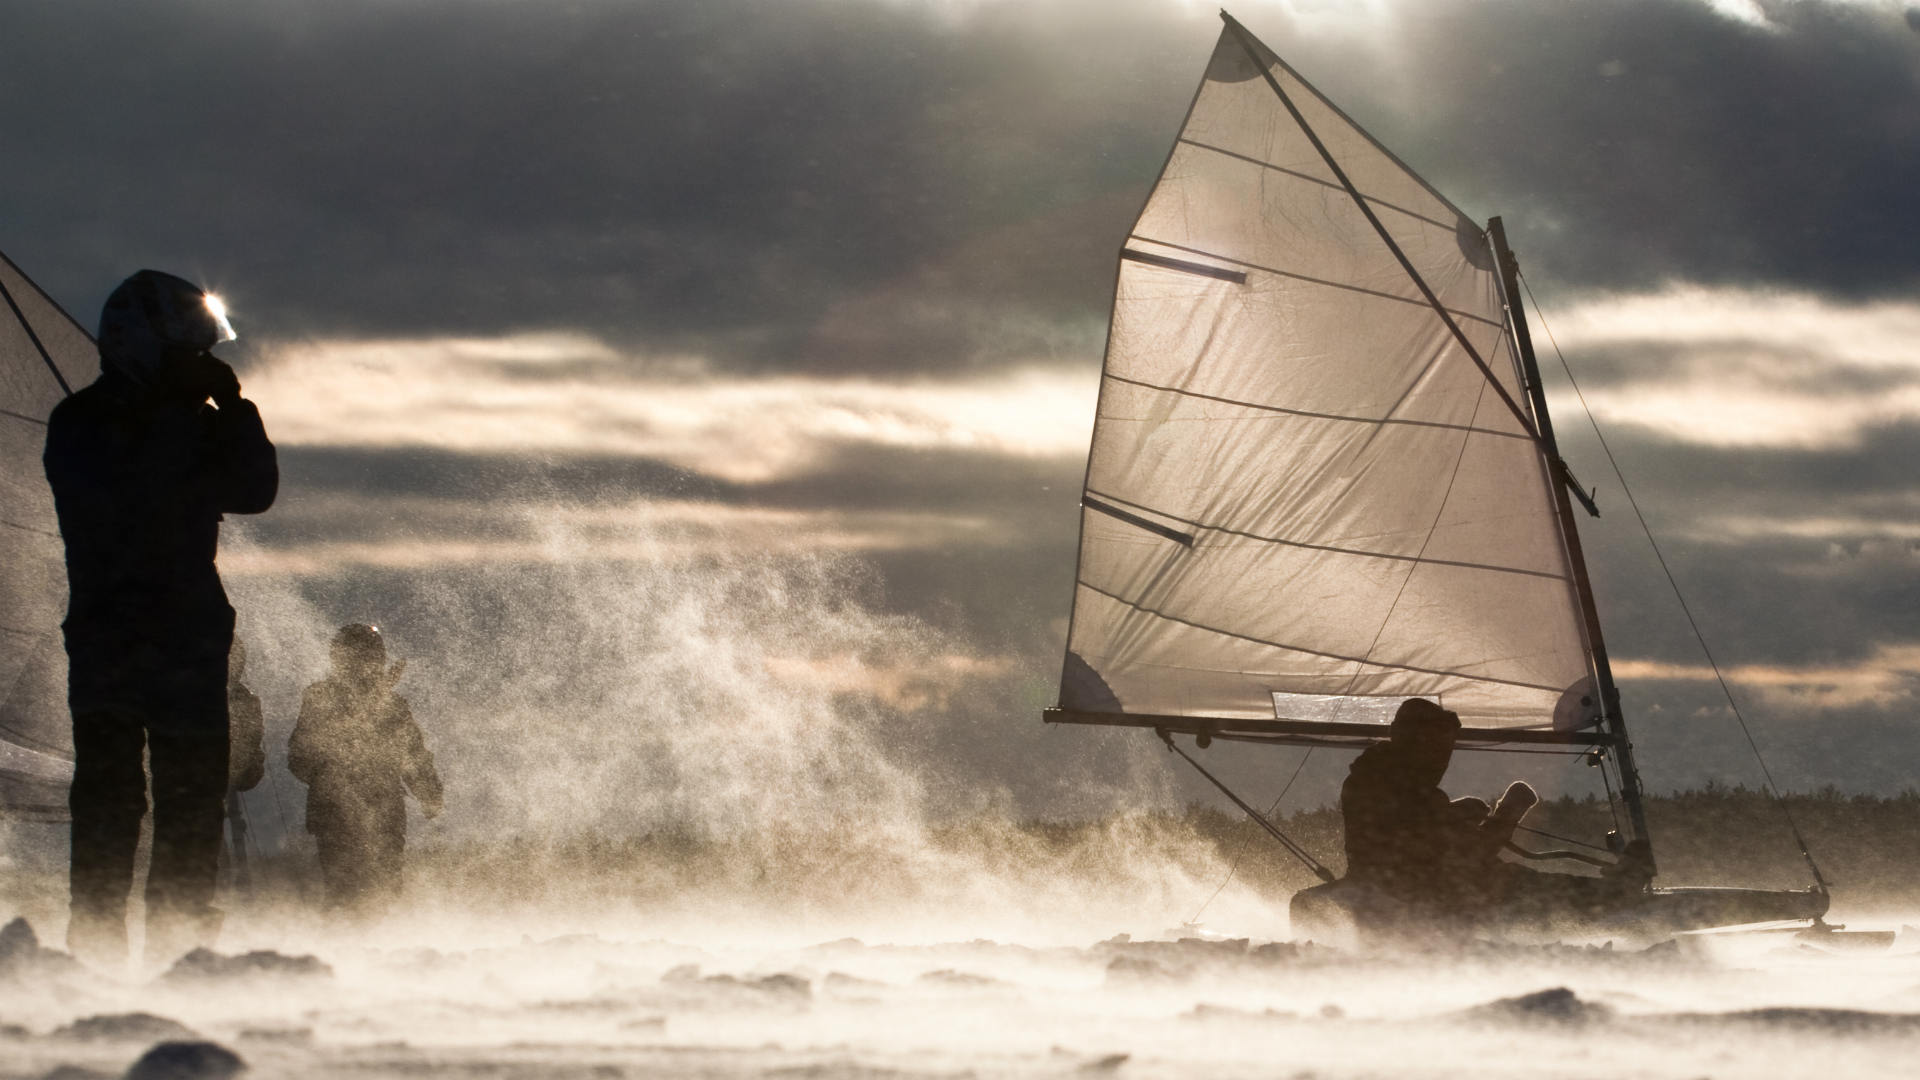
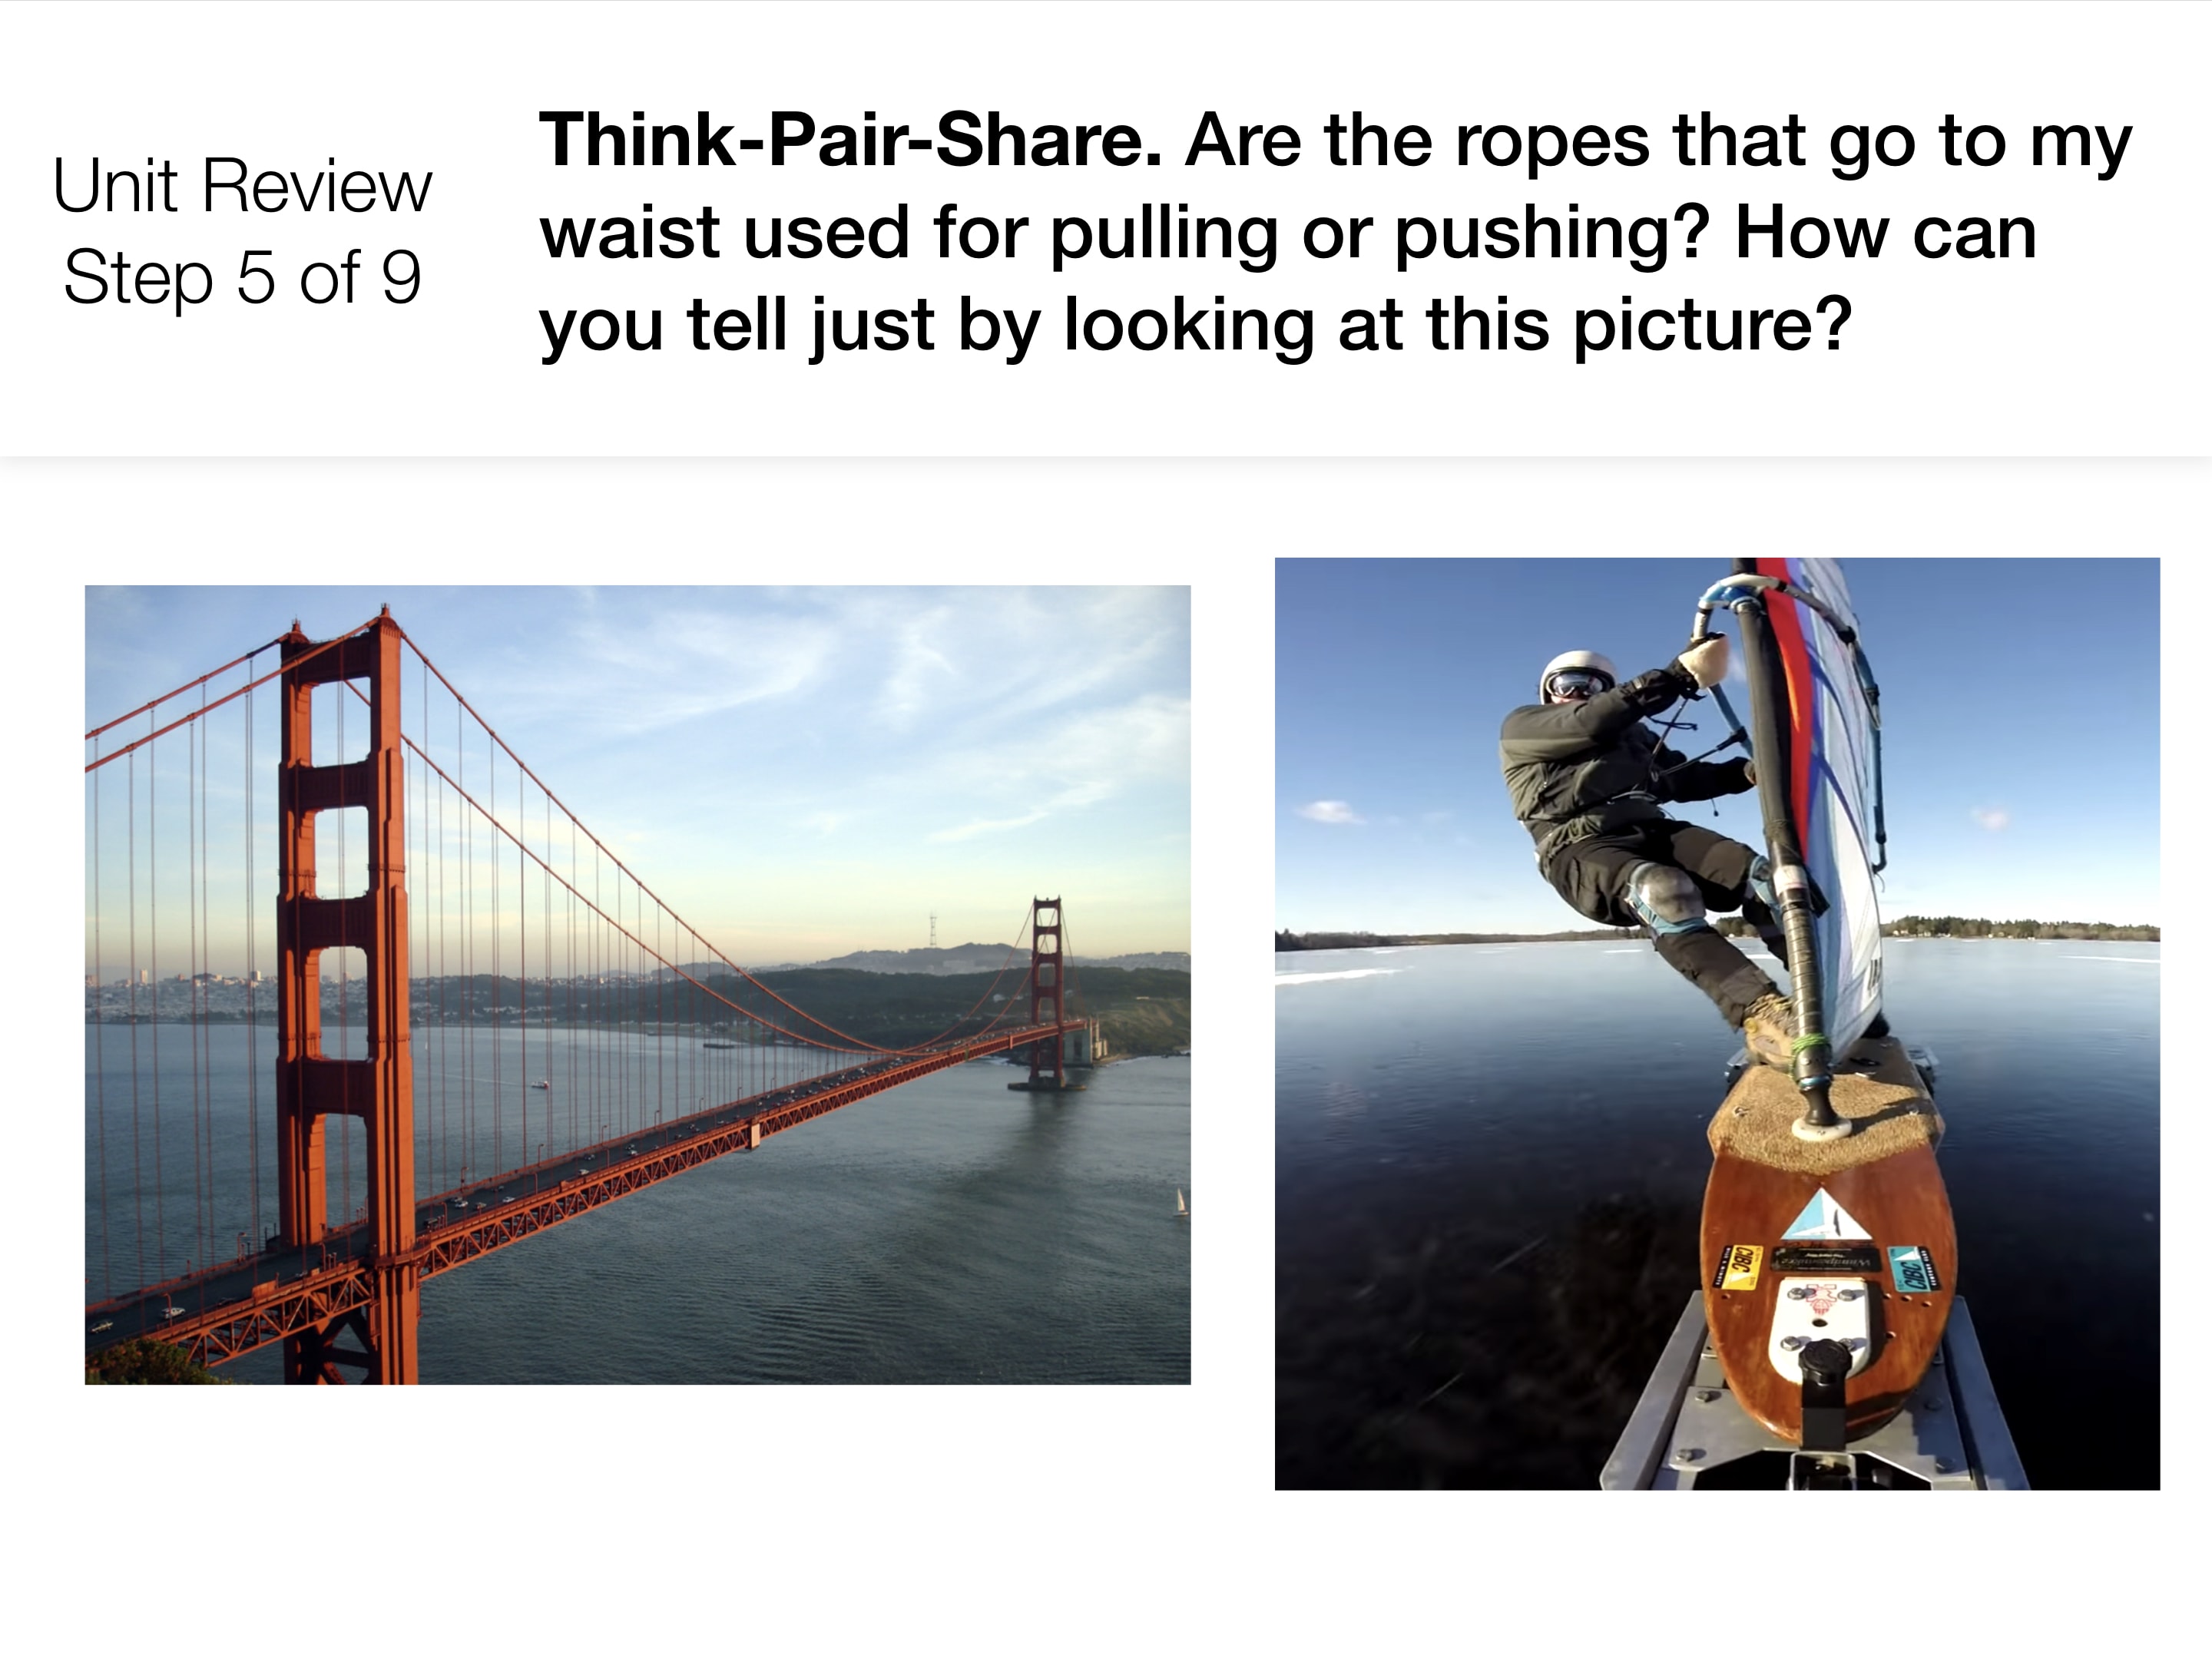
You'll notice that the sails on these models are oriented from side-to-side, as opposed to the front-to-back orientation found on the real ice board. Building a working sail that runs from front-to-back is much more difficult and may be a source of excessive frustration for many students. Feel free to encourage your students to build sails that are laid out from side-to-side.
Extension Ideas
Here are a few ideas on how to extend this activity:
Have students create a set of instructions that explain how to build their model. They can begin by creating a list of each of the parts that the model is made of, and explaining the function of each of those parts. This will reinforce the crosscutting concept of systems.
Give students a total cost limit that they cannot exceed, such as $30.
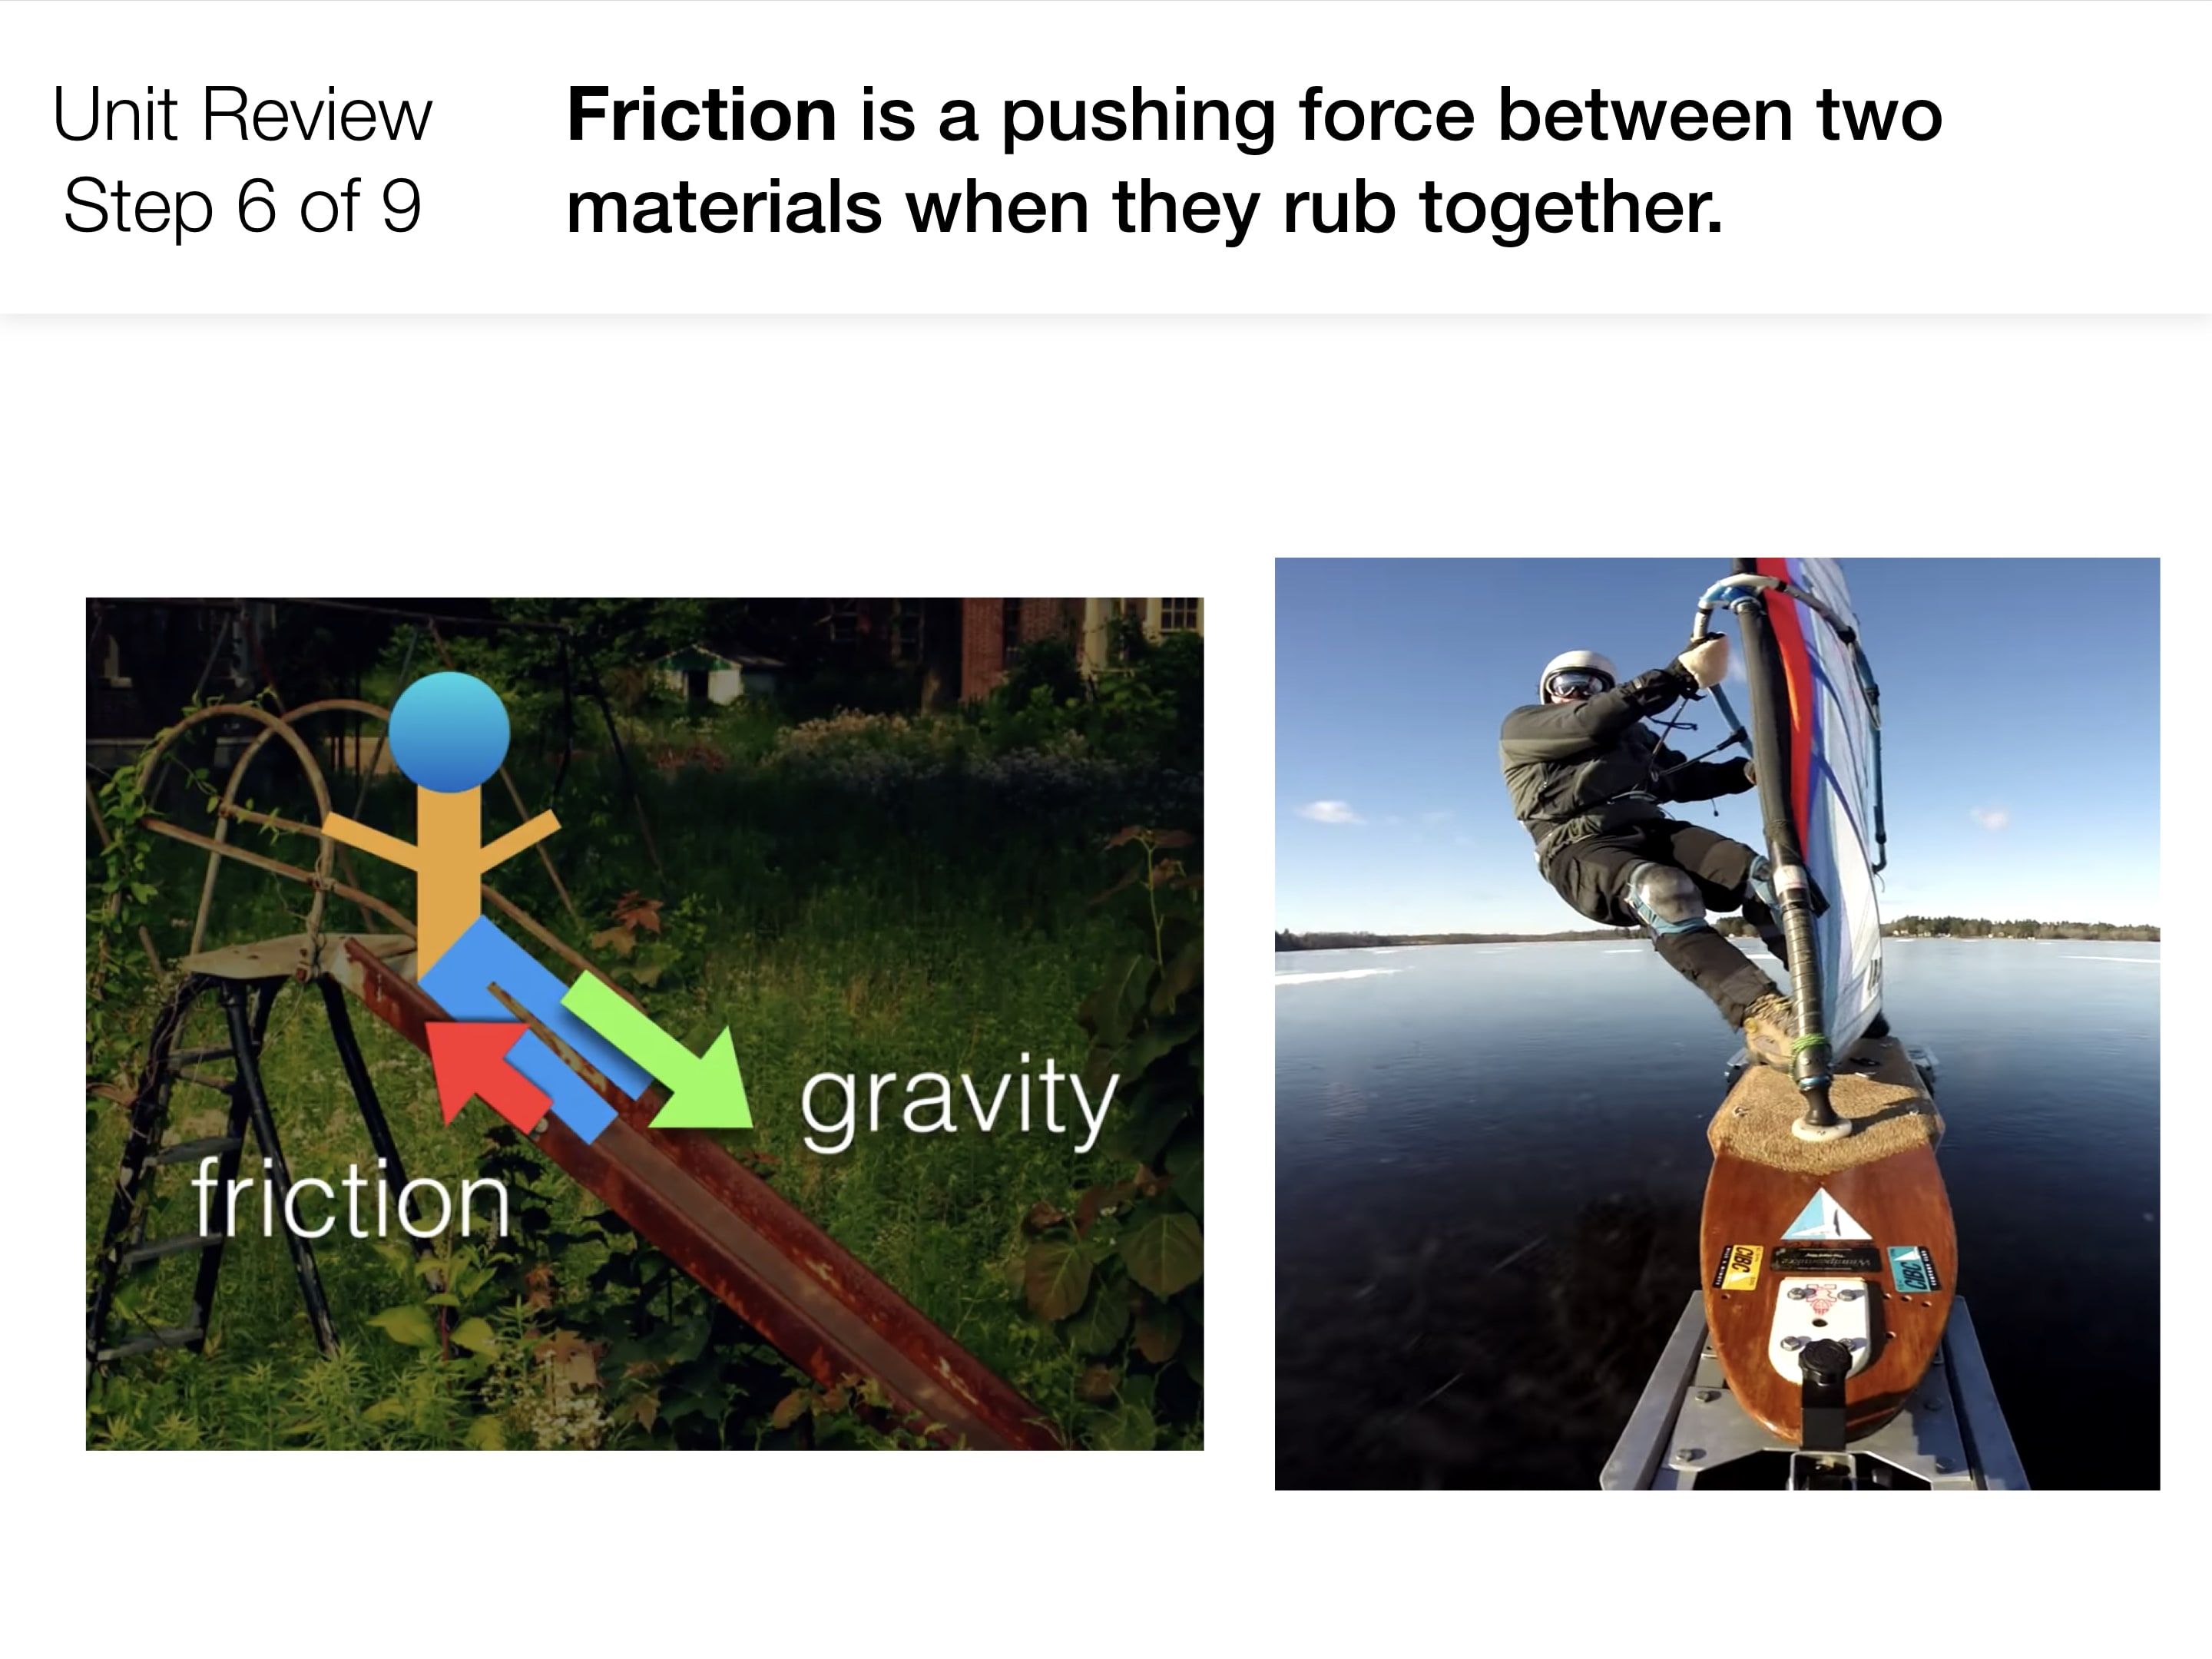
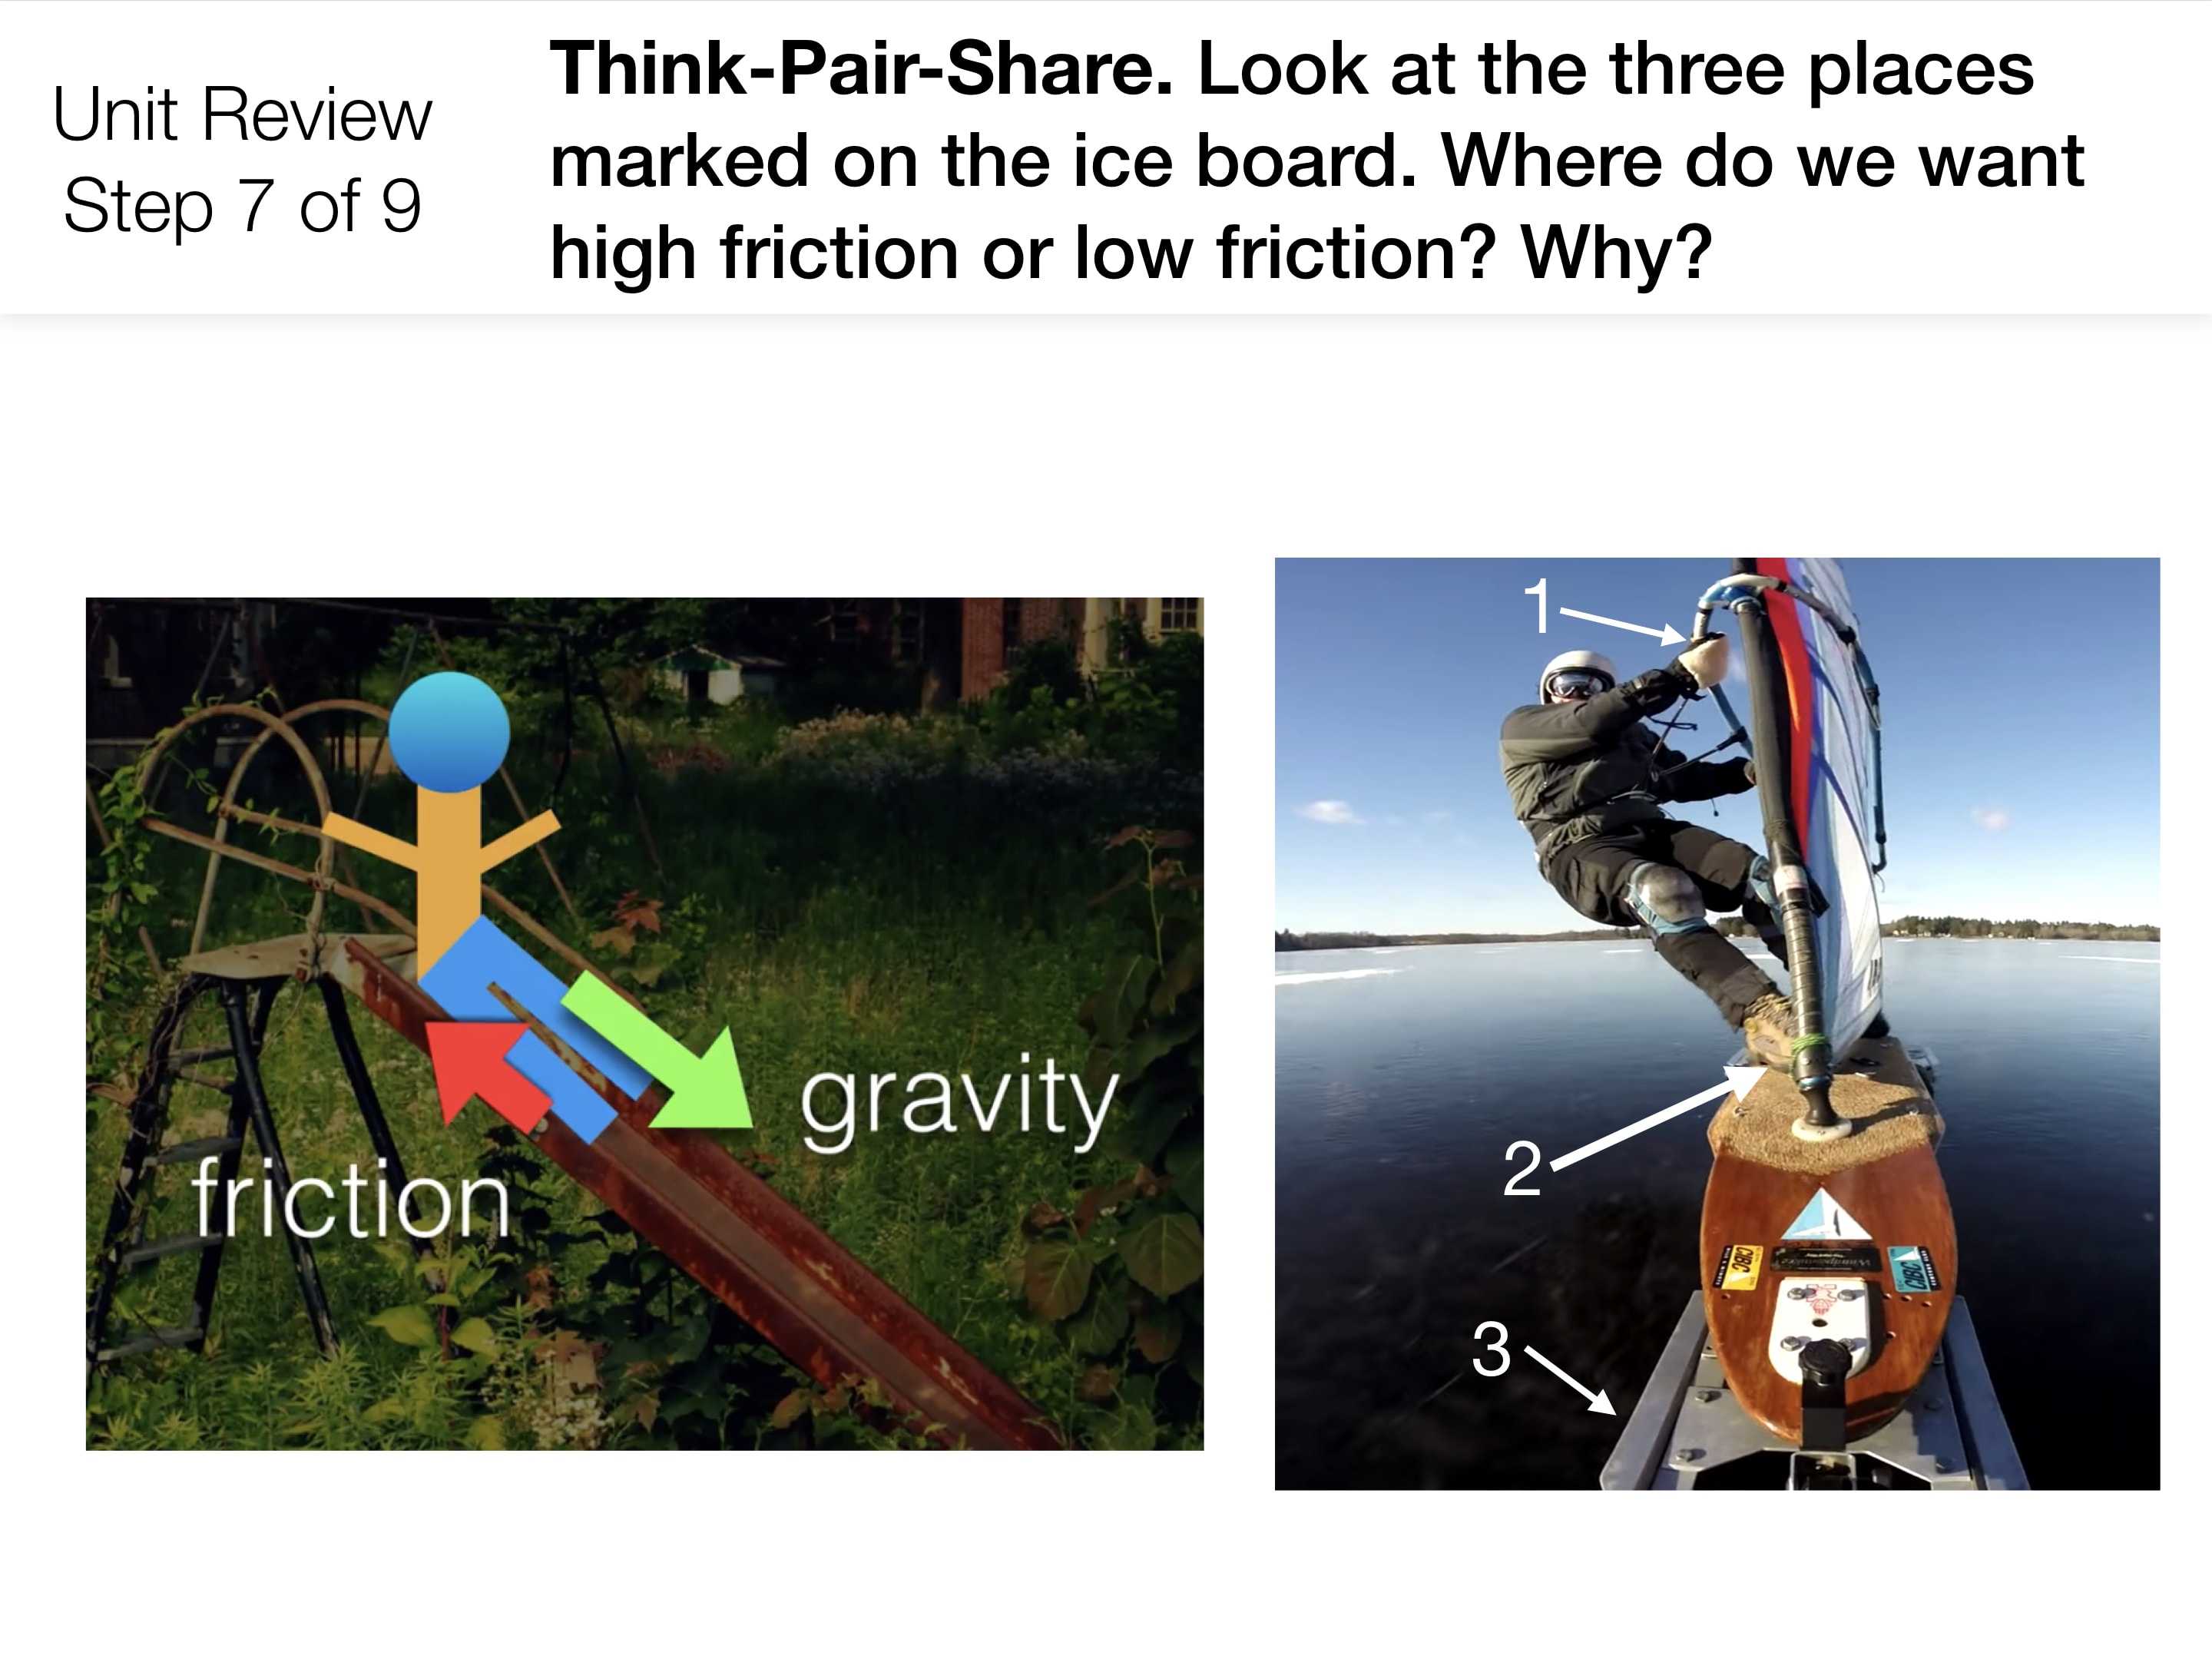
Challenge students to choose a material that reduces the amount of friction between their model and their desks/tables.
Reduce the number of supplies to three of each material.
Swap the paperclips out for string.
Challenge students to see who can make their model go the farthest possible using only their breath to push it along the floor or a table.
