


Image & Video Credits
Mystery Science respects the intellectual property rights of the owners of visual assets. We make every effort to use images and videos under appropriate licenses from the owner or by reaching out to the owner to get explicit permission. If you are the owner of a visual and believe we are using it without permission, please contact us—we will reply promptly and make things right.
Exploration
forest by
Image used under license from Shutterstock.com: Aleksey Stemmer
baby owl by
Image used under license from Shutterstock.com: Watthano
deer by
Image used under license from Shutterstock.com: Pierre Watson
frog by
Image used under license from Shutterstock.com: Jay Connors
tadpoles by
Aquarium and Terrarium Life
stream by
Image used under license from Shutterstock.com: Maksym Darakchi
kid holding bottle by
Image used under license from Shutterstock.com: spwidoff
bottle floating by
Image used under license from Shutterstock.com: Fotohunt
bottle floating down a river by
LittleBigVoice
water bottle by
Image used under license from Shutterstock.com: janonkas
ocean by
iknowcaleb
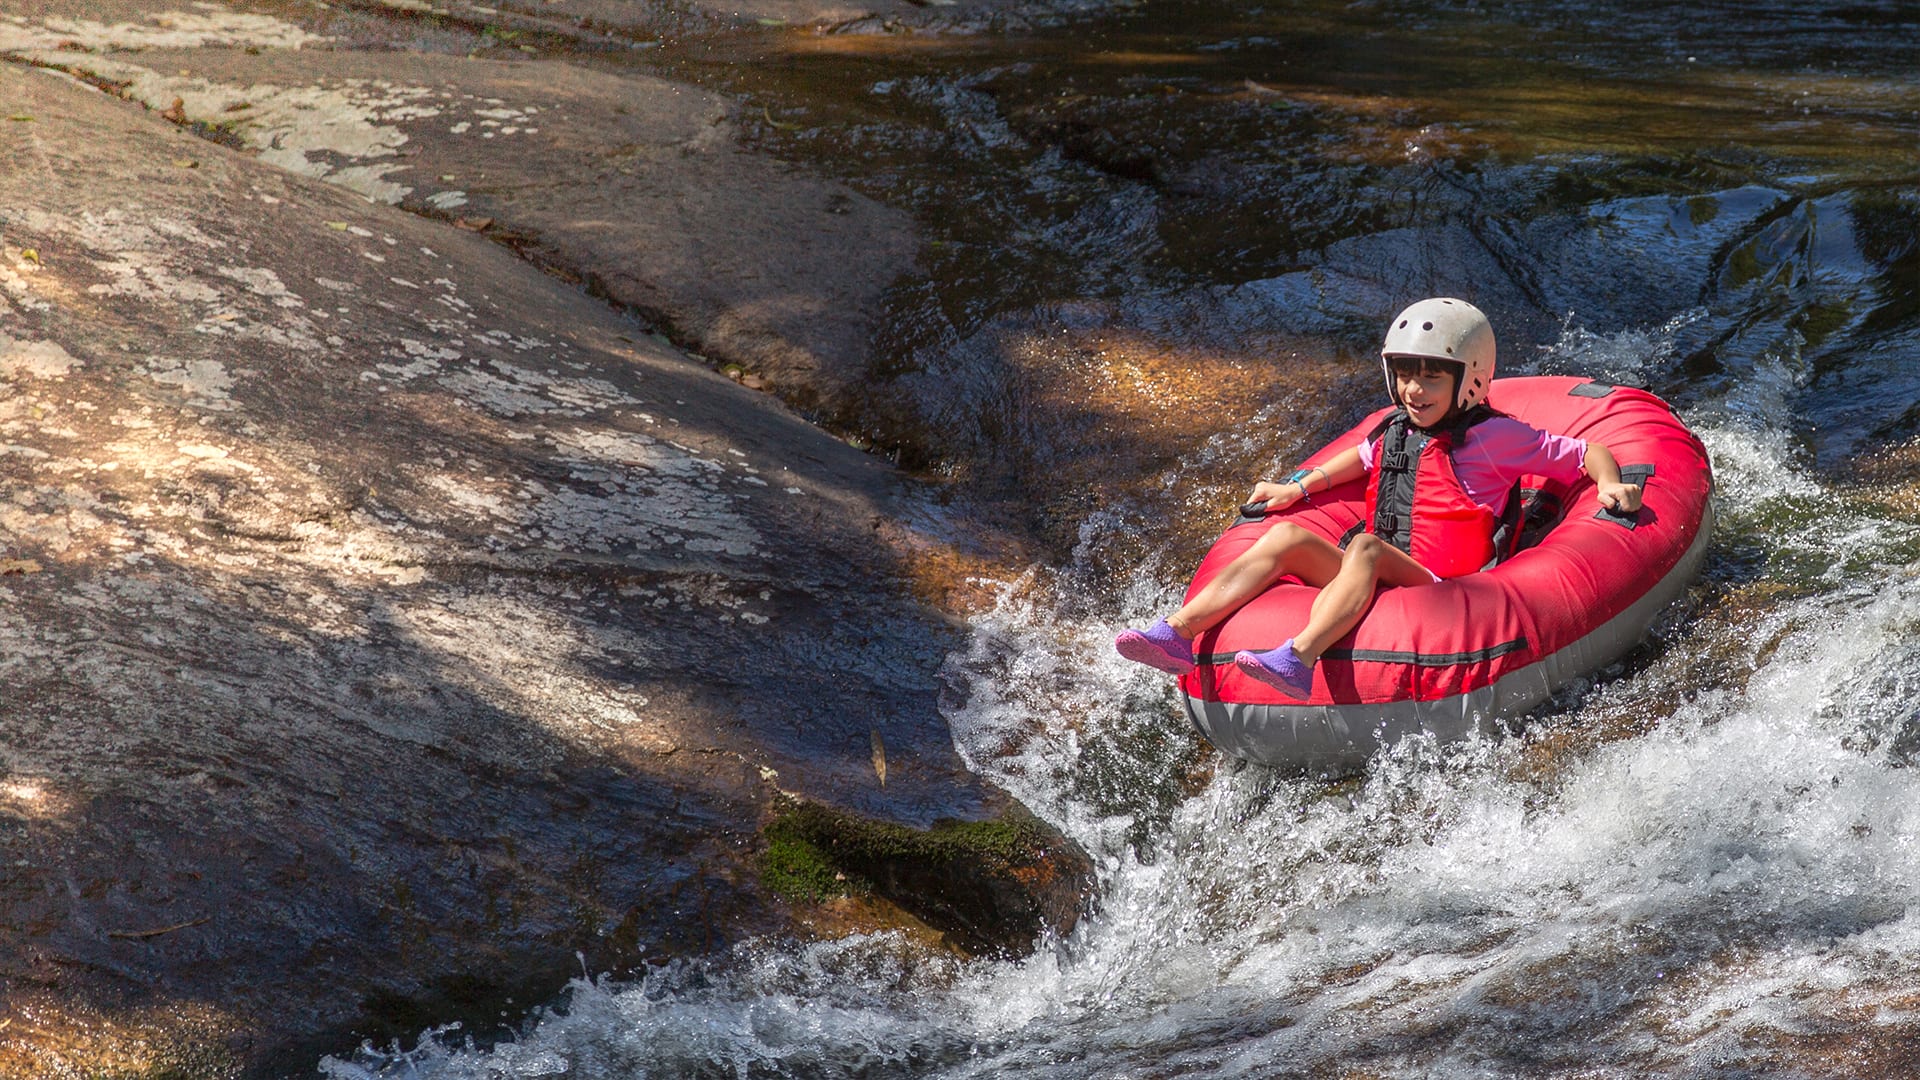
tubing on American River by
Beyond Limits Adventures
barge by
Image used under license from Shutterstock.com: Lacokozyna
wind in tree by
Image used under license from Shutterstock.com: Meryll
flowing river by
Doug Von Gausig
clear stream by
Don Bendickson
kid floating in water by
Image used under license from Shutterstock.com: MaszaS
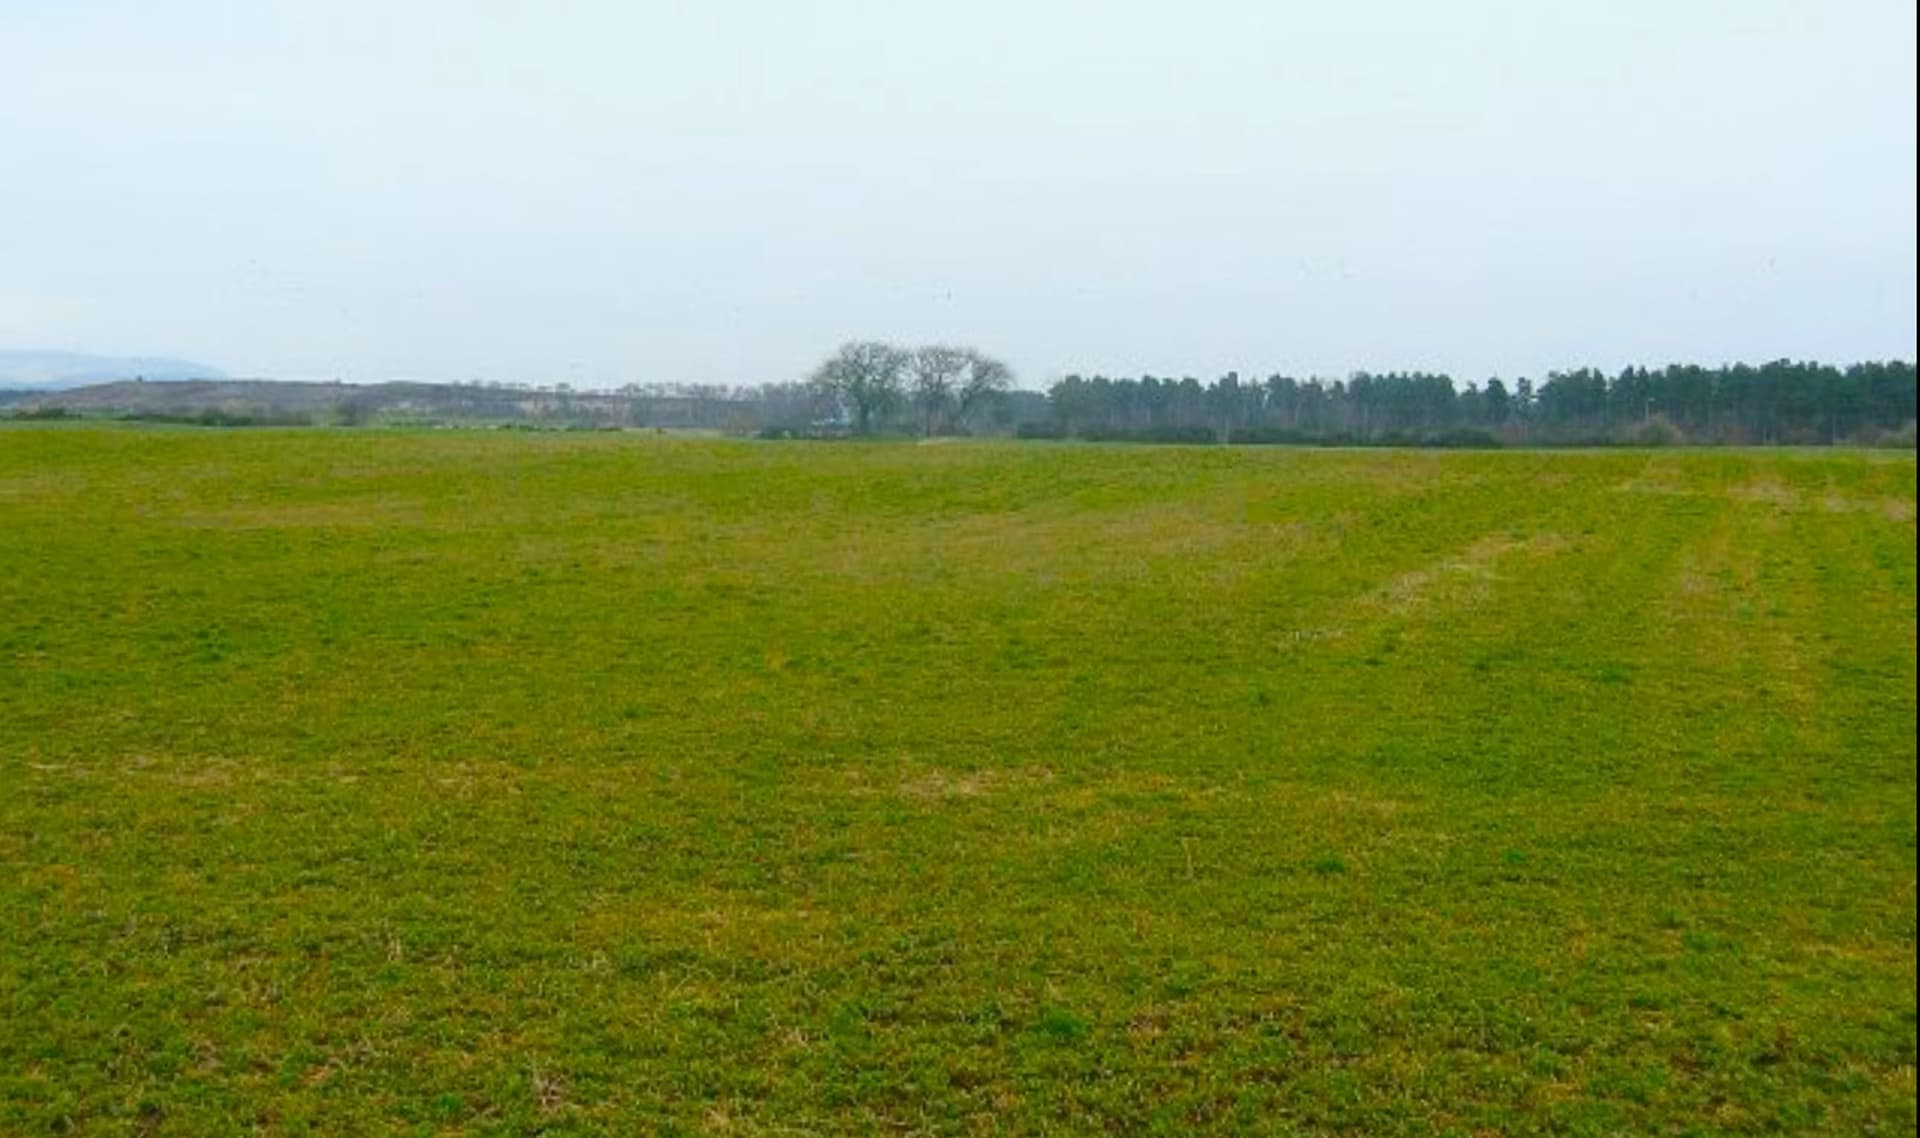
plains by
Richard Webb
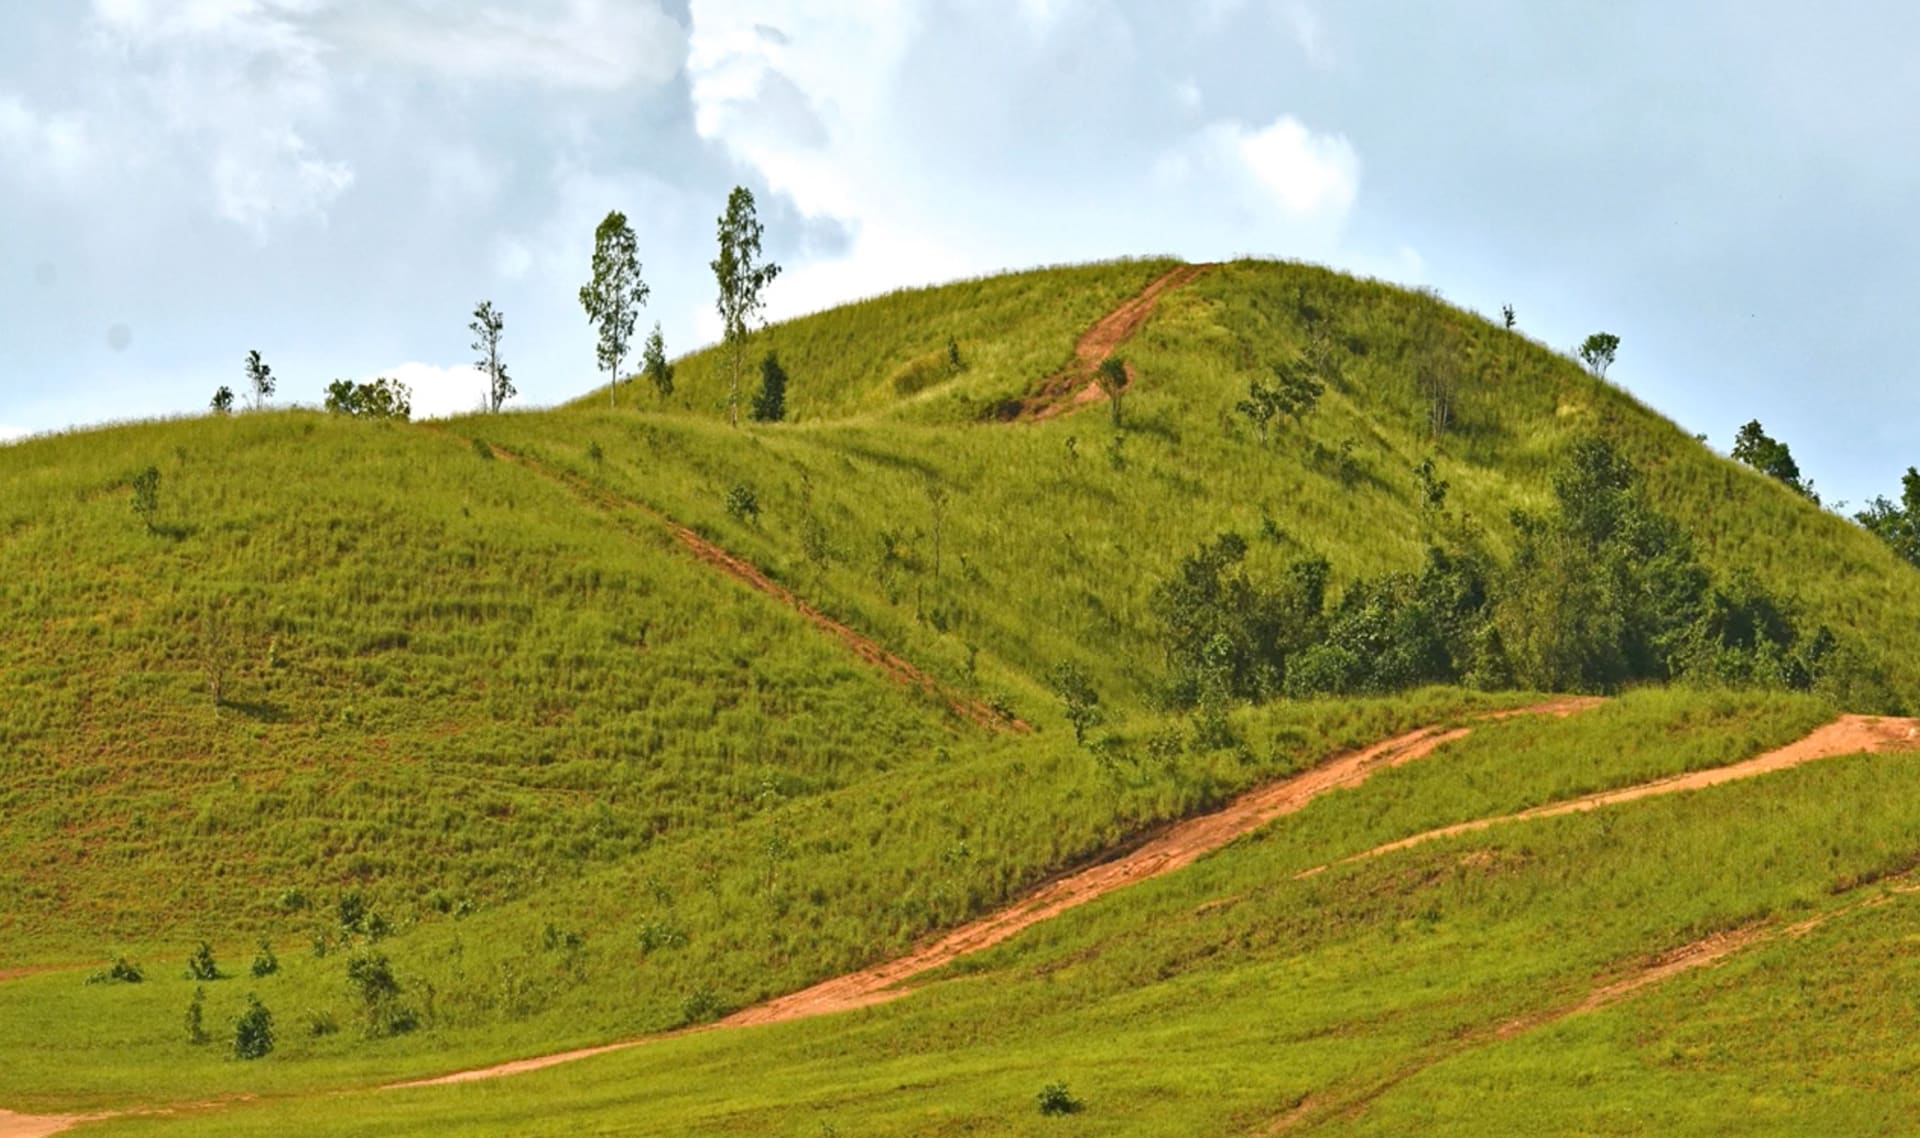
hills by
Image used under license from Shutterstock.com: chaivit chana
mountains by
Jon Sullivan
Activity
mountain - aerial view by
Image used under license from Shutterstock.com: gagarych
spray bottle by
Image used under license from Shutterstock.com: Africa Studio