
DISCUSS:
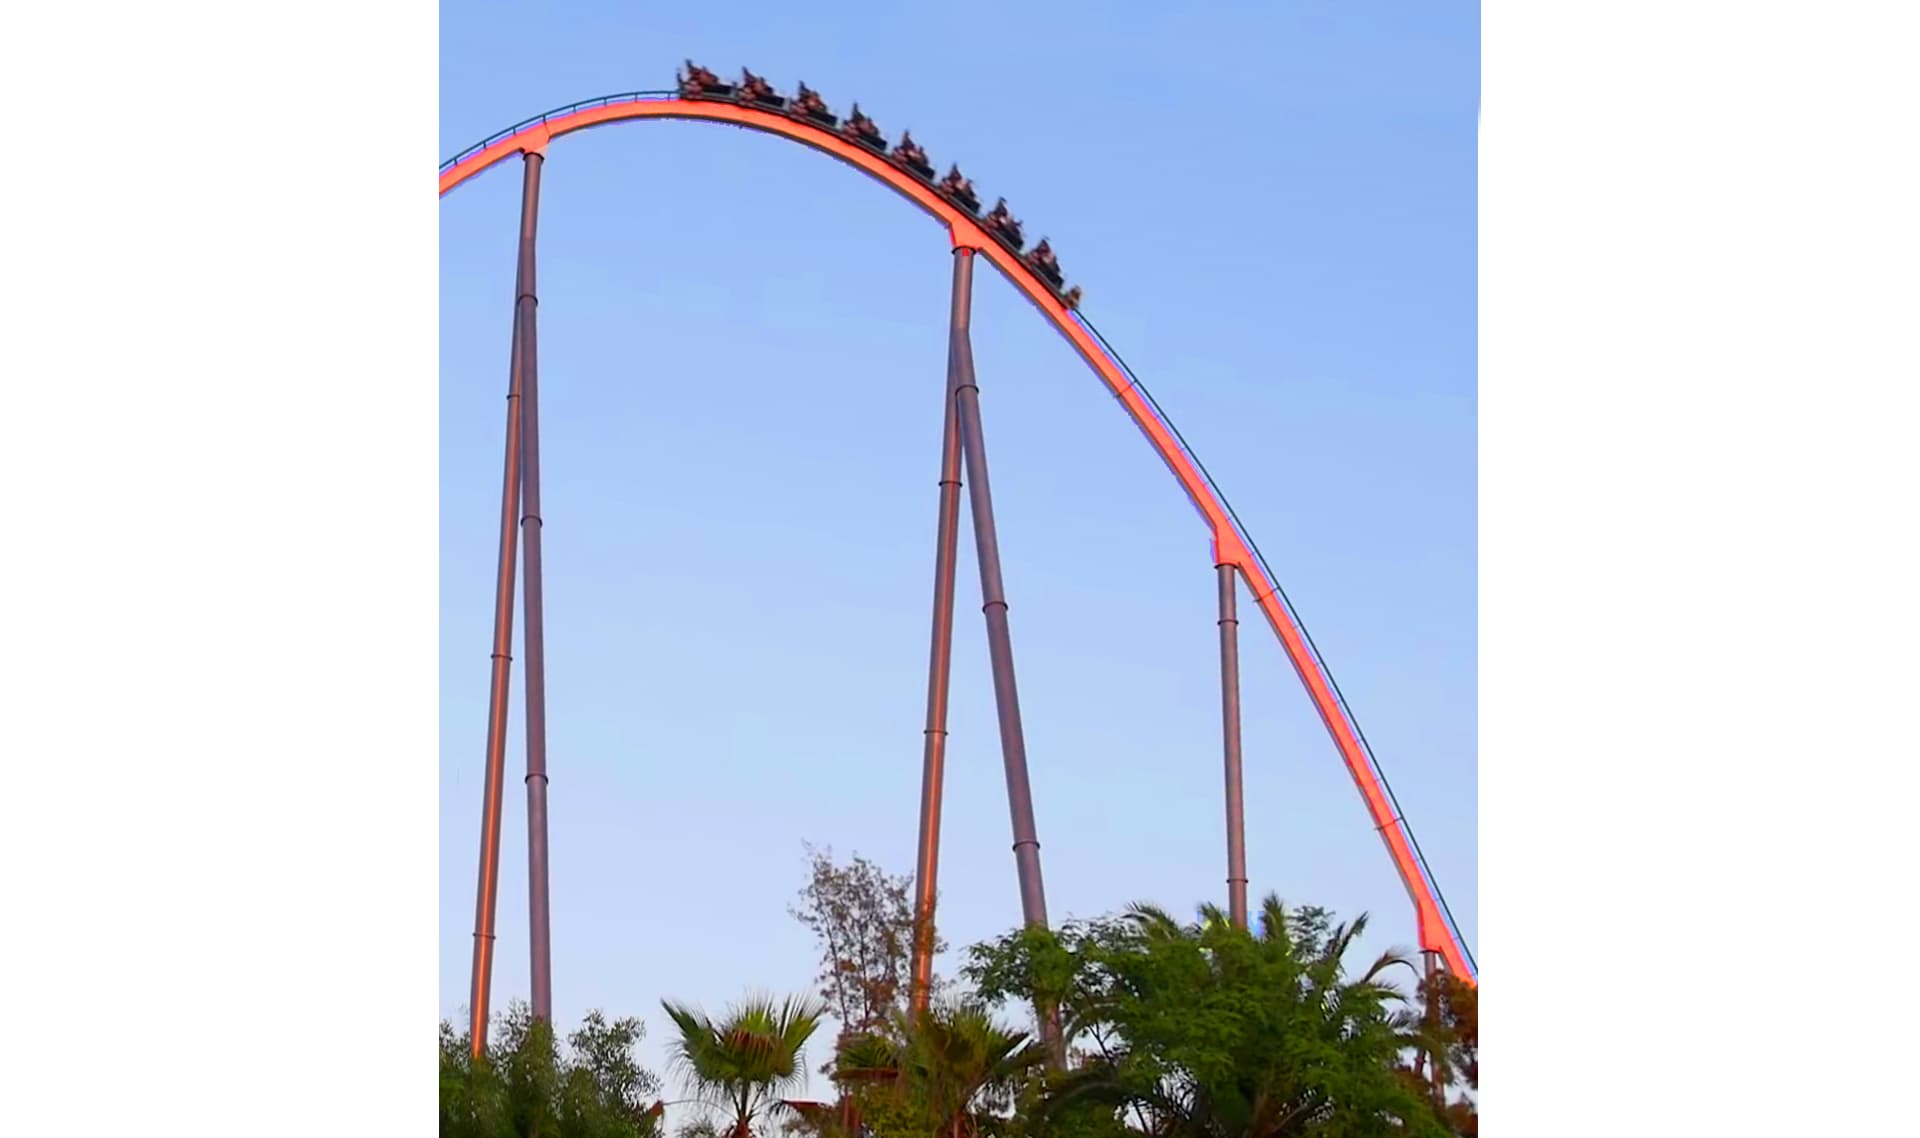
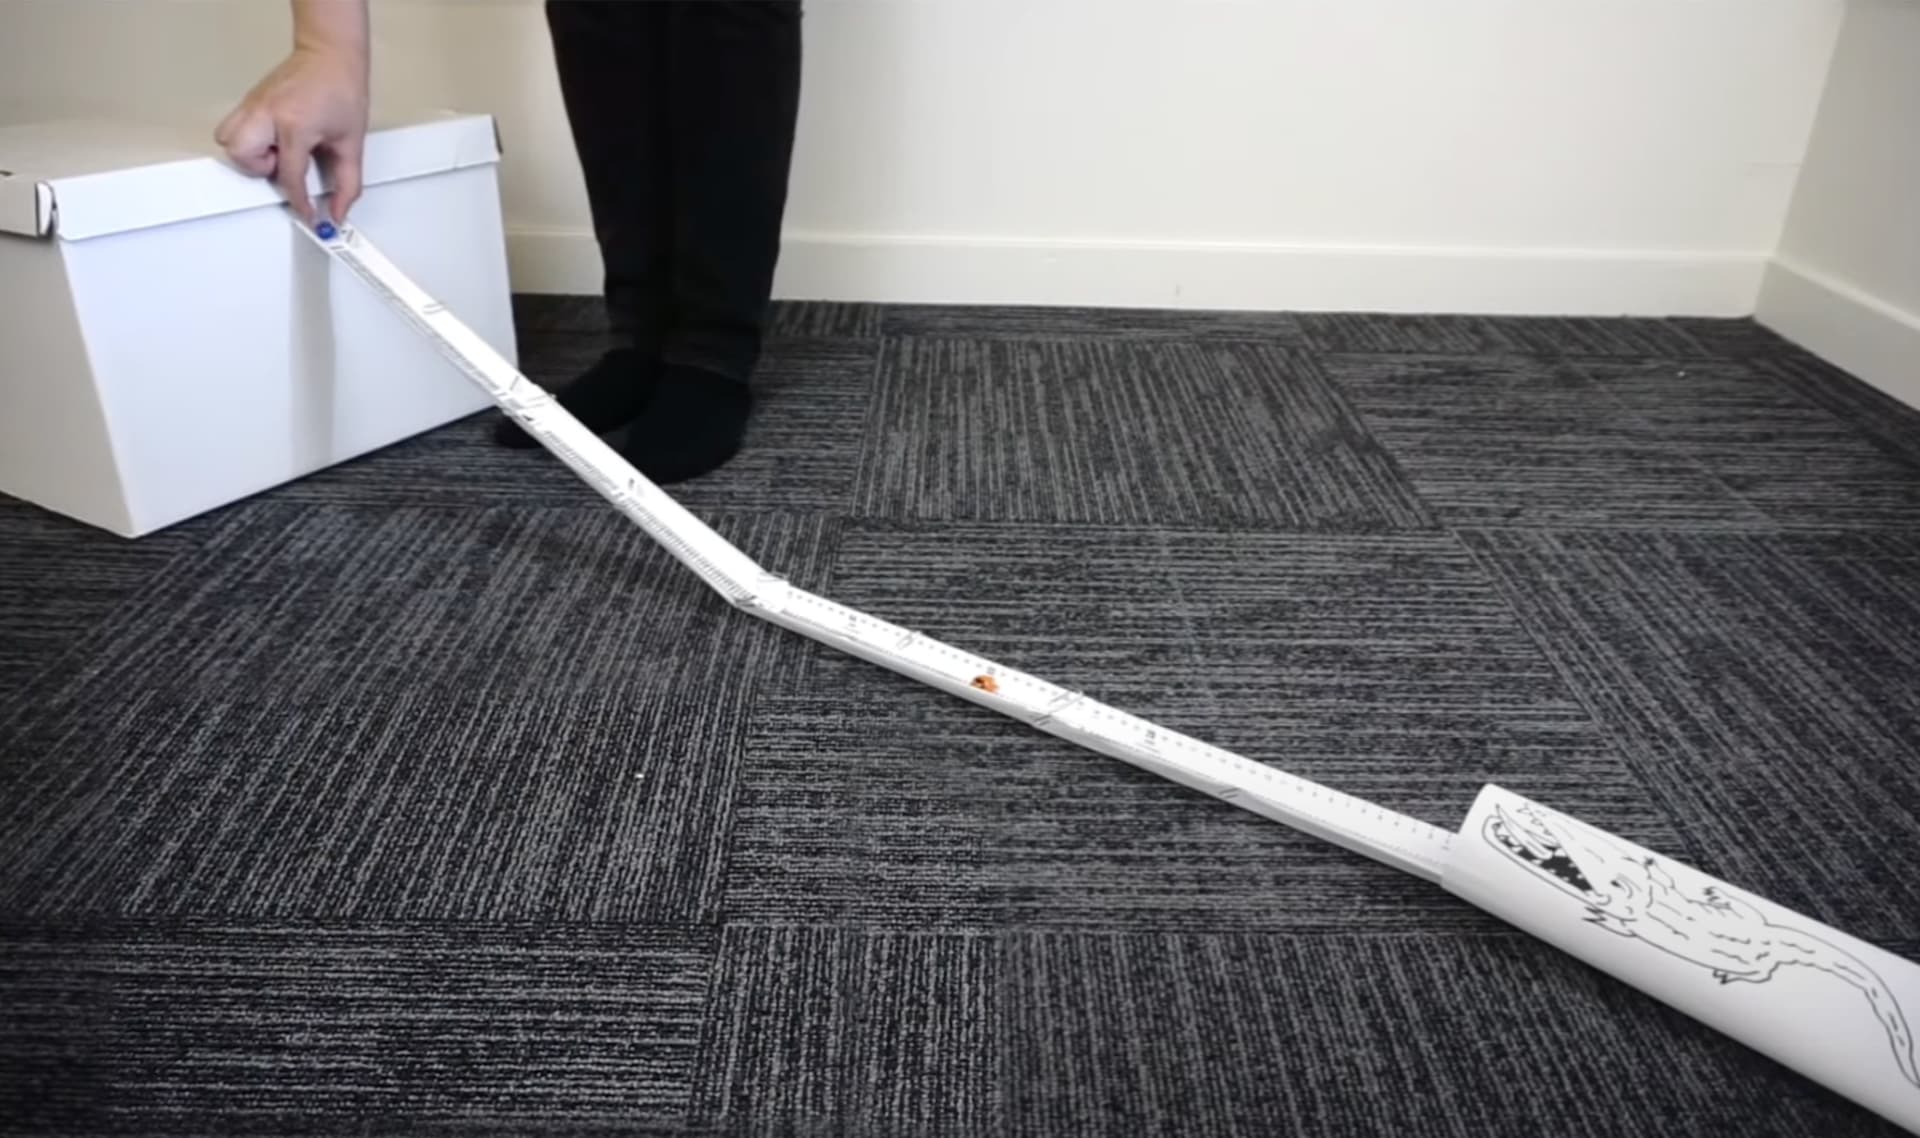
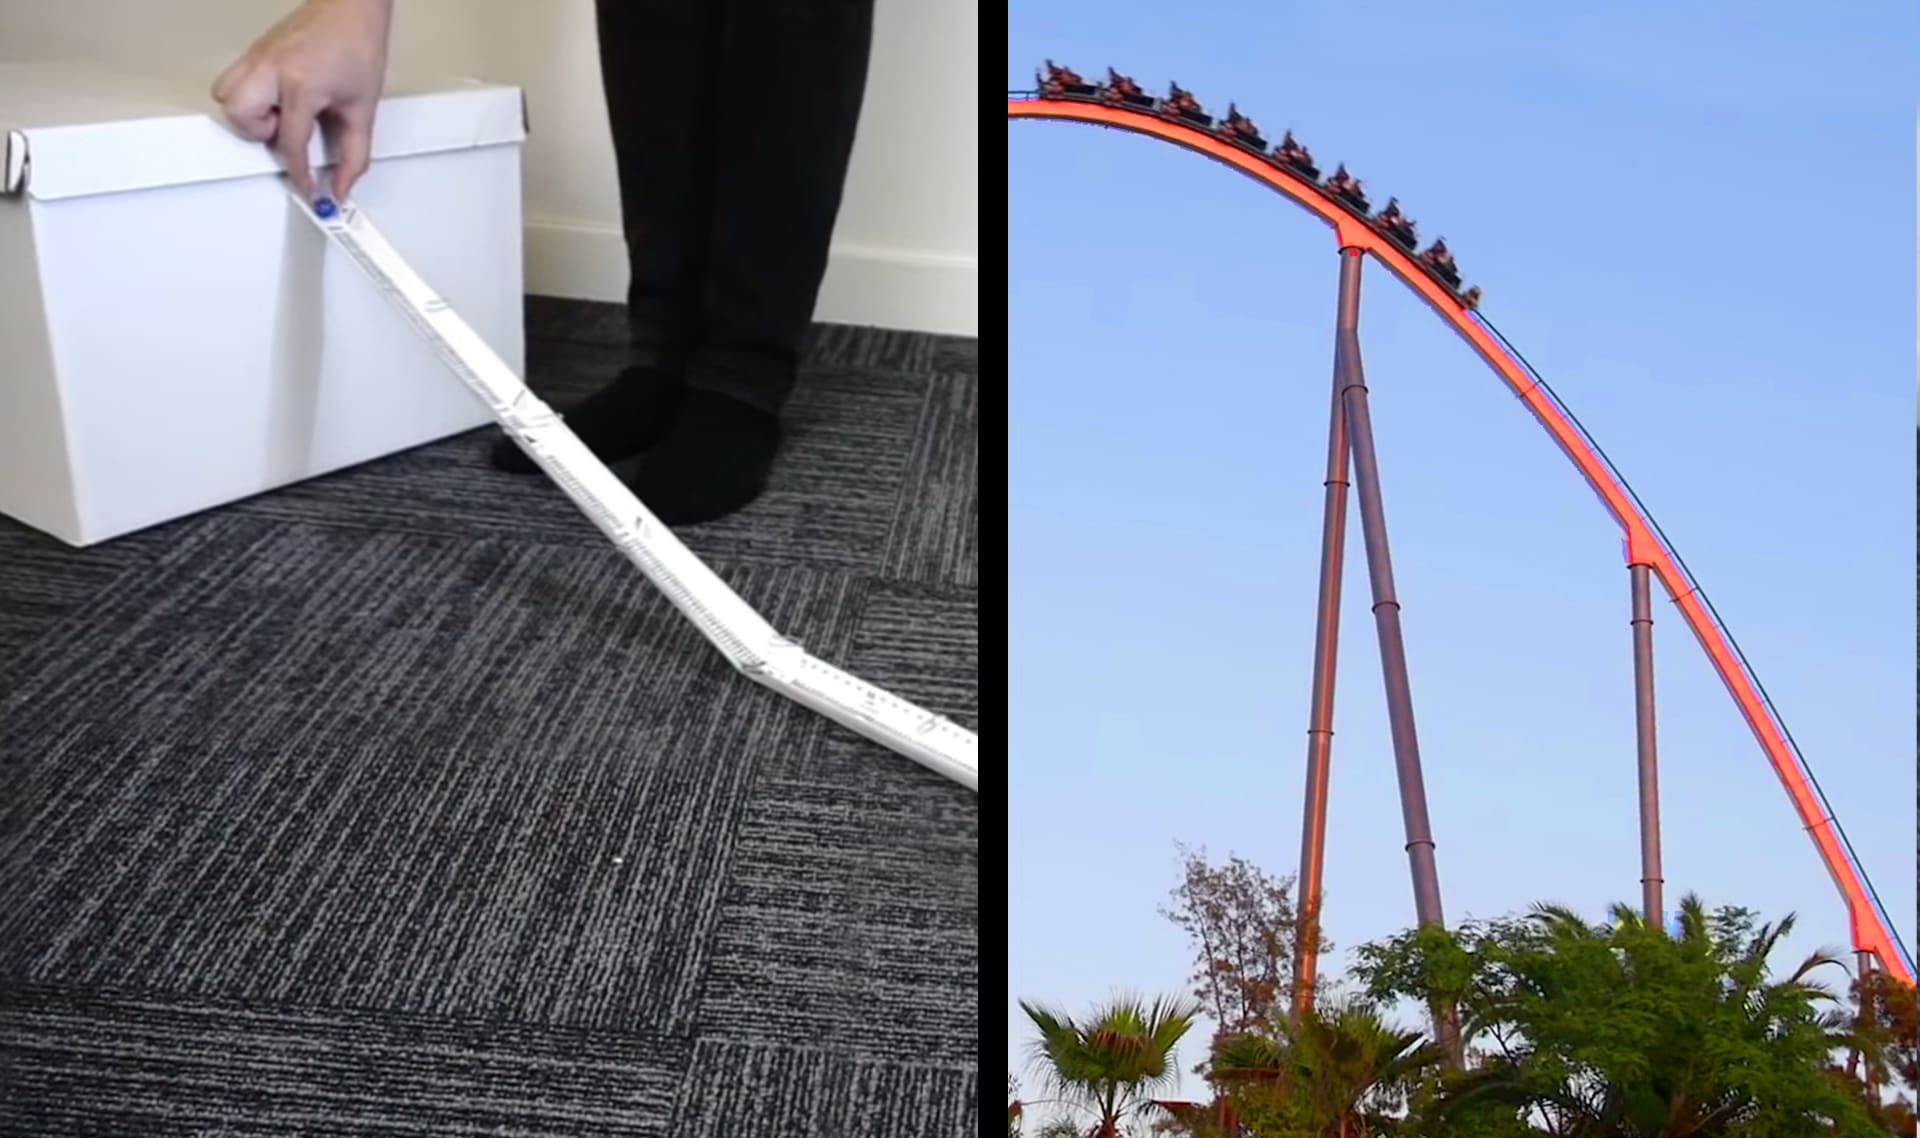
How do roller coaster cars move if they don’t have an engine? (Where do they get their energy from?)


Teachers: If you are short on time, this is a good stopping point. We recommend leaving your students' tracks set up so they can get right to experimenting at the start of the next session.
If you’re continuing right now, advance to the next slide.


Teachers: If you are short on time, this is a good stopping point. The next experiment will require your students to get additional marbles.
If you’re continuing right now, advance to the next slide.





Grade 4
Energy & Energy Transfer
Gravitational Energy, Speed, & Collisions
4-PS3-1, 4-PS3-3
| Alligator printout | Print 8 copies |
| Bumper Coaster Part I Answer Key teacher-only resource | 1 copy |
| Bumper Coaster Part I Tracks printout | Print 8 copies |
| Collision Experiments worksheet | 15 copies |
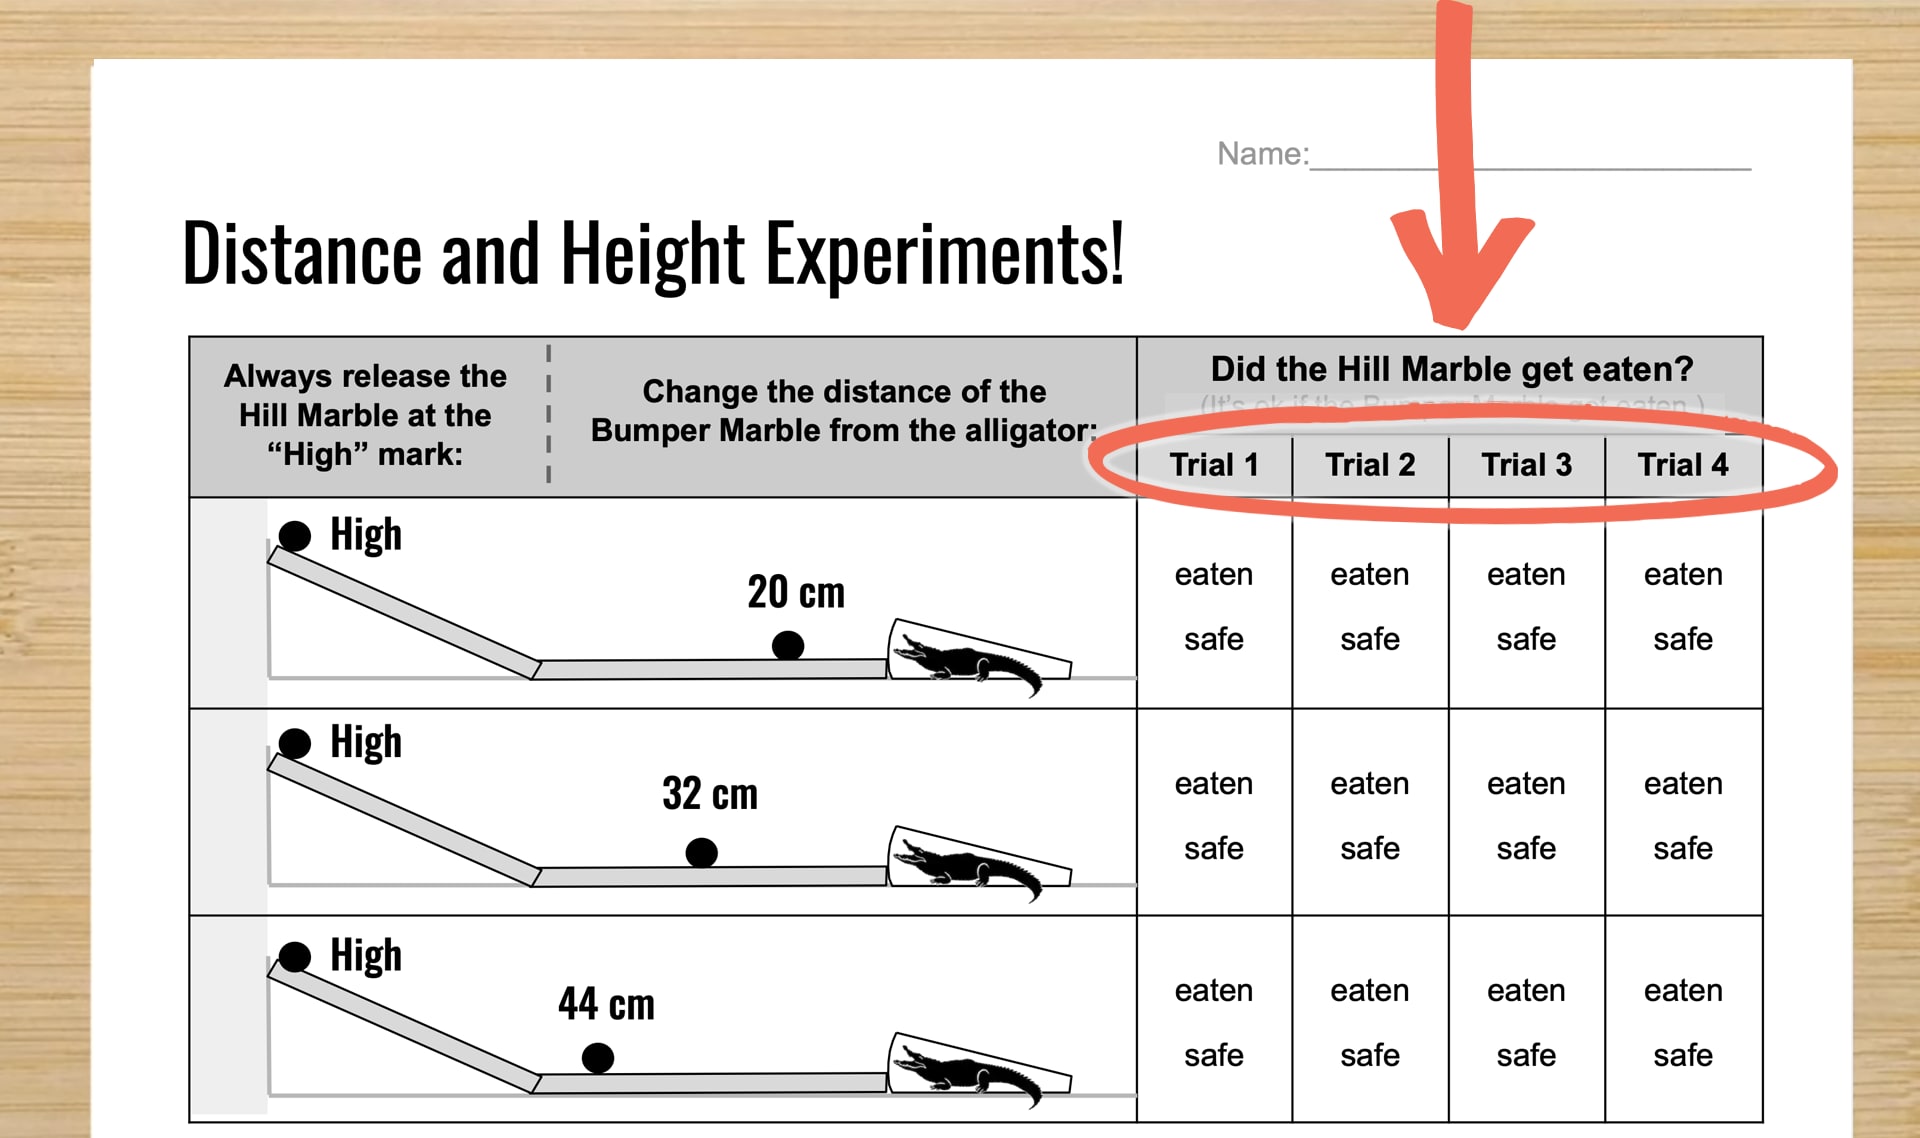
| Distance & Height Experiments worksheet | 30 copies |
|
Box
Any box measuring 20 cm (or 8”) high will work. The most important thing is to have enough space for the track and the students to work.
A stack of books will also work. You can even use empty space on the wall to attach the roller coaster, as long as the track sits at 20 cm (8” high).
|
Details
8 boxes
|
|
Pencil
|
16 pencils |
|
Rulers
|
8 rulers |
|
Scissors
|
8 pairs |
|
File Folder Labels (Stickers)
Tape also works. We prefer stickers because they are easier to distribute in a classroom.
|
Details
16 stickers
|
|
Paper Clips
|
104 clips |
|
Small Marbles
|
32 marbles |
NOTE: If you want to make Bumper Coasters with foam tubing, you can view the previous version of this lesson.
This activity works best when students work in groups of 4. Homeschool students can work on their own, but will need to build all four pieces of their roller coaster track.
Each roller coaster extends about 1.2 meters (a little over 4 feet) from the box, stack of books, wall, or other surface that it’s attached to. Each group of students will need this amount of space to work through the activity. If you don’t have enough floor space, a few student desks pushed together with a stack of books on top should work.
Cut enough stickers so that you have two for each group of students that will build a roller coaster. The stickers need to be no wider than 2 centimeters so that they can fit and adhere to the roller coaster track.
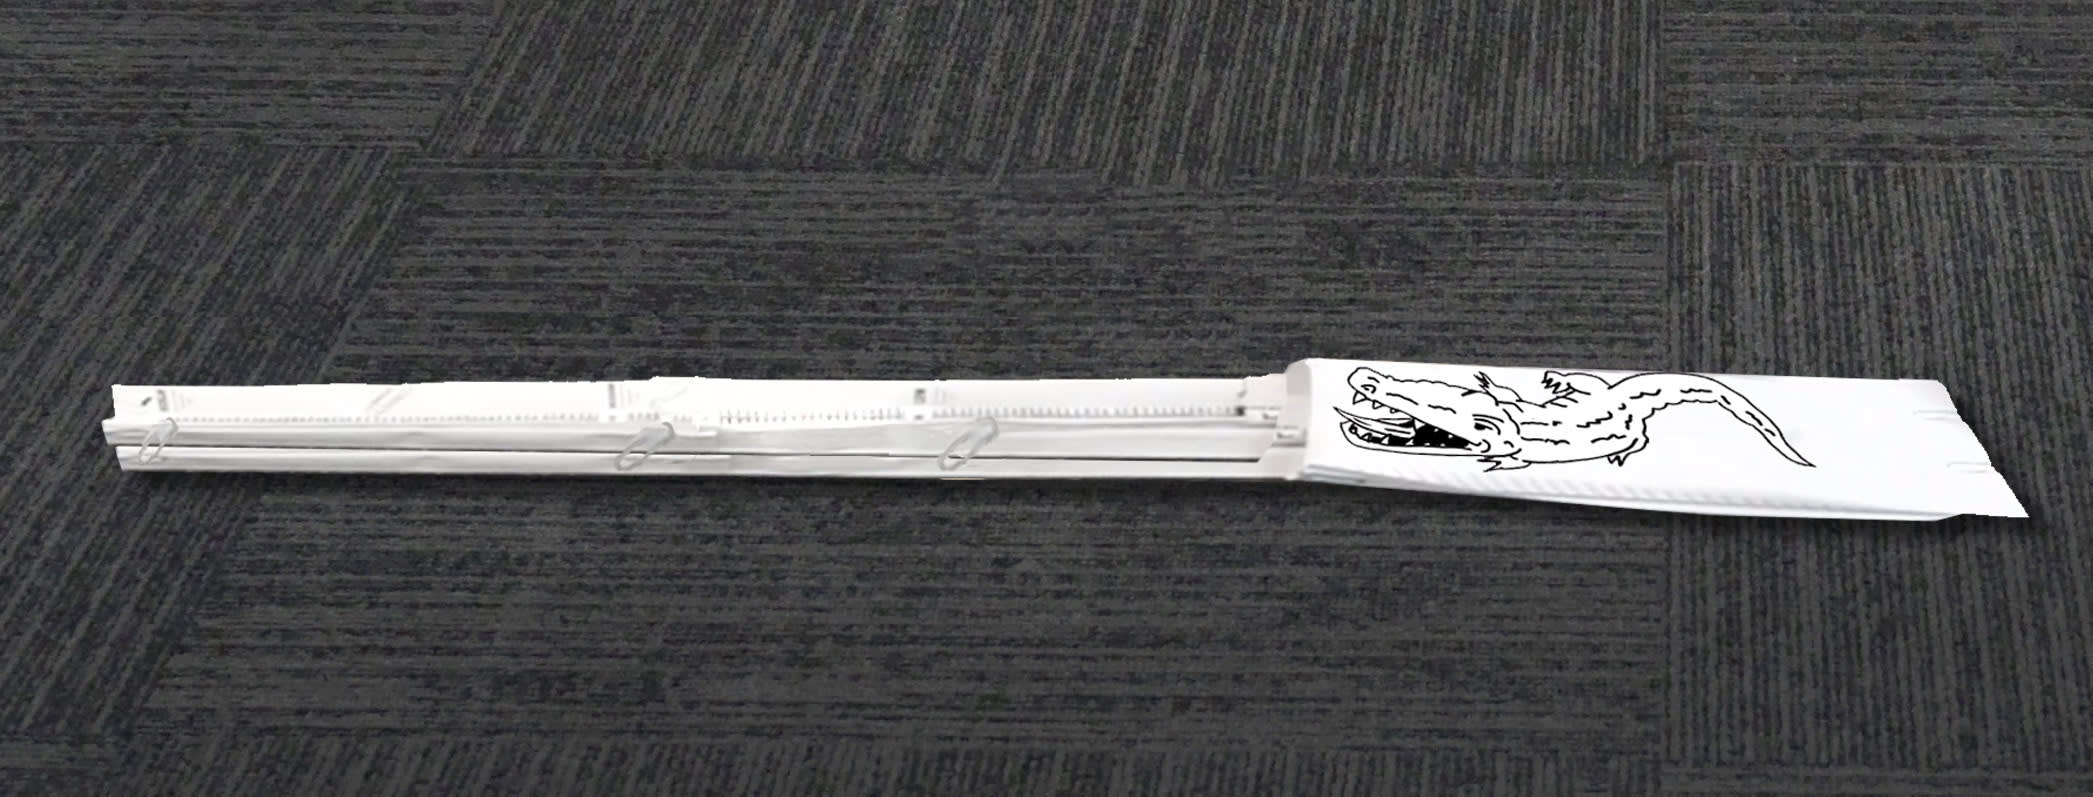
If you will be teaching Bumper Coasters Part II (Lesson 3), then you must save the tracks and the alligator that each group makes in this lesson. Each set can be stored as pictured below and measures about 82 cm x 8 cm (32” x 3”). We show you how to deconstruct your bumper coaster in this step.
This entire lesson with the activity will take about an hour or slightly more. There are two natural stopping points during the activity — the first one when students finish building their roller coaster tracks and a second one after they complete their first set of experiments. If you are pressed for time or have a short class period, we recommend splitting this lesson into shorter sessions that might work better for you.
Experimenting with marbles is fun, but it can also be distracting! We recommend waiting to distribute the marbles and worksheets until after students have built all of their roller coaster tracks.
Grade 4
Energy & Energy Transfer
Gravitational Energy, Speed, & Collisions
4-PS3-1, 4-PS3-3
Thanks for your feedback! If you have a question or need help, please contact us. Please consider sharing your review:
Sorry the lesson didn’t go well. We read every single review in an effort to improve our Mysteries.
Thanks for letting us know. We’ll wait to ask you for feedback until after you've actually taught it.
Thanks for the feedback! We read every single review in an effort to improve our Mysteries.
Please follow these steps:
Locked
6:10
Why is the sky blue?
Locked
4:41
Why do we call them doughnuts?
Locked
5:16
Could a turtle live outside its shell?
Your membership is expired. The archive of past Mini Lessons is not included in your limited access.
View pricing