Get a free trial until June 30, 2026!
New members get full access to our science units, hands-on activities, mini-lessons, & more!

New members get a full, free trial through June 2026!

Back > Share
Strange River
Work of Water Unit | Anchor Phenomenon

Strange River

Work of Water Unit | Anchor Phenomenon
Scroll for prep
Rivers are found all over the world.
This is the Missouri River. It is the longest river in America.
Slide Image
Many smaller streams and rivers flow into the Missouri River. The Missouri River gets bigger and bigger when other rivers flow into it.
One of the rivers that flows into the Missouri River is very, very strange. Let’s fly to that strange river now…
Slide Image
Here is that Strange River flowing into the Missouri River. Discuss. What do you notice?
Here is that Strange River flowing into the Missouri River.
Discuss. What do you notice?
Slide Image
Here is a closer look at the Strange River.
Slide Image
Here is what the rivers look like from the other side! Let’s study this picture.
Slide Image
Get a See-Think-Wonder chart to record your ideas. Your teacher will add your ideas to the class chart.
Slide Image
What do you see in this picture? Record your answers in the SEE column of your chart.
Slide Image
Why do you think the rivers are different colors? Record your answers in the THINK column of your chart.
Slide Image
What do you wonder about these rivers? Record your answers in the WONDER column of your chart.
Slide Image
Something must be making the rivers be different colors before they come together! But we don’t know what it is yet. This is a mystery for us to figure out.
Slide Image
Here is the worksheet you will use as we solve this mystery. You don’t need a copy of this worksheet yet.
Slide Image
The middle of the worksheet shows the two rivers coming together, just like in real life.
If we could go back to the start of each river, we might find why they are different colors. You’re going to draw what you think we might find if we went back up each river.
Slide Image
The real rivers are very, very long. We can’t draw such long rivers on a small worksheet. We have to imagine that the rivers on the worksheet are very long.
Next, you'll imagine where the rivers go after they come together. You'll draw what it looks like there.
Slide Image
Let’s see how one student filled in the worksheet.
Slide Image
Read what this student thinks. Study their drawing.
Slide Image
Read what this student thinks. Study their drawing.
Slide Image
Read what this student thinks. Study their drawing.
Slide Image
Read what this student thinks. Study their drawing.
Slide Image
Read what this student thinks. Study their drawing.
Slide Image
Read what this student thinks. Study their drawing.
Slide Image
Review, then think-pair-share. Do you agree or disagree with these ideas? Why or why not?
Slide Image
Read what this student thinks. Study their drawing.
Slide Image
Read what this student thinks. Study their drawing.
Slide Image
Read what this student thinks. Study their drawing.
Slide Image
Read what this student thinks. Study their drawing.
Slide Image
Read what this student thinks. Study their drawing.
Slide Image
Read what this student thinks. Study their drawing.
Slide Image
Review, then think-pair-share. Do you agree or disagree with these ideas? Why or why not?
Slide Image
Step
01/05
Now it’s your turn to draw what you think! Get a copy of the Strange River worksheet.
Slide Image
Step
02/05
Write your name. This is your first drawing, so this is River Drawing Number 1. As you learn new things, you will make new drawings!
Slide Image
Step
03/05
Why do you think the rivers look so different? Where do the rivers start? Draw it on your worksheet.
Slide Image
Step
04/05
Imagine where the rivers go after they come together. Draw what you think it looks like there.
Slide Image
Step
05/05
If you want to add labels, do so now. Here is a list of words you might use. You might use other words, too. When you are done, save your worksheet! You will use it again later.

It's time to do some investigations! In this unit, you'll explore many different things about water and land. This will help you understand why these two rivers look the way that they do.

Have fun, and stay curious!

🎉 That’s it for this lesson! How did it go?
Sign up now for more great lessons!

Image & Video Credits

Mystery Science respects the intellectual property rights of the owners of visual assets. We make every effort to use images and videos under appropriate licenses from the owner or by reaching out to the owner to get explicit permission. If you are the owner of a visual and believe we are using it without permission, please contact us—we will reply promptly and make things right.
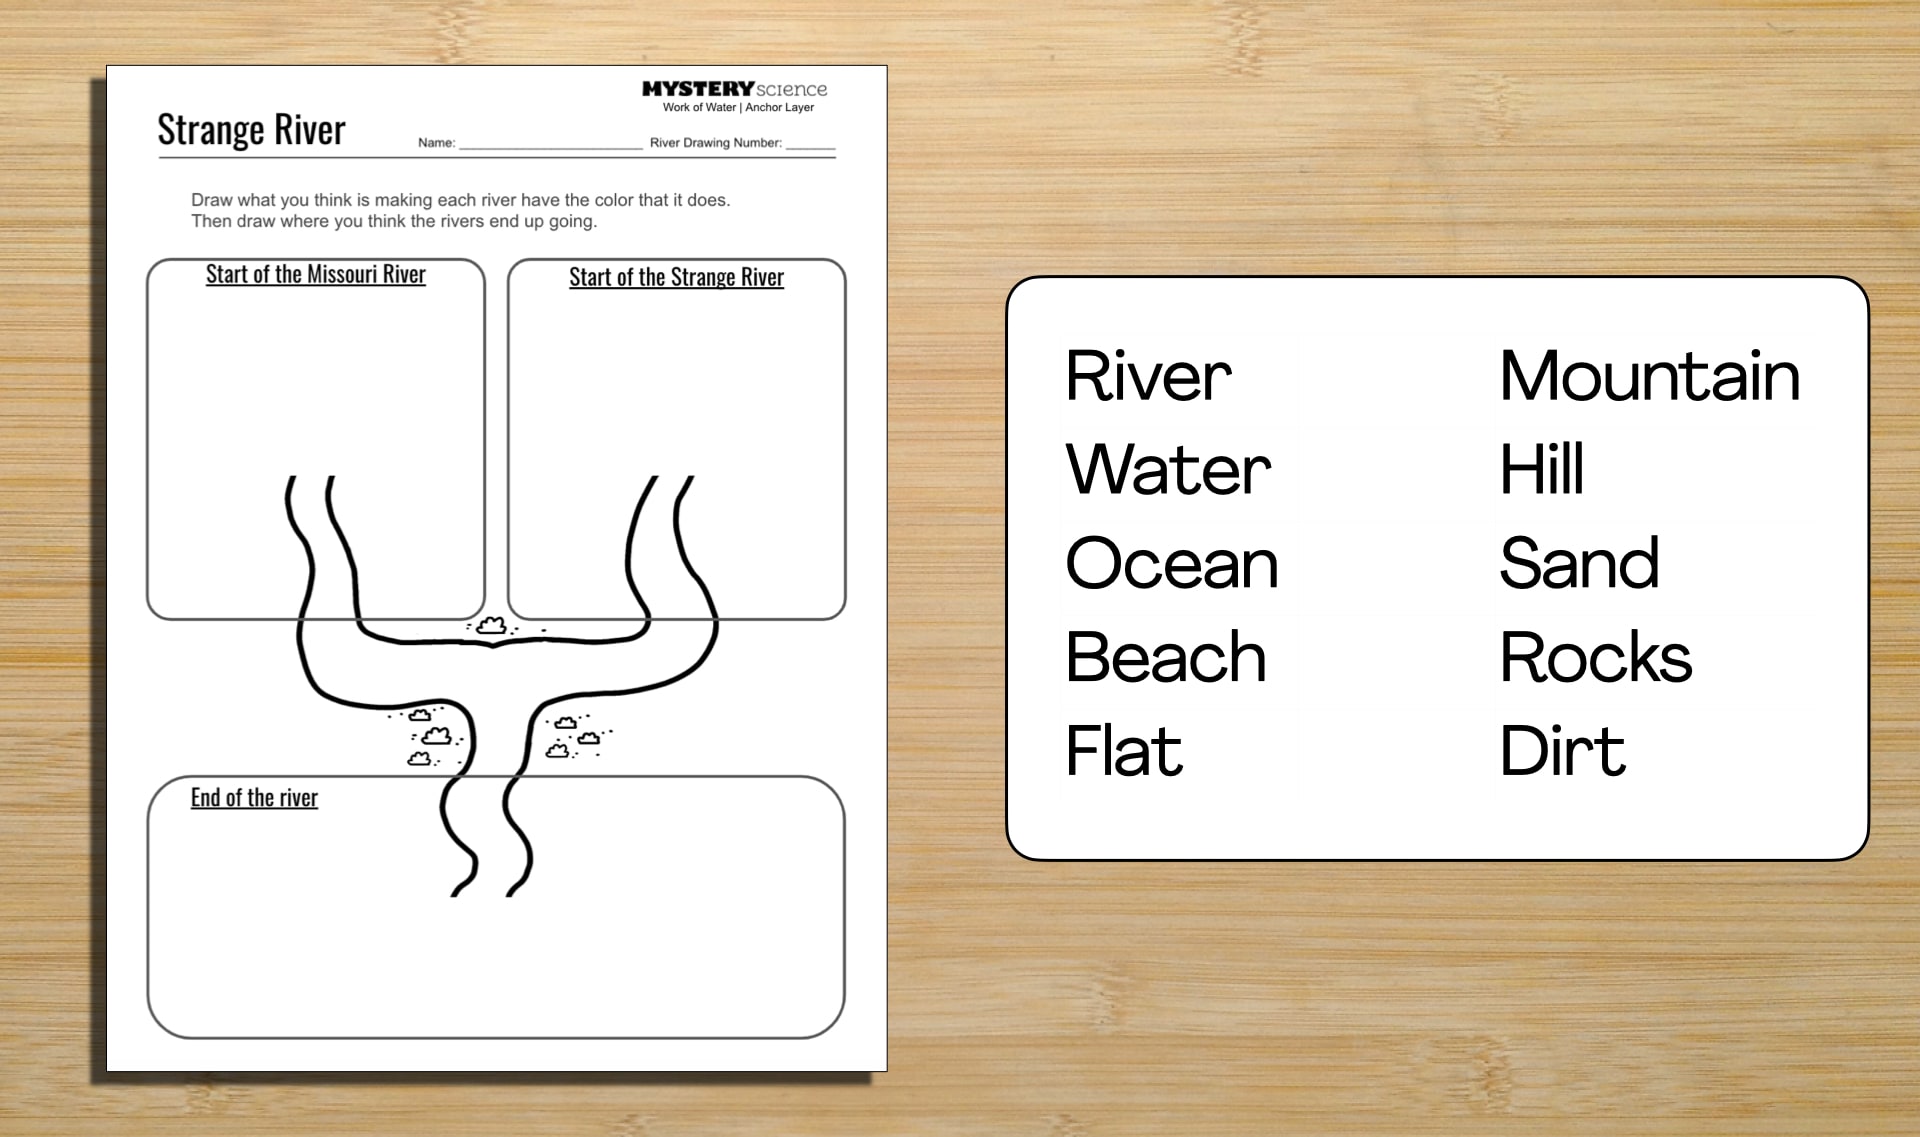
Other
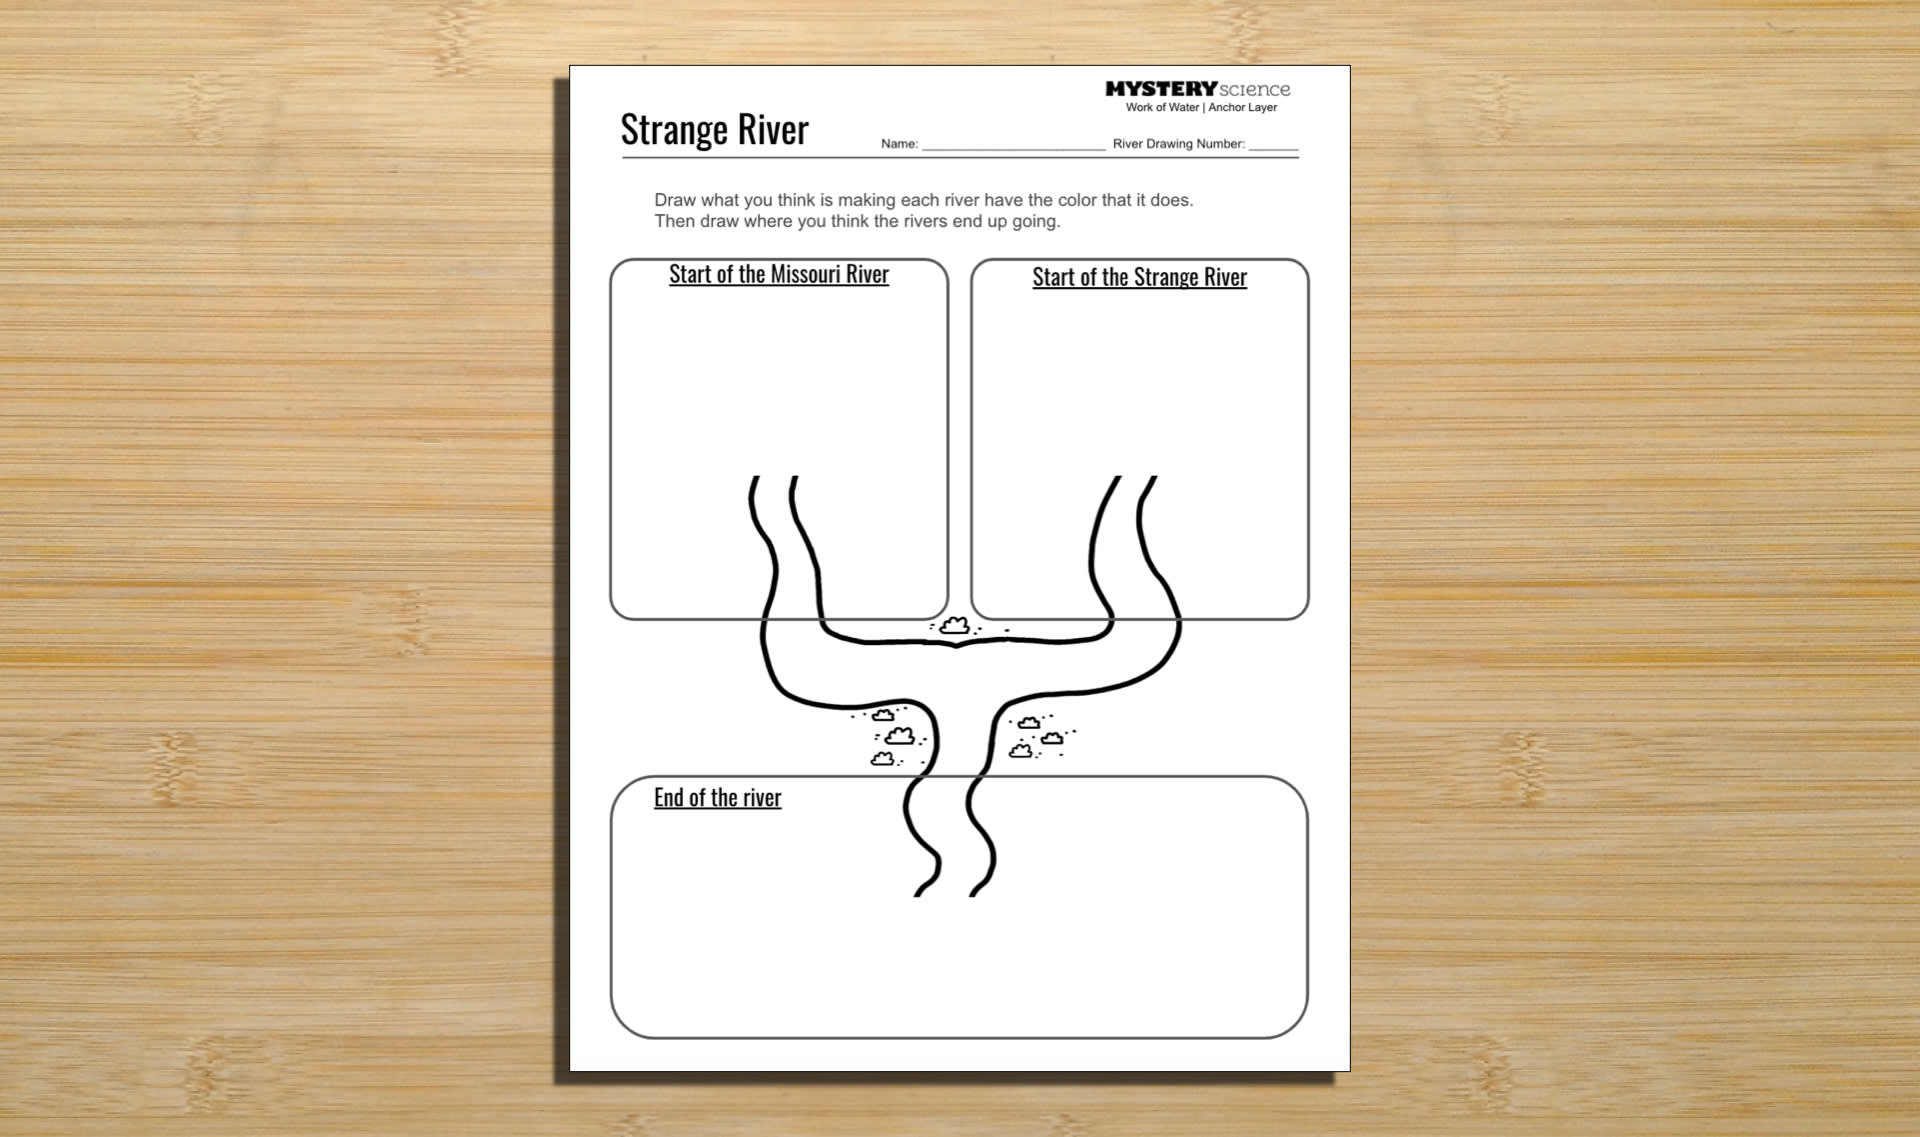
All illustrations by Alex Kalomeris
Fort Peck Shoreline Aerial by SkyworksRF
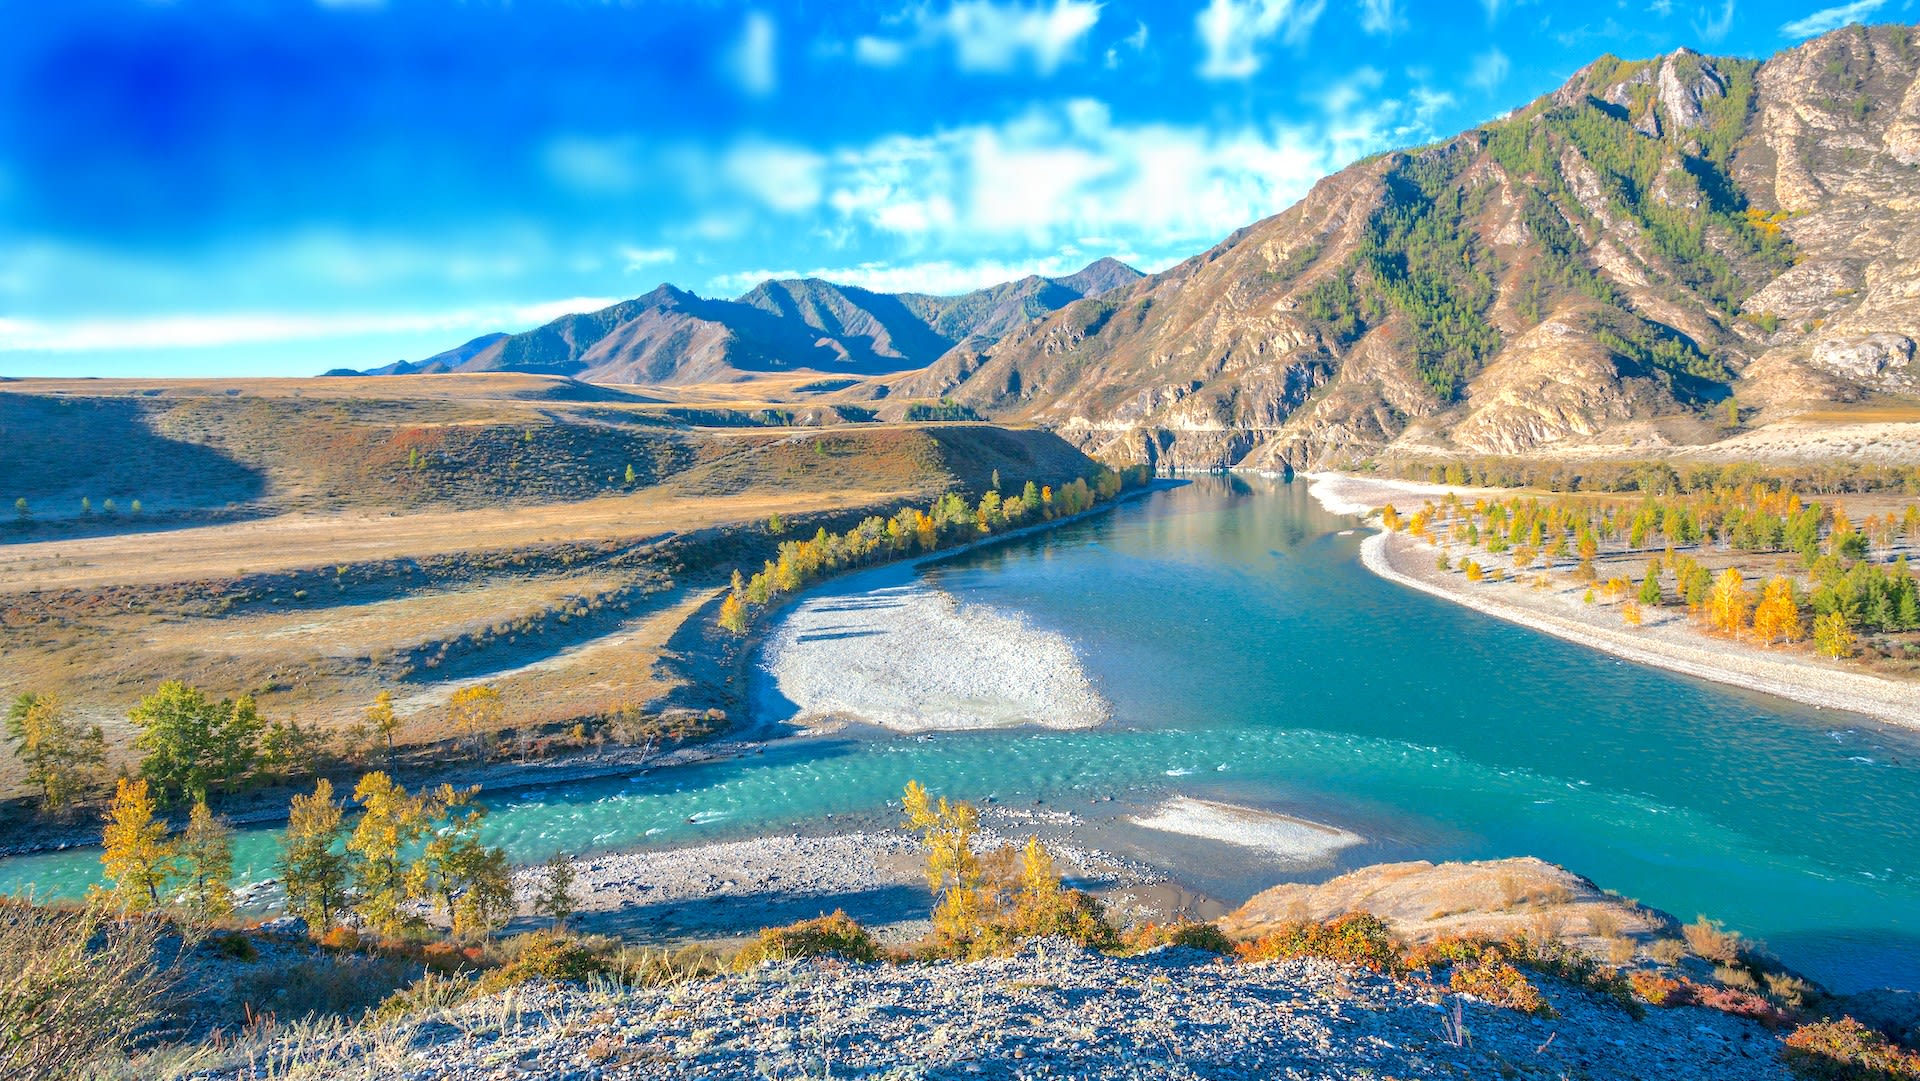
Katun Chuya Confluence by Valerii_M
Madison River / Missouri River Source by Mike Cline
Milk River Aerial by SkyworksRF
Milk River Alberta Badlands by Pictureguy
Milk River in Alberta by Jason Woodhead
Missouri River Aerial by SkyworksRF
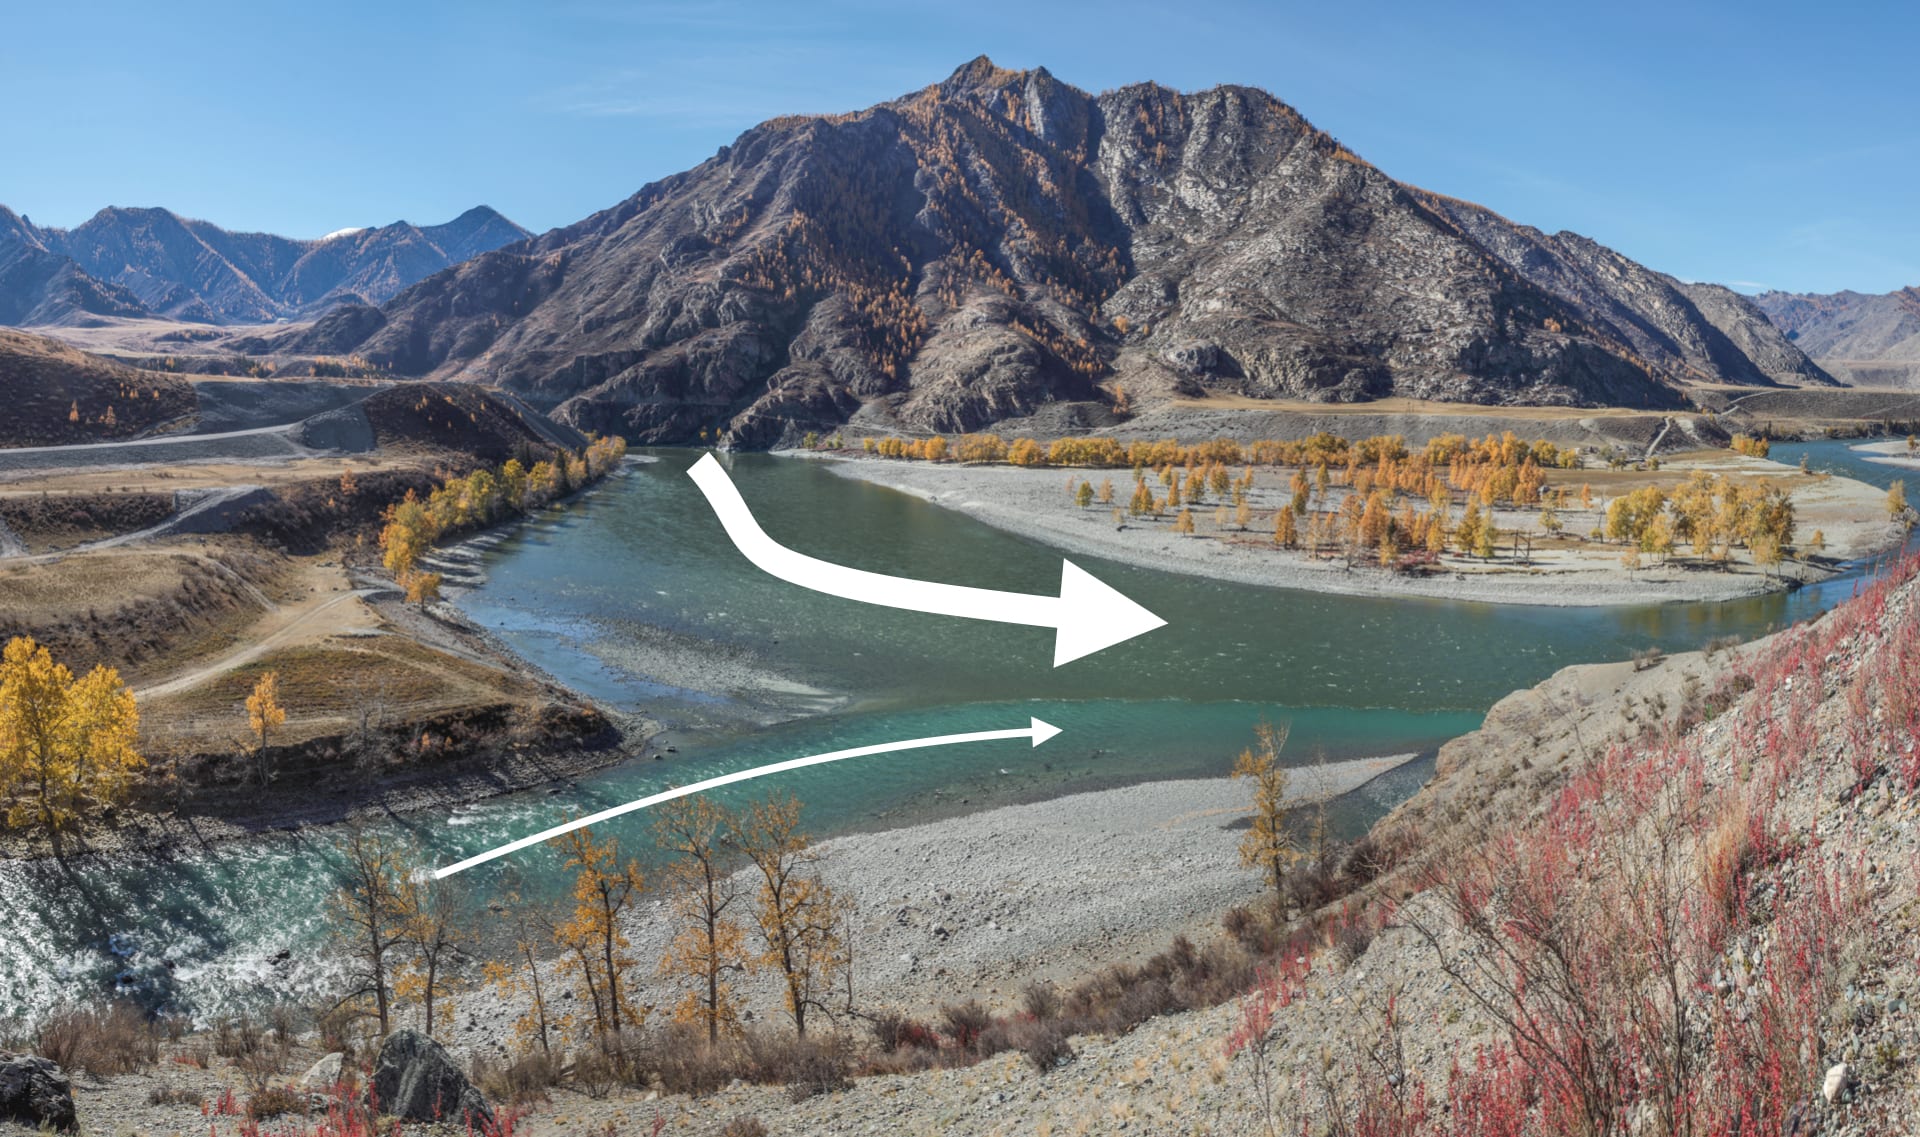
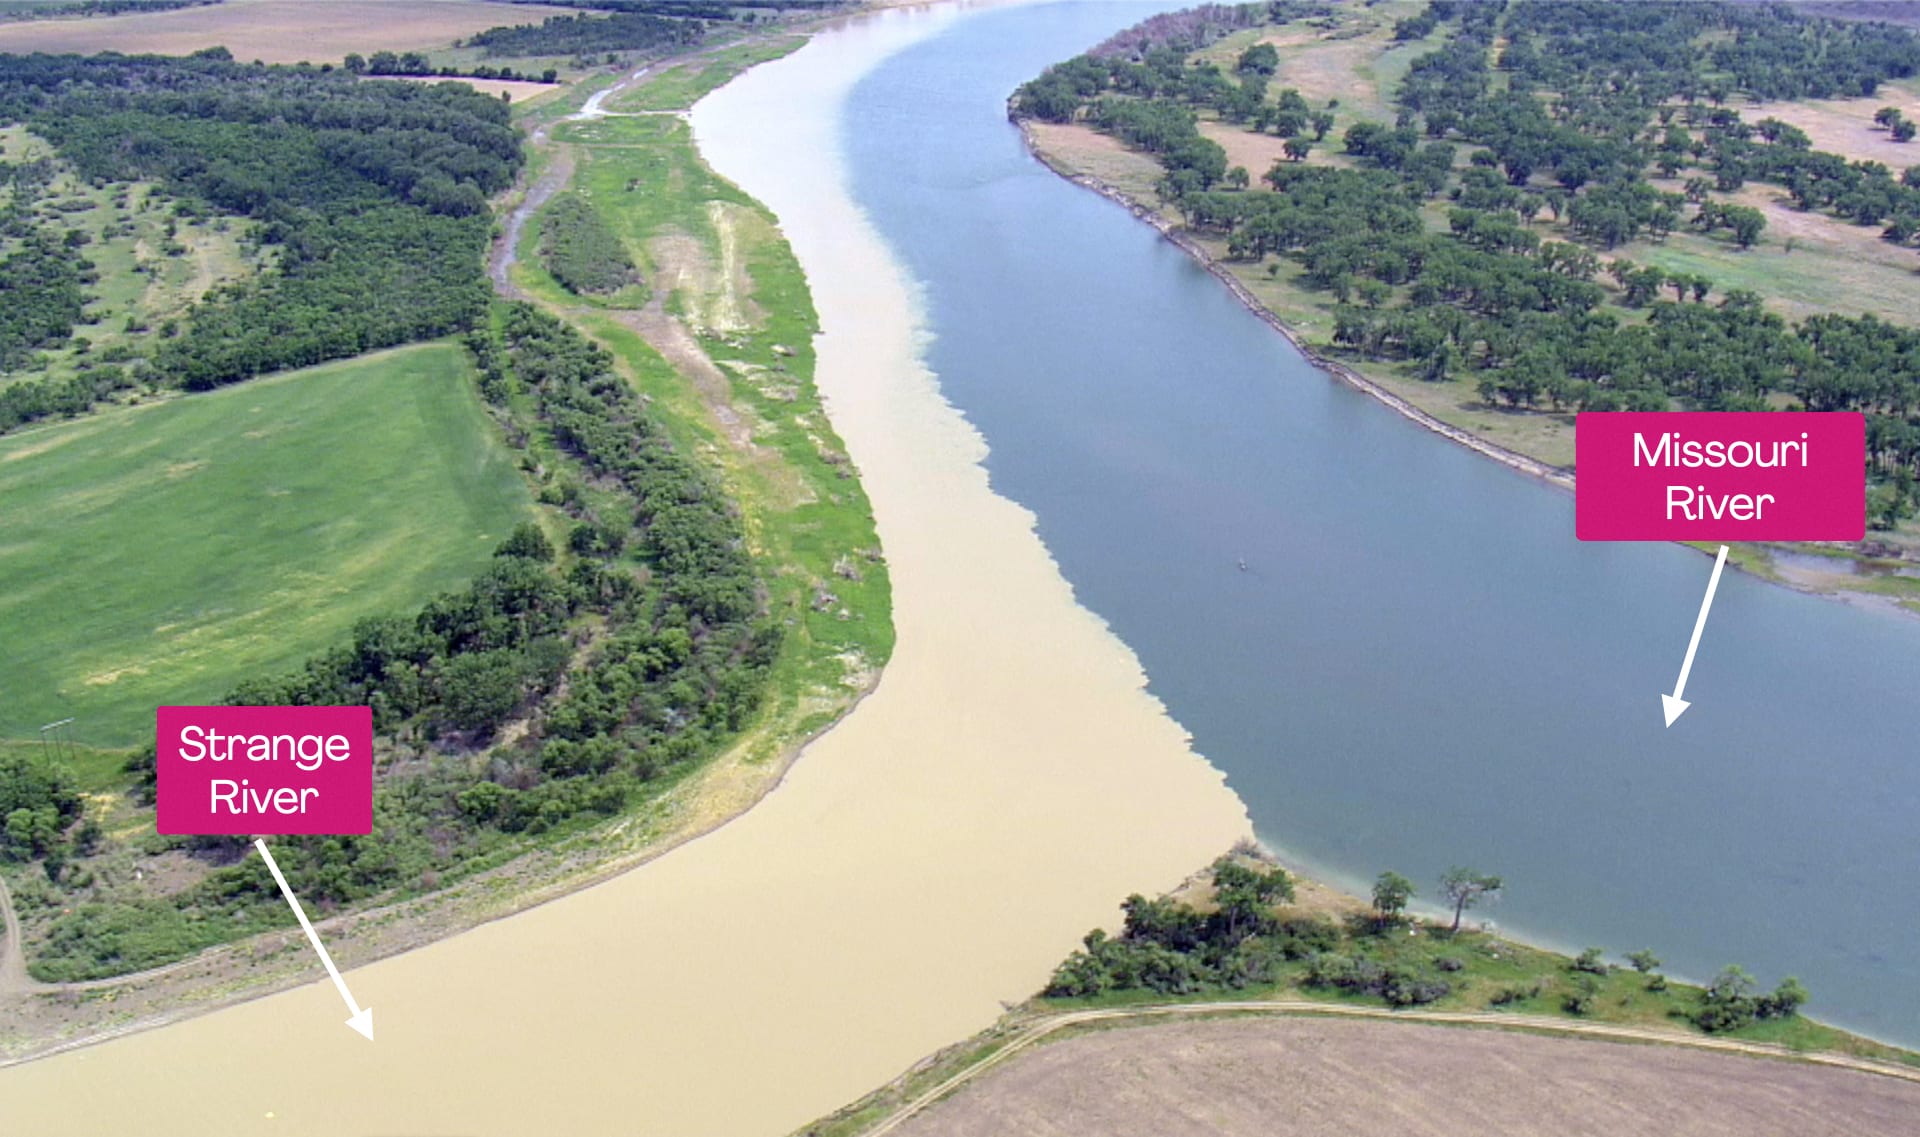
Missouri River and Milk River Confluence 1 by SkyworksRF
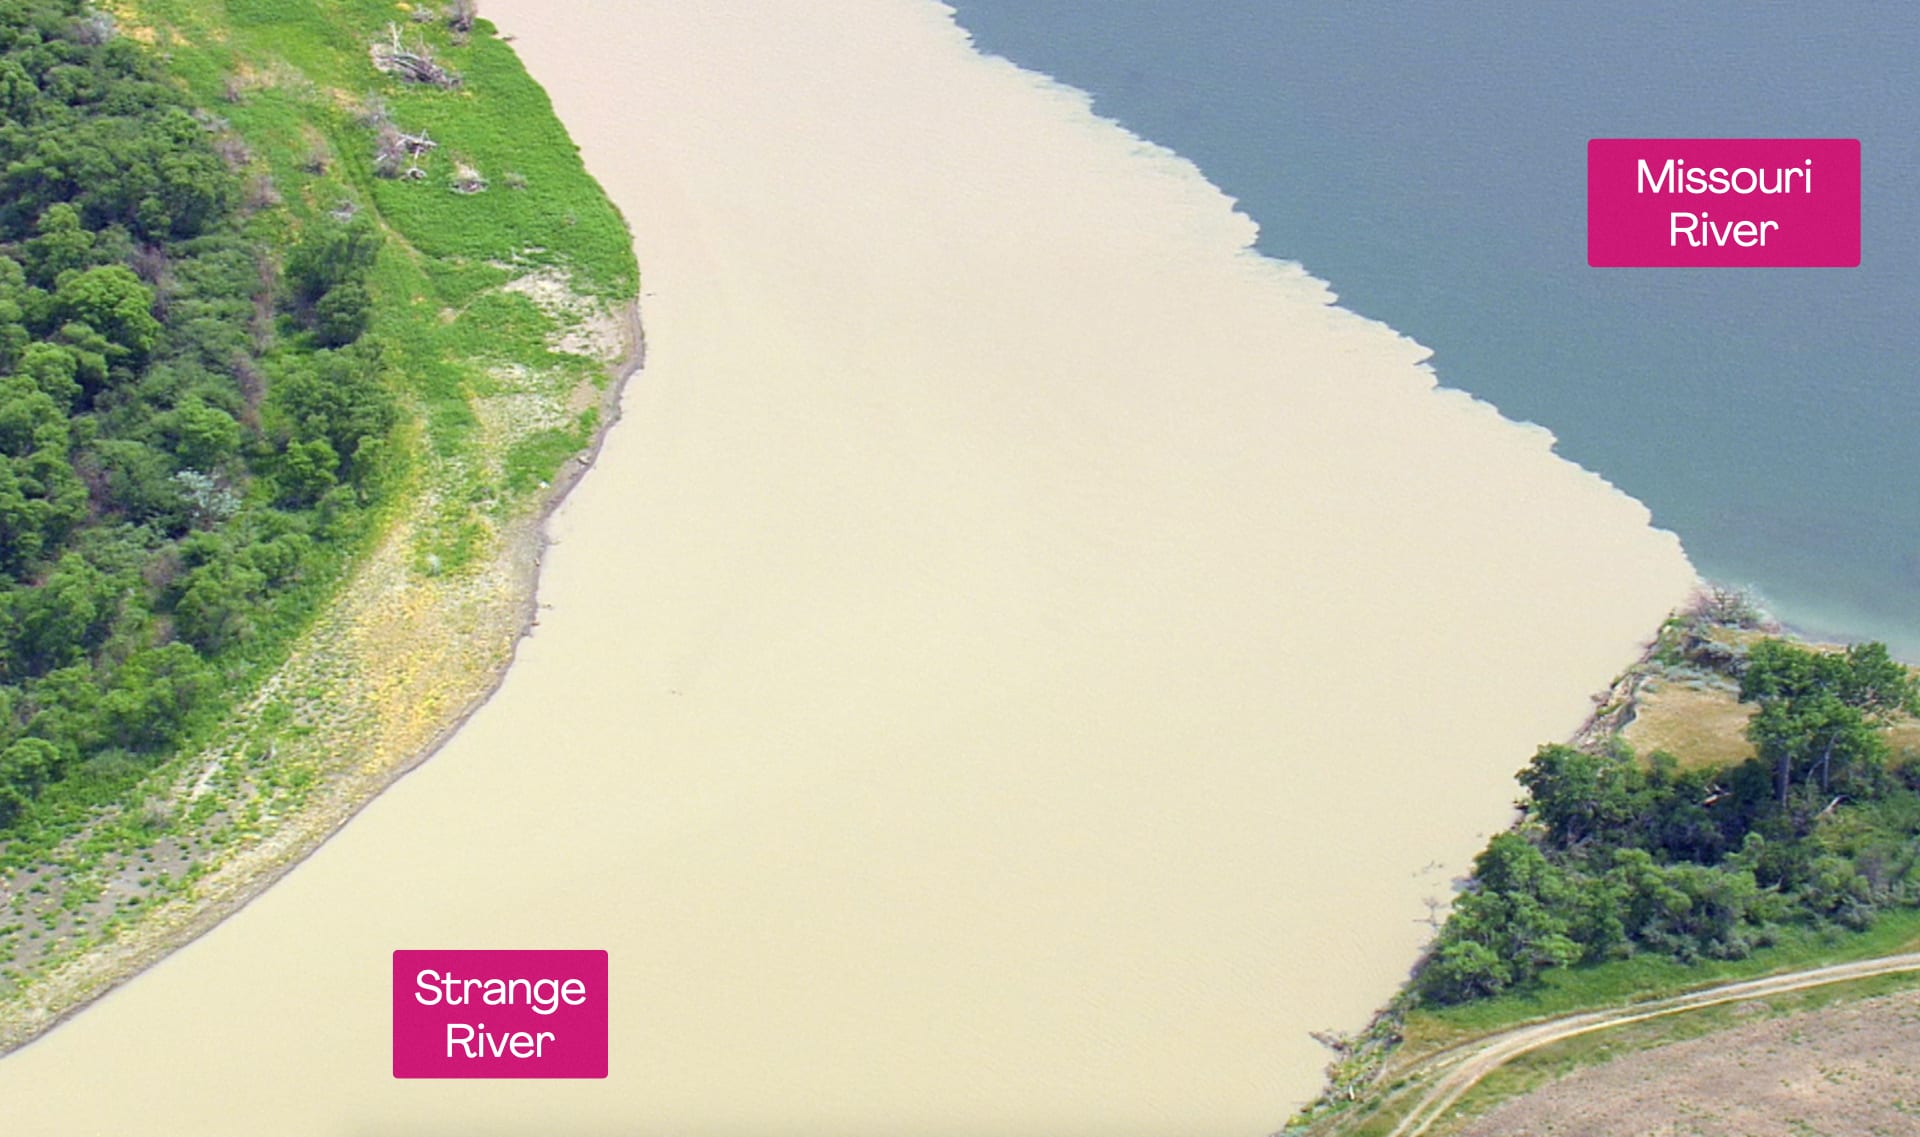
Missouri River and Milk River Confluence 2 by SkyworksRF
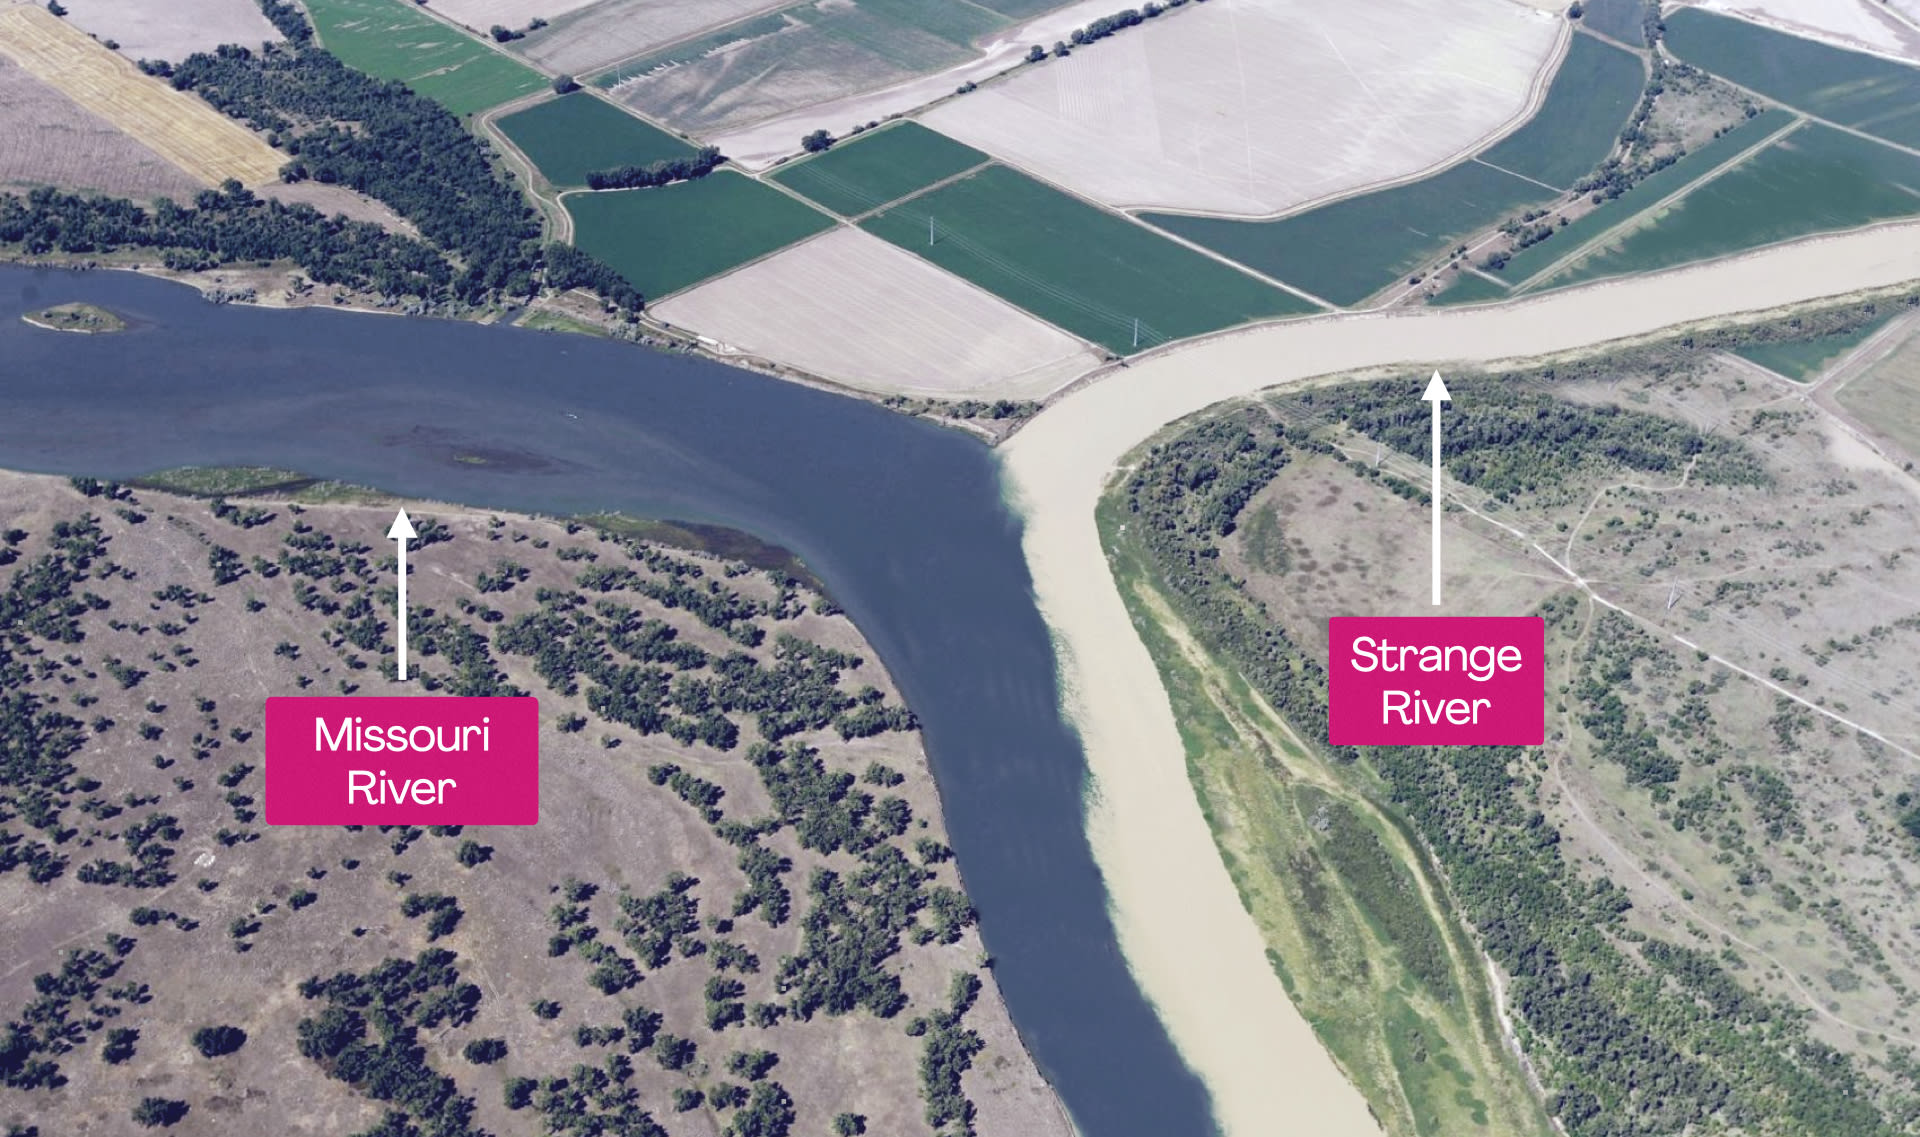
Missouri River and Milk River Confluence Image by Larry Mayer / Billings Gazette
One of the Milk River Sources by Freddie Phillips
People at the beach and swimming in the Milk River by Claude Robidoux
Pouring Milk Into Tea by Pixel-Shot
River Video by Mikko
Upper Missouri River Breaks by Joseph Sohm

Grade 2

Erosion & Earth’s Surface

Mapping, Earth's Surface Features, & Erosion

2-ESS1-1, 2-ESS2-2

789 reviews

Activity Prep

Print Prep
To use alternate supplies, go to the previous version.
Note: This lesson is part of this unit’s Anchor Layer. If you have the Anchor Layer turned on, we recommend teaching all lessons in the remainder of this unit in order.

The anchor phenomenon for this unit is a pair of rivers that flow together but look very, very different from one another. Students explore what causes rivers to have such different colors.

During the introduction, students generate observations and questions about the phenomenon and create an initial conceptual model to explain the phenomenon.

Students will gather clues during and after each lesson in this unit to help them improve their explanations. It is important to encourage students to recognize that even if they don't know the perfect answer yet, they are going to learn a lot throughout the unit and will have an opportunity to change or add to their first explanation.
Preview activity

Grade 2

Erosion & Earth’s Surface

Mapping, Earth's Surface Features, & Erosion

2-ESS1-1, 2-ESS2-2

789 reviews
Slow internet or video problems?
 
Water Anchor Phenomenon: Strange River

How did the lesson go?
Terrible OK Good Great Terrific!

How can we improve it?

If you'd like our team to reply to you, please Contact Support instead.

Thanks for your feedback! If you have a question or need help, please contact us. Please consider sharing your review:

Sorry the lesson didn’t go well. We read every single review in an effort to improve our Mysteries.

Thanks for letting us know. We’ll wait to ask you for feedback until after you've actually taught it.

Thanks for the feedback! We read every single review in an effort to improve our Mysteries.

Is the video not playing properly?

Please follow these steps:

  1. Very rarely a video will fail to completely load in your browser. Try to reload this page to see if that fixes the problem.
  2. If reloading does not help, try our other video player .
  3. If the video still fails to play, open this video in a new tab and please let us know you’re having trouble. We want to fix this issue for you.

Close

How can we help you?

💡For purchasing info, see our Pricing Page

This episode is locked

This lesson is not included in your limited access.

View pricing

This episode is locked

Your membership is expired. The archive of past Mini Lessons is not included in your limited access.

View pricing