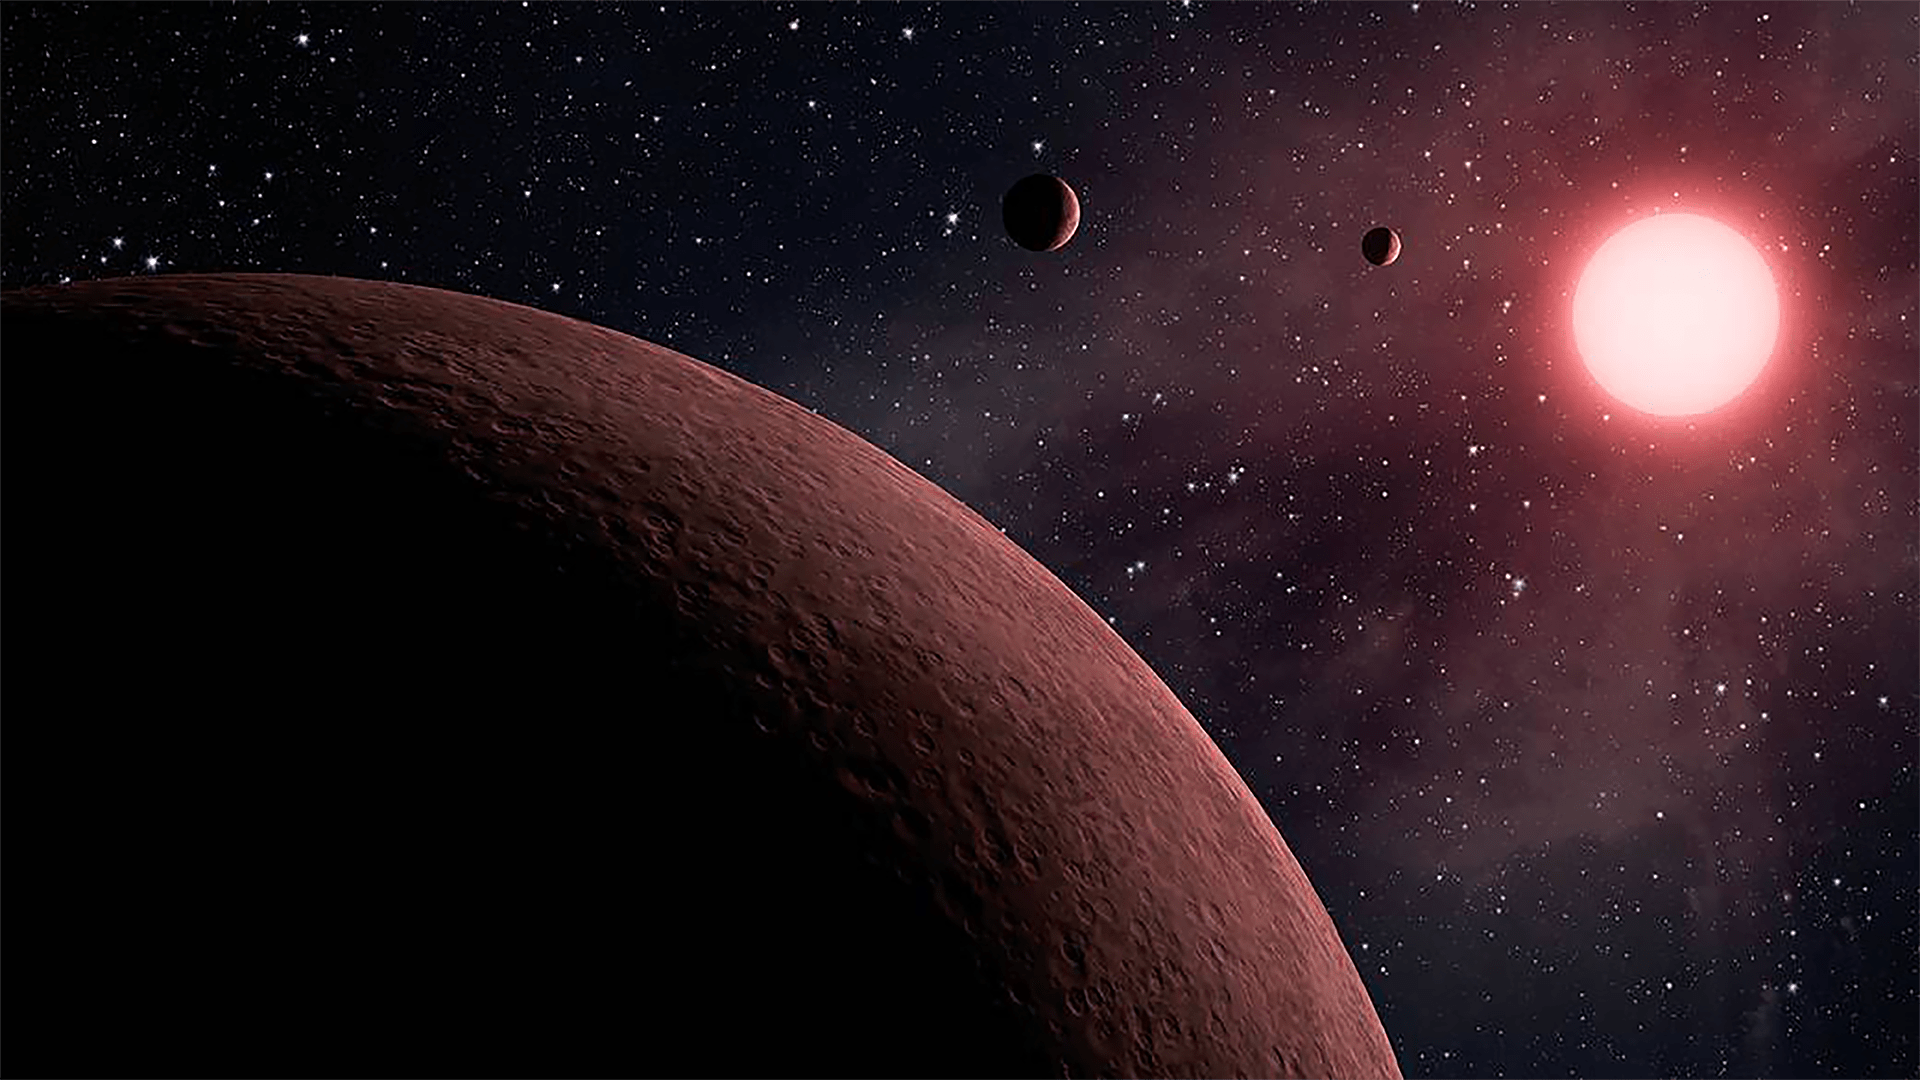
In this unit, students explore our Solar System. They identify the planets and their relative position to one another and the Sun. Students also examine our Sun as a star, thinking about the light and thermal energy that makes it possible for life on planet Earth.
THIS LESSON WAS REVISED ON DEC 14, 2022. Here is a link to the previous version.
In this lesson, students gather evidence to support an argument that the apparent brightness of the Sun is dependent upon an observer’s distance from the Sun. In the activity, Solar Energy Explorer, students construct a model solar system and gather observations of the Sun’s apparent brightness from each planet within their model. Students then use those observations as evidence to support a claim about which planet is best suited to explore with a solar-powered planetary rover.
We suggest students work in pairs. Homeschool students can work on their own, but will need a stack of books or something similar to elevate their flashlight a few inches off the ground for their brightness tests.
Prepare Stickers
Cut enough label stickers so that each pair of students will have 11 half stickers. You can also use 11 pieces of tape.
Prepare to Darken the Room
The brightness of your classroom can significantly affect student answers on their brightness test worksheet. It’s important to get your room as dark as possible while still having enough light for students to read their worksheets and move around safely. We suggest testing the brightness of your classroom before students arrive!
Make Sure You Have Enough Space
Each model Solar System extends about 3 meters (10 feet) so each pair of students will need this amount of space. If you don’t have enough floor space, a few student desks pushed together should work just fine! Students will also need enough space to walk along the side of their model Solar System for their brightness tests.
If you don’t have enough space, you can adapt the model to omit Neptune. Simply leave the strips of paper H, I, J, and K unattached. This will create a model that is 2 meters (6 feet) long. Be sure to discuss with students that Neptune is missing from their model. Have students predict how bright the Sun would appear from Neptune using their other observations.
Teacher Background
During the brightness test, students may notice that the circle of light shining from “the Sun” (flashlight) onto their Test Rover worksheet gets bigger the farther away they move away from it.This happens because light spreads out as it travels from its source. A larger circle of light on their worksheet does not mean that the Sun is brighter. It means that the Sun’s light is spreading out, which makes it dimmer.
In this lesson, students discover that the Earth is in the “Goldilocks Zone” — a distance from the Sun with the right amount of light and heat for life to exist. In the activity, Star Explorer, students plan a space mission to another planet outside our Solar System based on the amount of heat and light that reaches the planet’s surface. Once students plan their space mission, they will reflect on what our Sun would look like from this far-away planet.
We suggest students work in pairs. Homeschool students can work on their own, but this activity works best if each student can engage in debate and discussion with at least one other person.
Check Shading on the Worksheets
The Mission Plan worksheets include greyscale shading that indicates the amount of heat and light that emit from each star of the three solar systems. The correct shading is essential for the activity, so we suggest printing out copies of these worksheets beforehand to ensure that everything prints correctly.
Teacher Tips
The solar systems and stars (Malina, Thea, and Helios) used in the activity are fictional, but they were inspired by real scientific discoveries. If you and your students would like to learn more about real stars and exoplanets that astronomers are investigating, there are several resources in our Extensions section for you to explore.
In the mini-lesson, students reflect on how shadows are made when light is blocked and connect this to the really BIG shadow the Moon makes during a total solar eclipse. In the activity, students work with a partner to create a solar eclipse viewer out of paper.
We suggest students work in pairs. Homeschool students can work on their own.
Viewing the Eclipse
You can use this interactive map to find when the eclipse will begin and end at your location. Simply click anywhere on the map! If it’s cloudy or you are unable to go outside, you can watch NASA's live stream of the eclipse. The livestream will run from 1 to 4 p.m. Eastern Time on April 8, 2024.
Lesson 8: The Moon, Shadows, & Eclipses
No materials required.
Lesson 9: Solar System & Planets
No materials required.
Lesson 10: Mars & Rocks
No materials required.
Lesson 11: Planets & Solar System
No materials required.
Lesson 12: Planets & Discovery
No materials required.
This episode is locked
Invite 5 or more friends and we'll unlock all previous episodes as a thank you!
Locked
6:10
Why is the sky blue?
Locked
4:41
Why do we call them doughnuts?
Locked
5:16
Could a turtle live outside its shell?
You are using an unsupported browser. For the best experience using Mystery Science,
we recommend upgrading to one of the following browsers: