NOTE: If you want to make Bumper Coasters with foam tubing, you can view the previous version of this lesson.
This activity works best when students work in groups of 4. Homeschool students can work on their own, but will need to build all four pieces of their roller coaster track.
Make Sure You Have Enough Space
Each roller coaster extends about 1.2 meters (a little over 4 feet) from the box, stack of books, wall, or other surface that it’s attached to. Each group of students will need this amount of space to work through the activity. If you don’t have enough floor space, a few student desks pushed together with a stack of books on top should work.
Prepare Stickers
Cut enough stickers so that you have two for each group of students that will build a roller coaster. The stickers need to be no wider than 2 centimeters so that they can fit and adhere to the roller coaster track.
Decide Where to Store Your Tracks
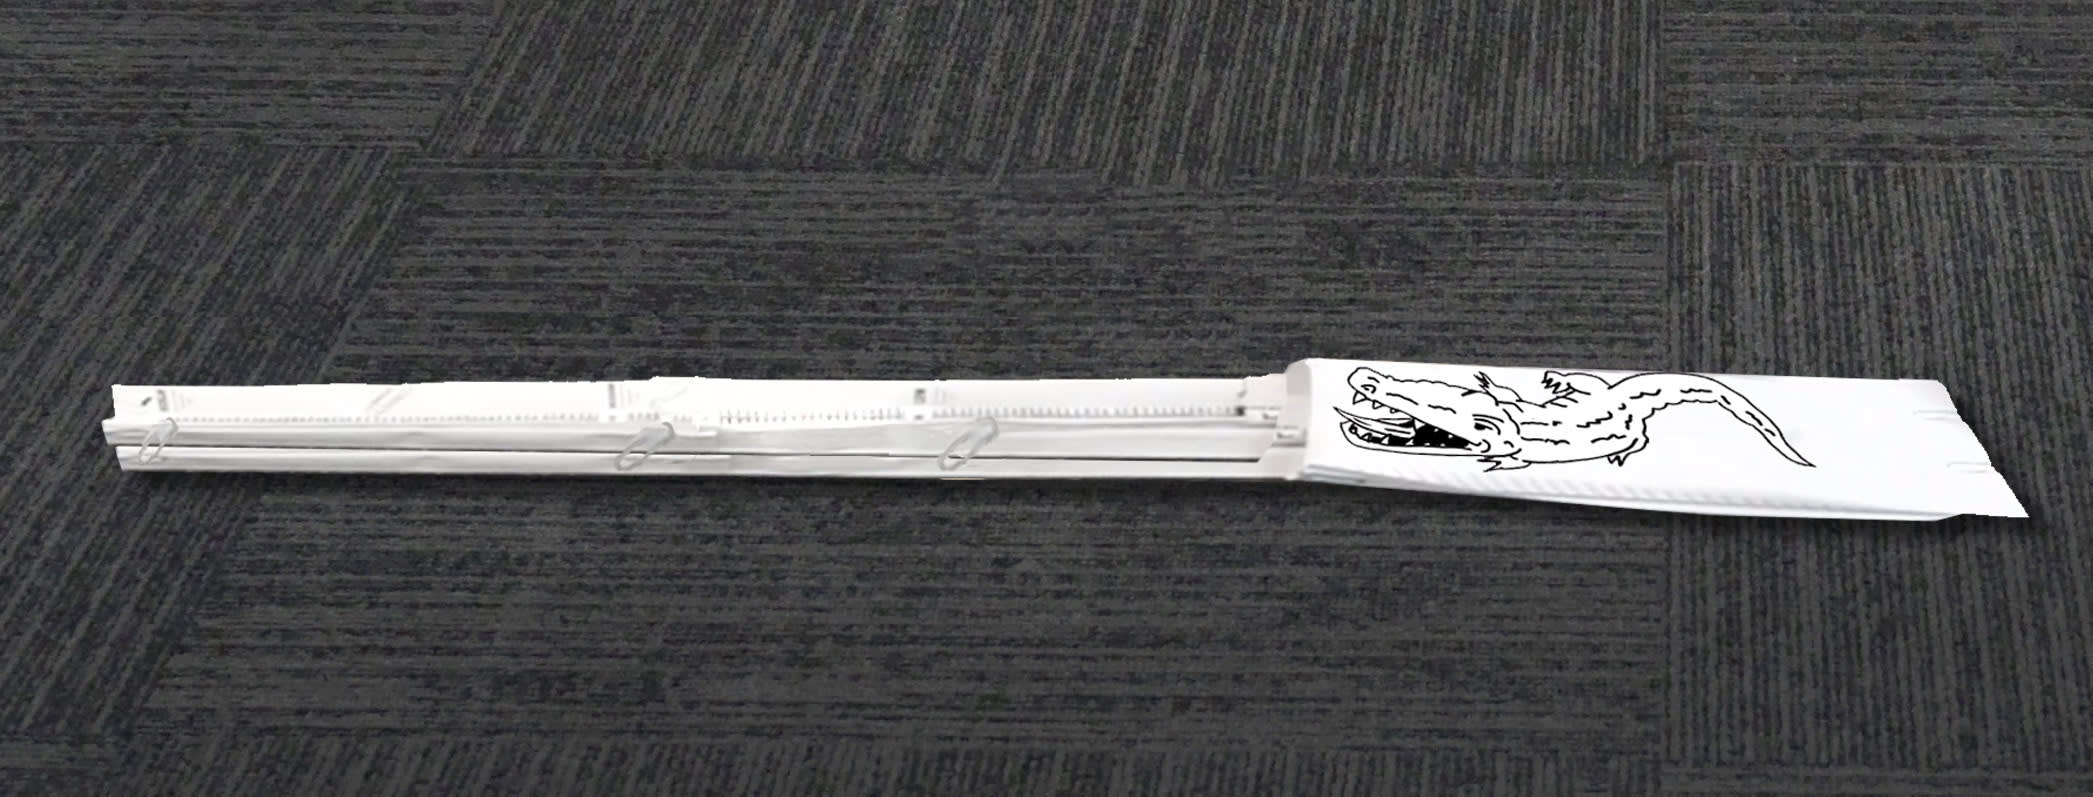
If you will be teaching Bumper Coasters Part II (Lesson 3), then you must save the tracks and the alligator that each group makes in this lesson. Each set can be stored as pictured below and measures about 82 cm x 8 cm (32” x 3”). We show you how to deconstruct your bumper coaster in this step.
Estimate Your Time Needs
This entire lesson with the activity will take about an hour or slightly more. There are two natural stopping points during the activity — the first one when students finish building their roller coaster tracks and a second one after they complete their first set of experiments. If you are pressed for time or have a short class period, we recommend splitting this lesson into shorter sessions that might work better for you.
Teacher Tip
Experimenting with marbles is fun, but it can also be distracting! We recommend waiting to distribute the marbles and worksheets until after students have built all of their roller coaster tracks.


