You will need access to water for this activity.
Students will need to cover their workspaces with a table covering (e.g., trash bag) in case of spills.
We suggest students work in pairs and share materials with another pair of students at the same table. Homeschool students can work on their own.
Prepare the Cornmeal “Land” and “Drip Sticks” Before Class
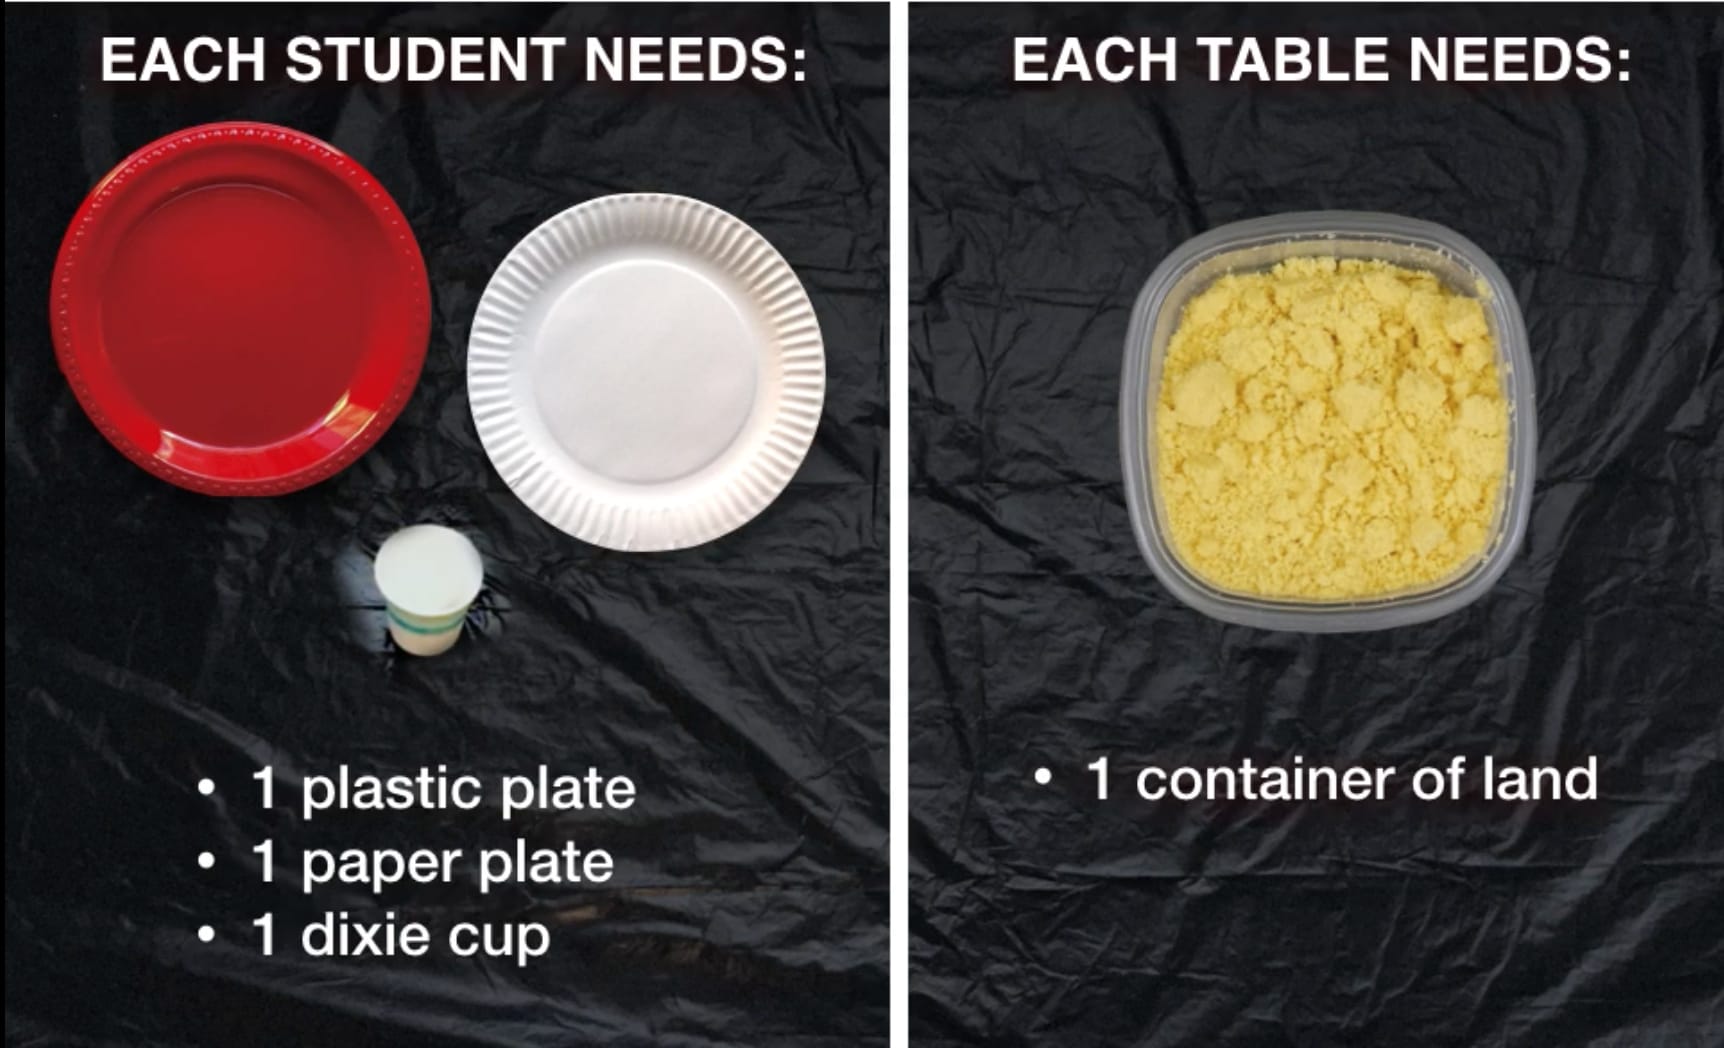
For each group of four students, you’ll need a container of the cornmeal “land” that you made for Lesson 4. Each pair of students will also need a “drip stick" that you made for Lesson 4. (If you have not taught Lesson 4, you will need to make cornmeal “land” and "drip sticks." Here’s how .)
Prepare Aluminum Foil and Paper Towel Strips
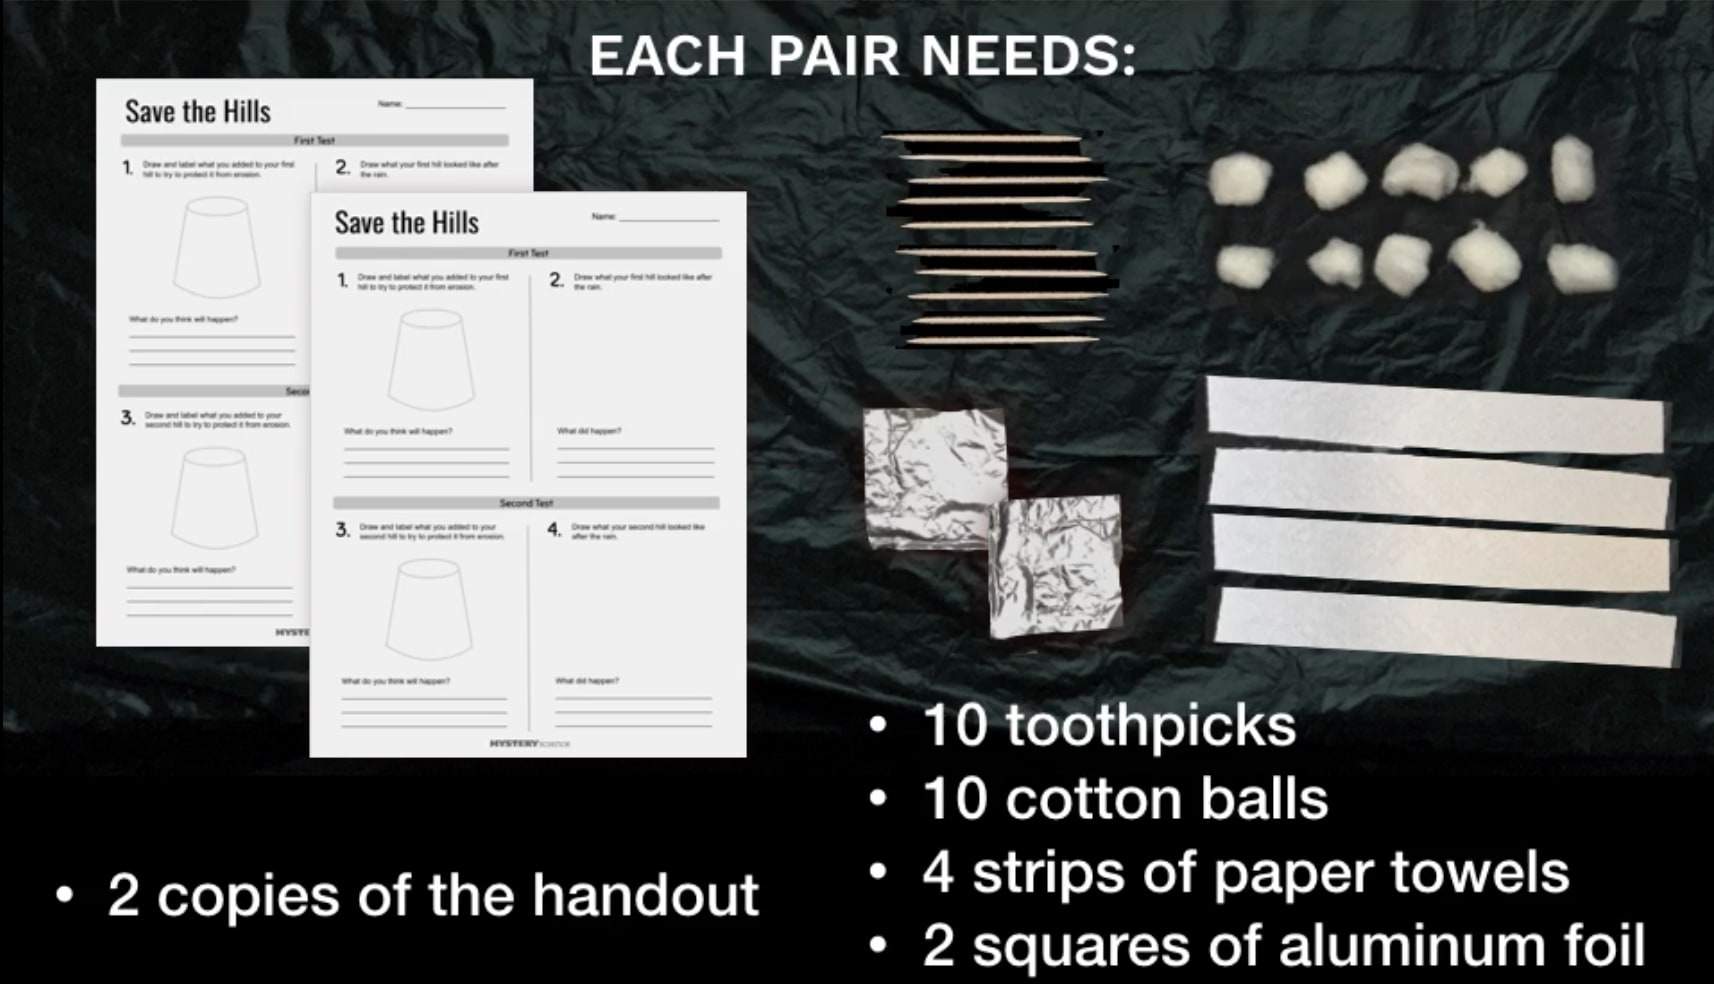
Each pair of students will need two small squares of aluminum foil (about 1½” squares), and four paper towel strips (each strip should be about 1” x 5”).
Organize Materials for Distribution
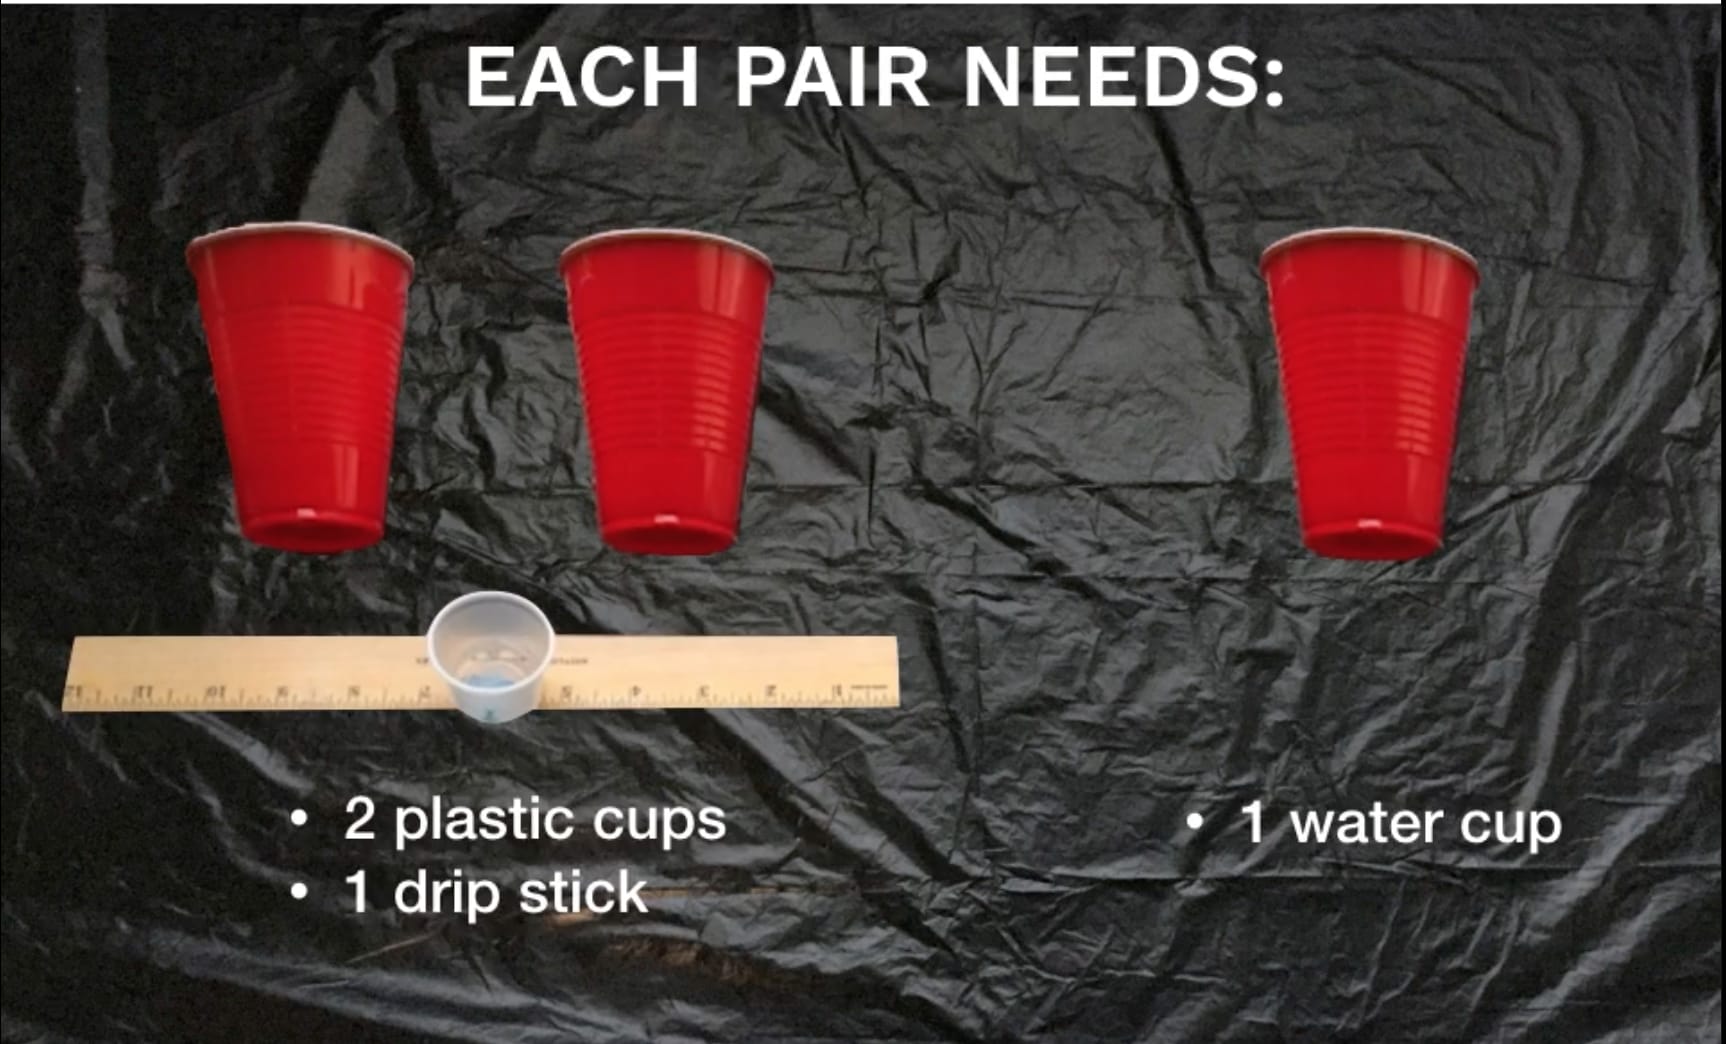
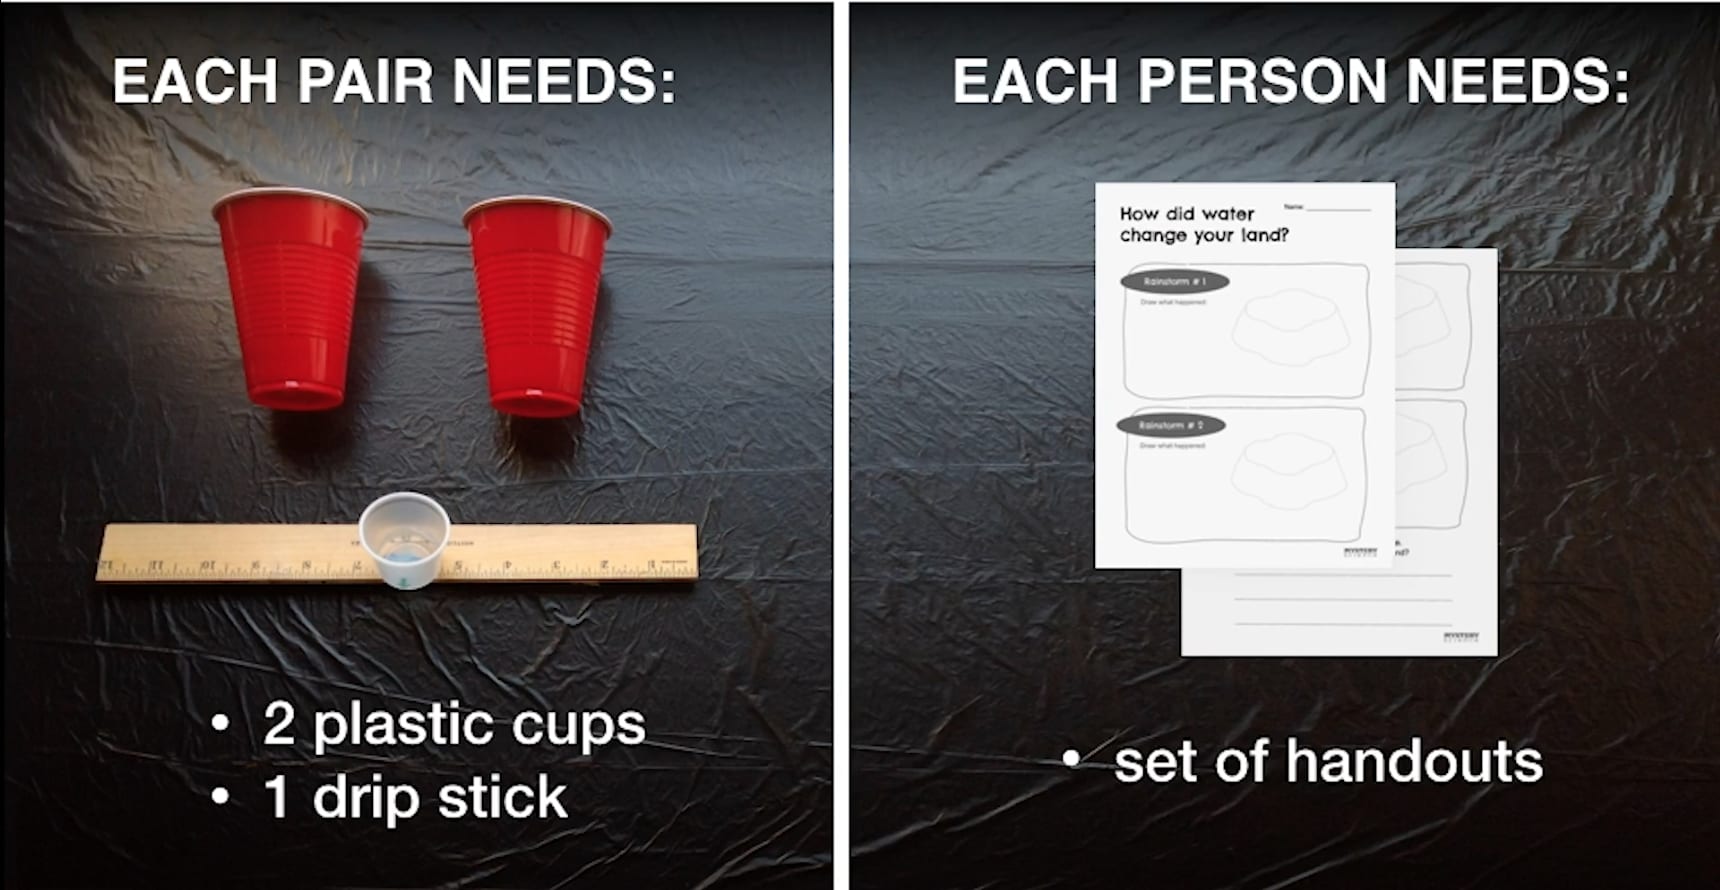
We suggest that you create supply distribution stations for students. In the first part of the activity, each student will need the following supplies:
In the second part of the activity, students will work in pairs to protect their cornmeal hill from erosion. To create their erosion protectors, each pair of students will need the following additional materials:
In the third part of the activity, students use "drip sticks" to create rainstorms over their cornmeal hills. Each pair of students will need the following additional materials: