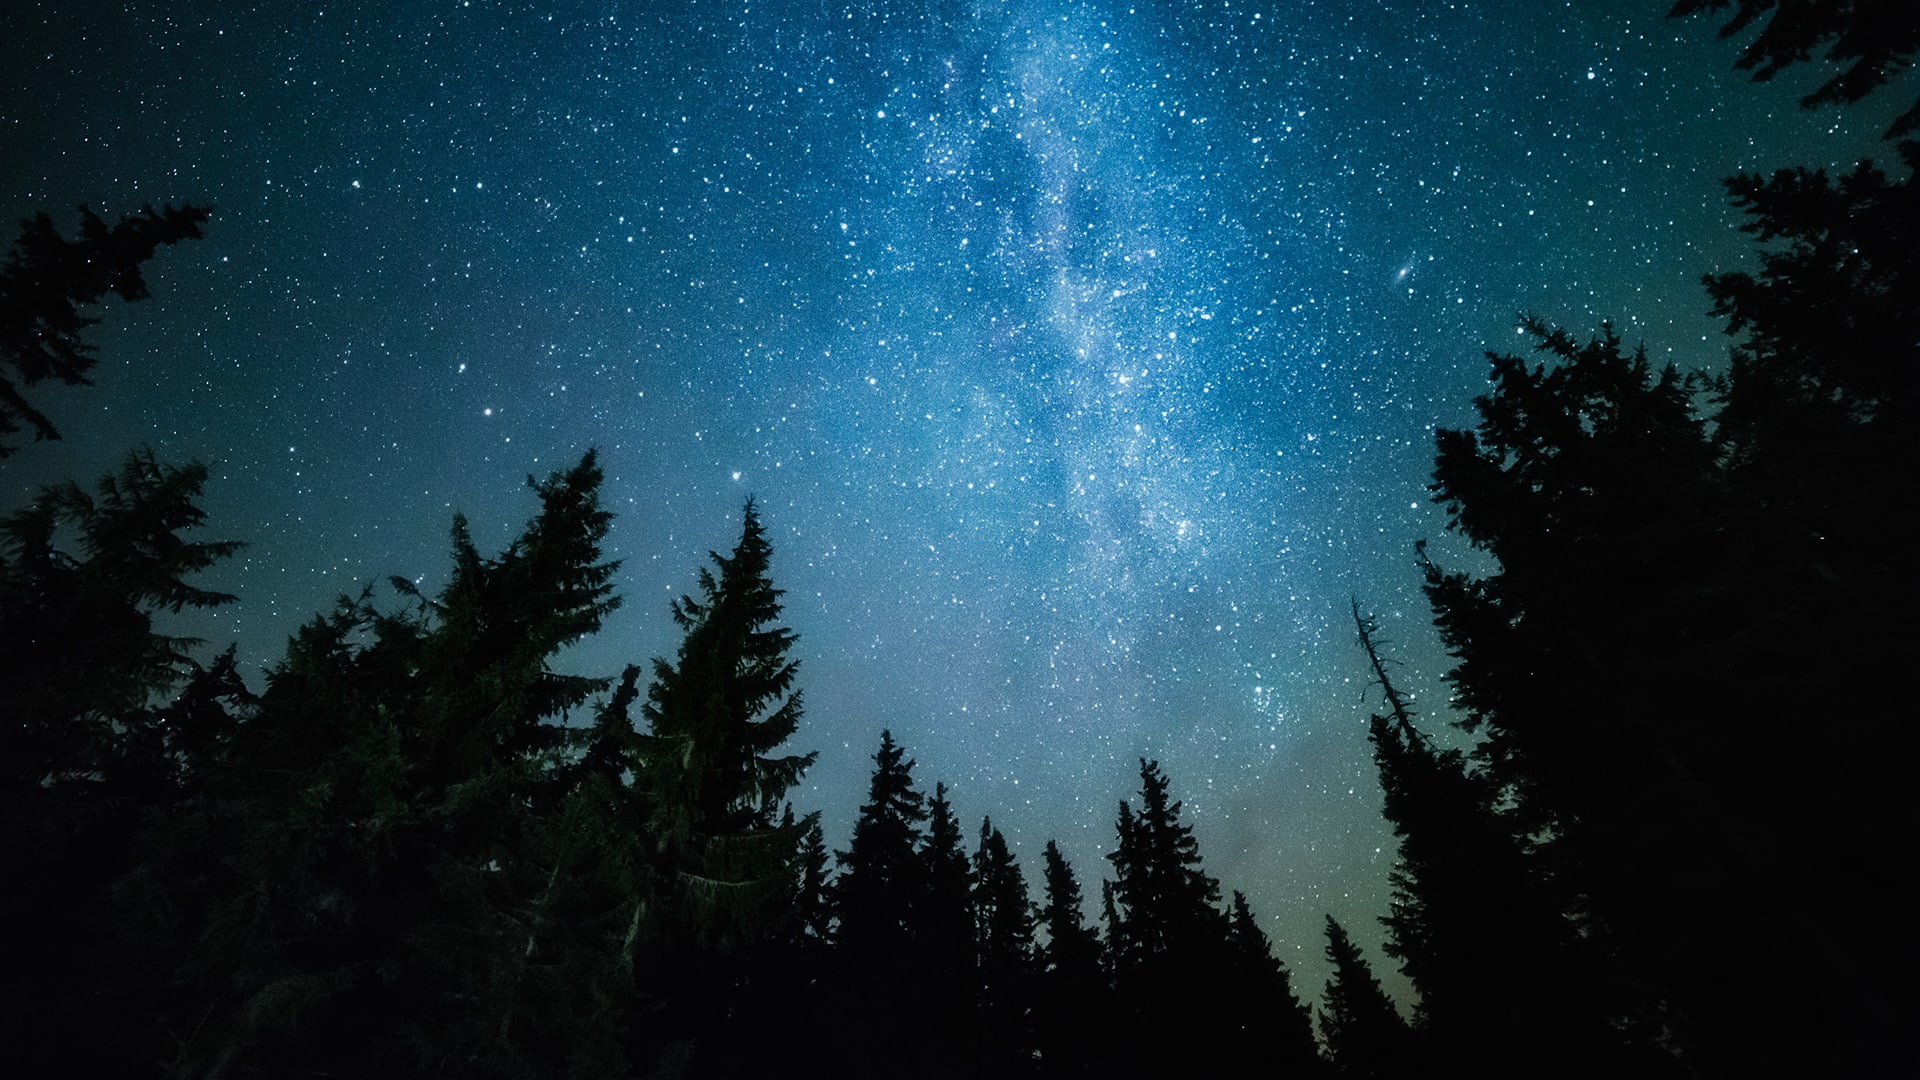
In this unit, students explore the Moon and stars. They observe and record the appearance of the Moon to determine its cyclical pattern. They also determine why stars are only visible at night.
In this lesson, students explore all of the different shapes of the Moon that can appear on different nights. In the activity, My Moon Book, students observe photos of the Moon taken over the course of four weeks and draw pictures of the Moon's phases in their book. They use these observations to discover patterns in how the Moon’s shape changes and predict when the next full moon will appear.
Each student will construct a Moon Book. Then they will observe photos of the Moon taken over the course of four weeks and draw pictures of the Moon's phases in their book.
Plan Your Time
This is a long activity. If you have limited time, you can divide this lesson into two sessions. We have marked a natural stopping point after the construction of the book.
Part 1 (create a Moon Book) takes 10 to 15 minutes.
Part 2 (record observations of the Moon in your Moon Book) takes 15-20 minutes. Part 2 begins here.
Teacher Background
You may have heard the term “quarter moon” — the name astronomers use to describe the Moon when half its surface is bright. In this lesson, we have opted instead for the descriptive term “half moon" that matches what students see in the sky.
In this lesson, students use a model to investigate why the stars are visible at night but disappear when the Sun comes out during the day. In the activity, Star Projector, students use paper cups to project stars onto a sky picture, and observe what happens to these stars when a flashlight acts as a model of the Sun.
You will need to do part of this activity in the dark with the lights off and curtains drawn.
We suggest students work in pairs. Homeschool students will need two flashlights and a partner to help with a few steps.
Prepare Big Dipper Star Pictures
Each printout has 12 Big Dipper pictures. Cut up enough Big Dipper sheets to provide each student with one star picture.
Set Up Activity Stations
Set up activity stations by posting Sky Sheets on walls that will be dark or dimly lit when you pull the shades and turn out the lights. We recommend that each pair of students works at an activity station. If classroom space is limited, we’ve found that one station can comfortably accommodate up to 8 students taking turns.
In this Read-Along lesson, Ryan’s camping trip with his dad includes a night of stargazing, and a mystery to solve. The lesson includes a short exercise where students imagine what they might see looking through a telescope. You can extend the lesson with the optional activity, Where Is North?, that helps students learn the cardinal directions.
We suggest an optional activity that helps students gain a better understanding of the cardinal directions (north, south, east, west).
For this activity, you will need to make four signs:
North
South
East
West
You will use these signs to label your classroom walls with the appropriate cardinal direction. To identify which sign goes where, you can use a compass or Google Maps.
Here’s how to identify the directions using Google Maps:
Open Google Maps and enter your school’s street address.
Zoom in on your school and look at the surrounding streets and landmarks.
North is always up on Google Maps. Find a landmark that’s to the north of your school.
Put North on the wall that’s closest to that landmark.
Face North. Put West on the wall to your left, East on the wall to your right, and South on the wall behind you.
Lesson 4: Stars
No materials required.
Lesson 5: The Moon & Gravity
No materials required.
This episode is locked
Invite 5 or more friends and we'll unlock all previous episodes as a thank you!
Locked
6:10
Why is the sky blue?
Locked
4:41
Why do we call them doughnuts?
Locked
5:16
Could a turtle live outside its shell?
You are using an unsupported browser. For the best experience using Mystery Science,
we recommend upgrading to one of the following browsers: