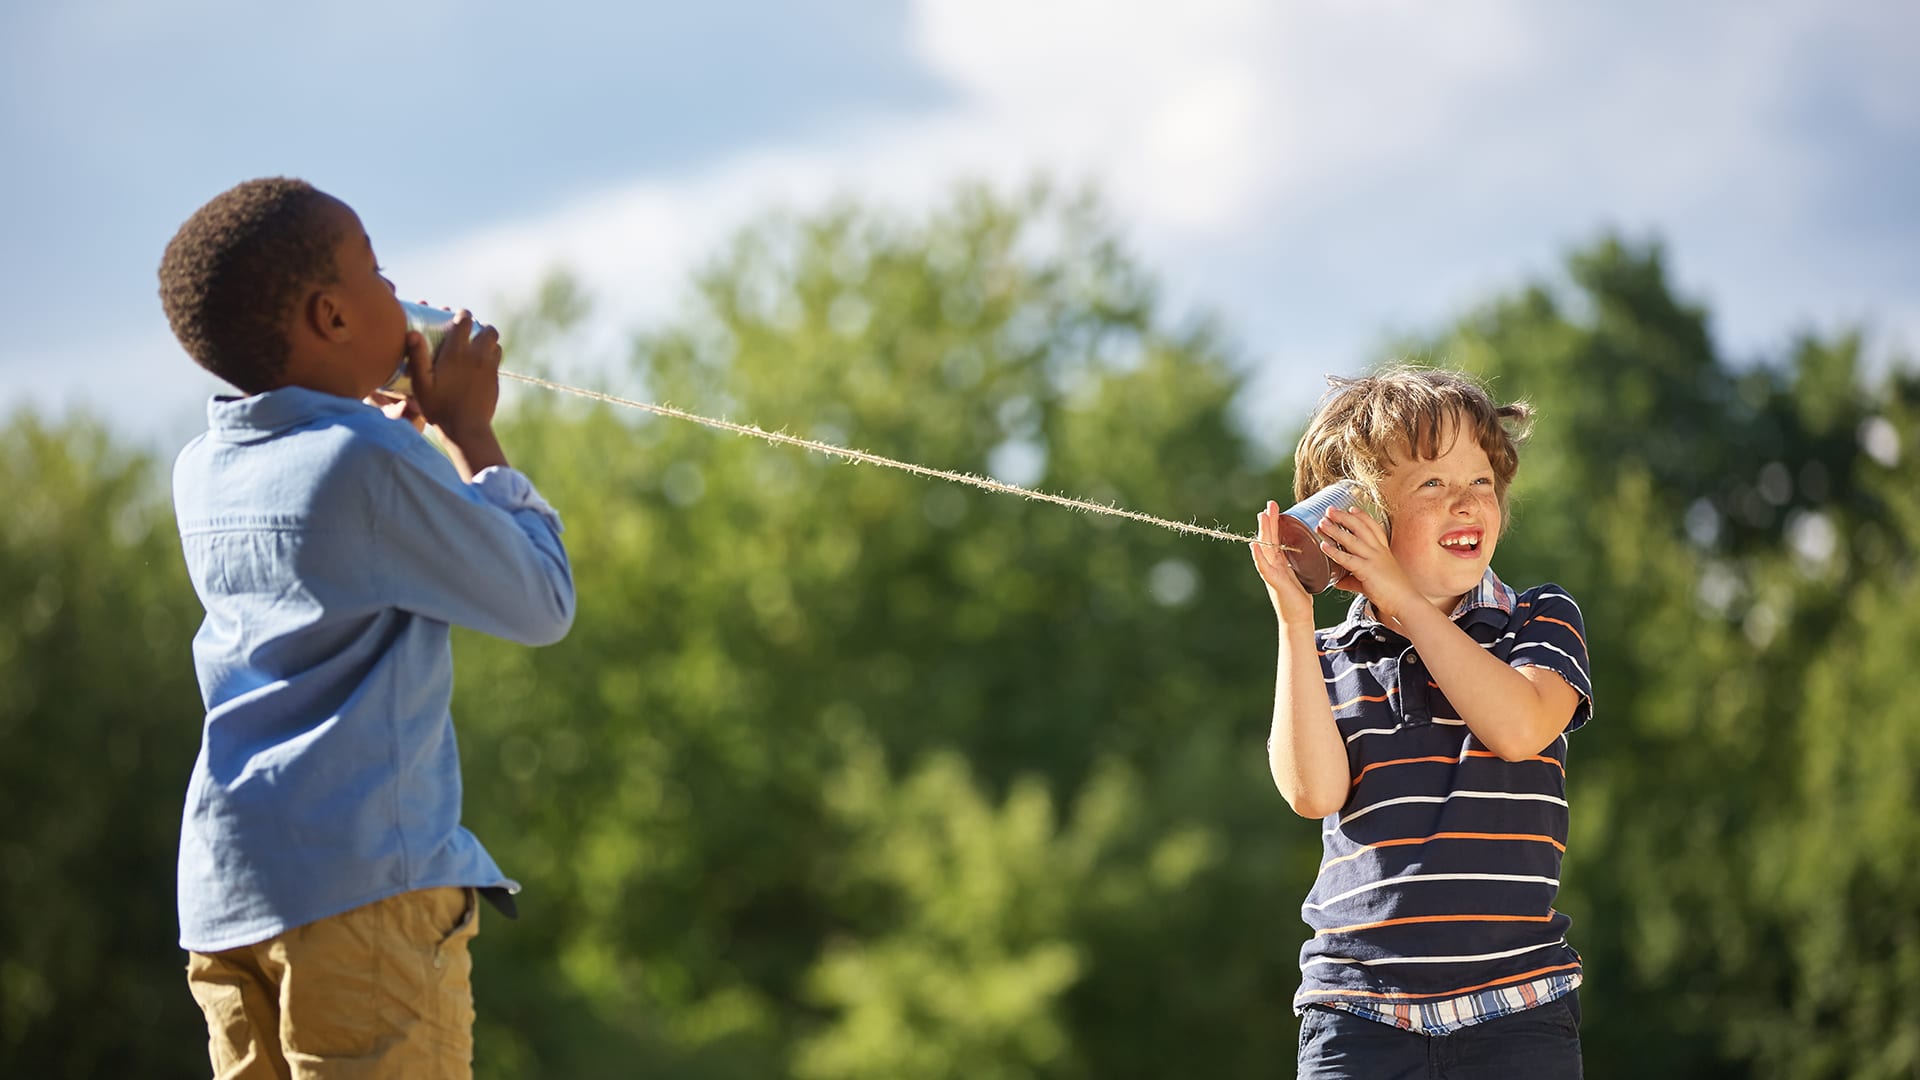
In this unit, students investigate sound! They explore how materials vibrate and how vibrating materials can make sounds. They also investigate how light and sound can be combined to communicate over a distance.
In this lesson, students investigate vibrations as a source of sound effects for movies. In the activity, Be a Sound Effects Artist, students use their hands and feet to create a "rainstorm," and then use rulers to create a “boing” sound for a cartoon bouncy ball.
During the rainstorm activity, you may want a way to make thunder. It’s fun to add the rumble and crash of thunder and is another visible demonstration of vibration creating sound. Watch this video to see how to use the optional items to make thunder.
If you decide to add thunder to your rainstorm, decide who will be the Thunder Master, the maker of thunder. We suggest you let this person experiment before class so that they can create a great thunder sound for your rainstorm.
In this Read-Along lesson, Lin explores the sounds made by different kinds of instruments, and discovers what happens when vibrations start—and when they stop. The lesson includes a short exercise where students experiment with a piece of paper to make the connection between vibrations and sound. You can extend the lesson with the optional activity, Head Harp, where students make simple musical instruments using only their heads and string.
We recommend a simple sound experiment from San Francisco's Exploratorium that lets your students experiment with sound—without making a lot of noise.
Follow the instructions here. Encourage students to experiment to figure out how to change the sound. They can make it higher by pulling the string tighter and lower by loosening the string. Each student will need a piece of string or yarn that’s at least 3 feet (1 meter) long. Students can work on their own, but we suggest students work in pairs so they can discuss their ideas with one another.
In this lesson, students practice using light to communicate information. In the activity, Secret Signals, students work in pairs to build a device that solves the problem of communicating over a distance. They send secret messages to one another using light and colored markers.
Preferably 1 red, 1 blue, and 1 green. You can use three other colors, but make sure they are very different from one another. Similar colors (red, pink, and orange) can lead to confusion.
Make sure you have enough space. Pairs of students will need to be at least 5 or 6 feet apart, and have a clear line of sight to each other. Homeschool students working alone will need a partner to do this activity.
You will need to do this activity in the dark with the lights off and curtains drawn.
Classroom Management Tip
Flashlights are very fun, but can be very distracting! We suggest waiting to distribute flashlights to students until Step 6 of the activity.
Read-Along Lesson 4: Lights, Sounds, & Communication
In this Read-Along lesson, Gabrielle sets sail with her aunt—the captain of a tugboat—and discovers how the sights and sounds on the bay can help boats find their way. The lesson includes a short exercise where students get moving by pretending to be boats. You can extend the lesson with the optional activity, Navigating by Sights and Sounds, where students play games to practice listening for sound cues.
We recommend two activities (Red Light/Green Light and Sound Card Challenge) that let students explore their own skills of watching and listening and practice some of the sound words they hear every day.
Lesson 8: Sound & Insects
No materials required.
This episode is locked
Invite 5 or more friends and we'll unlock all previous episodes as a thank you!
Locked
6:10
Why is the sky blue?
Locked
4:41
Why do we call them doughnuts?
Locked
5:16
Could a turtle live outside its shell?
You are using an unsupported browser. For the best experience using Mystery Science,
we recommend upgrading to one of the following browsers: